Page 638 of 671
1. Windshield-washer fluid reservoir
2. Fuse box
3. Fuse/Fusible link box
4. Engine coolant reservoir
5. Fuel filter (Stage 2)
6. Engine oil filler cap
7. Brake fluid reservoir
8. Air cleaner
9. Battery
10. Power steering fluid reservoir
11. Radiator cap
12. Engine oil dipstick
13. Drive belt location
14. Fuse/Fusible link box
15. Battery
Cummins 5.0L
LDI2870
ENGINE COMPARTMENT CHECK
LOCATIONS
6-2Do-it-yourself
Page 640 of 671

CHECKING ENGINE COOLANT
LEVEL
Check the coolant levelin the reservoir when
the engine is cold. If the coolant level is below
the MIN level
�B, add coolant to the MAX level
�A. If the reservoir is empty, check the coolant
level in the radiator when the engine is cold. If
there is insufficient coolant in the radiator, fill the
radiator with coolant up to the filler opening and
also add it to the reservoir up to the MAX level
�A.
This vehicle contains Genuine NISSAN Long Life
Antifreeze/Coolant (blue) . The life expectancy of
the factory-fill coolant is 45,000 miles
(78,000 km) or 3 years. Mixing any other type of coolant or the use of non-distilled water may
reduce the life expectancy of the factory-fill cool-
ant. For additional information, refer to the “Titan
Owners’s Manual”.
CAUTION
Never use any cooling system additives
such as radiator sealer. Additives may
clog the cooling system and cause dam-
age to the engine, transmission and/or
cooling system.
If the cooling system frequently requires
coolant, have it checked. It is recom-
mended that you visit a NISSAN dealer for
this service.
For additional information on the location of the
engine coolant reservoir, refer to “Engine com-
partment check locations” in this section.
CHANGING ENGINE COOLANT
A NISSAN dealer can change the engine coolant.
The service procedure can be found in the
NISSAN Service Manual.
Improper servicing can result in reduced
heater performance and engine overheat-
ing.
WARNING
● To avoid the danger of being scalded,
never change the coolant when the en-
gine is hot.
● Never remove the radiator or engine
coolant reservoir cap when the engine
is hot. Serious burns could be caused by
high pressure fluid escaping from the
radiator.
● Avoid direct skin contact with used
coolant. If skin contact is made, wash
thoroughly with soap or hand cleaner as
soon as possible.
● Keep coolant out of the reach of chil-
dren and pets.
Engine coolant must be disposed of properly.
Check your local regulations.
LDI2871
6-4Do-it-yourself
Page 641 of 671
 .
To avoid damage to your vehicle, the oil,
oil filter, and fuel filter wi")
CAUTION
Your vehicle may require more frequent
maintenance if it operates on biodiesel
blends between 6% and 10% (B6 and B10) .
To avoid damage to your vehicle, the oil,
oil filter, and fuel filter will need to be
replaced after a shorter time interval than
if your vehicle was operating on pure
petroleum-based diesel. For additional in-
formation, refer to the “Maintenance” sec-
tion in the “Titan Owner’s Manual.”
CHECKING ENGINE OIL LEVEL
NOTE:
The factory fill oil may include a red dye
that is added for manufacturing quality pro-
cesses. The dye makes the oil appear to be
red. This is normal. The red dye will be
flushed from the engine after approxi-
mately 4–5 oil changes.1. Park the vehicle on a level surface and apply the parking brake.
2. Start the engine and let it idle until it reaches operating temperature. 3. Turn off the engine.
Wait more than
10 minutes for the oil to drain back into
the oil pan.
4. Remove the dipstick and wipe it clean. Re- insert it all the way.
LDI2872
ENGINE OIL
Do-it-yourself6-5
Page 642 of 671
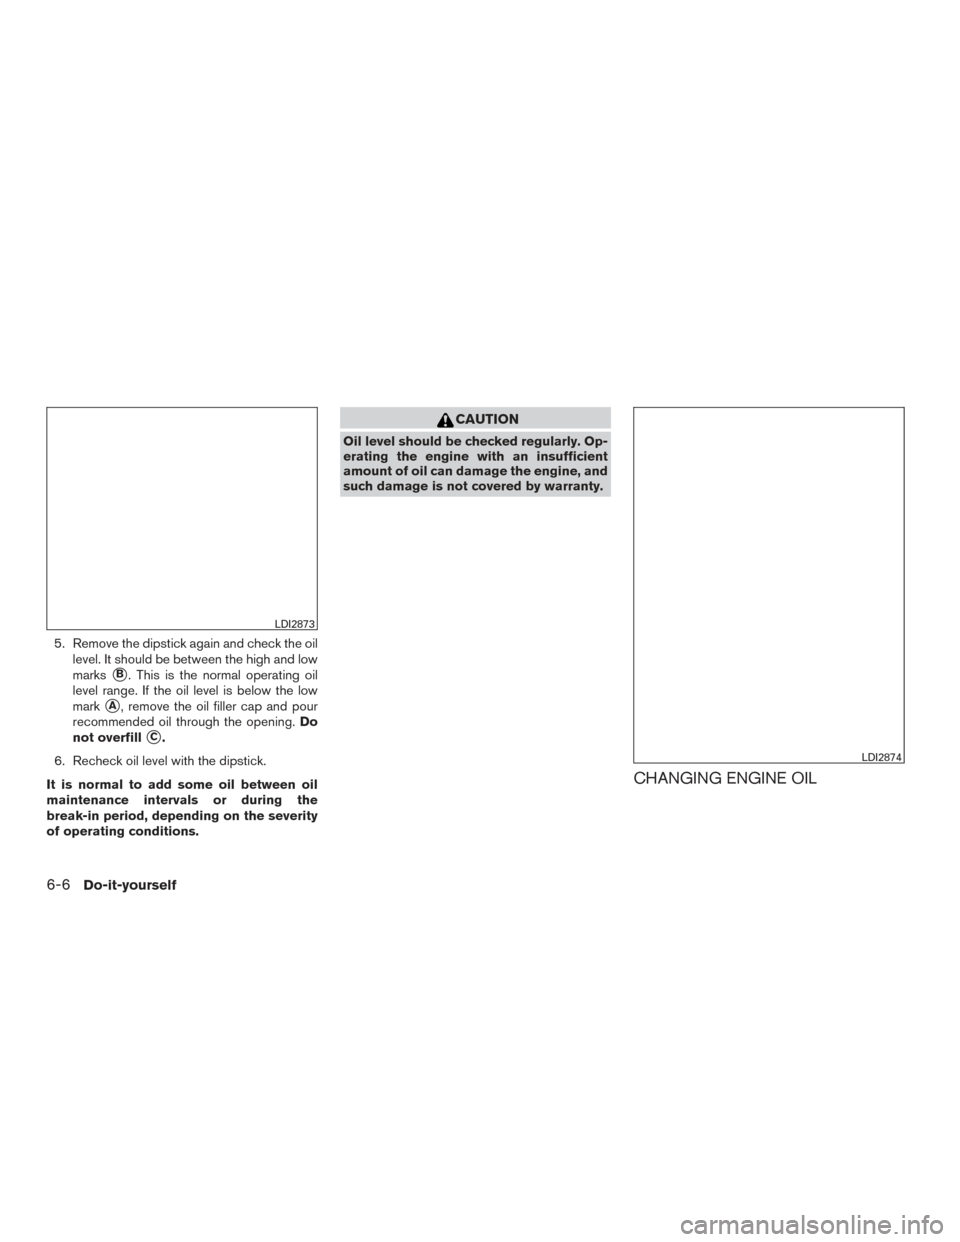
5. Remove the dipstick again and check the oillevel. It should be between the high and low
marks
�B. This is the normal operating oil
level range. If the oil level is below the low
mark
�A, remove the oil filler cap and pour
recommended oil through the opening. Do
not overfill
�C.
6. Recheck oil level with the dipstick.
It is normal to add some oil between oil
maintenance intervals or during the
break-in period, depending on the severity
of operating conditions.
CAUTION
Oil level should be checked regularly. Op-
erating the engine with an insufficient
amount of oil can damage the engine, and
such damage is not covered by warranty.
CHANGING ENGINE OIL
LDI2873
LDI2874
6-6Do-it-yourself
Page 643 of 671

NOTE:
The factory fill oil may include a red dye
that is added for manufacturing quality pro-
cesses. The dye makes the oil appear to be
red. This is normal. The red dye will be
flushed from the engine after approxi-
mately 4–5 oil changes.1. Park the vehicle on a level surface and apply the parking brake.
2. Start the engine and let it idle until it reaches operating temperature, then turn it off.
3. Remove the oil filler cap
�Aby turning it
counterclockwise.
4. Place a large drain pan under the drain plug
�B.
5. Remove the drain plug
�Bwith a wrench by
turning it counterclockwise and completely
drain the oil.
Remove and replace the engine oil filter at
this time. For additional information, refer to
“Changing engine oil filter” in this section.
● Waste oil must be disposed of prop-
erly.
● Check your local regulations.
WARNING
●Prolonged and repeated contact with
used engine oil may cause skin cancer.
● Try to avoid direct skin contact with
used oil. If skin contact is made, wash
thoroughly with soap or hand cleaner as
soon as possible.
● Keep used engine oil out of reach of
children.
CAUTION
Be careful not to burn yourself. The engine
oil may be hot.
6. Clean and reinstall the drain plug. Securely tighten the drain plug with a wrench. Do not
use excessive force.
Drain plug tightening torque: 25 ft-lb (34 N·m)
7. Refill engine with recommended oil through the oil filler opening, then install the oil filler
cap securely.
For additional information on drain and refill
capacity, refer to “Recommended
fluids/lubricants and capacities” in the
“Technical and consumer information” sec-
tion of this manual. The drain and refill capacity depends on the
oil temperature and drain time. Use these
specifications for reference only. Always use
the dipstick to determine when the proper
amount of oil is in the engine.
8. Start the engine. Check for leakage around the drain plug and oil filter. Correct as re-
quired.
9. Turn the engine off and wait more than 10 minutes. Check the oil level with the
dipstick. Add engine oil if necessary.
Do-it-yourself6-7
Page 645 of 671

CAUTION
Be sure to remove any old gasket material
remaining on the sealing surface of the
engine. Failure to do so could lead to an
oil leak and engine damage.7. Fill the new filter with clean engine oil.
8. Coat the gasket on the new filter with clean engine oil.
9. Screw on the oil filter until a slight resistance is felt, then tighten an additional 3/4 turn.
10. Start the engine and check for leakage around the oil filter. Correct as required.
11. Install skid plate in reverse order of removal.
12. Turn the engine off and wait more than 10 minutes. Check the oil level. Add engine
oil if necessary.
CAUTION
Your vehicle may require more frequent
maintenance if it operates on biodiesel
blends between 6% and 10% (B6 and B10) .
To avoid damage to your vehicle, the oil,
oil filter, and fuel filter will need to be
replaced after a shorter time interval than
if your vehicle was operating on pure
petroleum-based diesel. For additional in-
formation, refer to the “Maintenance” sec-
tion in the “Titan Owner’s Manual.”
FUEL FILTER REPLACEMENT (stage
1)
NOTE:
● It is possible the “Low Fuel Pressure
Service Fuel System” message will dis-
play on the vehicle information display
after fuel filter replacement due to air
being introduced into the fuel system.
Fuel filter (stage 1) location
LDI2921
FUEL FILTER (CUMMINS 5.0L)
Do-it-yourself6-9
Page 649 of 671

NOTE:● It is possible the “Low Fuel Pressure
Service Fuel System” message will dis-
play on the vehicle information display
after fuel filter replacement due to")
FUEL FILTER REPLACEMENT (stage
2)
NOTE:● It is possible the “Low Fuel Pressure
Service Fuel System” message will dis-
play on the vehicle information display
after fuel filter replacement due to air
being introduced into the fuel system. ●
If the “Low Fuel Pressure Service Fuel
System” message is displayed on the
vehicle information display with the
engine running, complete a full key
cycle and restart the vehicle. If the mes-
sage is still displayed or the Malfunc-
tion Indicator Light is illuminated after
a full key cycle , it is recommended that
you visit a NISSAN dealer for service.
● For additional information on the loca-
tion of the fuel filter (stage 2) , refer to
the “Engine compartment check loca-
tions” in this section.
WARNING
● The fuel system (fuel pump, high pres-
sure fuel lines, fuel rail, injectors) con-
tain very high pressure fuel. To avoid the
risk of personal injury or fire;
– Do not loosen any fittings while the engine is running.
– Wait at least 10 minutes after shut- ting down the engine before loosen-
ing any fittings in the high-pressure
fuel system to allow pressure to de-
crease to a lower level.
LDI2891LDI2893
Do-it-yourself6-13
Page 654 of 671

AUTOMATIC REGENERATION
Automatic regeneration occurs when the control
module detects the exhaust filter needs to be
cleaned. This is a normal process and will not
typically require any operator interaction.
If the automatic regeneration is not able to clean
the exhaust filter the vehicle information display
will display the following messages in order of
severity:● Exhaust Filter Overloaded See Owners
Manual for Drive Pattern
● Exhaust Filter Overloaded Engine Power
Reduced See Owners Manual
● Exhaust Filter Overloaded Immediate Ser-
vice Required
The instructions for these messages in the “Me-
ters and Gauges” section of this manual will
inform the driver to modify their driving pattern to
enable the automatic regeneration process.
1. Idler pulley
2. Cooling fan pulley
3. Idler pulley
4. Power steering fluid pump pulley
5. Air conditioner compressor pulley
6. Water pump pulley
7. Crankshaft pulley
8. Automatic belt tensioner pulley
9. Generator pulley
WARNING
To avoid the risk of personal injury, be
sure the ignition switch is in the OFF or
LOCK position before servicing drive belt.
The engine could rotate unexpectedly.
1. Visually inspect the belt for signs of unusual wear, cuts, fraying or looseness. If the belt is
in poor condition or is loose, have it re-
placed. It is recommended that you visit a
NISSAN dealer for this service.
2. Have the belt checked regularly for condi- tion and tension in accordance with the
maintenance schedule found in the “Titan
Owner’s Manual”.
LDI2881
DRIVE BELT
6-18Do-it-yourself

6. Engine oil filler cap
7. Brake fluid reservoir
8. Air cleaner
9. Batte")