2017 MITSUBISHI OUTLANDER SPORT change time
[x] Cancel search: change timePage 90 of 399
Free-hand Advanced Security Transmitt
er (F.A.S.T.-key) (if so equipped)
Features and controls 5-27
5
condition of the door and liftgate unlock function. 1. Put the operation mode in OFF. 2. Open the driver’s door and turn the com- bination headlights and dimmer switch to the “OFF” position.3. Press and hold the LOCK button (1) for 4to 10 seconds and then press and hold the UNLOCK button (2) during this time. 4. Within 10 seconds of pressing theUNLOCK button in step 3, release the LOCK button first, and then release the UNLOCK button.
N00544701083
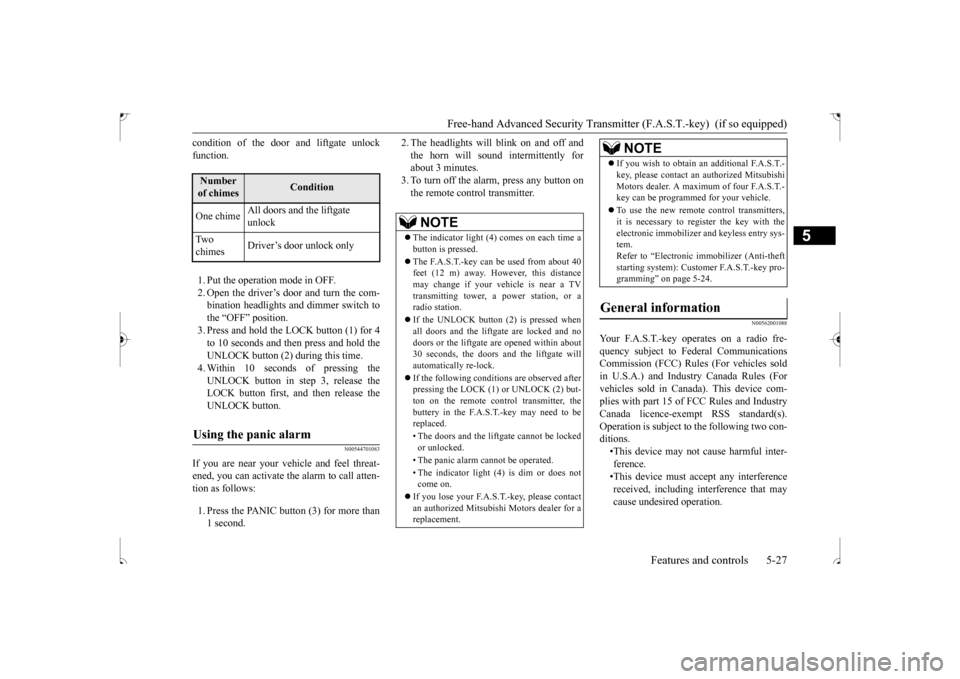
If you are near your vehicle and feel threat-ened, you can activate the alarm to call atten-tion as follows: 1. Press the PANIC button (3) for more than 1 second.
2. The headlights will blink on and off and the horn will sound intermittently for about 3 minutes. 3. To turn off the alarm, press any button onthe remote control transmitter.
N00562001088
Number of chimes
Condition
One chime
All doors and the liftgate unlock
Tw o chimes
Driver’s door unlock only
Using the panic alarm
NOTE
The indicator light (4) comes on each time a button is pressed. The F.A.S.T.-key can be used from about 40 feet (12 m) away. However, this distance may change if your vehicle is near a TVtransmitting tower, a power station, or a radio station. If the UNLOCK button (2) is pressed when all doors and the liftgate are locked and no doors or the liftgate are opened within about30 seconds, the doors and the liftgate will automatically re-lock. If the following conditions are observed after pressing the LOCK (1) or UNLOCK (2) but- ton on the remote control transmitter, thebuttery in the F.A.S.T.-key may need to be replaced. • The doors and the liftgate cannot be locked or unlocked. • The panic alarm cannot be operated. • The indicator light (4) is dim or does not come on.
If you lose your F.A.S.T.-key, please contact an authorized Mitsubishi Motors dealer for a replacement.
If you wish to obtain
an additional F.A.S.T.-
key, please contact an authorized Mitsubishi Motors dealer. A maximum of four F.A.S.T.- key can be programmed for your vehicle. To use the new remote control transmitters, it is necessary to register the key with the electronic immobilizer and keyless entry sys-tem. Refer to “Electronic immobilizer (Anti-theft starting system): Customer F.A.S.T.-key pro-gramming” on page 5-24.
General information
Your F.A.S.T.-key operates on a radio fre- quency subject to Federal Communications Commission (FCC) Rules (For vehicles sold in U.S.A.) and Industry Canada Rules (Forvehicles sold in Canada). This device com- plies with part 15 of FCC Rules and Industry Canada licence-exempt RSS standard(s).Operation is subject to the following two con- ditions. •This device may not cause harmful inter-ference. •This device must accept any interference received, including interference that maycause undesired operation.NOTE
BK0239500US.bo
ok 27 ページ 2016年5月13日 金曜日 午前8時53分
Page 106 of 399
Inside rearview mirror
Features and controls 5-43
5
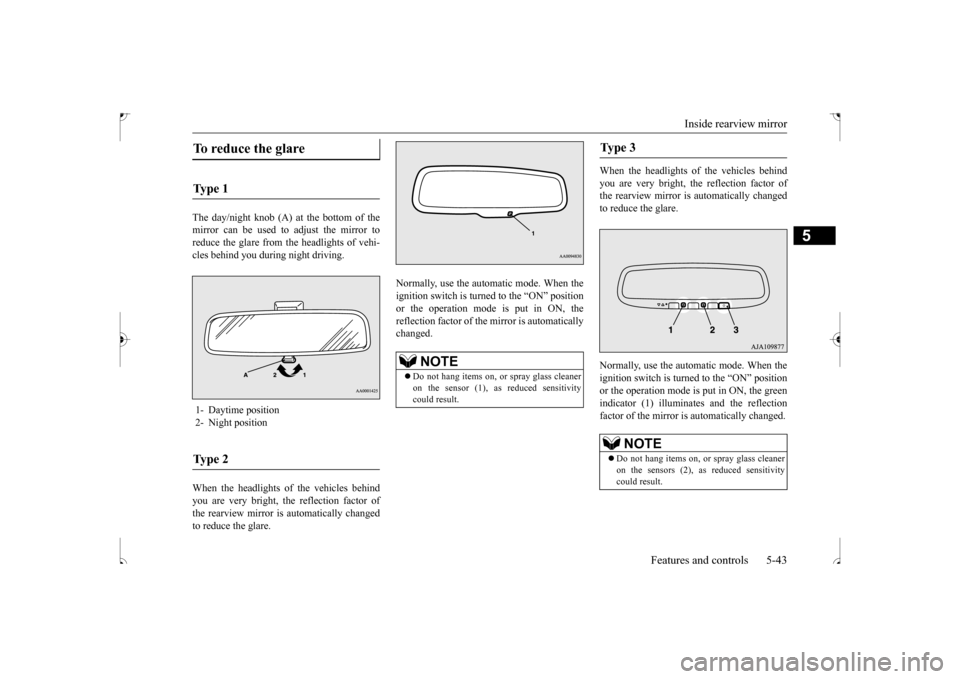
The day/night knob (A) at the bottom of the mirror can be used to adjust the mirror toreduce the glare from the headlights of vehi- cles behind you during night driving. When the headlights of the vehicles behind you are very bright, the reflection factor ofthe rearview mirror is automatically changed to reduce the glare.
Normally, use the automatic mode. When the ignition switch is turned to the “ON” position or the operation mode is put in ON, thereflection factor of the mirror is automatically changed.
When the headlights of the vehicles behind you are very bright, the reflection factor of the rearview mirror is automatically changedto reduce the glare. Normally, use the automatic mode. When the ignition switch is turned to the “ON” position or the operation mode is put in ON, the greenindicator (1) illuminates and the reflectionfactor of the mirror is automatically changed.
To reduce the glare Ty p e 1 1- Daytime position2- Night positionTy p e 2
NOTE
Do not hang items on, or spray glass cleaner on the sensor (1), as reduced sensitivity could result.
Ty p e 3
NOTE
Do not hang items on, or spray glass cleaner on the sensors (2), as reduced sensitivity could result.
BK0239500US.bo
ok 43 ページ 2016年5月13日 金曜日 午前8時53分
Page 110 of 399
Starting the engine
Features and controls 5-47
5
Allows operation of electrical accessories with the engine off. The engine runs and all accessories can be used. Engages the starter. Release the key when the engine starts.It will auto
matically back to the
“ON” position.
N00539601114
After about 30 minutes has elapsed with theignition switch in the “ACC” position, the function automatically cuts out the power for the audio system and other electric devicesthat can be operated with that position. When the ignition switch is turned from the “ACC” position, the power is supplied againto those devices.
N00550900197
1. Set the selector lever to the “P” (PARK) position {continuously variable transmis- sion (CVT)}.2. Turn the key to the “OFF” position and remove it.
N00512601832
[For vehicles equipped with the Free-handAdvanced Security Transmitter (F.A.S.T.- key)]
ACC ON START
NOTE
Your vehicle is equipped with an electronic immobilizer. To start the engine, the ID code which the transponder inside the key sendsmust match the one registered to the immobi- lizer computer. (Refer to “Electronic immo- bilizer” on page 5-23.)
ACC power auto-cutout func- tion
NOTE
It is possible to modify functions as follows: • The time until the power cuts out can be changed to about 60 minutes. • The ACC power auto-cutout function can be deactivated. For details, we recommend you to consult an authorized Mitsubishi Motors dealer.
To remove the key
CAUTION If the engine is stopped while driving, the brake servomechanism will cease to function and braking efficiency will deteriorate. Also, the power steering system will not functionand it will require greater manual effort to operate the steering. Do not leave the key in the “ON” position for a long time when the engine is not running, doing so will cause the battery to be dis-charged. Do not turn the key to the “START” position when the engine is running, doing so could damage the starter motor.
Starting the engine
BK0239500US.bo
ok 47 ページ 2016年5月13日 金曜日 午前8時53分
Page 113 of 399
Manual transaxle (if so equipped) 5-50 Features and controls
5
Press the clutch pedal all the way down and shift into 1st or “R” (Reverse) position. Then gradually release the clutch pedal whiledepressing the accelerator pedal.
N00537400052
Always use care to change the gear with the vehicle speed matched to the engine speed. Proper shifting will improve fuel economyand prolong engine life.
N00512901154
For the best fuel economy and performance inusing your manual transaxle, upshift as listedbelow. At low altitude locations, upshift as listed below. At high altitude locations, upshift as listed below.
NOTE
During cold weather, shifting may be diffi- cult until the transaxle lubricant has warmed up. This is normal and not harmful to the transaxle.
To start
CAUTION Do not move the gearshift lever into reverse while the vehicle is moving forward; doing so will damage the transaxle. Do not rest your foot on the clutch pedal because this will cause premature clutch wear or damage. Do not coast in the “N” (Neutral) position (illegal in many states). Do not use the gearshift lever as a handrest, because this can result in premature wear of the transaxle shift forks.NOTE
If it is hard to shift into 1st, depress the clutch pedal a second time; the shift will then be easier.
To shift into reverse from 5th gear, move the gearshift lever to the “N” (Neutral) position, and then shift it into reverse. The gearshift indicator shows recommended gearshift points for fuel-efficient driving. It shows a “ ” when an upshift is recom-mended, and it shows a “ ” when a down- shift is recommended.
Proper shift points
CAUTION Avoid downshifting that may cause the tachometer pointer to enter the red zone. This puts the engine at risk of being dam- aged.NOTE
Upshifting
Shift point
Upshift speeds
1st gear to 2nd gear 15 mph (24 km/h)2nd gear to 3rd gear 25 mph (40 km/h)3rd gear to 4th gear 40 mph (64 km/h)4th gear to 5th gear 45 mph (72 km/h)
Shift point
Upshift speeds
1st gear to 2nd gear 15 mph (24 km/h)2nd gear to 3rd gear 25 mph (40 km/h)3rd gear to 4th gear 40 mph (64 km/h)4th gear to 5th gear 45 mph (72 km/h)
BK0239500US.bo
ok 50 ページ 2016年5月13日 金曜日 午前8時53分
Page 114 of 399
Continuously variable transmission (CVT) (if so equipped)
Features and controls 5-51
5
N00513000096
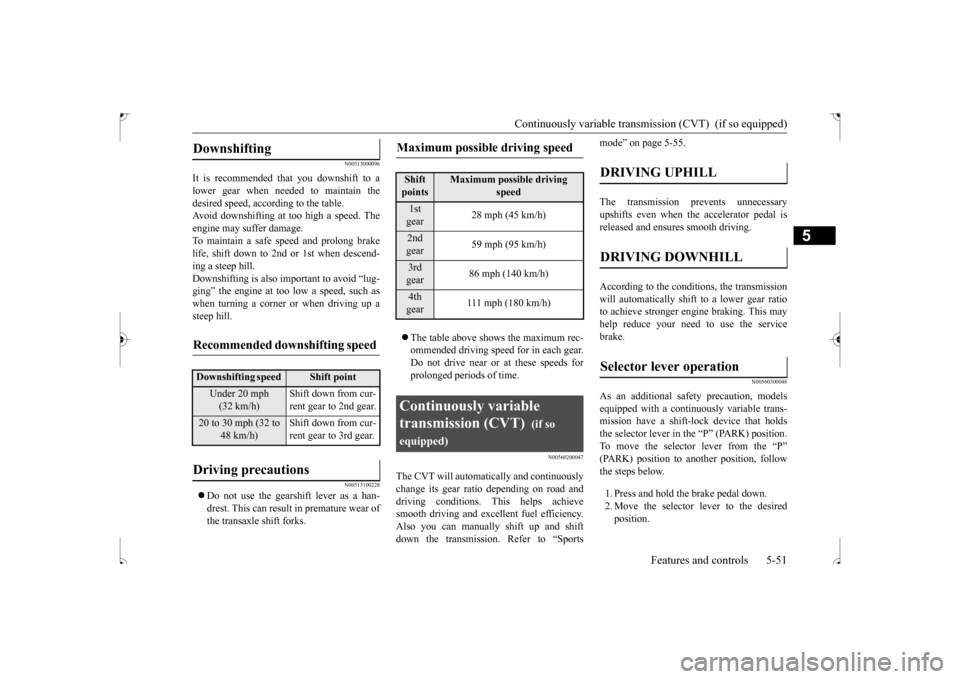
It is recommended that you downshift to a lower gear when needed to maintain thedesired speed, according to the table. Avoid downshifting at too high a speed. The engine may suffer damage.To maintain a safe speed and prolong brake life, shift down to 2nd or 1st when descend- ing a steep hill.Downshifting is also important to avoid “lug-ging” the engine at too low a speed, such as when turning a corner or when driving up a steep hill.
N00513100228
Do not use the gearshift lever as a han- drest. This can result in premature wear ofthe transaxle shift forks.
The table above shows the maximum rec- ommended driving speed for in each gear. Do not drive near or at these speeds for prolonged periods of time.
N00560200047
The CVT will automatically and continuouslychange its gear ratio depending on road anddriving conditions. This helps achieve smooth driving and excellent fuel efficiency. Also you can manually shift up and shiftdown the transmission. Refer to “Sports
mode” on page 5-55. The transmission prevents unnecessary upshifts even when the accelerator pedal isreleased and ensures smooth driving. According to the condi
tions, the transmission
will automatically shift to a lower gear ratioto achieve stronger engine braking. This may help reduce your need to use the service brake.
N00560300048
As an additional safe
ty precaution, models
equipped with a continuously variable trans-mission have a shift-lock device that holds the selector lever in the “P” (PARK) position. To move the selector lever from the “P”(PARK) position to another position, follow the steps below. 1. Press and hold the brake pedal down. 2. Move the selector lever to the desiredposition.
Downshifting
Recommended downshifting speed
Downshifting speed
Shift point
Under 20 mph (32 km/h)
Shift down from cur- rent gear to 2nd gear.
20 to 30 mph (32 to
48 km/h)
Shift down from cur- rent gear to 3rd gear.
Driving precautions
Maximum possible driving speed
Shift points
Maximum possible driving
speed
1st gear
28 mph (45 km/h)
2nd gear
59 mph (95 km/h)
3rd gear
86 mph (140 km/h)
4th gear
111 mph (180 km/h)
Continuously variable transmission (CVT)
(if so
equipped)
DRIVING UPHILL
DRIVING DOWNHILL
Selector lever operation
BK0239500US.bo
ok 51 ページ 2016年5月13日 金曜日 午前8時53分
Page 118 of 399
Continuously variable transmission (CVT) (if so equipped)
Features and controls 5-55
5
Move the lever to this position only after the vehicle has come to a complete stop. At this position, the transmission is disen- gaged. It is the same as the neutral position ona manual transaxle and
should be used when
the vehicle is not moving for an extended length of time during driving, such as in atraffic jam.
This position is used for most city and high- way driving. The transmission will automati- cally and continuously change its gear ratio depending on road and driving conditions.
N00560701078
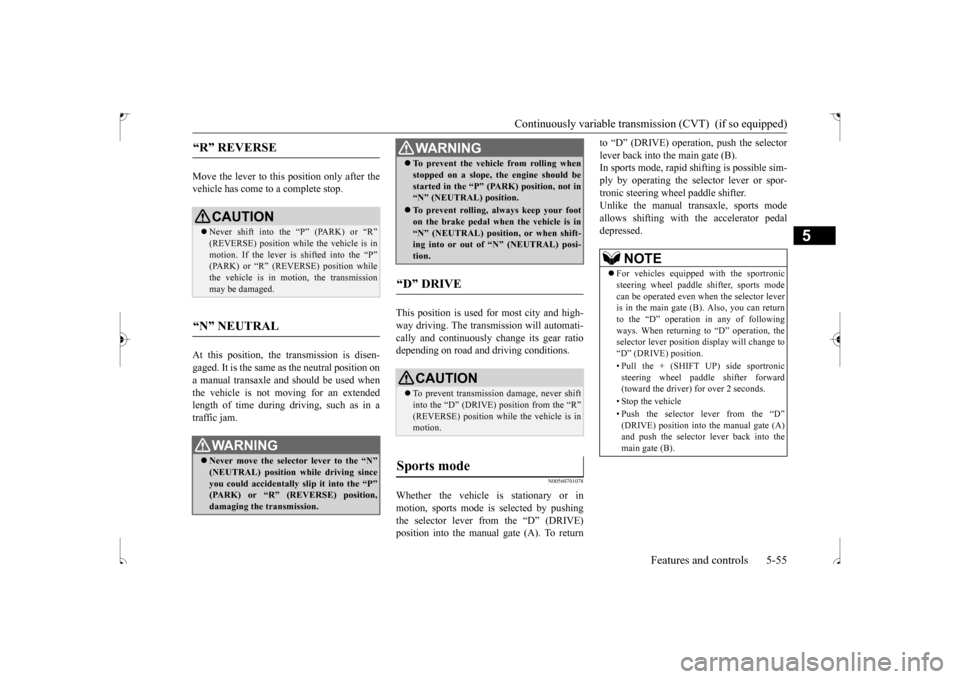
Whether the vehicle is stationary or inmotion, sports mode is selected by pushingthe selector lever from the “D” (DRIVE) position into the manual gate (A). To return
to “D” (DRIVE) operation, push the selector lever back into the main gate (B). In sports mode, rapid sh
ifting is possible sim-
ply by operating the selector lever or spor-tronic steering wheel paddle shifter. Unlike the manual transaxle, sports mode allows shifting with the accelerator pedaldepressed.
“R” REVERSE
CAUTION Never shift into the “P” (PARK) or “R” (REVERSE) position while the vehicle is inmotion. If the lever is shifted into the “P” (PARK) or “R” (REVERSE) position while the vehicle is in motion, the transmissionmay be damaged.
“N” NEUTRAL
WA R N I N G Never move the selector lever to the “N” (NEUTRAL) position while driving since you could accidentally slip it into the “P”(PARK) or “R” (REVERSE) position, damaging the transmission.
To prevent the vehicle from rolling when stopped on a slope, the engine should be started in the “P” (PARK) position, not in “N” (NEUTRAL) position. To prevent rolling, always keep your foot on the brake pedal when the vehicle is in “N” (NEUTRAL) position, or when shift-ing into or out of “N” (NEUTRAL) posi- tion.
“D” DRIVE
CAUTION To prevent transmission damage, never shift into the “D” (DRIVE) position from the “R” (REVERSE) position while the vehicle is inmotion.
Sports mode
WA R N I N G
NOTE
For vehicles equipped with the sportronic steering wheel paddle shifter, sports mode can be operated even when the selector leveris in the main gate (B). Also, you can return to the “D” operation in any of following ways. When returning to “D” operation, theselector lever position display will change to “D” (DRIVE) position. • Pull the + (SHIFT UP) side sportronic steering wheel paddle shifter forward (toward the driver) for over 2 seconds. • Stop the vehicle • Push the selector lever from the “D” (DRIVE) position into the manual gate (A) and push the selector lever back into themain gate (B).
BK0239500US.bo
ok 55 ページ 2016年5月13日 金曜日 午前8時53分
Page 119 of 399
Continuously variable transmis
sion (CVT) (if so equipped)
5-56 Features and controls
5
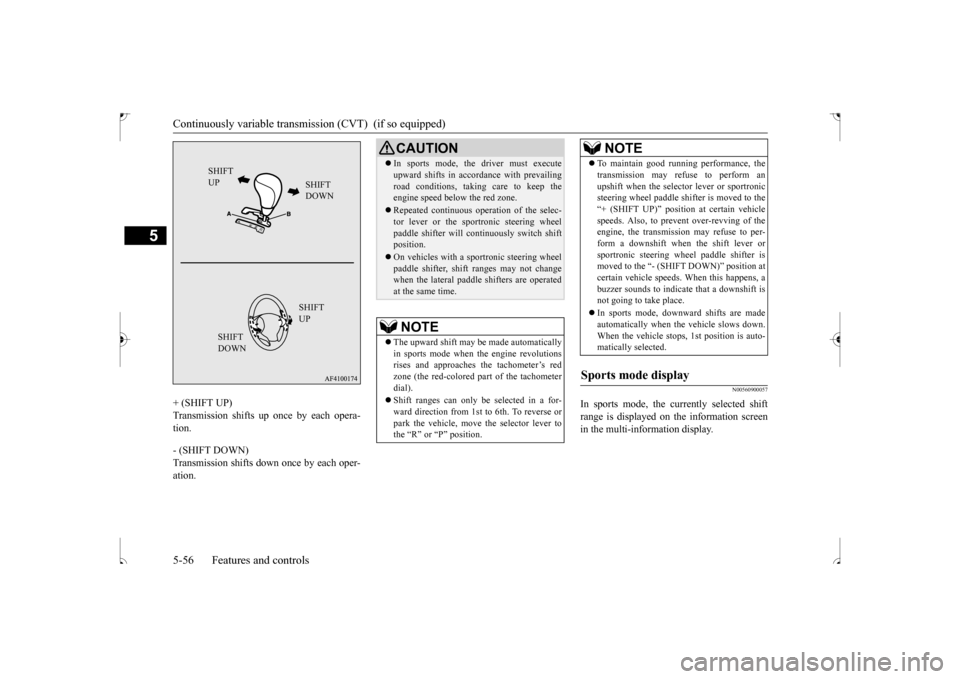
+ (SHIFT UP) Transmission shifts up once by each opera- tion. - (SHIFT DOWN) Transmission shifts down once by each oper-ation.
N00560900057
In sports mode, the currently selected shift range is displayed on the information screen in the multi-information display.
SHIFT UP
SHIFT DOWN SHIFT UP
SHIFT DOWN
CAUTION In sports mode, the driver must execute upward shifts in accordance with prevailing road conditions, taking care to keep the engine speed below the red zone. Repeated continuous operation of the selec- tor lever or the sportronic steering wheel paddle shifter will continuously switch shiftposition. On vehicles with a sportronic steering wheel paddle shifter, shift ranges may not change when the lateral paddle shifters are operated at the same time.NOTE
The upward shift may be made automatically in sports mode when the engine revolutions rises and approaches the tachometer’s redzone (the red-colored part of the tachometer dial). Shift ranges can only be selected in a for- ward direction from 1st to 6th. To reverse or park the vehicle, move the selector lever tothe “R” or “P” position.
To maintain good running performance, the transmission may refuse to perform an upshift when the selector lever or sportronic steering wheel paddle shifter is moved to the “+ (SHIFT UP)” position at certain vehiclespeeds. Also, to prevent over-revving of the engine, the transmission may refuse to per- form a downshift when the shift lever orsportronic steering wheel paddle shifter is moved to the “- (SHIFT DOWN)” position at certain vehicle speeds. When this happens, abuzzer sounds to indicate that a downshift is not going to take place. In sports mode, downward shifts are made automatically when the vehicle slows down. When the vehicle stops, 1st position is auto-matically selected.
Sports mode display
NOTE
BK0239500US.bo
ok 56 ページ 2016年5月13日 金曜日 午前8時53分
Page 147 of 399
Instrument cluster 5-84 Features and controls
5
N00519100259
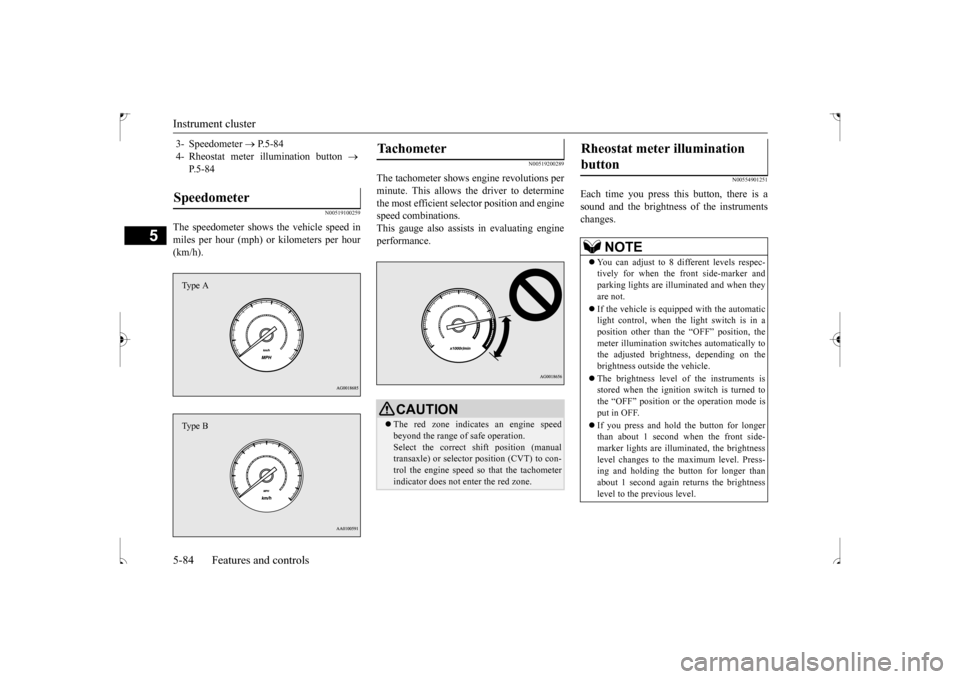
The speedometer shows the vehicle speed in miles per hour (mph) or kilometers per hour (km/h).
N00519200289
The tachometer shows engine revolutions perminute. This allows the driver to determinethe most efficient selector position and engine speed combinations. This gauge also assists in evaluating engineperformance.
N00554901251
Each time you press this button, there is asound and the brightness of the instruments changes.
3- Speedometer
P.5-84
4- Rheostat meter illumination button
P.5-84
Speedometer Type AType B
Tachometer
CAUTION The red zone indicates an engine speed beyond the range of safe operation. Select the correct shift position (manual transaxle) or selector position (CVT) to con-trol the engine speed so that the tachometer indicator does not enter the red zone.
Rheostat meter illumination button
NOTE
You can adjust to 8 different levels respec- tively for when the front side-marker and parking lights are illuminated and when they are not. If the vehicle is equipped with the automatic light control, when the light switch is in aposition other than the “OFF” position, the meter illumination switches automatically to the adjusted brightness, depending on thebrightness outside the vehicle. The brightness level of the instruments is stored when the ignition switch is turned to the “OFF” position or the operation mode is put in OFF. If you press and hold the button for longer than about 1 second when the front side-marker lights are illuminated, the brightness level changes to the maximum level. Press- ing and holding the button for longer than about 1 second again returns the brightness level to the previous level.
BK0239500US.bo
ok 84 ページ 2016年5月13日 金曜日 午前8時53分