Page 209 of 230
Legend (precipitation radar and storms)
XDisplay the menu on the weather map (Ypage 202).
XTo selectView: turn and press the controller.
XSelectLegend.
iThe symbol for a tornadic storm is also valid for a cyclone (mesocyclone).
Precipitation typeColor scale
Rain11 shades from light (light green) to heavy (red)
MixedLight (light violet) to heavy (violet)
SnowLight (light turquoise) to heavy (turquoise)
Time stamp
The time stamp shows when the weather data was created by the weather station.
A time stamp corresponds to the time at the vehicle's current position. The changeover from sum-
mer time to standard time is performed automatically.
XDisplay the menu on the weather map (Ypage 202).
XTo select View: turn and press the controller.
XSelectTime Stamp.
Changing to the information chart
XDisplay the menu on the weather map (Ypage 202).
XTo select Weather Table: turn and press the controller.
SIRIUS Weather207
SIRIUS Weather
Page 210 of 230

Storm watch areas
Storm watch areas for which there are storm advisories are displayed as red areas on the weather
map.
Activating/deactivating the display of areas in red:
XTo call up the menu from the weather map display: press the controller.
XTo selectView: turn and press the controller.
The list of display levels appears.
XSelect Storm Watch.
XSelectShow Symbols for Storm Areas On Map.
Depending on the previous setting, activate Oor deactivate ªthe display of areas in red.
Activating/deactivating the automatic display of warning popups:
XSelect Display Storm Watch Automatically.
Depending on the previous setting, activate Oor deactivate ªthe automatic display of warning
popups.
Setting the radius for the popups:
XSelect 5 Miles(5 km),50 Miles(50 km) or 200 Miles(200 km).
Storm overviewDisplaying the Storm Guide:
XDisplay the menu on the weather map
(Ypage 202).
XTo select Guide: turn and press the controller.
A menu appears. The current storm is high-
lighted. There is information about the storm
in the status bar.
XTo select Next: turn and press the controller.
The next storm is marked.
XSelect Previous.
The previous storm is highlighted.
Showing storm details:
XSelect Details.
You see detailed information about the selec-
ted storm.
208SIRIUS Weather
SIRIUS Weather
Page 211 of 230

Your multimediasystem equipment
These operating instructions describe all the
standard and optional equipment of your multi-
media system, as available at the time of going
to press. Country-specifi cdifferences are pos-
sible. Bear in mind that your vehicle may not
feature all functions described here. This also
applies to safety-relevant systems andfunc-
tions.
Read the information on qualified specialist
workshop s in the vehicle Operator's Manual.
Rear Seat Entertainment System
overview
Important safety notes
GWARNING
The CD/DVD drive is a class1 laser product.
If you ope nth e housing of the CD/DVD drive,
there is a risk of exposure to invisible laser
radiation. This laser radiation could damage
your retina. There is a risk of injury.
Never open the housing. Always have main-
tenanc e and repair work carried out at a quali-
fied specialist workshop.
GWARNING
If objects such as headphones/headsets or
external audio/video sources are not secured
in the passenger compartment, they can be
flung around and hit vehicle occupants. There
is a risk of injury, fo r example in the event of
sudden braking or a sudden change in direc-
tion .
Always stow these items or similar objects
carefully so that they cannot be flung around,
fo r example in a lockable vehicle stowage
compartment.
Components
The Rear Seat Entertainment System includes:
Rtwoscreens fo rth e rear behind the front-seat
head restraints
Rtw oremot econtrols fo rth e rear compart -
ment
Ra CD/DVD drive in th e rearcompartmen t
RAUXjack s
RtwoUS B ports
Rtwo sets of cordless headphones
General notes
RYou can only adjust the volume forth e head-
phone s supplied, directly on the headphones.
RIf media from differentsources are used,they
can be used separately from each of theoper-
ating positions. Example: a film from theDV D
drive is played on the rear right-hand operat-
ing position. This means that another film
from th e same DVDcanno t be played sepa-
rately on the rear left-hand operating position. However, all other media sources (e.g. radio,
Media Interface ) or the online and Internet
function s can be used.
RIf you use th e same medium on both sides,
you can both carry out the respective set-
tings. The "last one wins" principle applies
here, i.e. the last setting activated is favored.
RThe Internet can be used separately at all
operating positions.
RThe Internet can only be used if it is set up and
connecte d via a telephone(Ypage 142).
Rear-compartment screens
:Display
;Brightness sensor
Rear Seat Entertainment System overview209
Rear Seat Entertainment System
Z
Page 212 of 230

=Switches the display on/off
?Socket for headphones
Setting the display angle
XPress the CAR button on the remote control.
XPress the :button on the remote control.
XUsing the =Ì buttons on the remote
control, select Displayand confirm by press-
ing 9.
XSelect Tilt Display.
XSelectUpwardorDownward.
The display tilts upward or downward.
Remote control
Overview
:Selects main menus
;Selects the screen for the remote control
=Selector wheel for selecting menus, radio
stations, music tracks and chapters
?Buttons for selecting menus
ADeletes an entry
BSkip-back function, fast forward/rewind,
start/pause, menu selection, radio stations,
music tracks and chapters
CDirect selection of radio stations, music
tracks and chapters using the number key-
pad
DVolume, switches sound on/off (for corded
headphones)
EBack button
FConfirms a selection
GIndicator lamp
HSwitches the screen on/off
iTwo remote controls are supplied for the US
and Canadian markets.
Selecting the screen for the remote con-
trol
You can use the remote control to operate one
of the two rear screens at a time. To do so, you
must switch the remote control to the desired
screen.
XTo select the left-hand screen: turn thumb-
wheel :until " LREAR" appears in the win-
dow.
XTo select the right-hand screen: turn the
thumbwheel until "REAR R" appears in the
window.
XTo select the COMAND screen: turn thumb-
wheel :until "COMAND" appears in the win-
dow.
Please be aware that using the thumbwheel to
select screens may cause unwanted changes to
the screens of your occupants.
Up to four remote controls can be used in the
vehicle at the same time.
210Rear Seat Entertainment System overview
Rear Seat Entertainment System
Page 213 of 230

Switching the screen on/off
The switched-on rear compartment screens
switch off after 30 minutes if:
Rthe SmartKey is in position0or 1in the igni-
tion lock
Rthe SmartKey is not inserted
Before the screens switch off, they show a mes-
sage to this effect.
You can switch the screens back on. Please note
that this may cause the starter battery to dis-
charge.
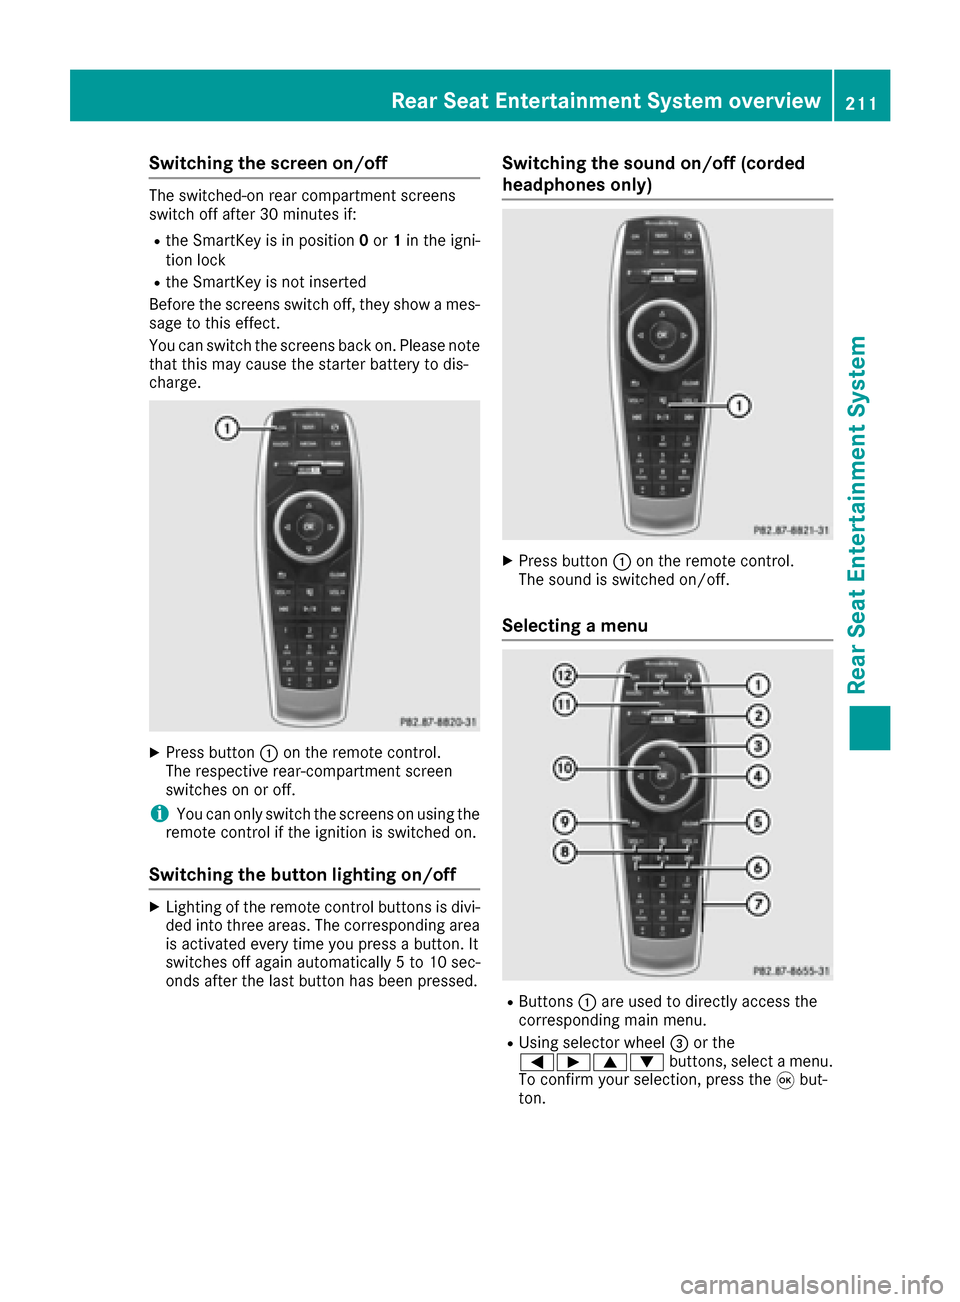
XPress button :on the remote control.
The respective rear-compartment screen
switches on or off.
iYou can only switch the screens on using the
remote control if the ignition is switched on.
Switching the button lighting on/off
XLighting of the remote control buttons is divi-
ded into three areas. The corresponding area
is activated every time you press a button. It
switches off again automatically 5 to 10 sec-
onds after the last button has been pressed.
Switching the sound on/off (corded
headphones only)
XPress button :on the remote control.
The sound is switched on/off.
Selecting a menu
RButtons :are used to directly access the
corresponding main menu.
RUsing selector wheel =or the
=Ì9: buttons, select a menu.
To confirm your selection, press the 9but-
ton.
Rear Seat Entertainment System overview211
Rear Seat Entertainment System
Z
Page 214 of 230

Indicator lamp on the remote control
The color of the indicator lamp shows whether
or notthe entry has been correctly transmitted
every time you press a button. It also shows the
condition of the inserted batteries.
LED dis-
playStatus
Green
(flashes
once)Entr y being transmitted.
The batteries are fine.
Red
(flashes
once)Entr y being transmitted.
The batteries are almost dis-
charged.
Orang e
(flashes
three
times )Entryno tcorrectl ytransmitted.
UnlitThe batteries are discharged.
iThe function of the remote control may be
impaired by other radio-based electronic
devices such as mobile phones or laptops.
Operation via smartphone
:Skip back button for selected rear compart- ment displays
;To select and display active rear compart-
ment displays
=Controller
?Remote control men u bar
ATo skip forward
BTo increasethe volume in the vehicle interior
CTo reduce the volume in the vehicle interior
DTo show the number or alphabetical keypad
ETo skip back
FTo start/pause
You can also operate the Rear Seat Entertain-
ment System usingasmartphone.
In order to be able to use this function, you will
need to download an app from Google Play™
(Android) or the AppStore
®(iOS) and install this
on your smartphone.
Information on connecting and using smart-
phones with the multimedia system can be
found in the app description in Google Play™
(Android) or in the AppStore
®(iOS).
212Rear Seat Entertainment System overview
Rear Seat Entertainment System
Page 215 of 230
CD/DVD drive
:CD/DVD slot
;CD/DVD eject button
Depending on the vehicle model and equipment
level, the CD/DVD drive is found:
Rat the rear of the center console under the
automatic climate control panel or
Rbetween the parcel shelf and skibag
AUX jacks
:AUX, right-hand (R) jack for audio signal
(red)
;AUX, left-hand (L) jack for audio signal
(white)
=AUX, video (V) jack (yellow) Depending on the vehicle model and equipment
level, the AUX jacks are found:
Rin the stowage box between the rear seats or
Rin the rear-compartment armrest
USB ports
:USB port 1
;USB port 2
Depending on the vehicle model and equipment
level, the USB ports are found:
Rin the stowage box between the rear seats or
Rin the rear-compartment armrest
Rear Seat Entertainment System overview213
Rear Seat Entertainment System
Z
Page 216 of 230

Cordless headphones
Overview
XTo adjust the headphones: open both sides of the headphones.
XAdjust the headphones by pulling the headphone band in the direction of the arrow.
XTo switch the headphones on/off: press on/off switch;.
XTo adjust the volume: turn volume control=until the desired volume is set.
or
XIf you have connected corded headphones to a rear-compartment screen, you can adjust the
volume using the remote control (Ypage 210).
XTo check the battery condition of charge: check the state of the batteries using indicator
lamp :.
The headphones automatically switch off if they have not received an audio signal for approximately
three minutes. This preserves the batteries.
Indicator lamp on the cordless head-
phones
The color of the indicator lamp shows:
Rwhether the device is switched on or off
Rthe condition of the inserted batteries
LED dis-
playStatus
GreenThe batteries are fine.
RedThe batteries are almost dis-
charged.
Lit continu-
ouslyThe headphones are switched
on and connected to a screen.
LED dis-
playStatus
FlashingThe headphones are searching
for the connection to a screen.
No display
(dark)The headphones are switched
off or the batteries are dis-
charged.
iThe function of the headphones may be
impaired by other radio-based electronic
devices such as mobile phones or laptops.
214Rear Seat Entertainment System overview
Rear Seat Entertainment System