2017 MERCEDES-BENZ GLA SUV service reset
[x] Cancel search: service resetPage 8 of 369
Anti-lock braking system
see ABS (Anti-lock Braking System)
Anti-skid chains
see Snow chains
Anti-Theft Alarm system
see ATA (Anti-Theft Alarm system)
Anticipatory occupant protection
see PRE-SAFE ®
(anticipatory
occupant protection)
Approach/departure angle .............. 175
Aquaplaning ...................................... .172
Ashtray ............................................... 298
Assistance display (on-board com-
puter) ................................................. .226
Assistance menu (on-board com-
puter) ................................................. .226
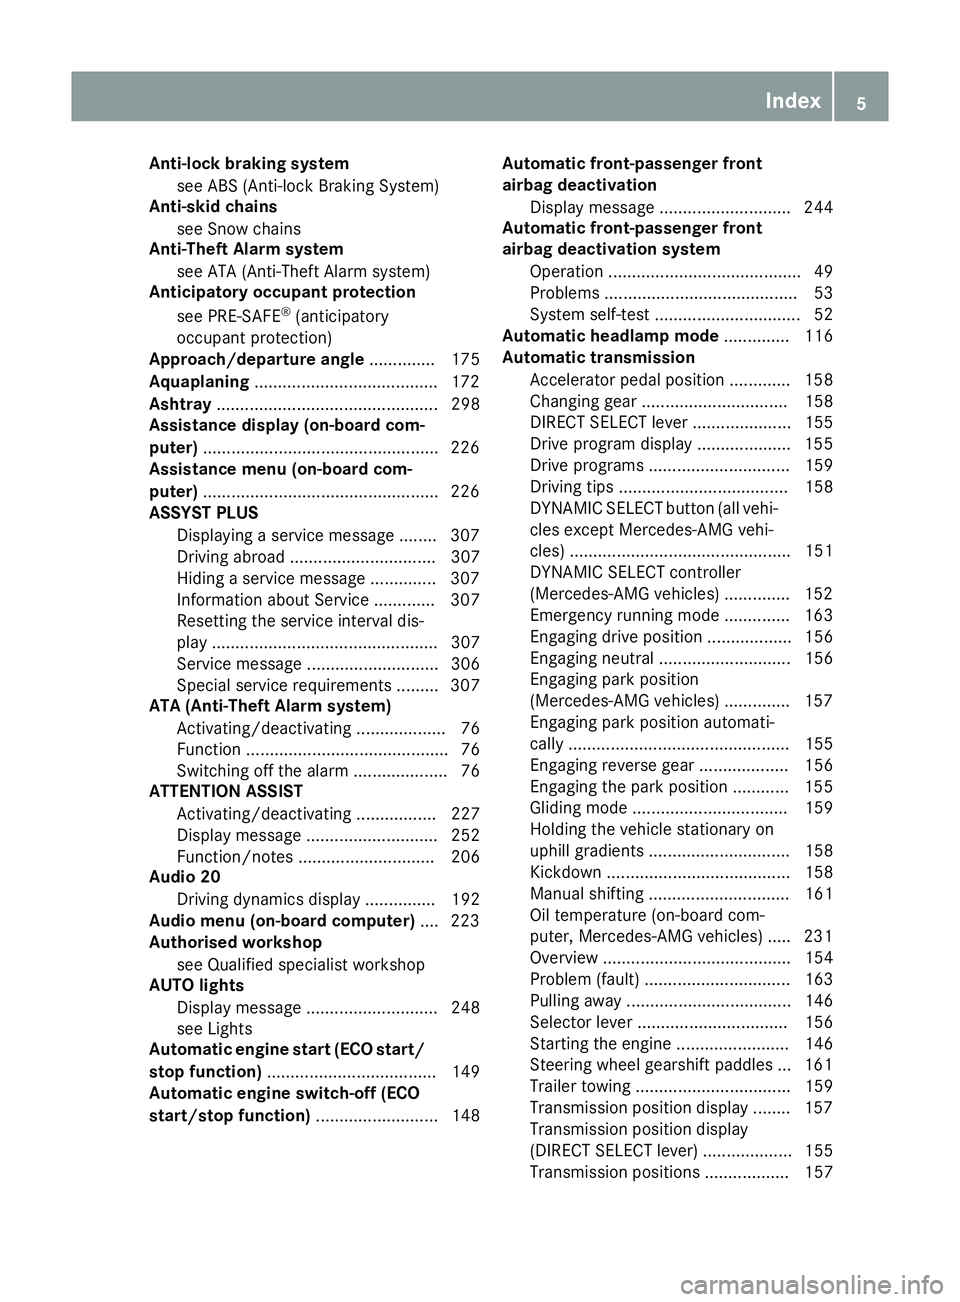
ASSYST PLUS
Displaying a service message ....... .307
Driving abroad ............................... 307
Hiding a service message .............. 307
Information about Service ............. 307
Resetting the service interval dis-
pla y................................................ 307
Service message ............................ 306
Special service requirements ......... 307
ATA (Anti-Theft Alarm system)
Activating/deactivating ................... 76
Function ........................................... 76
Switching off the alarm .................... 76
ATTENTION ASSIST
Activating/deactivating ................. 227
Display message ............................ 252
Function/note s............................. 206
Audio 20
Driving dynamics display ............... 192
Audio menu (on-board computer) .... 223
Authorised workshop
see Qualified specialist workshop
AUTO lights
Display message ............................ 248
see Lights
Automatic engine start (ECO start/
stop function) .................................... 149
Automatic engine switch-off (ECO
start/stop function) .......................... 148 Automatic front-passenger front
airbag deactivation
Display message ............................ 244
Automatic front-passenger front
airbag deactivation system
Operation ......................................... 49
Problems ......................................... 53
System self-test ............................... 52
Automatic headlamp mode .............. 116
Automatic transmission
Accelerator pedal position ............. 158
Changing gear ............................... 158
DIRECT SELECT lever ..................... 155
Drive program display .................... 155
Drive programs .............................. 159
Driving tip s.................................... 158
DYNAMIC SELECT button (all vehi- cles except Mercedes-AMG vehi-
cles) ............................................... 151
DYNAMIC SELECT controller
(Mercedes-AMG vehicles) .............. 152
Emergency running mode .............. 163
Engaging drive position .................. 156
Engaging neutral ............................ 156
Engaging park position
(Mercedes-AMG vehicles) .............. 157
Engaging park position automati-
cally ............................................... 155
Engaging reverse gear ................... 156
Engaging the park position ............ 155
Gliding mod e................................. 159
Holding the vehicle stationary on
uphill gradients .............................. 158
Kickdown ....................................... 158
Manual shifting .............................. 161
Oil temperature (on-board com-
puter, Mercedes-AMG vehicles) ..... 231
Overview ........................................ 154
Problem (fault) ............................... 163
Pulling away ................................... 146
Selector lever ................................ 156
Starting the engine ........................ 146
Steering wheel gearshift paddle s... 161
Trailer towing ................................. 159
Transmission position display ........ 157
Transmission position display
(DIRECT SELECT lever) ................... 155
Transmission positions .................. 157 Index
5
Page 22 of 369
Folding the backrest (rear com-
partment) forwards/back .............. 292
Seat belt
Correct usage .................................. 44
Switching belt adjustment on/off
(on-board computer) ...................... 231
Seat belts
Adjusting the driver's and front-
passenger seat bel t......................... 45
Adjusting the height ......................... 45
Cleaning ......................................... 313
Display message ............................ 242
Fastening ......................................... 45
Important safety guidelines ............. 43
Introduction ..................................... 43
Rear seat belt status indicator ......... 46
Releasing ......................................... 45
Warning lamp ................................. 265
Warning lamp (function) ................... 46
Seats
Adjusting (electrically) ................... 108
Adjusting (manually) ...................... 107
Adjusting the 4-way lumbar sup-
port ................................................ 110
Adjusting the head restraint .......... 108
Cleaning the cover ......................... 313
Important safety notes .................. 106
Seat heating problem .................... 111
Storing settings (memory func-
tion) ............................................... 115
Switching seat heating on/of f....... 110
Securing a load .................................. 293
Securing luggage ............................... 293
Selecting a gear
see Automatic transmission
Selector lever
Cleaning ......................................... 313
Sensors (cleaning instructions) ....... 311
Service Centre
see Qualified specialist workshop
Service menu (on-board com-
puter) .................................................. 228
Service message
see ASSYST PLUS
Service products
Brake fluid ..................................... 356
Coolant (engine) ............................ 356
Engine oil ....................................... 355 Fuel ................................................ 352
Important safety notes .................. 352
Washer fluid ................................... 357
Setting a speed
see Cruise control
Setting the air distribution ............... 133
Setting the airflow ............................ 134
Setting the date/time format
See also Digital Owner's Manua l... 277
Setting the language
See also Digital Owner's Manua l... 277
Setting the time
See also Digital Owner's Manua l... 277
Settings
Factory (on-board computer) ......... 231
On-board computer ....................... 228
SETUP (on-board computer,
Mercedes-AMG vehicles) .................. 232
Shifting to neutral (manual trans-
mission) ............................................. 153
Side lamps
Switching on/of f........................... 117
Side windows
Convenience closing ........................ 99
Convenience opening ...................... 98
Important safety notes .................... 97
Opening/closing .............................. 98
Problem (malfunction) ................... 100
Resetting ....................................... 100
Reversing feature ............................. 98
Sidebag ................................................ 48
SIM card
Inserting ........................................ 284
Sliding sunroof
see Panorama sliding sunroof
SMS
See also Digital Owner's Manua l... 277
Snow chains ...................................... 337
Socket
Luggage compartment ................... 299
Sockets
Centre console .............................. 299
General notes ................................ 299
Rear compartment ......................... 299
Sound
Switching on/of f........................... 278 Index
19
Page 25 of 369
Traction system
see ETS/4ETS (Electronic Trac-
tion System)
Traffic Sign Assist
Activating ....................................... 208
Activating/deactivating the warn-ing function .................................... 226
Display message ............................ 254
Function/note s............................. 207
Important safety notes .................. 208
Instrument cluster display ............. 208
Trailer
Folding the ball coupling in/out ..... 214
Trailer coupling
see Towing a trailer
Trailer towing
7-pin connecto r............................. 216
Blind Spot Assist ............................ 210
Cleaning the trailer tow hitch ......... 312
Coupling up a traile r...................... 215
Decoupling a traile r....................... 215
Driving tips .................................... 213
Folding in the ball coupling ............ 215
Folding out the ball coupling .......... 214
Important safety notes .................. 212
Lights display message .................. 246
Power supply ................................. 215
Trailer load s................................... 359
Transmission
see Automatic transmission
see Manual transmission
Transmission position display
(DIRECT SELECT lever) ...................... 155
Transporting the vehicle .................. 330
Travelling uphill
Brow of hill ..................................... 175
Driving downhill ............................. 176
Maximum gradient-climbing capa-
bility ............................................... 175
Trim pieces (cleaning instruc-
tions) .................................................. 313
Trip computer (on-board com-
puter) .................................................. 221
Trip meter
Calling up ....................................... 221
Resetting (on-board computer) ...... 222
Turn signal lamp
Replacing bulbs (rear) .................... 123 Turn signals
Replacing bulbs (front) ................... 122
Switching on/of f........................... 118
TV
Operating (on-board computer) ..... 224
see Separate operating instructions
Two-way radio
Frequencies ................................... 350
Installation ..................................... 350
Transmission output (maximum) .... 350
Type identification plate
see Vehicle identification plate
Tyre inflation compressor
see TIREFIT kit
Tyre pressure
Calling up (on-board computer) ..... 340
Display message ............................ 256
Not reached (TIREFIT) .................... 321
Reached (TIREFIT) .......................... 321
Recommended ............................... 337
Tyre pressure loss warning
General notes ................................ 339
Important safety notes .................. 339
Restarting ...................................... 339
Tyre pressure monitor
Checking the tyre pressure elec-
tronically ........................................ 340
Function/note s............................. 340
General notes ................................ 340
Important safety notes .................. 340
Radio type approval for the tyre
pressure monitor ........................... 342
Restarting ...................................... 341
Warning lamp ................................. 276
Warning message .......................... 341
Tyres
Changing a whee l.......................... 342
Checking ........................................ 334
Direction of rotation ...................... 343
Display message ............................ 256
General notes ................................ 347
Important safety notes .................. 334
Information on driving .................... 334
M+S tyres ...................................... 336
MOExtended tyre s......................... 336
Replacing ....................................... 342
Service life ..................................... 335
Storing ........................................... 343 22
Index
Page 310 of 369
oil level. Observe the notes on the engine oil
level (Y
page 304).
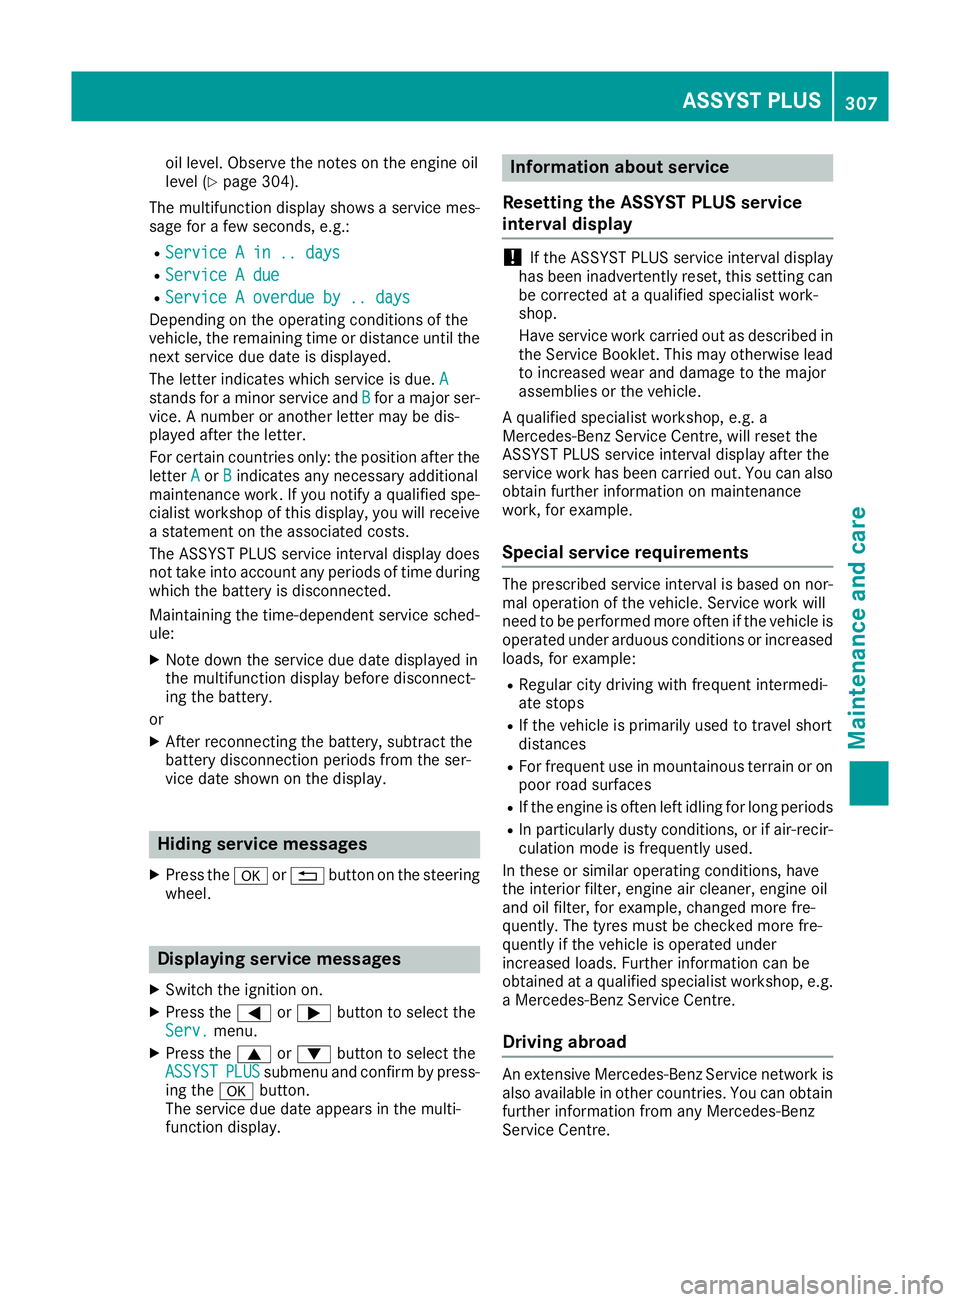
The multifunction display shows a service mes-
sage for a few seconds, e.g.:
R Service A in .. days Service A in .. days
R Service A due
Service A due
R Service A overdue by .. days
Service A overdue by .. days
Depending on the operating conditions of the
vehicle, the remaining time or distance until the
next service due date is displayed.
The letter indicates which service is due. A A
stands for a minor service and B
Bfor a major ser-
vice. A number or another letter may be dis-
played after the letter.
For certain countries only: the position after the
letter A Aor B
Bindicates any necessary additional
maintenance work. If you notify a qualified spe-
cialist workshop of this display, you will receive a statement on the associated costs.
The ASSYST PLUS service interval display does
not take into account any periods of time during
which the battery is disconnected.
Maintaining the time-dependent service sched-
ule:
X Note down the service due date displayed in
the multifunction display before disconnect-
ing the battery.
or
X After reconnecting the battery, subtract the
battery disconnection periods from the ser-
vice date shown on the display. Hiding service messages
X Press the aor% button on the steering
wheel. Displaying service messages
X Switch the ignition on.
X Press the =or; button to select the
Serv. Serv. menu.
X Press the 9or: button to select the
ASSYST
ASSYST PLUS
PLUSsubmenu and confirm by press-
ing the abutton.
The service due date appears in the multi-
function display. Information about service
Resetting the ASSYST PLUS service
interval display !
If the ASSYST PLUS service interval display
has been inadvertently reset, this setting can
be corrected at a qualified specialist work-
shop.
Have service work carried out as described in the Service Booklet. This may otherwise lead
to increased wear and damage to the major
assemblies or the vehicle.
A qualified specialist workshop, e.g. a
Mercedes-Benz Service Centre, will reset the
ASSYST PLUS service interval display after the
service work has been carried out. You can also
obtain further information on maintenance
work, for example.
Special service requirements The prescribed service interval is based on nor-
mal operation of the vehicle. Service work will
need to be performed more often if the vehicle is
operated under arduous conditions or increased loads, for example:
R Regular city driving with frequent intermedi-
ate stops
R If the vehicle is primarily used to travel short
distances
R For frequent use in mountainous terrain or on
poor road surfaces
R If the engine is often left idling for long periods
R In particularly dusty conditions, or if air-recir-
culation mode is frequently used.
In these or similar operating conditions, have
the interior filter, engine air cleaner, engine oil
and oil filter, for example, changed more fre-
quently. The tyres must be checked more fre-
quently if the vehicle is operated under
increased loads. Further information can be
obtained at a qualified specialist workshop, e.g.
a Mercedes-Benz Service Centre.
Driving abroad An extensive Mercedes-Benz Service network is
also available in other countries. You can obtain further information from any Mercedes-Benz
Service Centre. ASSYST PLUS
307Maintenance and care Z
Page 327 of 369
In order for the battery to achieve the maximum
possible service life, it should always be suffi-
ciently charged.
Like other batteries, the vehicle battery may
discharge over time if you do not use the vehicle. In such cases, have the battery disconnected at
a qualified specialist workshop. However, you
can also charge the battery with a charger rec-
ommended by Mercedes-Benz. For more infor-
mation, please contact a qualified specialist
workshop.
Have the battery charge checked more fre-
quently if you use the vehicle mainly for short
trips or if you leave it standing idle for an exten- ded period. Consult a qualified specialist work-
shop if you wish to leave your vehicle parked up
for a long period of time.
When you park the vehicle, remove the key if you do not require any electrical consumers. The
vehicle will then use very little energy, thus con- serving battery power.
If the power supply has been interrupted, e.g. if
the battery was discharged, you will have to:
R set the clock using the multimedia system;
see the separate operating instructions
R reset the function for folding the exterior mir-
rors in/out automatically, by folding the mir-
rors out once (Y page 113) Charging the battery
G
WARNING
During charging and jump-starting, explosive
gases can escape from the battery. There is a risk of an explosion.
Particularly avoid fire, naked flames, creating
sparks and smoking. Ensure there is sufficient
ventilation while charging and jump-starting.
Do not lean over a battery. G
WARNING
Battery acid is caustic. There is a risk of injury. Avoid contact with the skin, eyes or clothing.
Do not breathe in any battery gases. Do not
lean over the battery. Keep the batteries out of the reach of children. Immediately rinse off
battery acid thoroughly with plenty of clean
water and seek medical attention at once. G
WARNING
A discharged battery can freeze at tempera-
tures below freezing point. When jump-start-
ing the vehicle or charging the battery, gases can escape from the battery. There is a risk of
an explosion.
Allow the frozen battery to thaw out before
charging it or jump-starting.
! Only use battery chargers with a maximum
charging voltage of 14.8 V.
! Only charge the battery using the jump-start
connection point.
The jump-starting connection point is in the
engine compartment (Y page 325).
X Open the bonnet.
X Connect the battery charger to the positive
terminal and earth point in the same order as
when connecting the donor battery in the
jump-starting procedure (Y page 325).
If the indicator/warning lamps do not light up in
the instrument cluster at low temperatures, it is very likely that the discharged battery has fro-
zen. In this case, you may neither jump-start the vehicle nor charge the battery. The service life of
a battery that has been thawed may be reduced. The starting characteristics may be impaired,
especially at low temperatures. Have the
thawed battery checked at a qualified specialistworkshop.
Only charge the installed battery with a battery
charger which has been tested and approved by Mercedes-Benz. A battery charger unit specially
adapted for Mercedes-Benz vehicles and tested and approved by Mercedes-Benz is available as
an accessory. This device permits charging of
the battery while it is installed. Contact a
Mercedes-Benz Service Centre for information
and availability. Read the battery charger's
operating instructions before charging the bat-
tery. 324
Battery (vehicle)Breakdown assistance