2017 MERCEDES-BENZ CLS-Class turn signal
[x] Cancel search: turn signalPage 70 of 206

XTo switch to navigation mode:press the
ß button.
XTo show the menu: slide6the controller.
XTo select Options: turn and press the con-
troller.
XSelect Personal POIs.
XSelectDisplay on the Map.
The menu displays the categories available on
the SD memory card.
XTo select a category: turn the controller and
press to confirm.
All personal POIs in the selected category are
displayed Oor not displayed ª, depending
on the previous status.
Alert when approaching
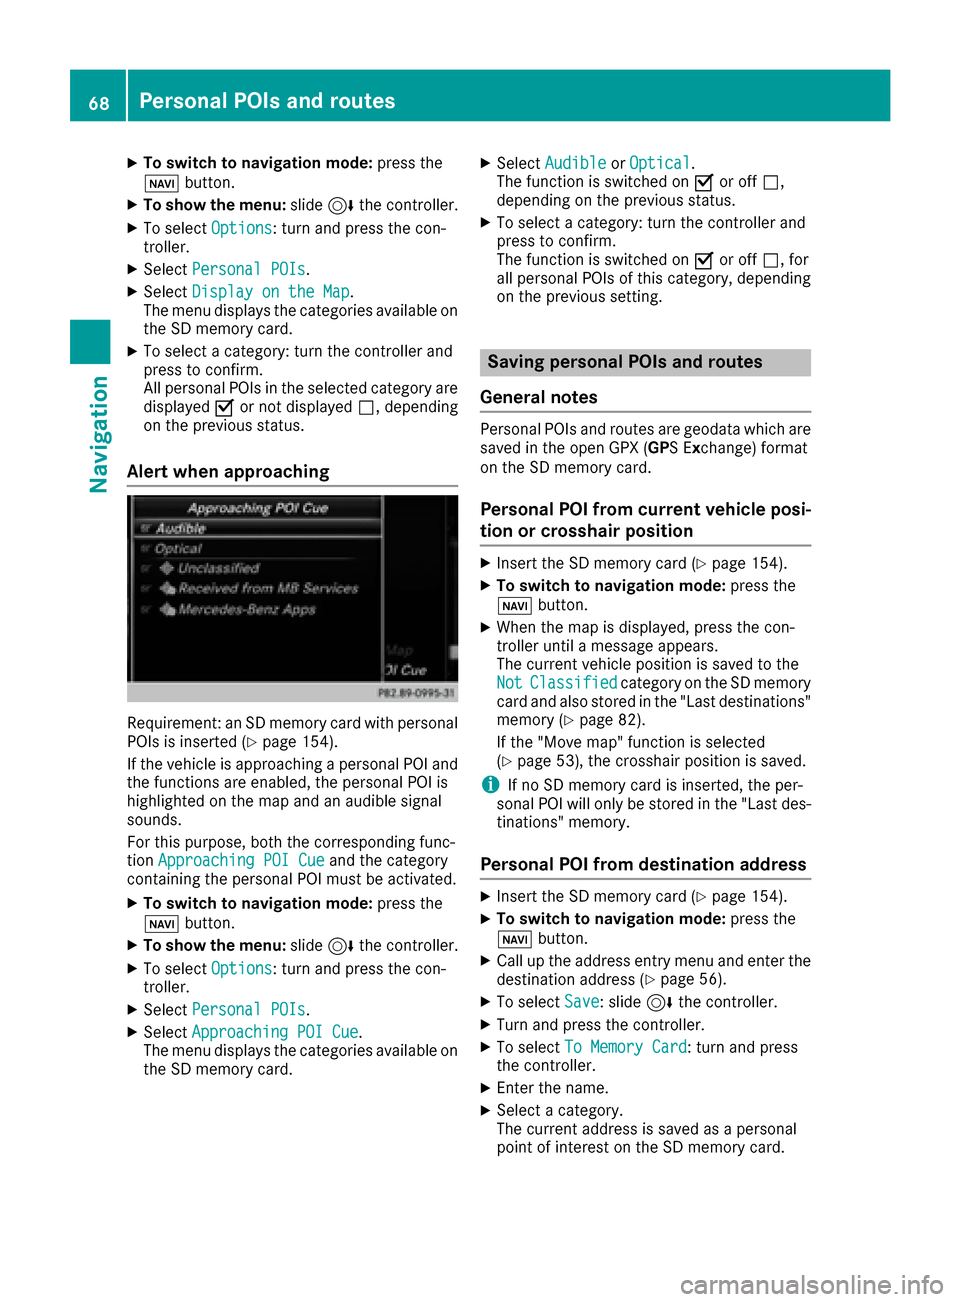
Requirement: an SD memory card with personal
POIs is inserted (Ypage 154).
If the vehicle is approaching a personal POI and
the functions are enabled, the personal POI is
highlighted on the map and an audible signal
sounds.
For this purpose, both the corresponding func-
tion Approaching POI Cue
and the category
containing the personal POI must be activated.
XTo switch to navigation mode: press the
ß button.
XTo show the menu: slide6the controller.
XTo select Options: turn and press the con-
troller.
XSelect Personal POIs.
XSelectApproaching POI Cue.
The menu displays the categories available on
the SD memory card.
XSelect AudibleorOptical.
The function is switched on Oor off ª,
depending on the previous status.
XTo select a category: turn the controller and
press to confirm.
The function is switched on Oor off ª, for
all personal POIs of this category, depending
on the previous setting.
Saving personal POIs and routes
General notes
Personal POIs and routes are geodata which are
saved in the open GPX ( GPS Ex change) format
on the SD memory card.
Personal POI from current vehicle posi-
tion or crosshair position
XInsert the SD memory card (Ypage 154).
XTo switch to navigation mode: press the
ß button.
XWhen the map is displayed, press the con-
troller until a message appears.
The current vehicle position is saved to the
Not
Classifiedcategory on the SD memory
card and also stored in the "Last destinations" memory (
Ypage 82).
If the "Move map" function is selected
(
Ypage 53), the crosshair position is saved.
iIf no SD memory card is inserted, the per-
sonal POI will only be stored in the "Last des-
tinations" memory.
Personal POI from destination address
XInsert the SD memory card (Ypage 154).
XTo switch to navigation mode: press the
ß button.
XCall up the address entry menu and enter the
destination address (Ypage 56).
XTo select Save: slide6the controller.
XTurn and press the controller.
XTo select To Memory Card: turn and press
the controller.
XEnter the name.
XSelect a category.
The current address is saved as a personal
point of interest on the SD memory card.
68Personal POIs and routes
Navigation
Page 117 of 206

Speed dial lists
Setting up
XTo call up the telephone menu: press the
%button.
XTo call up the menu bar: slide 6the con-
troller.
XTo select Call Lists: turn and press the
controller.
XSelect Speed Dial Preset List.
The speed dial list is displayed.
XTo highlight a memory position for the speed
dial: turn the controller.
If you highlight an entry that already exists in the speed dial list, this is overwritten with the
new entry.
XTo select G: slide 9the controller.
XSelect Assign Speed Dial Preset.
The phone book is displayed.
XSearch for a contact (Ypage 103).
XTo select a contact: turn and press the con-
troller.
The phone number has been saved as a speed
dial.
Deleting
Deleting a speed dial preset
XTo call up the telephone menu: press the
% button.
XTo call up the menu bar: slide 6the con-
troller.
XTo select Call Lists: turn and press the
controller.
XSelect Speed Dial Preset List.
The speed dial list is displayed.
XTo highlight the memory position you want to
delete: turn the controller.
XTo select G: slide 9the controller.
XTo select DeleteSpeedDialPreset: turn
and press the controller.
XTo select Yes: turn and press the controller.
The speed dial preset has been deleted.
or
XTo select No: turn and press the controller.
The process is canceled.
Deleting all speed dial presets
XTo call up the telephone menu: press the
% button.
XTo call up the menu bar: slide 6the con-
troller.
XTo select Call Lists: turn and press the
controller.
XSelect Speed Dial Preset List.
The speed dial list is displayed.
XTo select G: slide 9the controller.
XTo select Delete All Speed Dial Pre‐sets: turn and press the controller.
XTo selectYes: turn and press the controller.
All speed dials are deleted.
or
XTo select No: turn and press the controller.
The process is canceled.
Messages (text messages and e-
mails)
General notes
New messages are identified by the /sym-
bol in the display of the multimedia system and
an audible signal. Once you have read all the
messages, the symbol is no longer displayed.
The multimedia system displays the 100 newest
text messages and e-mails.
The ú symbol is displayed when the mobile
phone's message memory is full. The symbol is
no longer displayed if you delete messages.
Function restrictions
Text messages cannot be written while the vehi-
cle is in motion.
Prerequisites
To use the message functions, the connected
mobile phone must support the MAP Bluetooth®
profile. When connecting the mobile phone, you
may have to accept the prompt for the MAP
Bluetooth
®profile.
With some mobile phones, some settings still
have to be made after connecting to the multi-
media system (see the manufacturer's operat-
ing instructions). The messages are then dis-
Messages (text messages and e-mails)115
Telephone
Z
Page 132 of 206

Ending the connection
XPressCancelin the connections window.
Connection status
:Display of existing connection and signal
strength of the mobile phone network
In most cases, the current connection status is
then shown in the status bar when you switch to
another main function.
Detailed connection status
XTo call up the telephone menu: press the
% button.
XTo switch to the main function bar: slide 5
the controller.
XTo select Tel/®: press the controller.
XTo selectInternet: turn and press the con-
troller.
The menu with the Internet functions is dis-
played.
XTo switch to the menu bar: slide 6the con-
troller.
XTo select Settings: turn and press the con-
troller.
XTo select Connection Status: turn and
press the controller.
The following information is displayed:
Rthe volume of transferred data
Rconnection status
Rthe device name of the mobile phone
Rname of provider
Ending the connection
USA: you cannot cancel the connection your-
self. The Internet connection is automatically terminated if the system does not recognize any
user input within a five-minute time period.
Canada:
XTo call up the telephone menu: press the
%
button.
XTo switch to the main function bar: slide 5
the controller.
XTo select Tel/®: press the controller.
XTo selectInternet: turn and press the con-
troller.
The menu with the Internet functions is dis-
played.
XTo switch to the menu bar: slide 6the con-
troller.
XTo select ©: turn and press the controller.
If the mobile phone Internet connection is can-
celed, the multimedia system tries to reconnect.
You should therefore always end the connection
in the multimedia system.
Google™ local search
Calling up Local Search
You do not need a Google™ account to use Local
Search.
XTo call up the telephone menu: press the
% button.
XTo switch to the main function bar: slide 5
the controller.
XTo select Tel/®: press the controller.
XTo selectInternet: turn and press the con-
troller.
The menu with the Internet functions is dis-
played.
XTo select Mercedes-Benz Apps: turn and
press the controller.
XTo select Local Search: turn and press the
controller.
130Google™ local search
Online and Internet functions
Page 144 of 206

Saving/deleting a station
Storing current stations
XIn radio mode: slide6the controller.
The radio menu bar appears.
XTo select Preset: turn and press the control-
ler.
XTo select the SaveCurrentStation/Chan‐neloption: turn and press the controller.
XTo select the position of the required preset
entry: turn and press the controller.
or
XSelect the Edit Station Presetoption.
XSelect the position of the required preset:
turn the controller.
This can also be a preset position that is
already occupied, which is then overwritten
by the current station.
XSlide9the controller.
An additional menu appears.
XTo select the SaveCurrentStation/Chan‐neloption: turn and press the controller.
The currently set station is stored in the selec-
ted preset position. A tone signals a success-
ful preset entry.
or
XSet the desired station in radio mode.
XPress and hold down the preset number to be assigned on the number keypad until a tone
confirms the storing process.
XIf the preset number has two digits, press the
first digit briefly and then press and hold down the second digit.
or
XSet the desired station in radio mode.
XPress and hold the controller until the preset
list appears.
XTo select the preset number: turn and press
the controller.
A tone confirms that the storing process was
successful.
Moving highlighted stations
XIn radio mode: slide 6the controller.
XTo select Preset: turn and press the control-
ler.
XSelect Edit Station Preset.
XTo select the required preset entry: turn the
controller.
XSlide9the controller.
An additional menu appears.
XTo select the Move Highlighted Station/Channeloption: turn and press the control-
ler.
The list of stored stations appears again.
XTo move the highlighted station to the new
position: turn the controller and press to con-
firm.
Deleting highlighted stations
XIn radio mode: slide 6the controller.
XTo select Preset: turn and press the control-
ler.
XSelect Edit Station Preset.
XTo select the required preset entry: turn the
controller.
XSlide9the controller.
XTo select the Delete Highlighted Sta‐tion/Channeloption in the additional menu:
turn and press the controller.
or
XPress the $button.
A prompt appears.
XTo select Yes: turn and press the controller.
The highlighted station is deleted.
or
XTo select No: press the controller.
The process is canceled.
iFrequencies have already been stored in the
multimedia system. There are 100 preset
positions available.
142Station
Radio
Page 146 of 206

Sirius XM®Satellite Radio uses a fleet of high-
performance satellites to broadcast around the
clock throughout the USA and Canada.
The satellite radio program is available for a
monthly fee. Details are available from the Sirius
XM
®Service Center and at
http://www.siriusxm.com (USA) or
http://www.siriusxm.ca (Canada).
Your new Mercedes-Benz vehicle comes with
Sirius XM
®Satellite Radio pre-installed at the
factory. This service is free for a six-month trial
period. About a month before the trial period
ends, information will be provided on how to
extend this subscription. An acoustic signal
sounds and a message is shown, describing how
the subscription can be extended.
iSirius, XM and all related marks and logos
are trademarks of Sirius XM Radio Inc. and its
subsidiaries. All other marks, channel names
and logos are the property of their respective
owners. All rights reserved.
Registering satellite radio
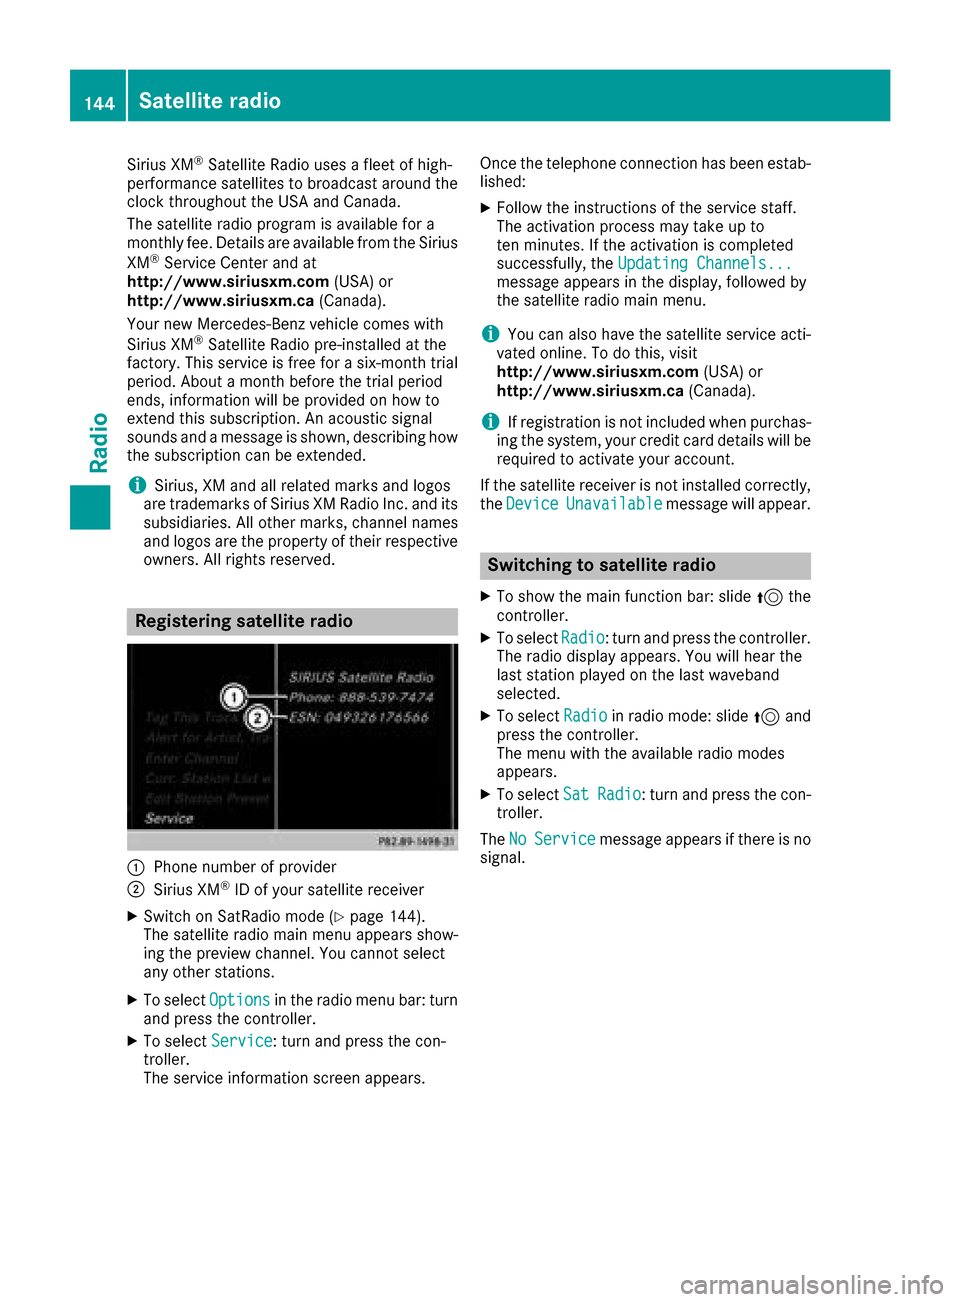
:Phone number of provider
;Sirius XM®ID of your satellite receiver
XSwitch on SatRadio mode (Ypage 144).
The satellite radio main menu appears show-
ing the preview channel. You cannot select
any other stations.
XTo select Optionsin the radio menu bar: turn
and press the controller.
XTo select Service: turn and press the con-
troller.
The service information screen appears. Once the telephone connection has been estab-
lished:
XFollow the instructions of the service staff.
The activation process may take up to
ten minutes. If the activation is completed
successfully, the
Updating Channels...
message appears in the display, followed by
the satellite radio main menu.
iYou can also have the satellite service acti-
vated online. To do this, visit
http://www.siriusxm.com (USA) or
http://www.siriusxm.ca (Canada).
iIf registration is not included when purchas-
ing the system, your credit card details will be
required to activate your account.
If the satellite receiver is not installed correctly,
the Device
Unavailablemessage will appear.
Switching to satellite radio
XTo show the main function bar: slide 5the
controller.
XTo select Radio: turn and press the controller.
The radio display appears. You will hear the
last station played on the last waveband
selected.
XTo select Radioin radio mode: slide 5and
press the controller.
The menu with the available radio modes
appears.
XTo select SatRadio: turn and press the con-
troller.
The No
Servicemessage appears if there is no
signal.
144Satellite radio
Radio
Page 176 of 206

Setting treble, mid-range and bass
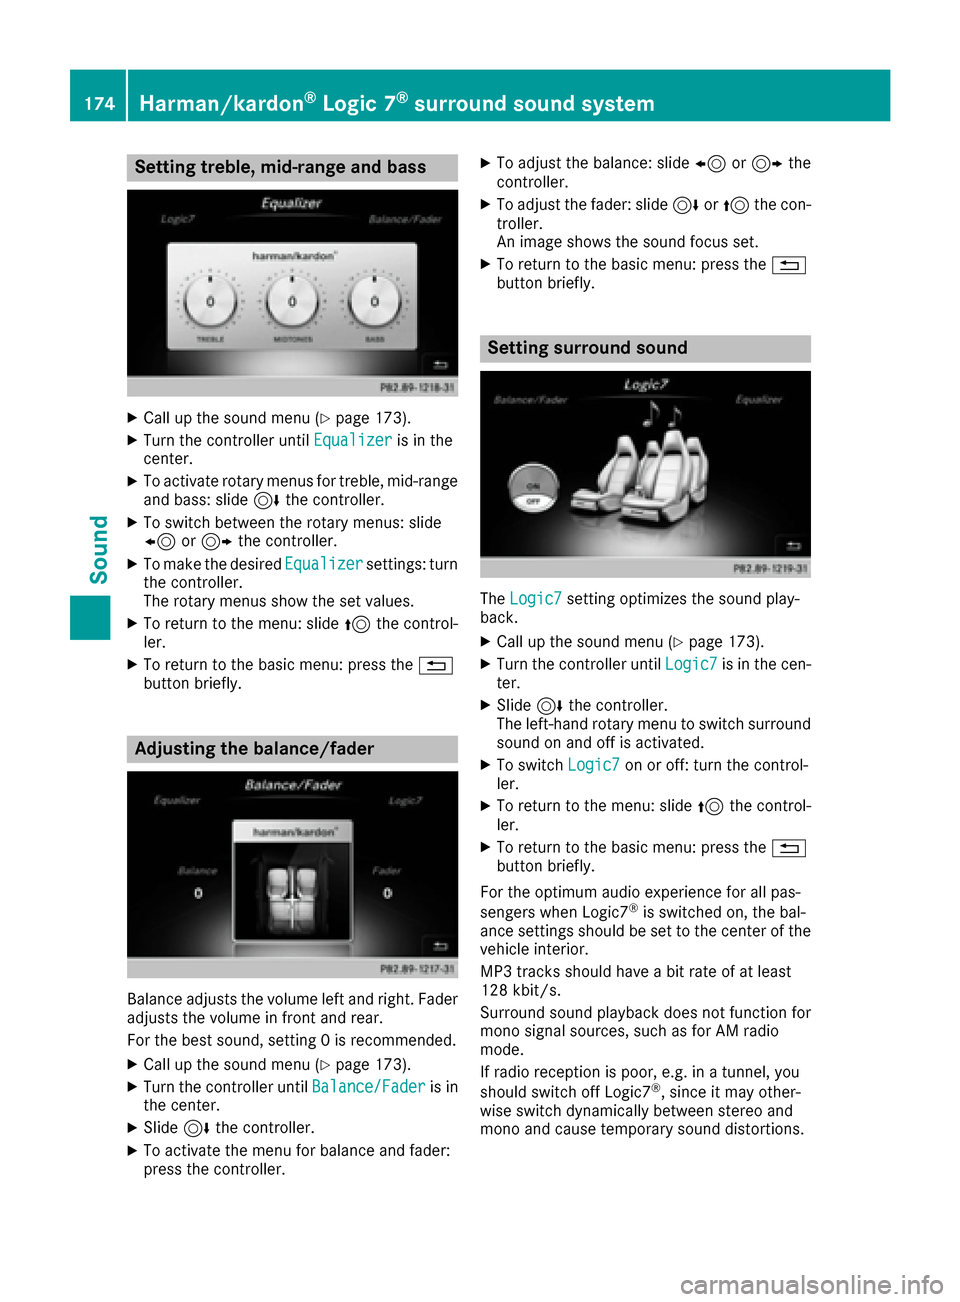
XCall up the sound menu (Ypage 173).
XTurn the controller untilEqualizeris in the
center.
XTo activate rotary menus for treble, mid-range
and bass: slide 6the controller.
XTo switch between the rotary menus: slide
8 or9 the controller.
XTo make the desired Equalizersettings: turn
the controller.
The rotary menus show the set values.
XTo return to the menu: slide 5the control-
ler.
XTo return to the basic menu: press the %
button briefly.
Adjusting the balance/fader
Balance adjusts the volume left and right. Fader
adjusts the volume in front and rear.
For the best sound, setting 0 is recommended.
XCall up the sound menu (Ypage 173).
XTurn the controller until Balance/Faderis in
the center.
XSlide 6the controller.
XTo activate the menu for balance and fader:
press the controller.
XTo adjust the balance: slide 8or9 the
controller.
XTo adjust the fader: slide 6or5 the con-
troller.
An image shows the sound focus set.
XTo return to the basic menu: press the %
button briefly.
Setting surround sound
The Logic7setting optimizes the sound play-
back.
XCall up the sound menu (Ypage 173).
XTurn the controller until Logic7is in the cen-
ter.
XSlide 6the controller.
The left-hand rotary menu to switch surround
sound on and off is activated.
XTo switch Logic7on or off: turn the control-
ler.
XTo return to the menu: slide 5the control-
ler.
XTo return to the basic menu: press the %
button briefly.
For the optimum audio experience for all pas-
sengers when Logic7
®is switched on, the bal-
ance settings should be set to the center of the
vehicle interior.
MP3 tracks should have a bit rate of at least
128 kbit/s.
Surround sound playback does not function for
mono signal sources, such as for AM radio
mode.
If radio reception is poor, e.g. in a tunnel, you
should switch off Logic7
®, since it may other-
wise switch dynamically between stereo and
mono and cause temporary sound distortions.
174Harman/kardon®Logic 7®surround sound system
Sound
Page 191 of 206

Cordless headphones
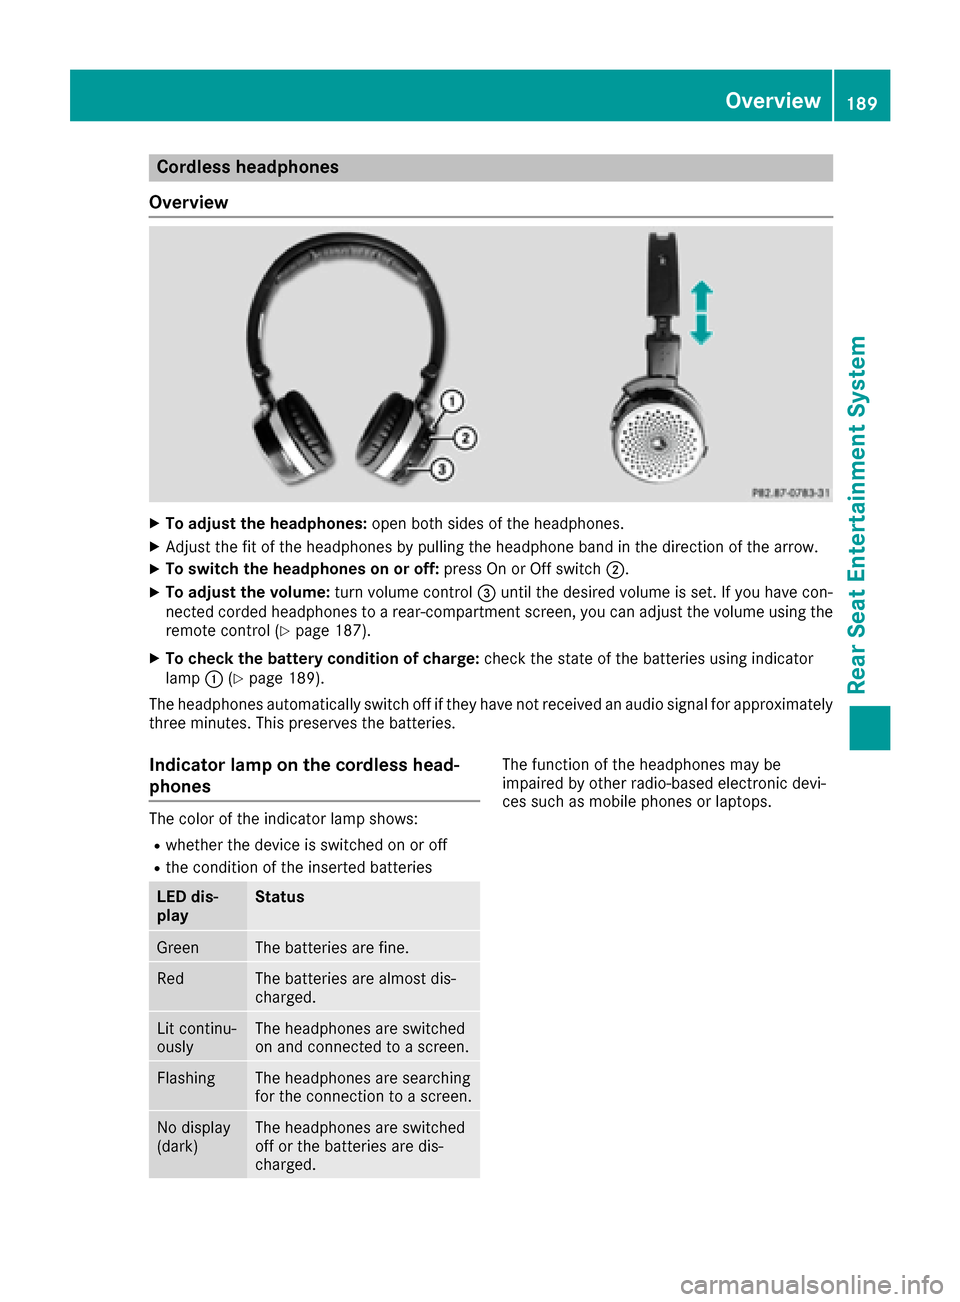
Overview
XTo adjust the headphones: open both sides of the headphones.
XAdjust the fit of the headphones by pulling the headphone band in the direction of the arrow.
XTo switch the headphones on or off: press On or Off switch;.
XTo adjust the volume: turn volume control=until the desired volume is set. If you have con-
nected corded headphones to a rear-compartment screen, you can adjust the volume using the
remote control (
Ypage 187).
XTo check the battery condition of charge: check the state of the batteries using indicator
lamp :(Ypage 189).
The headphones automatically switch off if they have not received an audio signal for approximately
three minutes. This preserves the batteries.
Indicator lamp on the cordless head-
phones
The color of the indicator lamp shows:
Rwhether the device is switched on or off
Rthe condition of the inserted batteries
LED dis-
playStatus
GreenThe batteries are fine.
RedThe batteries are almost dis-
charged.
Lit continu-
ouslyThe headphones are switched
on and connected to a screen.
FlashingThe headphones are searching
for the connection to a screen.
No display
(dark)The headphones are switched
off or the batteries are dis-
charged.
The function of the headphones may be
impaired by other radio-based electronic devi-
ces such as mobile phones or laptops.
Overview189
Rear Seat Entertainment System
Z