2017 MERCEDES-BENZ CLS-Class navigation system
[x] Cancel search: navigation systemPage 126 of 206

XTo selectOptions: turn and press the con-
troller.
XTo select MirrorLink Ann. Have Prior‐ity: turn and press the controller.
You can allow Omobile phone navigation
messages to overlay the multimedia system's
audio playback or you can suppress the func-
tion ª.
Sound settings
If a MirrorLink®audio source is active, you can
adjust the sound settings.
XTo call up the telephone menu: press the
% button.
XTo show the main function bar: slide 5the
controller.
XTo select Tel/®: turn and press the control-
ler.
XTo select MirrorLink: turn and press the
controller.
XTo switch to the menu bar: slide 6the con-
troller.
XTo select à: turn and press the controller.
You can adjust the sound settings.
Apple CarPlay®
Introduction
iPhone®functions can be used via the multime-
dia system using Apple CarPlay®. Apple Car-
Play®can be operated using the controller or
Siri voice-operated control system. Whether
selected buttons are supported in the vehicle
depends on the iOS version of the mobile phone
and the apps available. You will find an overview
of the multimedia system's control panel and
available buttons here (
Ypage 17).
To activate voice-operated control, press and
hold the óbutton on the multifunction steer-
ing wheel (
Ypage 102). Apple CarPlay®is only
available for Apple mobile phones (see the man-
ufacturer's operating instructions). The availa-
bility of Apple CarPlay
®may vary according to
the country.
Prerequisites
RApple CarPlay®is available from the iPhone®
5. It is recommended that you use the latest
operating system on the iPhone®.
RYou will need a compatible cable for the
iPhone®(Lightning cable).
RThe full range of functions for Apple CarPlay®
is only possible when the Apple CarPlay®-
capable mobile phone is connected to the
Internet.
Connecting an iPhone®to the multi-
media system
In order to be able to use Apple CarPlay®, a con-
nection must be established between the
iPhone
®and the multimedia system.
XConnect the iPhone®via a Lightning cable
with the USB port ç.
The first time you connect an Apple CarPlay
®-
capable mobile phone to the multimedia sys-
tem or switch between Apple CarPlay
®-capa-
ble mobile phones, a prompt appears asking
whether you want activation, in future, to be
automatic or manual.
Activating Apple CarPlay®
Automatic activation
XTo select Auto: press the controller.
Apple CarPlay®starts automatically each
time after a connection is established
between the iPhone
®and the multimedia sys-
tem.
Manual activation
XTo call up the telephone menu: press the
% button.
XTo show the main function bar: slide 5the
controller.
XTo select Tel/®: turn and press the control-
ler.
XSelect Apple CarPlay.
Apple CarPlay®starts.
iDepending on the operating state, you may
not have to carry out all of the operating
steps. A message to start appears on the dis-
play from Apple CarPlay
®. Confirm this.
124Apple CarPlay®
Telephone
Page 133 of 206

Further information on how to enter the search
position and search term (Ypage 131).
iYou will first need to register the multimedia
system before you can use the Internet func-
tions. To do so, you have to enter your name
and postal address once in the vehicle and
confirm the general terms and conditions.
Entering a search position and search
term
XCall up Local Search (Ypage 130).
XTo enter the search position: press the con-
troller.
The following options are available:
RNearby
Searches for destinations near the current
vehicle position
RIntheVicinityoftheDestination
You can search for destinations in the vicin-
ity of the destination if route guidance is
active.
XTo select the search position: turn and press
the controller.
XTo select Search: turn and press the control-
ler.
The input menu for the search term is dis-
played.
XEnter characters using the controller
(Ypage 28) or the number keypad.
XTo complete the entry and start the search,
select a: turn and press the controller.
The search results are displayed.
iGoogle™ determines how the search results
are sorted; this is not necessarily based on
the shortest distance.
Further information on how to make use of a
search result (
Ypage 131).
Using search results
XTo select a search result: turn and press the
controller.
The following options are available:
RDetails
The address of the selected entry is dis-
played.
RSet as Destination
The navigation is called up. You can use the search result as the destination for route
calculation. The search result is immedi-
ately stored in the From Previous Des‐
tinationsmemory. You can take the des-
tination from this memory and save it per-
manently in the contacts.
RCall
The telephone menu is called up and a call
is activated. If there is no phone number
available, the menu item cannot be selec-
ted.
RGoogle Street View
Google Street View™ is called up. If no
Google Street View™ information is availa-
ble, a corresponding message appears.
RPanoramio by Google
You see pictures of places worth seeing in
the vicinity of the search result.
XTo select the option: turn and press the con-
troller.
Popular searches
Google™ local search131
Online and Internet functions
Z
Page 134 of 206

XCallup Local Search (Ypage 130).
XTo select a search position, e.g. In theVicinity of the Destination: turn and
press the controller.
XTo select search queries inthe Popularsearchessection: turn and press the con-
troller.
The search results are displayed.
Search history
You can use th isfunction ifsearch queries have
already been carried out.
XCall up Local Search (Ypage 130).
XTo select the search position, e.g. At cur‐rent location: turn and press the control-
ler.
XTo select Search history: turn and press
the controller.
The most recent search queries are dis-
played.
Destination/route download
Prerequisites
To down load navigation locations you need a
Google™ account and your veh icle identification
number. Further information about the veh icle
iden tification number (VIN) (
Ypage 133).
USA: to download navigation locations, the
mbra ce system must be
Ractivated
Roperational
Ractivated for the services of the system and
forInternet access
Procedure and general information
Sig n into your Google™ account on the Internet.
Use the Google Maps™ website to send the
destination to a server (
Ypage 132). Using the
DownloadPOIAp p,the destination is displayed
in the veh icle(Ypage 132).
The destination can be:
Rimpo rted (Ypage 133)
Rused for route guidance (Ypage 133)
Rcalled up (Ypage 133)
Rdeleted from the server (Ypage 133).
Sending destinations to the server
XSign into your Google™ account.
XCall up the Google Maps™ website.
XEnter a destination.
XClick "More" at the destination.
XClick "Send".
XEnter the corresponding information in the
boxes shown.
XSelect "Send to car".
XSelect Mercedes-Benz as the vehicle brand.
XEnter the mbrace e-mail address or the veh i-
cle identification number.
Further information about the vehicle identi-
fication number (
Ypage 133).
XClick "Send".
The destination issent to the server.
The availability of the destination/r outedown -
load function iscountry-dependent.
Displaying destinations in the vehicle
XTo call up the telephone menu: press the
% button.
XTo switch to the main function bar: slide 5
the controller.
XTo select Tel/®: press the controller.
XTo selectInternet: turn and press the con-
troller.
The menu with the Internet functions is dis-
played.
XTo select Mercedes-Benz Apps: turn and
press the controller.
132Destination/route download
Online and Internet functions
Page 151 of 206

Your multimediasyste mequipment
These operatin ginstruction sdescribe all th e
standar dan doptional equipment of your multi-
media system, as available at th etime of going
to press. Country-specifi cdifference sare pos -
sible. Bear in min dthat your vehicle may no t
feature all function sdescribed here. Thi salso
applies to safety-relevan tsystems an dfunc-
tions.
Read th einformation on qualifie dspecialis t
workshop sin th evehicle Operator's Manual.
Activating medi amode
General notes
There are severa lways to activat emedia sour-
ce susin gth emultimedia system.
The relevant section sof th eOperator's Manual
describe th esimples tway to activat e amedia
source.
Thi ssection describes all option sfo ractivatin g
media sources.
Button activation
XPress th eÕ button.
The last media sourc eyou hav eset is dis -
played.
XPress th eÕ buttonagain .
The men uappears wit hth eavailable media
sources.
XTo selec tmedia sources: turn th econtroller
until th edesire dmedia sourc eis in th ecenter.
Press th econtroller .
Dependin gon th evehicle equipment ,th efol-
lowing media sources will be available :
RDisc
RMemory Card
RMedia Interface 1
RMedia Interface 2
RBluetoothAudi oIf playable music files are found ,they will be
playe dby th emultimedia system.
Switching on automatically
Whe nan external media sourc eis connected,
CD an dSD memor ycar dfunction sare automat -
ically switched on by th emultimedia system.
Whe nusin gwit hUS Bdevices, switch to th e
respective basi cdisplay.
External media sources:
RApple®devices (e.g. iPhon e®)
RUSBdevices (e.g. US Bstick, MP3 player)
RCD
RDV Dvideo
RSD cards
Rdevices connecte dvia Bluetoot h®
If playable music files are found ,they will be
playe dby th emultimedia system.
iIf amedia function is already switched on in
th emultimedia system, this will be interrup-
te dan dth ebasi cdisplay of th enewly con-
nected devic ewill appear (except when usin g
wit hUSB/iPo d
®). If another function ,suc has
navigation ,is bein goperated, th ebasi cdis -
play will no tchange.
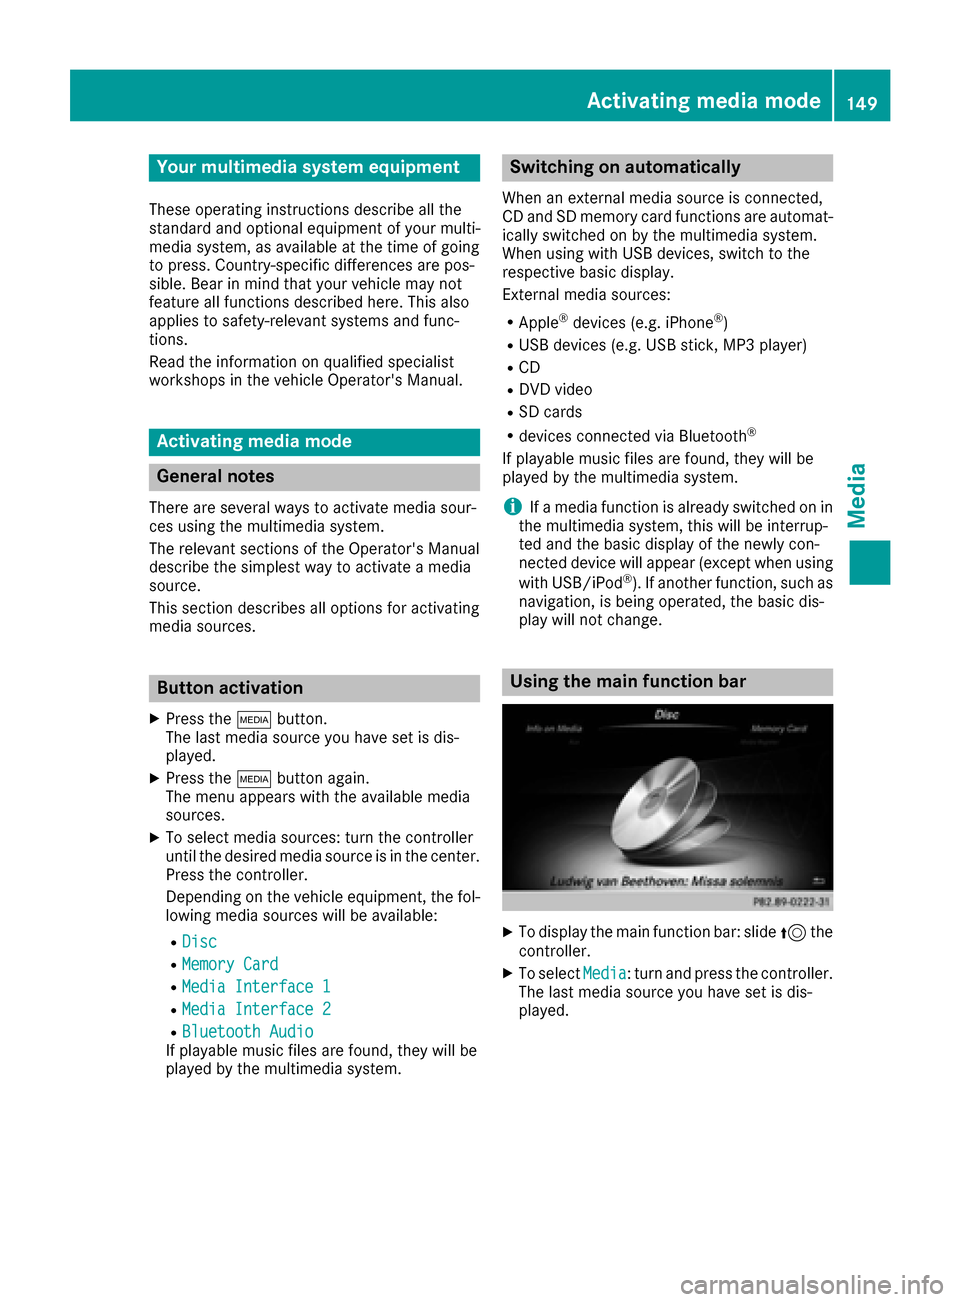
Usin gth emain function ba r
XTo display themain function bar :slid e5 the
controller .
XTo selectMedi a:turn an dpress th econtroller .
The last media sourc eyou hav eset is dis -
played.
Activating media mode149
Media
Page 200 of 206

Fast forwarding/rewinding
XPress and hold theE orF buttonon
th eremot econtrol until th edesired position
has been reached.
You see th econtrol menu.
Pause function
XTo show th emenu: press th e9 butto non
th eremot econtrol .
XTo pause playback: selectËand press
th e9 butto nto confirm .
The Ë display changes to Ì.
XTo continueplayback: selectÌand
press th e9 butto nto confirm .
The men uis hidden .
Stop function
XTo show th emenu: press th e9 butto non
th eremot econtrol .
XTo interrup tplayback: selectÉand
press th e9 butto nto confirm .
The Ë display changes to Ì.The vide o
imag eis hidden .
XTo continu eplayback: selectÌand
press th e9 butto nto confirm .
Playbac kcontinue sfrom th epoin twher eit
was interrupted. The men uis hidden .
XTo stop playback: while playbackis inter-
rupted, select Éagain and press th e9
butto nto confirm .
Playbac kstops and return sto th ebeginning
of th eDVD. Ì is highlighted.
XTo restart playback: selectÌand press
th e9 butto nto confirm .
Playbac kstart sfrom th ebeginning of th e
DVD.
Selecting a scene/chapter
Skipping forwards/backwards
XPress th e= or; buttonon th eremot e
control .
or
XPress th eE orF button.
The navigation men u (Ypage 197) appears
for approximately eigh tseconds.
Selecting a scene/chapter directly
The example sillustrat ehow to select scen eor
chapter 5.
XOptio n1: while th efilm is playing, press th e
h buttonon th eremot econtrol .
XPressabutton, suc has ¿.
XOptio n2: press th e9 butto non th eremot e
control .
XSelectDVD-Videoand press th e9 butto nto
confirm .
XSelectDVDFunctionsand press th e9 but -
to nto confirm .
XSelectScene Selectionand press th e9
butto nto confirm .
XSelectth e¿ digit usin gth e9 or:
butto nand press th e9 butto nto confirm .
In bot hcases, playbac kwill begi nfrom th e5t h
scen eor chapter after abrie fpause .
Selecting a film/track
XOption1: press th e9 butto non th eremot e
control .
XSelectDVD-Videoand press th e9 butto nto
confirm .
XSelectDVDFunctionsand press th e9 but -
to nto confirm .
XSelectTitle Selectionand press th e9
butto nto confirm .
XPress the9 butto nto select th elist .
XSelec t afilm or atitle.
XOptio n2: to select film 2, for example, press
th e· buttonon th eremot econtrol .
Afte r abrie fpause ,th esecon dfilm is played.
198Video DVD mode
Rear Seat Entertainment System