Page 276 of 586
4-24
Multimedia System
(11) MENU
Displays menus for the current mode.
®List : Move to parent catego-
ry.
(12) CAT/FOLDER
Radio mode - SiriusXM Radio : Category Search.
MP3 CD/USB mode - Folder Search
(13) TUNE knob
Radio mode : Changes frequency by turning the knob left/right.
CD, USB, iPod
®, My Music* mode :
Searches songs (files) by turning
the knob left/right. When the
desired song is displayed, press
the knob to play the song.
Moves focus in all selection menus and selects menus.
* if equipped (14)
FM/AM (Type A-4)
Changes to FM/AM mode.
Each time the button is pressed, the mode is changed in the order
of FM1
➟ FM2 ➟ AM.
(15) XM (Type A-4)
Changes to XM mode.
Each time the button is pressed, the mode is changed in the order
of XM1
➟ XM2 ➟ XM3.
Page 285 of 586

4-33
Multimedia System
4
Excessive use or operationswhile driving may lead to negli-
gent driving practices and be
the cause of accidents.
Do not operate the device exces- sively while driving.
Viewing the screen for pro- longed periods of time while
driving is dangerous and may
lead to accidents.
Information
- Using Voice Recognition(if equipped)
• When using the voice recognition feature, only commands listed with-
in the user's manual are supported.
• Be aware that when the voice recog- nition system is active, pressing any
button other than the button ter-
minates voice recognition mode.
• For optimal voice recognition per- formance, position your head below
the microphone located above the
driver’s seat and maintain proper
position when speaking voice com-
mands.
• Within the following situations, voice recognition may not function
properly due to external sound.
- When the windows and sunroofare open
- When the blower AC/heater is set to high
- When entering and passing through tunnels
- When driving on rugged and uneven roads
(Continued)(Continued)
- During severe rain (heavy rains,windstorms)
• Phone related voice commands can be used only when a Bluetooth
®
Wireless Technology device is con-
nected.
• When making calls by name, the corresponding contact must be
downloaded and stored within the
audio system.
• After downloading the phone book, it takes some time to convert the
phone book data into voice informa-
tion. During this time, voice recogni-
tion may not operate properly.
• Pressing and holding the button : While holding the button, frequency
changes without stopping. When the
button is released, the system auto-
matically searches for the next fre-
quency from that point.
iNOTICE
Page 286 of 586
![HYUNDAI ELANTRA SE 2017 Owners Manual 4-34
Multimedia System
Radio Mode
With the Radio Mode Button
Seek
Press the [SEEK TRACK]button.
Short press : Automatically search- es for the next station.
Press and hold : While holding the button HYUNDAI ELANTRA SE 2017 Owners Manual 4-34
Multimedia System
Radio Mode
With the Radio Mode Button
Seek
Press the [SEEK TRACK]button.
Short press : Automatically search- es for the next station.
Press and hold : While holding the button](/manual-img/35/56090/w960_56090-285.png)
4-34
Multimedia System
Radio Mode
With the Radio Mode Button
Seek
Press the [SEEK TRACK]button.
Short press : Automatically search- es for the next station.
Press and hold : While holding the button, frequency changes without
stopping. When the button is
released, the system automatically
searches for the next frequency
from that point.
Preset
Press the [1] ~ [6] button.
Short press : Plays the frequency saved in the corresponding button.
Press and hold : Pressing and holding the desired button from [1]
~ [6] will save the currently playing
broadcast to the selected button
and sound a BEEP.
Scan
Press the [SCAN] button.
Short press : The broadcast fre- quency increases and previews
each broadcast for 5 seconds
each. After scanning all frequen-
cies, returns and plays the current
broadcast frequency.
Press and hold : Previews the broadcasts saved in Preset [1] ~
[6] for 5 seconds each.
Selecting through manual search
Turn the TUNE knob left/right to
adjust the radio frequency.
MENU : Radio
Within [MENU] button is the A.Store
(Auto Store).
A.Store (Auto Store) : [1] Button
Select A.Store (Auto Store) to save
frequencies with superior reception
to presets [1]~ [6]. If no frequencies
are received, then the most recently
received frequency will be broad-
cast.
Page 288 of 586
NOTE :
SiriusXM services require a sub-
scription sold separately, or as a
package, by Sirius XM Radio Inc. If
you decide to continue service
after your trial, the subscription
plan you choose will automatical-
ly renew thereafter and you will be
charged according to your chosen
payment method at then-current
rates. Fees and taxes apply. To
cancel you must call SiriusXM at
1-866-635-2349. See SiriusXM
Customer Agreement for com-
plete terms at www.siriusxm.com.
SiriusXM U.S. satellite and data
services are available only in the
48 contiguous states, DC and
Puerto Rico (with coverage limita-
tions). SiriusXM satellite service is
also available in Canada; see
www.siriusxm.ca. All fees and pro-
gramming subject to change.
Sirius, XM and all related marks
and logos are trademarks of Sirius
XM Radio Inc.
4-36
Multimedia System
Page 289 of 586

4-37
Multimedia System
4
SiriusXM Radio Mode
(if equipped)
With the SiriusXM SatelliteRadio Mode Button
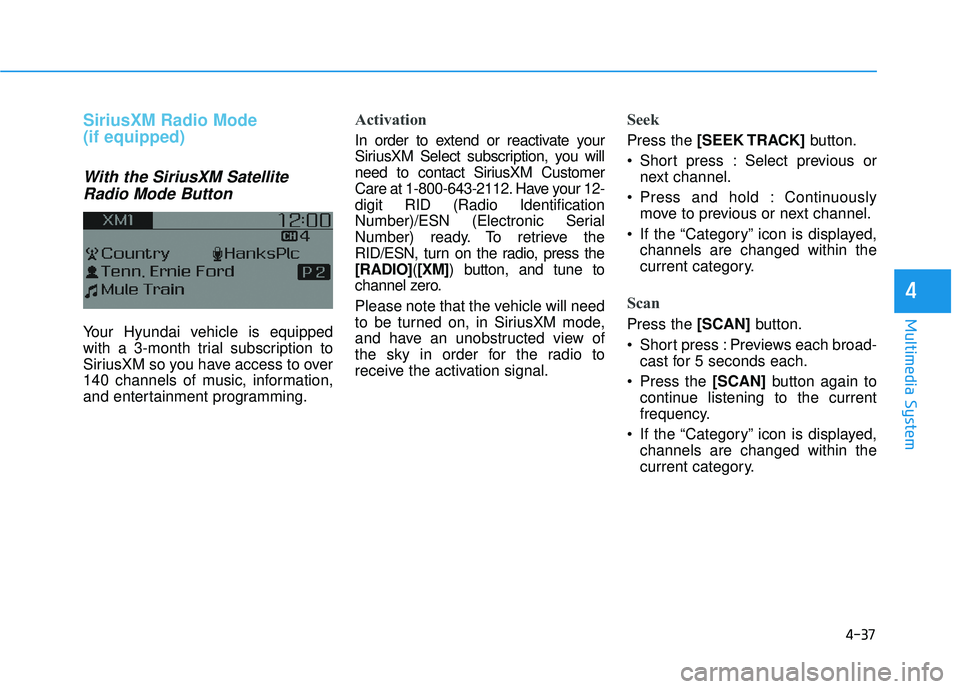
Your Hyundai vehicle is equipped
with a 3-month trial subscription to
SiriusXM so you have access to over
140 channels of music, information,
and entertainment programming.
Activation
In order to extend or reactivate your
SiriusXM Select subscription, you will
need to contact SiriusXM Customer
Care at 1-800-643-2112. Have your 12-
digit RID (Radio Identification
Number)/ESN (Electronic Serial
Number) ready. To retrieve the
RID/ESN, turn on the radio, press the
[RADIO]( [XM]) button, and tune to
channel zero.
Please note that the vehicle will need
to be turned on, in SiriusXM mode,
and have an unobstructed view of
the sky in order for the radio to
receive the activation signal.
Seek
Press the [SEEK TRACK] button.
Short press : Select previous or next channel.
Press and hold : Continuously move to previous or next channel.
If the “Category” icon is displayed, channels are changed within the
current category.
Scan
Press the [SCAN] button.
Short press : Previews each broad- cast for 5 seconds each.
Press the [SCAN] button again to
continue listening to the current
frequency.
If the “Category” icon is displayed, channels are changed within the
current category.
Page 290 of 586
![HYUNDAI ELANTRA SE 2017 Owners Manual 4-38
Multimedia System
Category
Press the [CAT/FOLDER]button.
The display will indicate the catego- ry menus, highlight the category
that the current channel belongs to.
In the Category List Mode, p HYUNDAI ELANTRA SE 2017 Owners Manual 4-38
Multimedia System
Category
Press the [CAT/FOLDER]button.
The display will indicate the catego- ry menus, highlight the category
that the current channel belongs to.
In the Category List Mode, p](/manual-img/35/56090/w960_56090-289.png)
4-38
Multimedia System
Category
Press the [CAT/FOLDER]button.
The display will indicate the catego- ry menus, highlight the category
that the current channel belongs to.
In the Category List Mode, press the [CAT/FOLDER] button to navi-
gate category list.
Press the tune knob to select the lowest channel in the highlighted
category.
If channel is selected by selecting category, then the “CATEGORY”
icon is displayed at the top of the
screen.
Preset
Press the [1] ~ [6] button
Short press : Plays the channel saved in the corresponding button.
Press and hold : Pressing and holding the desired button from [1]
~ [6] will save the current broad-
cast to the selected button and
sound a BEEP.
Information
- Troubleshooting
1. Antenna Error If this message is displayed, the
antenna or antenna cable is broken
or unplugged. Please consult with
your Hyundai dealership.
2. No Signal If this message is displayed, it
means that the antenna is covered
and that the SiriusXM Satellite
Radio signal is not available.
Ensure the antenna is uncovered
and has a clear view of the sky.
Tune
Rotate TUNEknob : Changes the
channel number or scrolls catego-
ry list.
Press
TUNEknob : Selects the
menu.
Menu : SiriusXM Radio
Press the [MENU] button.
Info (Information) : [1]Button
Displays the Artist/Song info of the
current song.
i
Page 291 of 586
4-39
Multimedia System
4
Media Mode
With the Media Mode Button
Press the [MEDIA]button to change
the mode in the order of CD
➟
USB(iPod®) ➟ AUX ➟ My Music*➟
BT Audio*.
* if equipped
The folder/file name is displayed on
the screen.
The CD is automatically played when
a CD is inserted.
The USB music is automatically
played when a USB is connected.
Repeat
While song (file) is playing�[RPT]
button
Audio CD, MP3 CD, USB, iPod
®, My
Music* mode : RPT on screen
ton) : Repeats the current song.
MP3 CD, USB mode : FLD.RPT on
screen
To repeat folder (press the button twice) : Repeats all files within the
current folder.
Press the [RPT] button again to turn
off repeat.
* if equipped
■ My Music Mode (if equipped)
■ USB Mode
■ MP3 CD Mode
■ Audio CD Mode
Page 294 of 586
![HYUNDAI ELANTRA SE 2017 Owners Manual 4-42
Multimedia System
MENU : iPod®
In iPod®mode, press the [MENU]
button to set the Repeat, Random,
Information and Search features.
Repeat : [1] Button
Repeat the current song.
Press RPT again to HYUNDAI ELANTRA SE 2017 Owners Manual 4-42
Multimedia System
MENU : iPod®
In iPod®mode, press the [MENU]
button to set the Repeat, Random,
Information and Search features.
Repeat : [1] Button
Repeat the current song.
Press RPT again to](/manual-img/35/56090/w960_56090-293.png)
4-42
Multimedia System
MENU : iPod®
In iPod®mode, press the [MENU]
button to set the Repeat, Random,
Information and Search features.
Repeat : [1] Button
Repeat the current song.
Press RPT again to turn repeat off.
Random : [2] Button
Plays all songs within the currently
playing category in random order.
Press RDM again to turn off.
Information : [3] Button
Displays information for the current
song.
Press the [MENU] button to turn off
info display.
Search : [4] Button
Displays iPod®category list.
While in iPod
®category sublists,
press the [MENU] button to move up
to the parent category.
MENU : AUX
AUX is used to play external MEDIA
currently connected with the AUX
terminal.
AUX mode will automatically start
when an external device is connect-
ed with the AUX terminal.
If an external device is connected,
you can also press the [MENU] but-
ton to change to AUX mode.
AUX mode cannot be started unless
there is an external device connect-
ed to the AUX terminal.
Information - Using the AUX
Fully insert the AUX cable into the
AUX terminal for use.i