Page 540 of 571

7-70
Maintenance
8. Connect the headlamp bulb sock-
et-connector.
9. Install the headlamp bulb cover by
turning it clockwise.
Information
The headlamp aiming should be
adjusted after an accident or after the
headlamp assembly is reinstalled at an
authorised HYUNDAI dealer.
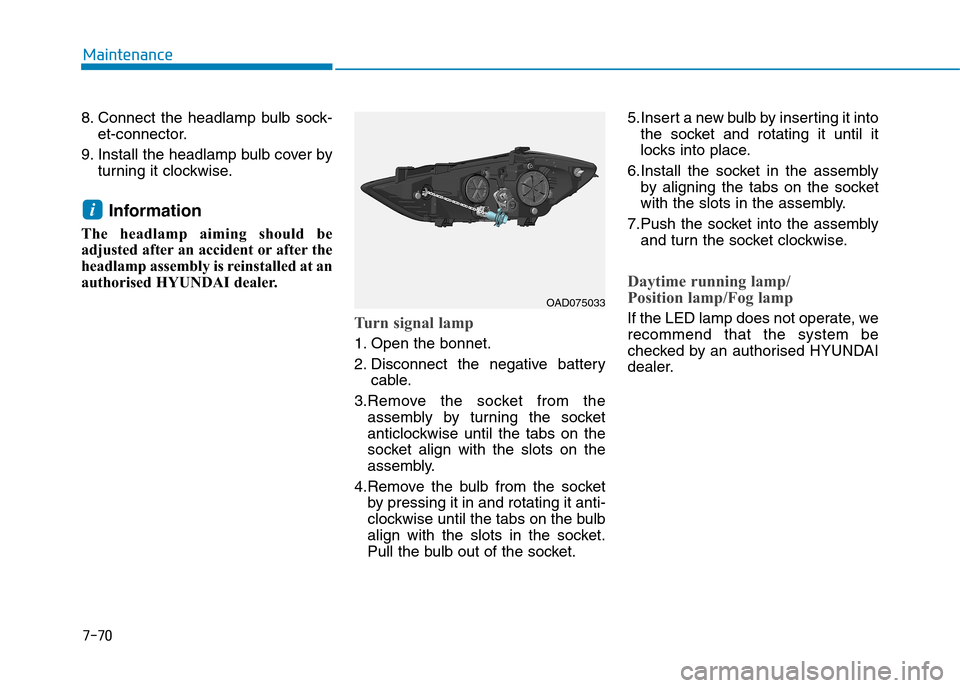
Turn signal lamp
1. Open the bonnet.
2. Disconnect the negative battery
cable.
3.Remove the socket from the
assembly by turning the socket
anticlockwise until the tabs on the
socket align with the slots on the
assembly.
4.Remove the bulb from the socket
by pressing it in and rotating it anti-
clockwise until the tabs on the bulb
align with the slots in the socket.
Pull the bulb out of the socket.
5.Insert a new bulb by inserting it into
the socket and rotating it until it
locks into place.
6.Install the socket in the assembly
by aligning the tabs on the socket
with the slots in the assembly.
7.Push the socket into the assembly
and turn the socket clockwise.
Daytime running lamp/
Position lamp/Fog lamp
If the LED lamp does not operate, we
recommend that the system be
checked by an authorised HYUNDAI
dealer.
i
OAD075033
Page 542 of 571

7-72
Maintenance
•Always handle them carefully, and
avoid scratches and abrasions. If
the bulbs are lit, avoid contact with
liquids.
•Never touch the glass with bare
hands. Residual oil may cause the
bulb to overheat and burst when lit.
•A bulb should be operated only
when installed in a headlamp.
•If a bulb becomes damaged or
cracked, replace it immediately
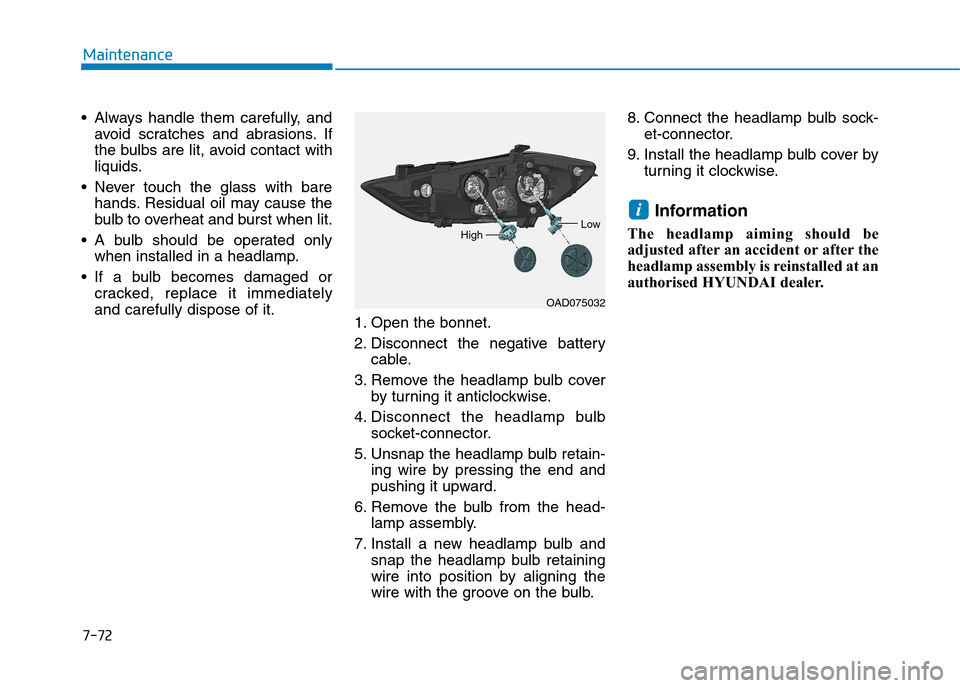
and carefully dispose of it.1. Open the bonnet.
2. Disconnect the negative battery
cable.
3. Remove the headlamp bulb cover
by turning it anticlockwise.
4. Disconnect the headlamp bulb
socket-connector.
5. Unsnap the headlamp bulb retain-
ing wire by pressing the end and
pushing it upward.
6. Remove the bulb from the head-
lamp assembly.
7. Install a new headlamp bulb and
snap the headlamp bulb retaining
wire into position by aligning the
wire with the groove on the bulb.
8. Connect the headlamp bulb sock-
et-connector.
9. Install the headlamp bulb cover by
turning it clockwise.
Information
The headlamp aiming should be
adjusted after an accident or after the
headlamp assembly is reinstalled at an
authorised HYUNDAI dealer.
i
OAD075032
LowHigh
Page 543 of 571

7-73
7
Maintenance
HID Headlight low beam
(if equipped)
Do not attempt to replace or
inspect the low beam (XENON
bulb) due to electric shock dan-
ger. If the low beam (XENON
bulb) is not working, we recom-
mend that the system be
checked by an authorised
HYUNDAI dealer.
WA R N I N G
HID Headlamp (Type C Low)
If the HID lamp does not operate, we
recommend that the system be
checked by an authorised HYUNDAI
dealer.
Information
HID lamps have superior perform-
ance over halogen bulbs.
HID lamps are estimated by the man-
ufacturer to last twice as long or
longer than halogen bulbs depending
on their frequency of use. They will
probably require replacement at some
point in the life of the vehicle. Cycling
the headlights on and off more than is
typical, will shorten HID lamp life.
HID lamps do not fail in the same
manner as halogen incandescent
lamps. If a headlight goes out after a
period of operation but will immedi-
ately relight when the headlight
switch is cycled it is likely the HID
lamp needs to be replaced. HID light-
ing components are more complex
than conventional halogen bulbs thus
have higher replacement cost.
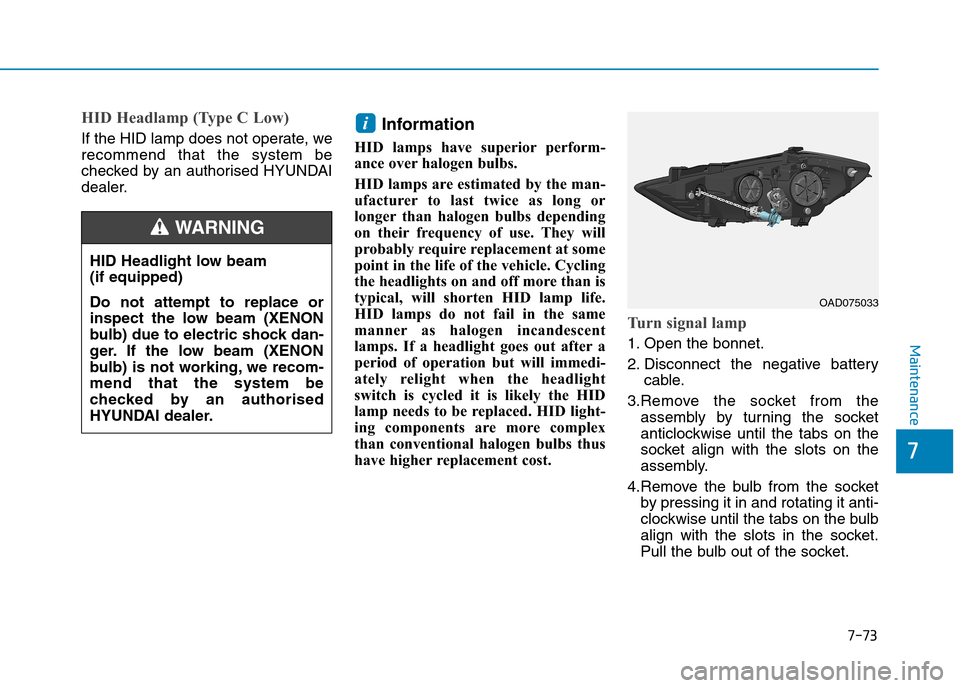
Turn signal lamp
1. Open the bonnet.
2. Disconnect the negative battery
cable.
3.Remove the socket from the
assembly by turning the socket
anticlockwise until the tabs on the
socket align with the slots on the
assembly.
4.Remove the bulb from the socket
by pressing it in and rotating it anti-
clockwise until the tabs on the bulb
align with the slots in the socket.
Pull the bulb out of the socket.
i
OAD075033
Page 559 of 571

7-89
7
Maintenance
2. Evaporative emission con-
trol system
The Evaporative Emission Control
System is designed to prevent fuel
vapours from escaping into the
atmosphere.
Canister
Fuel vapours generated inside the
fuel tank are absorbed and stored in
the onboard canister. When the
engine is running, the fuel vapours
absorbed in the canister are drawn
into the surge tank through the purge
control solenoid valve.
Purge Control Solenoid Valve
(PCSV)
The purge control solenoid valve is
controlled by the Engine Control
Module (ECM); when the engine
coolant temperature is low during
idling, the PCSV closes so that evap-
orated fuel is not taken into the
engine. After the engine warms-up
during ordinary driving, the PCSV
opens to introduce evaporated fuel to
the engine.
3. Exhaust emission control
system
The Exhaust Emission Control
System is a highly effective system
which controls exhaust emissions
whilst maintaining good vehicle per-
for mance.
Vehicle modifications
This vehicle should not be modified.
Modification of your vehicle could
affect its performance, safety or
durability and may even violate gov-
ernmental safety and emissions reg-
ulations.
In addition, damage or performance
problems resulting from any modifi-
cation may not be covered under
warranty.
•If you use unauthorised electronic
devices, it may cause the vehicle to
operate abnormally, wire damage,
battery discharge and fire. For your
safety, do not use unauthorised
electronic devices.