Page 370 of 524

5-109
05
V
VE
EH
H I
IC
C L
LE
E
L
L O
O A
AD
D
L
L I
IM
M I
IT
T
Two labels on your driver's door sill
show how much weight your vehicle
was designed to carry: the Tire and
Loading Information Label and the
Certification Label.
Before loading your vehicle, familiar-
ize yourself with the following terms
for determining your vehicle's weight
ratings, from the vehicle's specifica-
tions and the Certification Label:
Base Curb Weight
This is the weight of the vehicle
including a full tank of fuel and all
standard equipment. It does not
include passengers, cargo, or option-
al equipment.
Vehicle Curb Weight
This is the weight of your new vehicle
when you picked it up from your deal-
er plus any aftermarket equipment.
Cargo Weight
This figure includes all weight added
to the Base Curb Weight, including
cargo and optional equipment.
GAW (Gross Axle Weight)
This is the total weight placed on
each axle (front and rear) - including
vehicle curb weight and all payload. GAWR (Gross Axle Weight Rating)
This is the maximum allowable
weight that can be carried by a single
axle (front or rear). These numbers
are shown on the Certification Label.
The total load on each axle must
never exceed its GAWR.
GVW (Gross Vehicle Weight)
This is the Base Curb Weight plus
actual Cargo Weight plus passen-
gers.
GVWR (Gross Vehicle Weight
Rating)
This is the maximum allowable
weight of the fully loaded vehicle
(including all options, equipment,
passengers and cargo). The GVWR
is shown on the Certification Label
located on the driver’s door sill.
Page 371 of 524

5-110
Driving your vehicle
Tire Loading Information Label
The label located on the driver's door
sill gives the original tire size, cold
tire pressures recommended for your
vehicle, the number of people that
can be in your vehicle and vehicle
capacity weight.
Vehicle capacity weight
882 lbs. (400 kg)
Vehicle capacity weight is the maxi-
mum combined weight of occupants
and cargo. If your vehicle is equipped
with a trailer, the combined weight
includes the tongue load.
Seating capacity
Total : 5 persons (Front seat : 2 persons,
Rear seat : 3 persons)
Seating capacity is the maximum
number of occupants including a
driver, your vehicle may carry.
However, the seating capacity may
be reduced based upon the weight of
all of the occupants, and the weight
of the cargo being carried or towed.
Do not overload the vehicle as there
is a limit to the total weight, or load
limit including occupants and cargo,
the vehicle can carry.
Towing capacity
We do not recommend using this
vehicle for trailer towing.
Cargo capacity
The cargo capacity of your vehicle
will increase or decrease depending
on the weight and the number of
occupants and the tongue load, if
your vehicle is equipped with a trailer.
OHI056219N
Page 372 of 524

5-111
05
Steps for determining correctload limit
1. Locate the statement "The com-
bined weight of occupants and
cargo should never exceed XXX
kg or XXX lbs." on your vehicle's
placard.
2. Determine the combined weight of the driver and passengers that will
be riding in your vehicle.
3. Subtract the combined weight of the driver and passengers from
XXX kg or XXX lbs.
4. The resulting figure equals the available amount of cargo and lug-
gage load capacity. For example, if
the "XXX" amount equals 1400
lbs. and there will be five 150 lb.
passengers in your vehicle, the
amount of available cargo and lug-
gage load capacity is 650 lbs.
(1400 - 750 (5 x 150) = 650 lbs.)
5. Determine the combined weight of luggage and cargo being loaded
on the vehicle. That weight may
not safely exceed the available
cargo and luggage load capacity
calculated in Step 4.
6. If your vehicle will be towing a trail- er, load from your trailer will be
transferred to your vehicle. Consult
this manual to determine how this
reduces the available cargo and
luggage load capacity of your vehi-
cle. Do not overload the vehicle as
there is a limit to the total
weight, or load limit, including
occupants and cargo, the vehi-
cle can carry. Overloading can
shorten the life of the vehicle. If
the GVWR or the GAWR is
exceeded, parts on the vehicle
can break, and it can change
the handling of your vehicle.
These could cause you to lose
control and result in an acci-
dent.
WARNING
Page 374 of 524

5-113
05
Certification label
The certification label is located on
the driver's door sill at the center pil-
lar and shows the maximum allow-
able weight of the fully loaded vehi-
cle. This is called the GVWR (Gross
Vehicle Weight Rating). The GVWR
includes the weight of the vehicle, all
occupants, fuel and cargo.
This label also tells you the maxi-
mum weight that can be supported
by the front and rear axles, called
Gross Axle Weight Rating (GAWR).
The total weight of the vehicle,
including all occupants, accessories,
cargo, and trailer tongue load must
not exceed the Gross Vehicle Weight
Rating (GVWR) or the Gross Axle
Weight Rating (GAWR). To find out
the actual loads on your front and
rear axles, you need to go to a weigh
station and weigh your vehicle. Be
sure to spread out your load equally
on both sides of the centerline.Overloading your vehicle may
cause damage. Repairs would not
be covered by your warranty. Do
not overload your vehicle.
NOTICE
OBH059070
Overloading
Never exceed the GVWR for
your vehicle, the GAWR for
either the front or rear axle
and vehicle capacity weight.
Exceeding these ratings can
affect your vehicle's handling
and braking ability, and cause
an accident.
Do not overload your vehicle. Overloading your vehicle can
cause heat buildup in your
vehicle's tires and possible
tire failure, increased stop-
ping distances and poor vehi-
cle handling-all of which may
result in a crash.
WARNING
Page 375 of 524
5-114
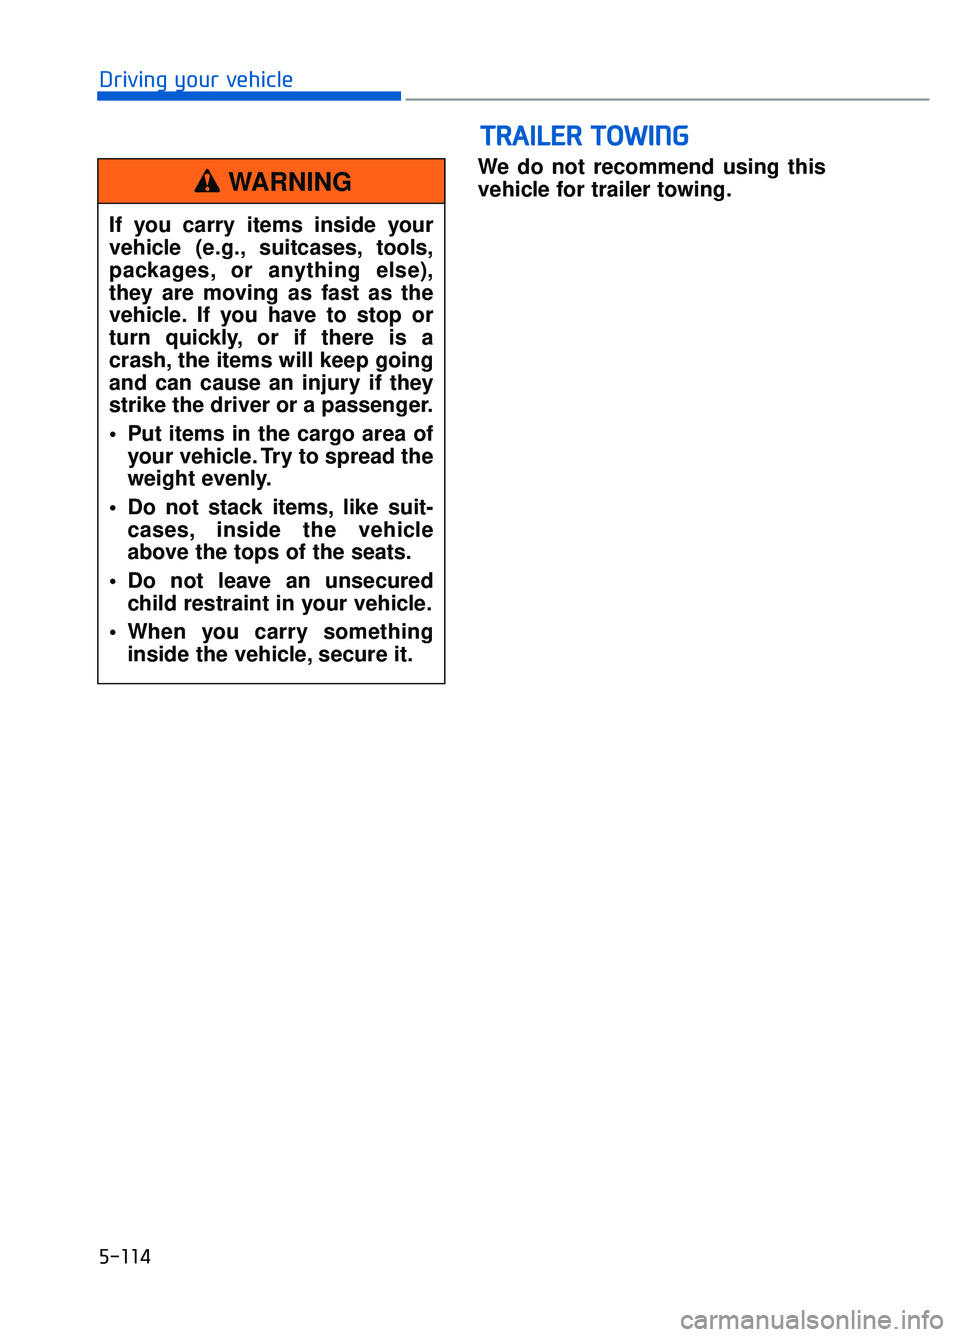
Driving your vehicleWe do not recommend using this
vehicle for trailer towing.
If you carry items inside your
vehicle (e.g., suitcases, tools,
packages, or anything else),
they are moving as fast as the
vehicle. If you have to stop or
turn quickly, or if there is a
crash, the items will keep going
and can cause an injury if they
strike the driver or a passenger.
Put items in the cargo area of your vehicle. Try to spread the
weight evenly.
Do not stack items, like suit- cases, inside the vehicle
above the tops of the seats.
Do not leave an unsecured child restraint in your vehicle.
When you carry something inside the vehicle, secure it.
WARNING
T TR
R A
A I
IL
L E
E R
R
T
T O
O W
W I
IN
N G
G
Page 377 of 524
The hazard warning flasher serves
as a warning to other drivers to exer-
cise extreme caution when approach-
ing, overtaking, or passing your vehi-
cle.
It should be used whenever emer-
gency repairs are being made or
when the vehicle is stopped near the
edge of a roadway.To turn the hazard warning flasher
on or off, press the hazard warning
flasher button. The button is located
in the center fascia panel. Both the
left and right turn signal lights will
flash simultaneously.
• The hazard warning flasher oper-
ates whether your vehicle is run-
ning or not.
The turn signals do not work when the hazard flasher is on.
H HA
AZ
ZA
A R
RD
D
W
W A
AR
RN
N I
IN
N G
G
F
F L
LA
A S
SH
H E
ER
R
6-2
What to do in an emergency
OHI066001
Page 381 of 524

Information
An inappropriately disposedbattery can be harmful to the
environment and human
health. Dispose the battery
according to your local law(s)
or regulations.
To prevent damage to your vehi-
cle:
Only use a 12-volt power supply (battery or jumper system) to
jump start your vehicle.
Do not attempt to jump start your vehicle by push-starting.
Jump starting procedure
Information
Your vehicle has a battery in the trunk
compartment, but when you jump
start your vehicle, use the jumper ter-
minal in the engine compartment.
1. Position the vehicles close enough that the jumper cables will reach,
but do not allow the vehicles to
touch.
2. Avoid fans or any moving parts in the engine compartment at all
times, even when the vehicles are
turned off.
3. Turn off all electrical devices such as radios, lights, air conditioning,
etc. Put the vehicles in P (Park)
and set the parking brakes. Turn
both vehicles OFF.
4. Open the engine hood. 5. Open the small service cover with
a screwdriver.
6. Remove the engine room fuse box cover.
7. Connect the jumper cables in the exact sequence shown in the illus-
tration. First connect one jumper
cable to the red, positive (+)
jumper terminal of your vehicle (1).
8. Connect the other end of the jumper cable to the red, positive
(+) battery/jumper terminal of the
assisting vehicle (2).
i
NOTICE
i
6-6
What to do in an emergency
OHI066005
OHI066006N
Page 386 of 524

6-11
06
Tire Pressure Monitoring
System
Each tire, including the spare (if pro-
vided), should be checked monthly
when cold and inflated to the inflation
pressure recommended by the vehi-
cle manufacturer on the vehicle plac-
ard or tire inflation pressure label. (If
your vehicle has tires of a different
size than the size indicated on the
vehicle placard or tire inflation pres-
sure label, you should determine the
proper tire inflation pressure for
those tires.)
As an added safety feature, your
vehicle has been equipped with a tire
pressure monitoring system (TPMS)
that illuminates a low tire pressure
telltale when one or more of your
tires is significantly under-inflated.
Accordingly, when the low tire pres-
sure telltale illuminates, you should
stop and check your tires as soon as
possible, and inflate them to the
proper pressure. Driving on a signifi-
cantly under-inflated tire causes the
tire to overheat and can lead to tire
failure.
Under-inflation also reduces fuel effi-
ciency and tire tread life, and may
affect the vehicle’s handling and
stopping ability.Please note that the TPMS is not a
substitute for proper tire mainte-
nance, and it is the driver’s responsi-
bility to maintain correct tire pres-
sure, even if under-inflation has not
reached the level to trigger illumina-
tion of the TPMS low tire pressure
telltale.
Your vehicle has also been equipped
with a TPMS malfunction indicator to
indicate when the system is not oper-
ating properly. The TPMS malfunc-
tion indicator is combined with the
low tire pressure telltale. When the
system detects a malfunction, the
telltale will flash for approximately
one minute and then remain continu-
ously illuminated. This sequence will
continue upon subsequent vehicle
start-ups as long as the malfunction
exists.
When the malfunction indicator is
illuminated, the system may not be
able to detect or signal low tire pres-
sure as intended. TPMS malfunc-
tions may occur for a variety of rea-
sons, including the installation of
replacement or alternate tires or
wheels on the vehicle that prevent
the TPMS from functioning properly.
Always check the TPMS malfunction
telltale after replacing one or more
tires or wheels on your vehicle to
ensure that the replacement or alter-
nate tires and wheels allow the
TPMS to continue to function proper-
ly.
Over-inflation or under-inflation
can reduce tire life, adversely
affect vehicle handling, and
lead to sudden tire failure that
may cause loss of vehicle con-
trol resulting in an accident.
WARNING