2017 FORD SUPER DUTY AUX
[x] Cancel search: AUXPage 5 of 636

Voice Control...................................................82
Cruise Control..................................................82
Information Display Control
.......................82
Heated Steering Wheel
................................82
Pedals
Adjusting the Pedals
.....................................83
Wipers and Washers
Windshield Wipers........................................84
Autowipers
.......................................................84
Windshield Washers
.....................................85
Lighting
General Information.....................................86
Lighting Control..............................................86
Autolamps........................................................87
Instrument Lighting Dimmer.....................88
Daytime Running Lamps............................88
Automatic High Beam Control.................89
Front Fog Lamps............................................90
Direction Indicators
.......................................90
Spot Lamps
.......................................................91
Interior Lamps..................................................91
Ambient Lighting
...........................................94
Windows and Mirrors
Power Windows
.............................................95
Global Opening
..............................................96
Exterior Mirrors
................................................96
Interior Mirror
...................................................98
Sliding Windows............................................99
Sun Visors
.........................................................99
Moonroof........................................................100
Instrument Cluster
Gauges ..............................................................
102
Warning Lamps and Indicators...............105
Audible Warnings and Indicators............110 Information Displays
General Information
......................................111
Information Messages
................................128
Climate Control
Manual Climate Control
.............................145
Automatic Climate Control
......................146
Hints on Controlling the Interior Climate.........................................................148
Heated Windows and Mirrors..................150
Cabin Air Filter
.................................................151
Remote Start...................................................151
Seats
Sitting in the Correct Position
..................152
Head Restraints
.............................................152
Manual Seats
.................................................154
Power Seats
....................................................155
Memory Function
..........................................157
Rear Seats.......................................................159
Heated Seats.................................................160
Climate Controlled Seats...........................161
Front Seat Armrest......................................162
Rear Seat Armrest........................................163
Universal Garage Door Opener
Universal Garage Door Opener...............164
Auxiliary Power Points
Auxiliary Power Points...............................168
Storage Compartments
Center Console..............................................170
Overhead Console
........................................170
Under Seat Storage.....................................170
2
Super Duty (TFE) Canada/United States of America, enUSA, First Printing Table of Contents
Page 9 of 636
Accessories
Accessories...................................................560
Auxiliary Switches........................................561
Ford Protect
Ford Protect
...................................................565
Scheduled Maintenance
General Maintenance Information
........567
Normal Scheduled Maintenance..........570
Special Operating Conditions Scheduled Maintenance..............................................575
Scheduled Maintenance Record
...........585
Appendices
End User License Agreement.................595
6
Super Duty (TFE) Canada/United States of America, enUSA, First Printing Table of Contents
Page 171 of 636
12 Volt DC Power Point
WARNINGS
Do not plug optional electrical
accessories into the cigar lighter
socket. Incorrect use of the cigar
lighter can cause damage not covered by
the vehicle warranty, and can result in fire
or serious injury. Do not use a power point for
operating a cigar lighter. Incorrect
use of the power points can cause
damage not covered by the vehicle
warranty, and can result in fire or serious
injury. Note:
When you switch the ignition on, you
can use the socket to power 12 volt
appliances with a maximum current rating
of 20 amps.
Note: Do not hang any accessory from the
accessory plug.
Note: Do not use the power point over the
vehicle capacity of 12 volt DC 240 watts or
a fuse may blow.
Note: Always keep the power point caps
closed when not in use.
Do not insert objects other than an
accessory plug into the power point. This
will damage the power point and blow the
fuse.
Run the vehicle for full capacity use of the
power point.
To prevent the battery from running out of
charge:
• Do not use the power point longer than
necessary when the vehicle is not
running.
• Do not leave devices plugged in
overnight or when you park your vehicle
for extended periods. Locations
Power points may be in the following
locations:
•
On the instrument panel.
• Inside the center console.
• On the rear of the center console.
• Inside the front under-seat storage
compartment.
Note: Timed power points remain on for 30
minutes if the vehicle is in accessory mode.
If you switch the vehicle off, the timed
power points remain on for 75 minutes.
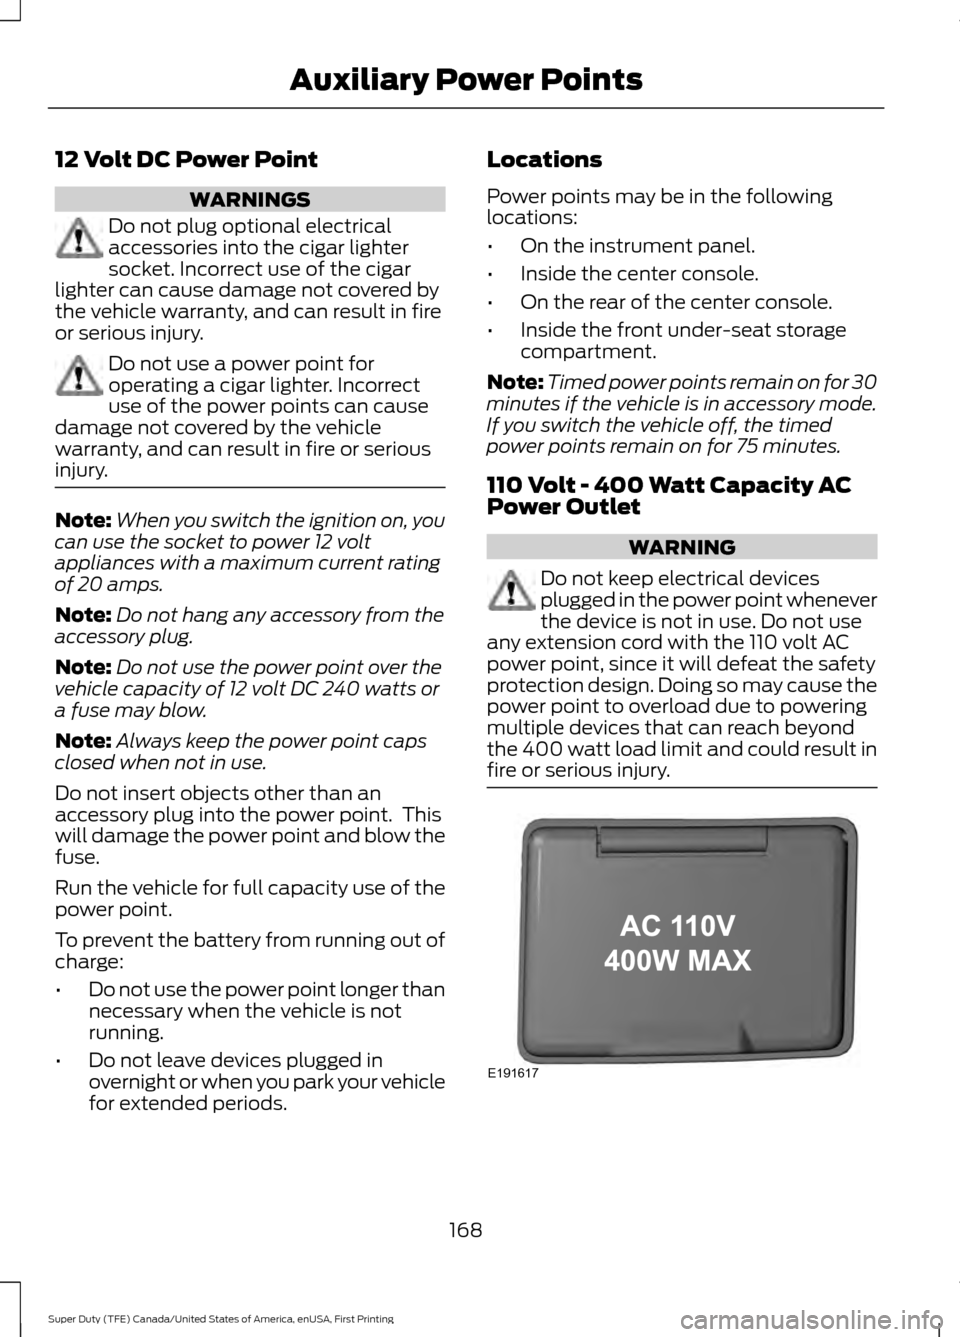
110 Volt - 400 Watt Capacity AC
Power Outlet WARNING
Do not keep electrical devices
plugged in the power point whenever
the device is not in use. Do not use
any extension cord with the 110 volt AC
power point, since it will defeat the safety
protection design. Doing so may cause the
power point to overload due to powering
multiple devices that can reach beyond
the 400 watt load limit and could result in
fire or serious injury. 168
Super Duty (TFE) Canada/United States of America, enUSA, First Printing Auxiliary Power PointsE191617
Page 172 of 636
When the indicator light on the power point
is:
•
On: The power point is working, the
ignition is on and a device is plugged
in.
• Off: The power point is off, the ignition
is off or no device is plugged in.
• Flashing: The power point is in fault
mode.
The power outlet temporarily turns off
power when in fault mode if the device
exceeds the 400 watt limit. Unplug your
device and switch the ignition off. Switch
the ignition back on, but do not plug your
device back in. Let the system cool off and
switch the ignition off to reset the fault
mode. Switch the ignition back on and
make sure the indicator light remains on.
You can use the 400 watt power outlet for
these types of electric devices:
• Electric hand drills.
• Rechargeable power tools.
• Video games.
• Laptops.
• Televisions.
Do not use the power point for certain
electric devices, including:
• Cathode-ray, tube-type televisions.
• Motor loads, such as vacuum cleaners,
electric saws and other electric power
tools or compressor-driven
refrigerators.
• Measuring devices, which process
precise data, such as medical
equipment or measuring equipment.
• Other appliances requiring an
extremely stable power supply such as
microcomputer-controlled electric
blankets or touch-sensor lamps.
Note: This feature works only when the
vehicle is running. Note:
This feature has a maximum output
of 400 watts when the vehicle is in park (P).
Note: While in drive (D), the maximum
outlet output is 300 watts.
Note: When powering electric devices that
require more than 10 watts in vehicles
equipped with keyless start, the vehicle
must remain running. It does not allow you
to switch the ignition off or switch the
ignition to accessory mode.
169
Super Duty (TFE) Canada/United States of America, enUSA, First Printing Auxiliary Power Points
Page 173 of 636
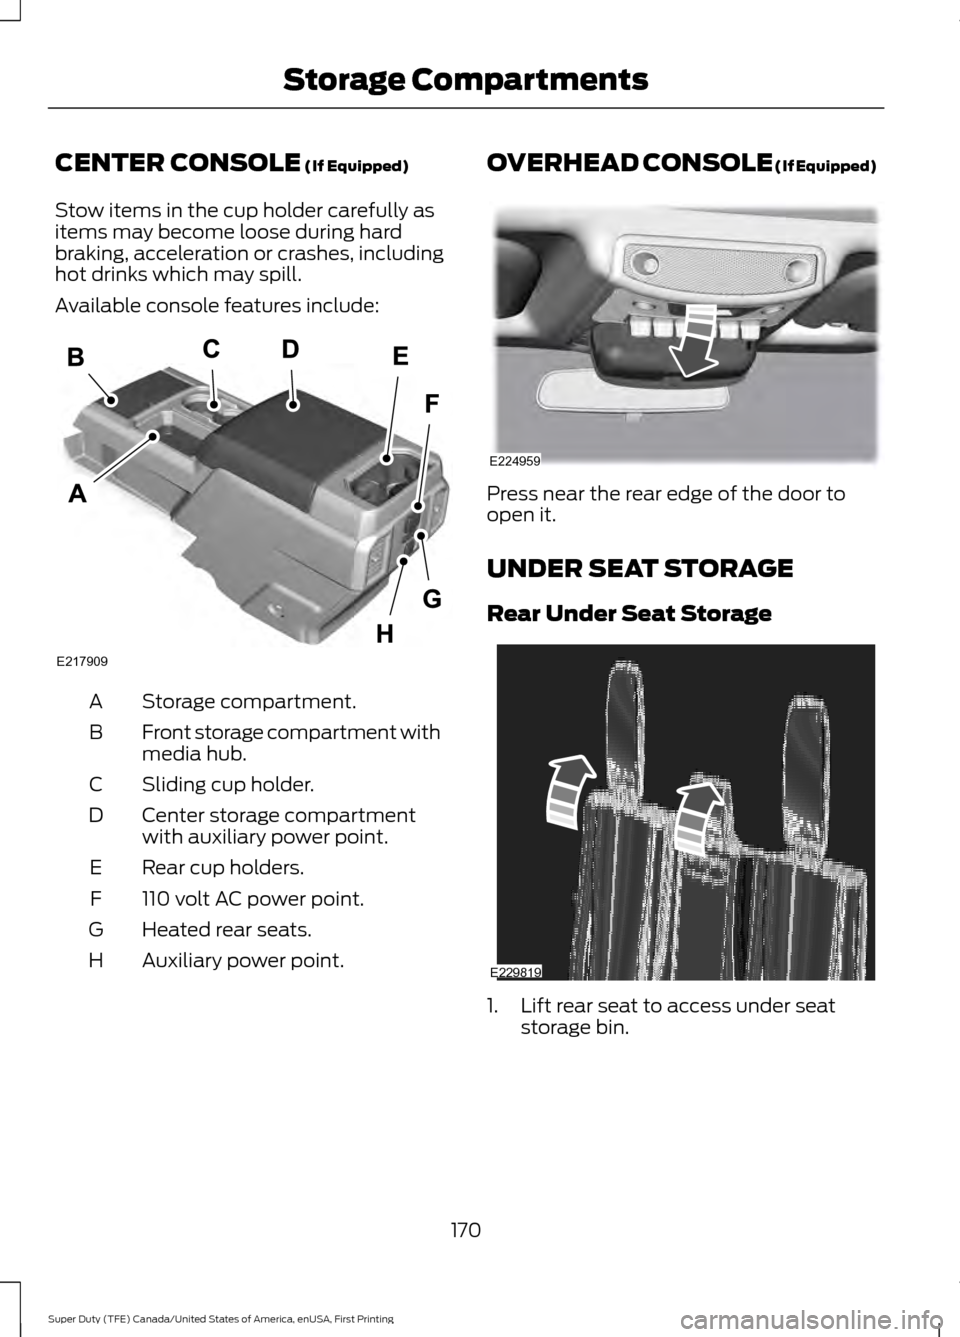
CENTER CONSOLE (If Equipped)
Stow items in the cup holder carefully as
items may become loose during hard
braking, acceleration or crashes, including
hot drinks which may spill.
Available console features include: Storage compartment.
A
Front storage compartment with
media hub.
B
Sliding cup holder.
C
Center storage compartment
with auxiliary power point.
D
Rear cup holders.
E
110 volt AC power point.
F
Heated rear seats.
G
Auxiliary power point.
H OVERHEAD CONSOLE (If Equipped)
Press near the rear edge of the door to
open it.
UNDER SEAT STORAGE
Rear Under Seat Storage
1. Lift rear seat to access under seat
storage bin.
170
Super Duty (TFE) Canada/United States of America, enUSA, First Printing Storage CompartmentsE217909 E224959 E229819
Page 212 of 636
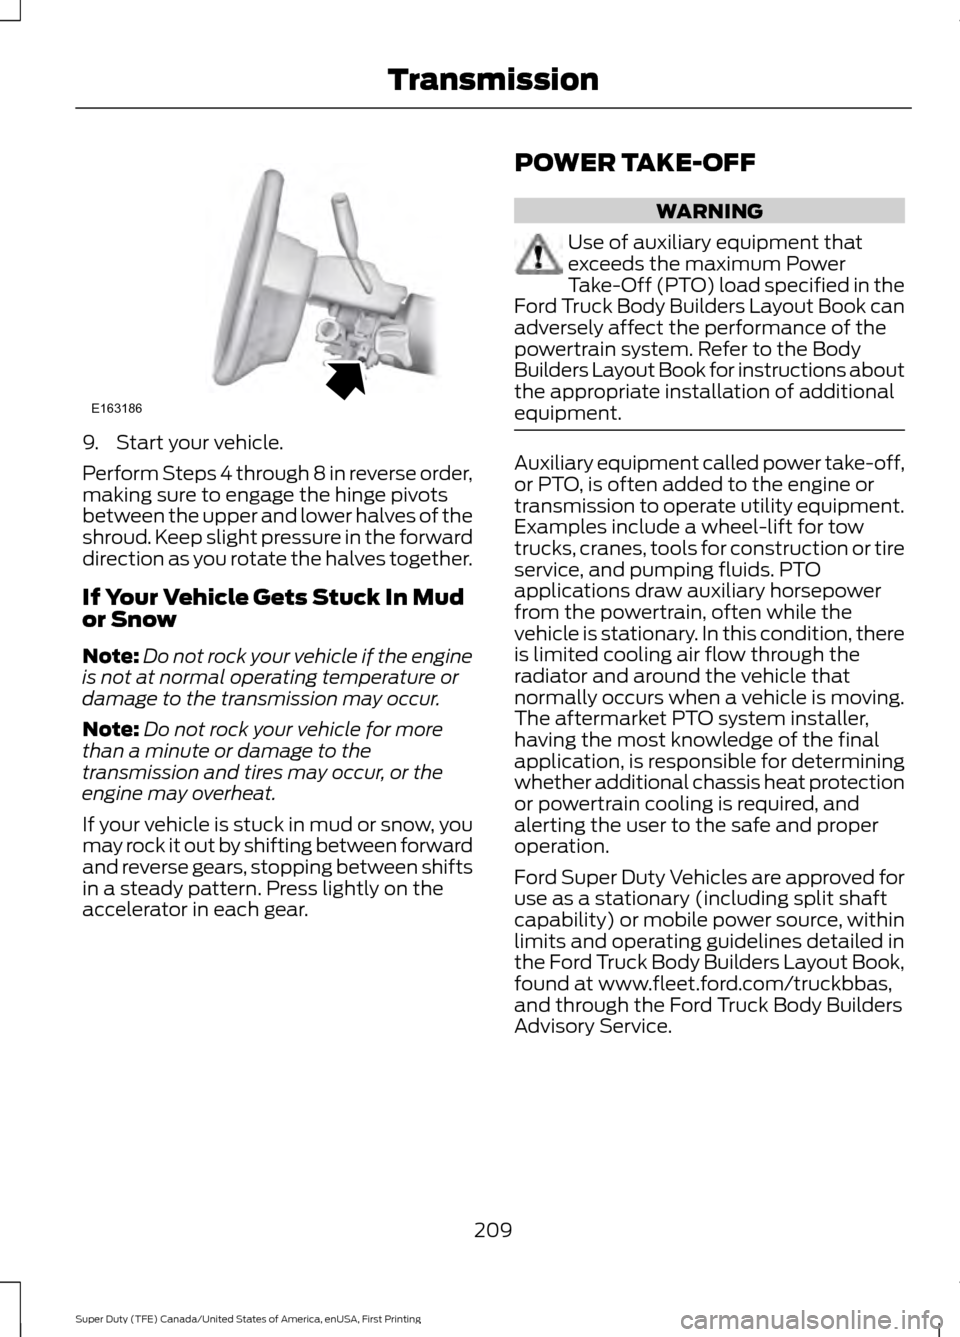
9. Start your vehicle.
Perform Steps 4 through 8 in reverse order,
making sure to engage the hinge pivots
between the upper and lower halves of the
shroud. Keep slight pressure in the forward
direction as you rotate the halves together.
If Your Vehicle Gets Stuck In Mud
or Snow
Note:
Do not rock your vehicle if the engine
is not at normal operating temperature or
damage to the transmission may occur.
Note: Do not rock your vehicle for more
than a minute or damage to the
transmission and tires may occur, or the
engine may overheat.
If your vehicle is stuck in mud or snow, you
may rock it out by shifting between forward
and reverse gears, stopping between shifts
in a steady pattern. Press lightly on the
accelerator in each gear. POWER TAKE-OFF WARNING
Use of auxiliary equipment that
exceeds the maximum Power
Take-Off (PTO) load specified in the
Ford Truck Body Builders Layout Book can
adversely affect the performance of the
powertrain system. Refer to the Body
Builders Layout Book for instructions about
the appropriate installation of additional
equipment. Auxiliary equipment called power take-off,
or PTO, is often added to the engine or
transmission to operate utility equipment.
Examples include a wheel-lift for tow
trucks, cranes, tools for construction or tire
service, and pumping fluids. PTO
applications draw auxiliary horsepower
from the powertrain, often while the
vehicle is stationary. In this condition, there
is limited cooling air flow through the
radiator and around the vehicle that
normally occurs when a vehicle is moving.
The aftermarket PTO system installer,
having the most knowledge of the final
application, is responsible for determining
whether additional chassis heat protection
or powertrain cooling is required, and
alerting the user to the safe and proper
operation.
Ford Super Duty Vehicles are approved for
use as a stationary (including split shaft
capability) or mobile power source, within
limits and operating guidelines detailed in
the Ford Truck Body Builders Layout Book,
found at www.fleet.ford.com/truckbbas,
and through the Ford Truck Body Builders
Advisory Service.
209
Super Duty (TFE) Canada/United States of America, enUSA, First Printing TransmissionE163186
Page 239 of 636
The following camera views can be
accessed in park (P), neutral (N) or drive
(D) when you press the camera button:
•
Front 360 + Normal: Contains the
normal front camera view next to a
360 degree camera view.
• Front Normal View:
Provides an
image of what is directly in front of your
vehicle.
• Front Split View:
Provides an
extended view of what is in front of
your vehicle by using the front and side
cameras.
The following camera views can be
accessed when you shift into reverse (R):
• Rear 360 + Normal:
Contains the
normal rear camera view next to a 360
degree camera view. Press the zoom
(+) button to quickly access Rear
Normal View from this screen.
• Rear Normal View: Provides an image
of what is directly behind your vehicle.
• Rear Split View:
Provides an
extended view of what is behind your
vehicle by using the rear and side
cameras.
• Rear High View:
Provides an image
of your truck bed and can be used to
assist you when backing up to align and
hitch a fifth wheel or gooseneck trailer.
• Auxiliary View:
Provides a rear view
image from the back of your trailer
while reversing.
• Trailer Reverse Guidance View:
Provides an image of the rear of your
vehicle using the side cameras, useful
when reversing with a trailer. Use the
arrows at the bottom of the screen to
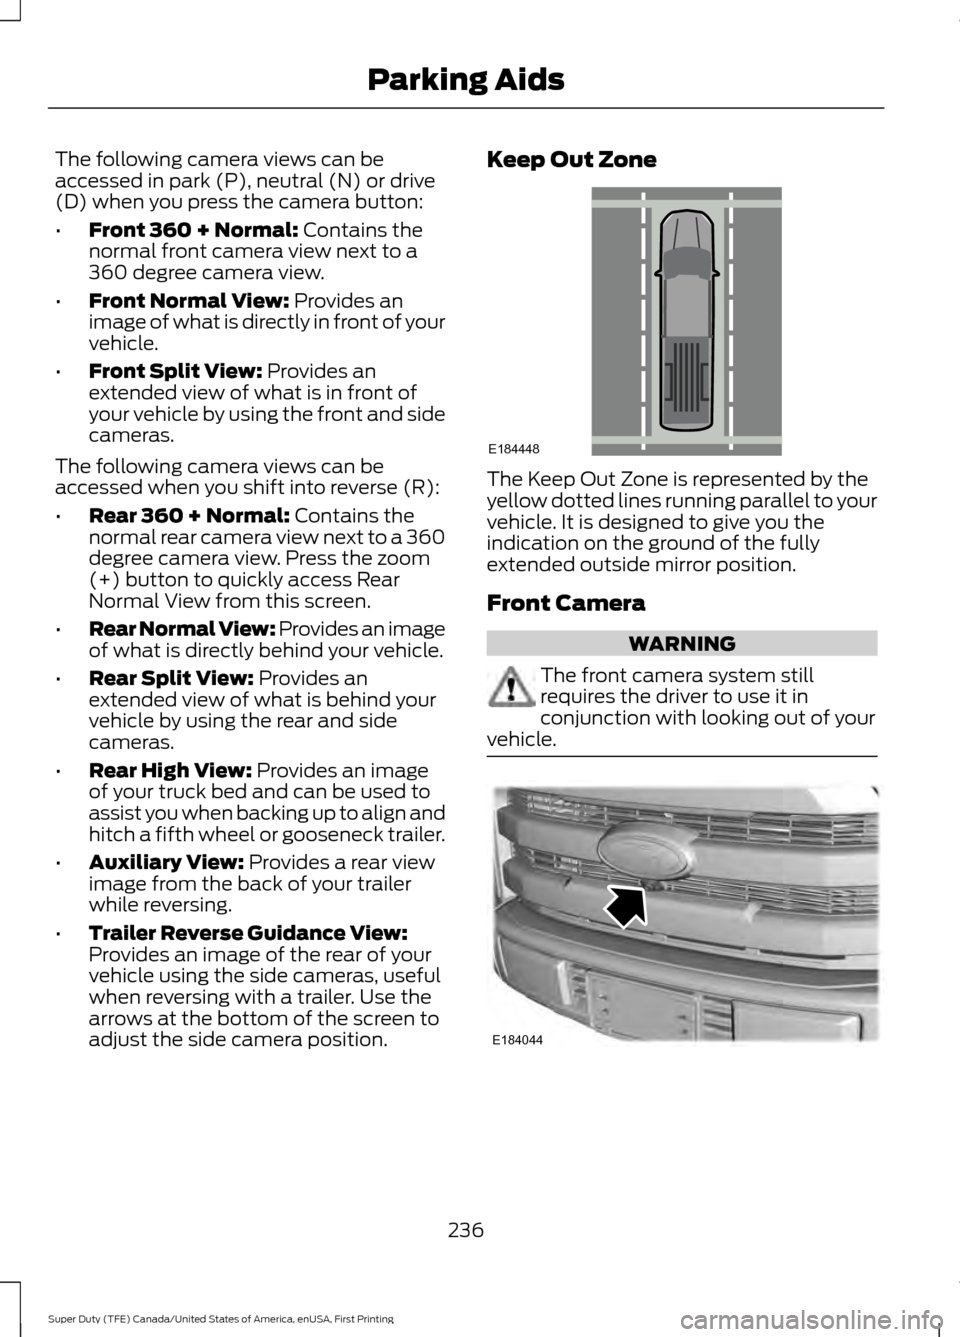
adjust the side camera position. Keep Out Zone
The Keep Out Zone is represented by the
yellow dotted lines running parallel to your
vehicle. It is designed to give you the
indication on the ground of the fully
extended outside mirror position.
Front Camera
WARNING
The front camera system still
requires the driver to use it in
conjunction with looking out of your
vehicle. 236
Super Duty (TFE) Canada/United States of America, enUSA, First Printing Parking AidsE184448 E184044
Page 241 of 636
Auxiliary Camera (If Equipped)
Note: The auxiliary camera works with
trailers up to
50 ft (15 m) in length. Access the auxiliary camera view
by pressing the button on the
display screen when in reverse
(R).
The auxiliary camera system is a variant
of the rear view camera, comprised of a
camera with a built in amplifier. It is
designed to display a rear view image from
the back of a trailer while reversing. The
auxiliary camera is not meant as an
alternative to the rear view camera.
238
Super Duty (TFE) Canada/United States of America, enUSA, First Printing Parking AidsE233727