2017 FIAT FIORINO headlights
[x] Cancel search: headlightsPage 22 of 272

DIGITAL DISPLAY
STANDARD SCREEN
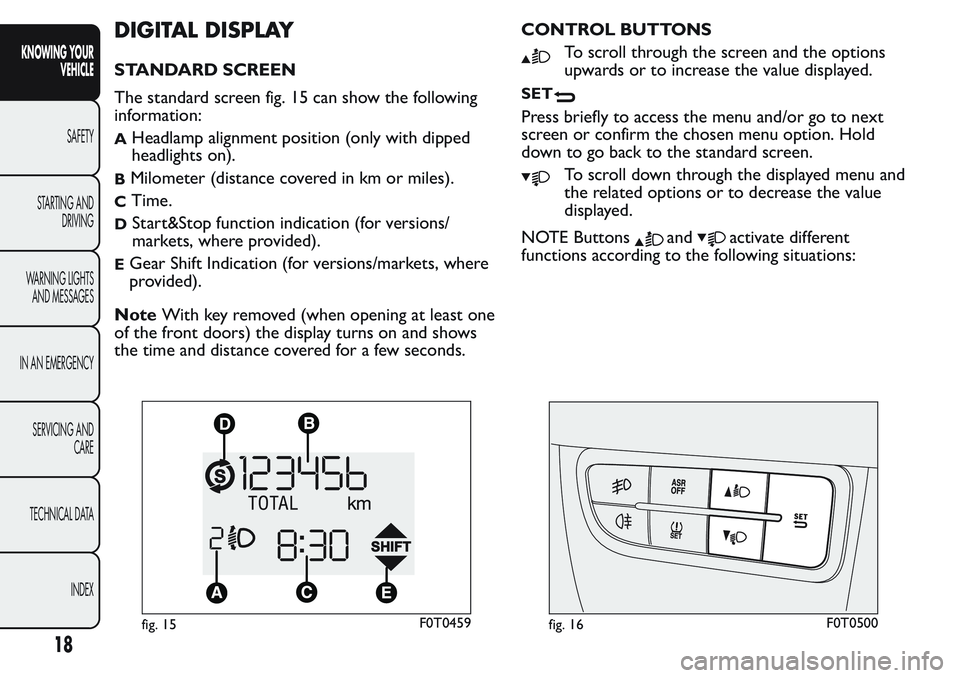
The standard screen fig. 15 can show the following
information:
AHeadlamp alignment position (only with dipped
headlights on).
BMilometer (distance covered in km or miles).
CTime.
DStart&Stop function indication (for versions/
markets, where provided).
EGear Shift Indication (for versions/markets, where
provided).
NoteWith key removed (when opening at least one
of the front doors) the display turns on and shows
the time and distance covered for a few seconds.CONTROL BUTTONS
To scroll through the screen and the options
upwards or to increase the value displayed.
SET
Press briefly to access the menu and/or go to next
screen or confirm the chosen menu option. Hold
down to go back to the standard screen.
To scroll down through the displayed menu and
the related options or to decrease the value
displayed.
NOTE Buttons
andactivate different
functions according to the following situations:
fig. 15F0T0459fig. 16F0T0500
18
KNOWING YOUR
VEHICLE
SAFETY
STARTING AND
DRIVING
WARNING LIGHTS
AND MESSAGES
IN AN EMERGENCY
SERVICING AND
CARE
TECHNICAL DATA
INDEX
Page 23 of 272

Adjusting headlight alignment
With the dipped beam headlights on, press button
orto adjust headlight alignment.
Setup menu
- in menus, to scroll up and down;
- in setting operations, to increase or decrease a
value.
19
KNOWING YOUR
VEHICLE
SAFETY
STARTING AND
DRIVING
WARNING LIGHTS
AND MESSAGES
IN AN EMERGENCY
SERVICING AND
CARE
TECHNICAL DATA
INDEX
Page 25 of 272

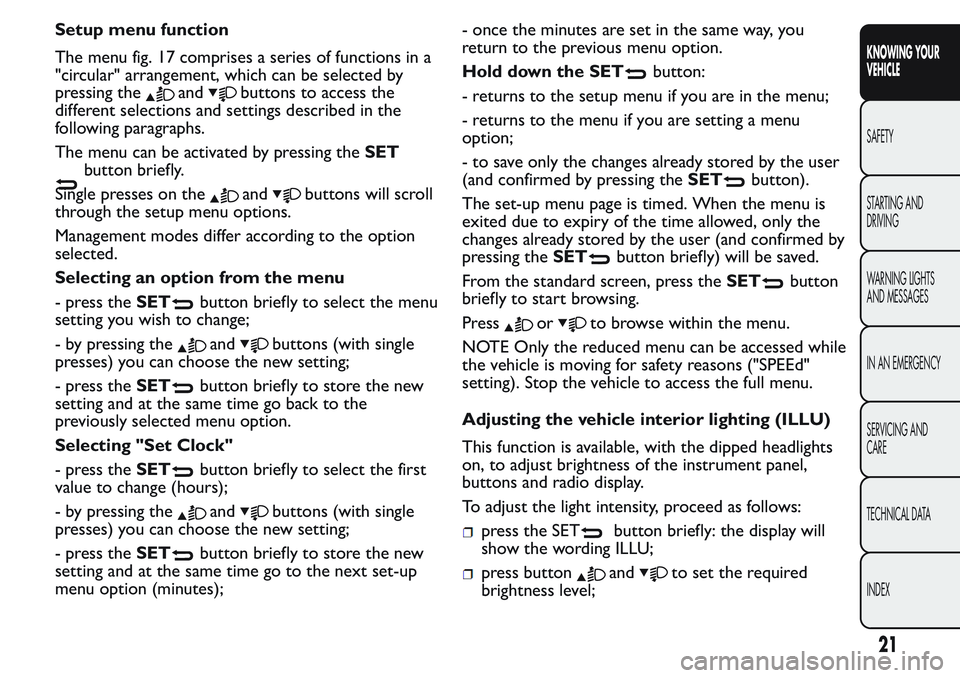
Setup menu function
The menu fig. 17 comprises a series of functions in a
"circular" arrangement, which can be selected by
pressing the
andbuttons to access the
different selections and settings described in the
following paragraphs.
The menu can be activated by pressing theSET
button briefly.
Single presses on the
andbuttons will scroll
through the setup menu options.
Management modes differ according to the option
selected.
Selecting an option from the menu
- press theSET
button briefly to select the menu
setting you wish to change;
- by pressing the
andbuttons (with single
presses) you can choose the new setting;
- press theSET
button briefly to store the new
setting and at the same time go back to the
previously selected menu option.
Selecting "Set Clock"
- press theSET
button briefly to select the first
value to change (hours);
- by pressing the
andbuttons (with single
presses) you can choose the new setting;
- press theSET
button briefly to store the new
setting and at the same time go to the next set-up
menu option (minutes);- once the minutes are set in the same way, you
return to the previous menu option.
Hold down the SET
button:
- returns to the setup menu if you are in the menu;
- returns to the menu if you are setting a menu
option;
- to save only the changes already stored by the user
(and confirmed by pressing theSET
button).
The set-up menu page is timed. When the menu is
exited due to expiry of the time allowed, only the
changes already stored by the user (and confirmed by
pressing theSET
button briefly) will be saved.
From the standard screen, press theSET
button
briefly to start browsing.
Press
orto browse within the menu.
NOTE Only the reduced menu can be accessed while
the vehicle is moving for safety reasons ("SPEEd"
setting). Stop the vehicle to access the full menu.
Adjusting the vehicle interior lighting (ILLU)
This function is available, with the dipped headlights
on, to adjust brightness of the instrument panel,
buttons and radio display.
To adjust the light intensity, proceed as follows:
press the SETbutton briefly: the display will
show the wording ILLU;
press buttonandto set the required
brightness level;
21
KNOWING YOUR
VEHICLE
SAFETY
STARTING AND
DRIVING
WARNING LIGHTS
AND MESSAGES
IN AN EMERGENCY
SERVICING AND
CARE
TECHNICAL DATA
INDEX
Page 29 of 272

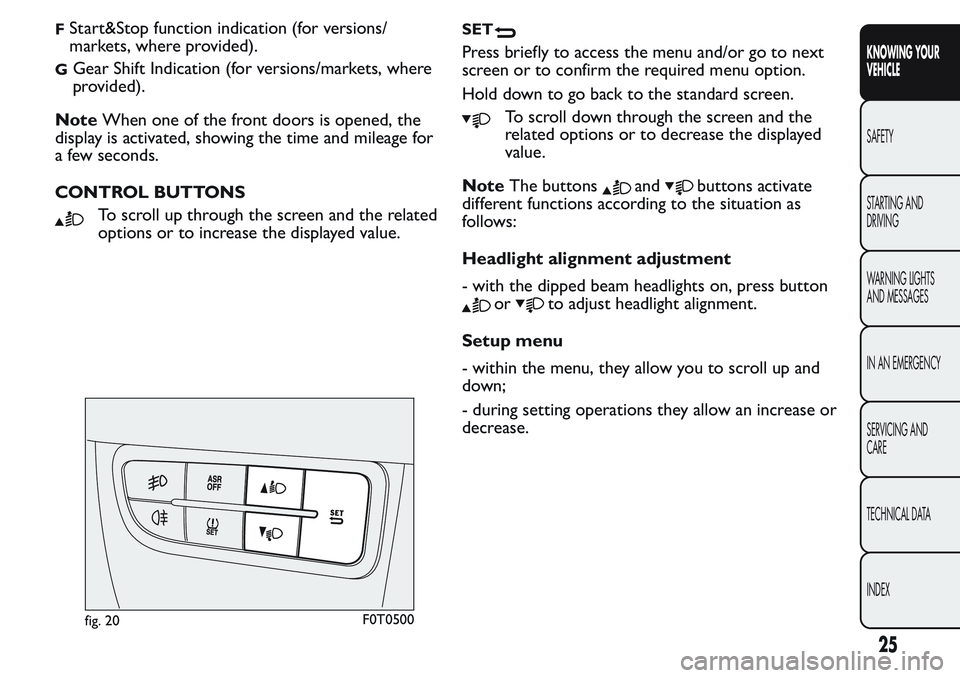
FStart&Stop function indication (for versions/
markets, where provided).
GGear Shift Indication (for versions/markets, where
provided).
NoteWhen one of the front doors is opened, the
display is activated, showing the time and mileage for
a few seconds.
CONTROL BUTTONS
To scroll up through the screen and the related
options or to increase the displayed value.
SET
Press briefly to access the menu and/or go to next
screen or to confirm the required menu option.
Hold down to go back to the standard screen.
To scroll down through the screen and the
related options or to decrease the displayed
value.
NoteThe buttons
andbuttons activate
different functions according to the situation as
follows:
Headlight alignment adjustment
- with the dipped beam headlights on, press button
orto adjust headlight alignment.
Setup menu
- within the menu, they allow you to scroll up and
down;
- during setting operations they allow an increase or
decrease.
fig. 20F0T0500
25
KNOWING YOUR
VEHICLE
SAFETY
STARTING AND
DRIVING
WARNING LIGHTS
AND MESSAGES
IN AN EMERGENCY
SERVICING AND
CARE
TECHNICAL DATA
INDEX
Page 32 of 272

the changes already stored by the user (and
confirmed by pressing theSET
button briefly)
will be saved.
From the standard screen, press theSET
button
briefly to start browsing.
Press the
orbuttons to navigate within the
menu.
NoteOnly the reduced menu can be accessed while
the vehicle is moving for safety reasons ("Speed
Beep" setting). Stop the vehicle to access the full
menu.
Adjusting the vehicle interior lighting
This function is available with the dipped beam
headlights on to adjust brightness of the instrument
panel, buttons and radio display.
To adjust the light intensity, proceed as follows:
press the SETbutton briefly to make
the display flash the previously set level;
press theorbutton to set the required
brightness level;
press the SETbutton briefly to go back to the
menu screen or hold the button down to go back
to the standard screen without saving.
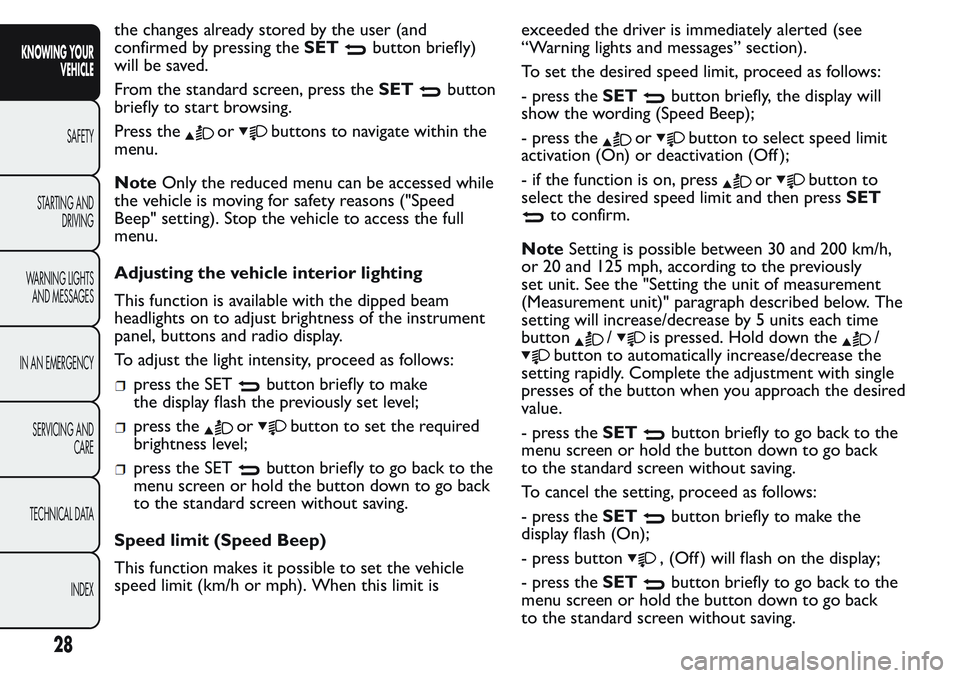
Speed limit (Speed Beep)
This function makes it possible to set the vehicle
speed limit (km/h or mph). When this limit isexceeded the driver is immediately alerted (see
“Warning lights and messages” section).
To set the desired speed limit, proceed as follows:
- press theSET
button briefly, the display will
show the wording (Speed Beep);
- press the
orbutton to select speed limit
activation (On) or deactivation (Off );
- if the function is on, press
orbutton to
select the desired speed limit and then pressSET
to confirm.
NoteSetting is possible between 30 and 200 km/h,
or 20 and 125 mph, according to the previously
set unit. See the "Setting the unit of measurement
(Measurement unit)" paragraph described below. The
setting will increase/decrease by 5 units each time
button
/is pressed. Hold down the/
button to automatically increase/decrease the
setting rapidly. Complete the adjustment with single
presses of the button when you approach the desired
value.
- press theSET
button briefly to go back to the
menu screen or hold the button down to go back
to the standard screen without saving.
To cancel the setting, proceed as follows:
- press theSET
button briefly to make the
display flash (On);
- press button
, (Off ) will flash on the display;
- press theSET
button briefly to go back to the
menu screen or hold the button down to go back
to the standard screen without saving.
28
KNOWING YOUR
VEHICLE
SAFETY
STARTING AND
DRIVING
WARNING LIGHTS
AND MESSAGES
IN AN EMERGENCY
SERVICING AND
CARE
TECHNICAL DATA
INDEX
Page 57 of 272

EXTERIOR LIGHTS
The left stalk fig. 50includes the exterior light
controls.
The exterior lights can only be switched on when
the ignition key is in MAR.
The instrument panel and the various controls on
the dashboard will be lit up when the exterior lights
are switched on.
LIGHTS OFF
Ring turned to position
.
SIDE LIGHTS - TAIL LIGHTS
Turn the ring to position
. The instrument panel
warning light
will come on.PARKING LIGHTS
These lights can be turned on only with the ignition
key at STOP or extracted by turning the ring on
the left stalk first to position
and then to positions
or.
The instrument panel warning light
will come on.
Actuate the direction indicator stalk to select the
side of the lights (right or left).
DIPPED BEAM HEADLIGHTS
Turn the ring to position
. The instrument panel
warning light
will come on.
MAIN BEAM HEADLIGHTS
With the ring in position
, pull the stalk towards
the steering wheel (2nd unstable position). The
instrument panel warning light
will come on.
To turn the main beams off, pull the stalk towards
the steering wheel again (dipped beams will turn on).
FLASHING THE HEADLIGHTS
Pull the stalk towards the steering wheel (1st
unstable position) regardless of the position of the
control.
The instrument panel warning light
will come on.
DIRECTION INDICATORS
Move the stalk to position fig. 51 (unstable):
fig. 50F0T0430
53
KNOWING YOUR
VEHICLE
SAFETY
STARTING AND
DRIVING
WARNING LIGHTS
AND MESSAGES
IN AN EMERGENCY
SERVICING AND
CARE
TECHNICAL DATA
INDEX
Page 66 of 272

changes. This function complies with the relevant
legislations currently in force.
FOG LIGHTS
(for versions/markets, where provided)
Press button
fig. 60 with the side/taillights on to
turn the fog lights on. Instrument panel warning light
comes on.
Press the button again to turn the lights off.
REAR FOG LIGHTS
Press button
fig. 60 with the dipped beams or
front fog lights on to turn the rear fog lights on.
Instrument panel warning light
comes on.
Press the button again to turn the lights off or turn
off the dipped beam headlights and/or the front
fog lights (for versions/markets, where provided).
INTERIOR FITTINGS
DRIVER SIDE ARMREST
(for versions/markets, where provided)
On some versions, the driver side front seat has an
armrest.
Raise or lower the armrest as shown by the arrows
fig. 61.
STORAGE COMPARTMENT
This is located in front of the passenger seat fig. 62.
GLOVE COMPARTMENT
(for versions/markets, where provided)
To open it, operate handle A fig. 63
fig. 60F0T0501fig. 61F0T0056
62
KNOWING YOUR
VEHICLE
SAFETY
STARTING AND
DRIVING
WARNING LIGHTS
AND MESSAGES
IN AN EMERGENCY
SERVICING AND
CARE
TECHNICAL DATA
INDEX
Page 84 of 272

HEADLIGHTS
LIGHT BEAM DIRECTION
The correct direction of the headlights is essential
for the comfort and safety of the driver and other
road users. To ensure the best visibility when
travelling with the headlights on, the headlight
alignment must be correct. Contact a Fiat Dealership
to have the direction checked and, if necessary,
adjusted.
HEADLIGHT ALIGNMENT CORRECTOR
This device works with the ignition key in the MAR
position and the dipped headlights on.
The vehicle tilts backwards when it is laden, raising
the beam.
The beams must therefore be aimed again in this
case.Adjusting headlight alignment
Press theorbuttons on the control
panelfig. 100.
The instrument panel display shows the position in
relation to the adjustment set.
Position 0 - one or two people in the front seats.
Position1-fivepeople.
Position2-fivepeople + load in the boot.
Position 3 - driver + maximum permitted load
stowed in the boot.
IMPORTANT Check the alignment of the light beams
each time the weight of the load transported
changes.
FOG LIGHT DIRECTION
(for versions/markets, where provided)
Contact a Fiat Dealership to have the direction
checked and, if necessary, adjusted.
ADJUSTING THE HEADLIGHTS WHEN
ABROAD
The dipped headlights are directed for operation in
the country where the vehicle was originally
purchased. In countries where you drive on the
other side of the road, you need to alter the beam
direction by affixing a specially designed self-adhesive
film in order not to dazzle the vehicles travelling in
the opposite direction.
fig. 100F0T0502
80
KNOWING YOUR
VEHICLE
SAFETY
STARTING AND
DRIVING
WARNING LIGHTS
AND MESSAGES
IN AN EMERGENCY
SERVICING AND
CARE
TECHNICAL DATA
INDEX