2017 FIAT 500L LIVING fog light
[x] Cancel search: fog lightPage 22 of 240
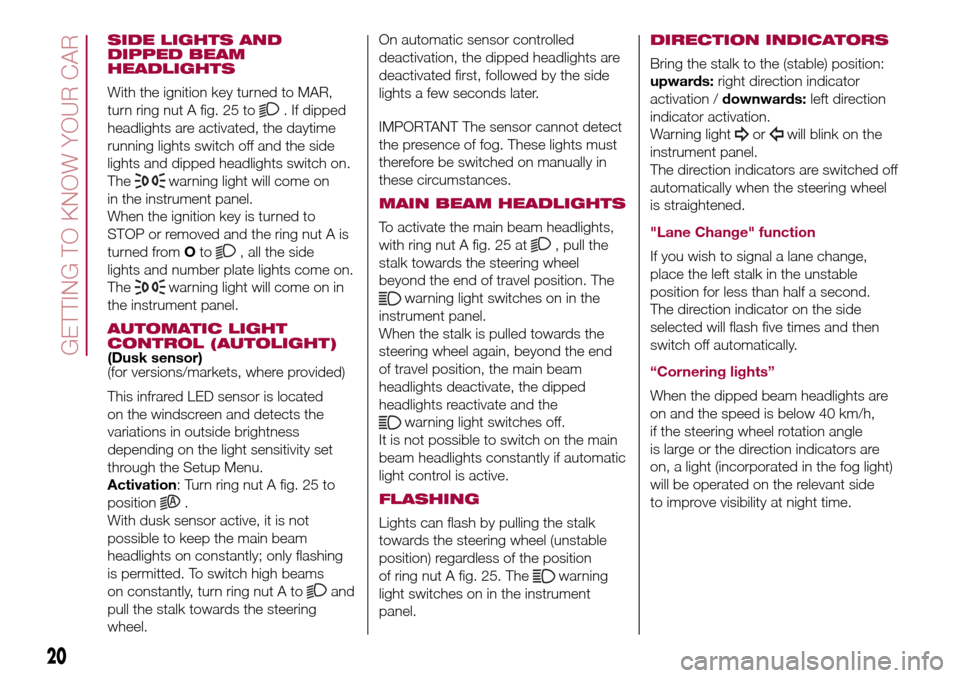
SIDE LIGHTS AND
DIPPED BEAM
HEADLIGHTS
With the ignition key turned to MAR,
turn ring nut A fig. 25 to
. If dipped
headlights are activated, the daytime
running lights switch off and the side
lights and dipped headlights switch on.
The
warning light will come on
in the instrument panel.
When the ignition key is turned to
STOP or removed and the ring nut A is
turned fromOto
, all the side
lights and number plate lights come on.
The
warning light will come on in
the instrument panel.
AUTOMATIC LIGHT
CONTROL (AUTOLIGHT)
(Dusk sensor)
(for versions/markets, where provided)
This infrared LED sensor is located
on the windscreen and detects the
variations in outside brightness
depending on the light sensitivity set
through the Setup Menu.
Activation: Turn ring nut A fig. 25 to
position
.
With dusk sensor active, it is not
possible to keep the main beam
headlights on constantly; only flashing
is permitted. To switch high beams
on constantly, turn ring nut A to
and
pull the stalk towards the steering
wheel.On automatic sensor controlled
deactivation, the dipped headlights are
deactivated first, followed by the side
lights a few seconds later.
IMPORTANT The sensor cannot detect
the presence of fog. These lights must
therefore be switched on manually in
these circumstances.
MAIN BEAM HEADLIGHTS
To activate the main beam headlights,
with ring nut A fig. 25 at
, pull the
stalk towards the steering wheel
beyond the end of travel position. The
warning light switches on in the
instrument panel.
When the stalk is pulled towards the
steering wheel again, beyond the end
of travel position, the main beam
headlights deactivate, the dipped
headlights reactivate and the
warning light switches off.
It is not possible to switch on the main
beam headlights constantly if automatic
light control is active.
FLASHING
Lights can flash by pulling the stalk
towards the steering wheel (unstable
position) regardless of the position
of ring nut A fig. 25. The
warning
light switches on in the instrument
panel.
DIRECTION INDICATORS
Bring the stalk to the (stable) position:
upwards:right direction indicator
activation /downwards:left direction
indicator activation.
Warning light
orwill blink on the
instrument panel.
The direction indicators are switched off
automatically when the steering wheel
is straightened.
"Lane Change" function
If you wish to signal a lane change,
place the left stalk in the unstable
position for less than half a second.
The direction indicator on the side
selected will flash five times and then
switch off automatically.
“Cornering lights”
When the dipped beam headlights are
on and the speed is below 40 km/h,
if the steering wheel rotation angle
is large or the direction indicators are
on, a light (incorporated in the fog light)
will be operated on the relevant side
to improve visibility at night time.
20
GETTING TO KNOW YOUR CAR
Page 54 of 240
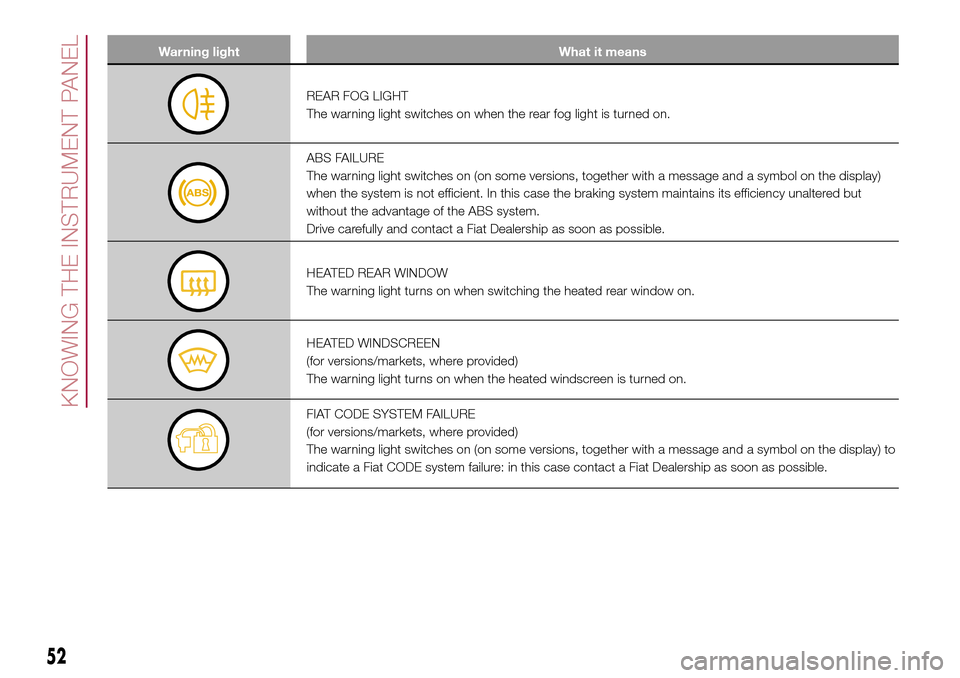
Warning light What it means
REAR FOG LIGHT
The warning light switches on when the rear fog light is turned on.
ABS FAILURE
The warning light switches on (on some versions, together with a message and a symbol on the display)
when the system is not efficient. In this case the braking system maintains its efficiency unaltered but
without the advantage of the ABS system.
Drive carefully and contact a Fiat Dealership as soon as possible.
HEATED REAR WINDOW
The warning light turns on when switching the heated rear window on.
HEATED WINDSCREEN
(for versions/markets, where provided)
The warning light turns on when the heated windscreen is turned on.
FIAT CODE SYSTEM FAILURE
(for versions/markets, where provided)
The warning light switches on (on some versions, together with a message and a symbol on the display) to
indicate a Fiat CODE system failure: in this case contact a Fiat Dealership as soon as possible.
52
KNOWING THE INSTRUMENT PANEL
Page 59 of 240
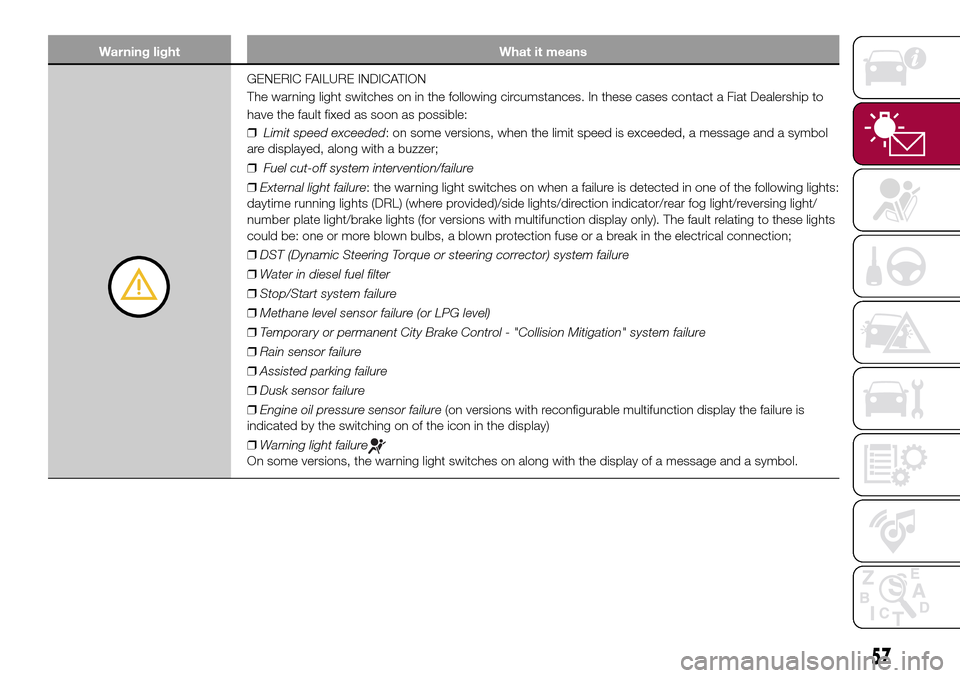
Warning light What it means
GENERIC FAILURE INDICATION
The warning light switches on in the following circumstances. In these cases contact a Fiat Dealership to
have the fault fixed as soon as possible:
❒Limit speed exceeded: on some versions, when the limit speed is exceeded, a message and a symbol
are displayed, along with a buzzer;
❒Fuel cut-off system intervention/failure
❒External light failure: the warning light switches on when a failure is detected in one of the following lights:
daytime running lights (DRL) (where provided)/side lights/direction indicator/rear fog light/reversing light/
number plate light/brake lights (for versions with multifunction display only). The fault relating to these lights
could be: one or more blown bulbs, a blown protection fuse or a break in the electrical connection;
❒DST (Dynamic Steering Torque or steering corrector) system failure
❒Water in diesel fuel filter
❒Stop/Start system failure
❒Methane level sensor failure (or LPG level)
❒Temporary or permanent City Brake Control - "Collision Mitigation" system failure
❒Rain sensor failure
❒Assisted parking failure
❒Dusk sensor failure
❒Engine oil pressure sensor failure(on versions with reconfigurable multifunction display the failure is
indicated by the switching on of the icon in the display)
❒Warning light failure
On some versions, the warning light switches on along with the display of a message and a symbol.
57
Page 60 of 240
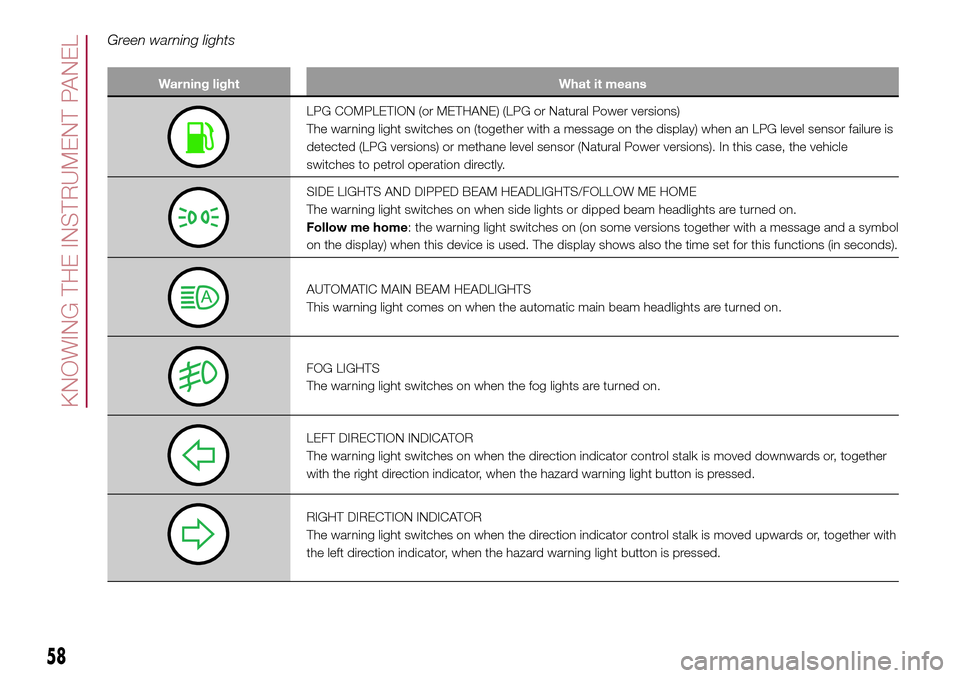
Green warning lights
Warning light What it means
LPG COMPLETION (or METHANE) (LPG or Natural Power versions)
The warning light switches on (together with a message on the display) when an LPG level sensor failure is
detected (LPG versions) or methane level sensor (Natural Power versions). In this case, the vehicle
switches to petrol operation directly.
SIDE LIGHTS AND DIPPED BEAM HEADLIGHTS/FOLLOW ME HOME
The warning light switches on when side lights or dipped beam headlights are turned on.
Follow me home: the warning light switches on (on some versions together with a message and a symbol
on the display) when this device is used. The display shows also the time set for this functions (in seconds).
AUTOMATIC MAIN BEAM HEADLIGHTS
This warning light comes on when the automatic main beam headlights are turned on.
FOG LIGHTS
The warning light switches on when the fog lights are turned on.
LEFT DIRECTION INDICATOR
The warning light switches on when the direction indicator control stalk is moved downwards or, together
with the right direction indicator, when the hazard warning light button is pressed.
RIGHT DIRECTION INDICATOR
The warning light switches on when the direction indicator control stalk is moved upwards or, together with
the left direction indicator, when the hazard warning light button is pressed.
58
KNOWING THE INSTRUMENT PANEL
Page 72 of 240
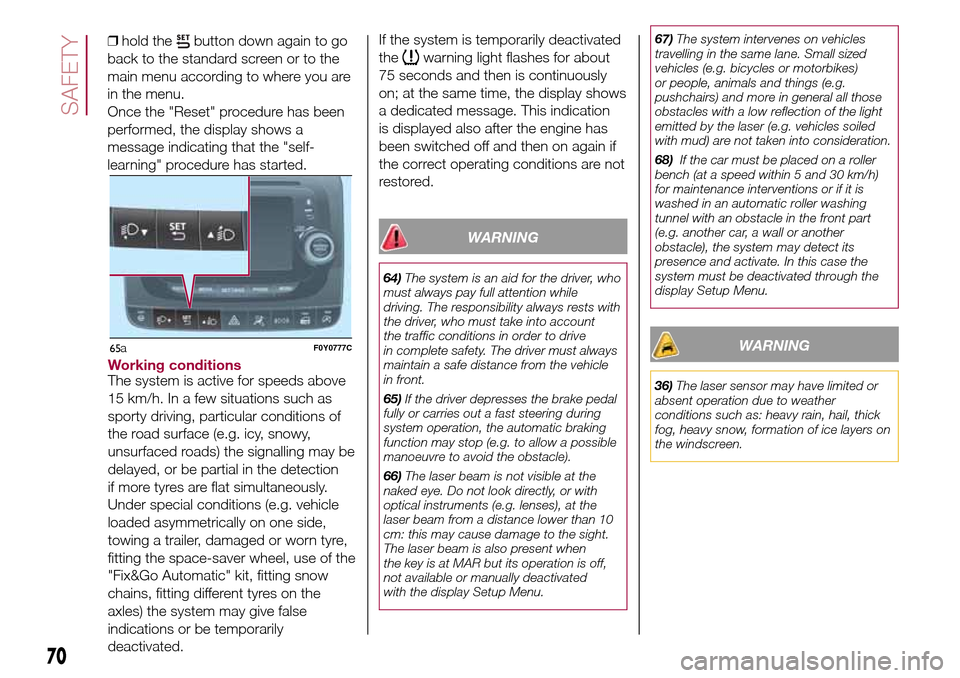
❒hold thebutton down again to go
back to the standard screen or to the
main menu according to where you are
in the menu.
Once the "Reset" procedure has been
performed, the display shows a
message indicating that the "self-
learning" procedure has started.
Working conditionsThe system is active for speeds above
15 km/h. In a few situations such as
sporty driving, particular conditions of
the road surface (e.g. icy, snowy,
unsurfaced roads) the signalling may be
delayed, or be partial in the detection
if more tyres are flat simultaneously.
Under special conditions (e.g. vehicle
loaded asymmetrically on one side,
towing a trailer, damaged or worn tyre,
fitting the space-saver wheel, use of the
"Fix&Go Automatic" kit, fitting snow
chains, fitting different tyres on the
axles) the system may give false
indications or be temporarily
deactivated.If the system is temporarily deactivated
the
warning light flashes for about
75 seconds and then is continuously
on; at the same time, the display shows
a dedicated message. This indication
is displayed also after the engine has
been switched off and then on again if
the correct operating conditions are not
restored.
WARNING
64)The system is an aid for the driver, who
must always pay full attention while
driving. The responsibility always rests with
the driver, who must take into account
the traffic conditions in order to drive
in complete safety. The driver must always
maintain a safe distance from the vehicle
in front.
65)If the driver depresses the brake pedal
fully or carries out a fast steering during
system operation, the automatic braking
function may stop (e.g. to allow a possible
manoeuvre to avoid the obstacle).
66)The laser beam is not visible at the
naked eye. Do not look directly, or with
optical instruments (e.g. lenses), at the
laser beam from a distance lower than 10
cm: this may cause damage to the sight.
The laser beam is also present when
the key is at MAR but its operation is off,
not available or manually deactivated
with the display Setup Menu.67)The system intervenes on vehicles
travelling in the same lane. Small sized
vehicles (e.g. bicycles or motorbikes)
or people, animals and things (e.g.
pushchairs) and more in general all those
obstacles with a low reflection of the light
emitted by the laser (e.g. vehicles soiled
with mud) are not taken into consideration.
68)If the car must be placed on a roller
bench (at a speed within 5 and 30 km/h)
for maintenance interventions or if it is
washed in an automatic roller washing
tunnel with an obstacle in the front part
(e.g. another car, a wall or another
obstacle), the system may detect its
presence and activate. In this case the
system must be deactivated through the
display Setup Menu.
WARNING
36)The laser sensor may have limited or
absent operation due to weather
conditions such as: heavy rain, hail, thick
fog, heavy snow, formation of ice layers on
the windscreen.
70
SAFETY
65F0Y0777Ca
Page 119 of 240
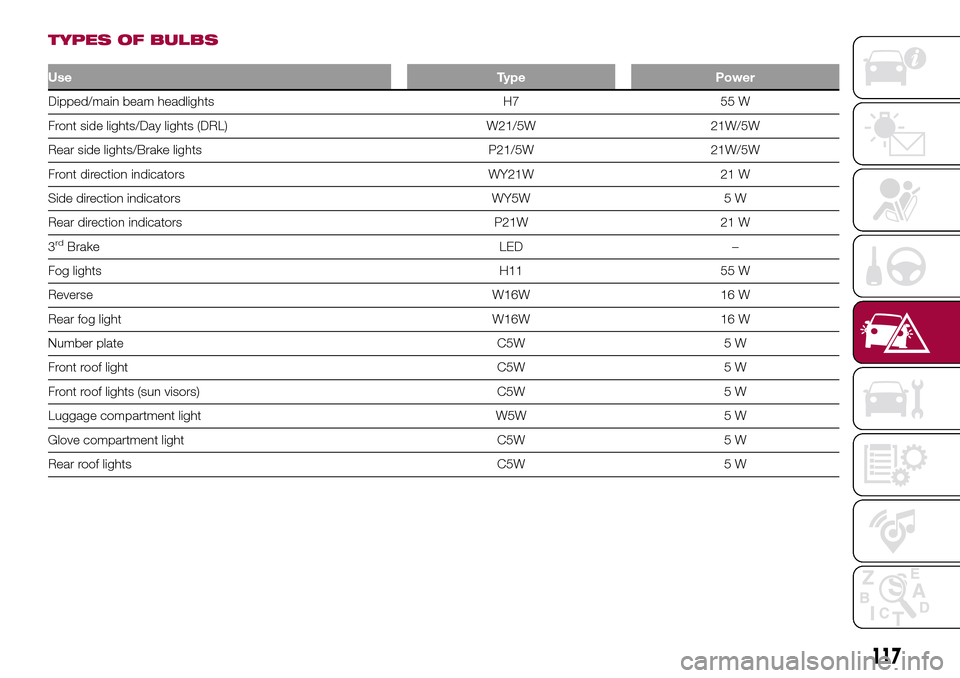
TYPES OF BULBS
UseType Power
Dipped/main beam headlights H7 55 W
Front side lights/Day lights (DRL) W21/5W 21W/5W
Rear side lights/Brake lights P21/5W 21W/5W
Front direction indicators WY21W 21 W
Side direction indicators WY5W 5 W
Rear direction indicators P21W 21 W
3
rdBrake LED –
Fog lights H11 55 W
Reverse W16W 16 W
Rear fog light W16W 16 W
Number plate C5W 5 W
Front roof light C5W 5 W
Front roof lights (sun visors) C5W 5 W
Luggage compartment light W5W 5 W
Glove compartment light C5W 5 W
Rear roof lights C5W 5 W
117
Page 122 of 240
❒refit the cluster making sure that the
internal catch B fig. 125 clips into
position.
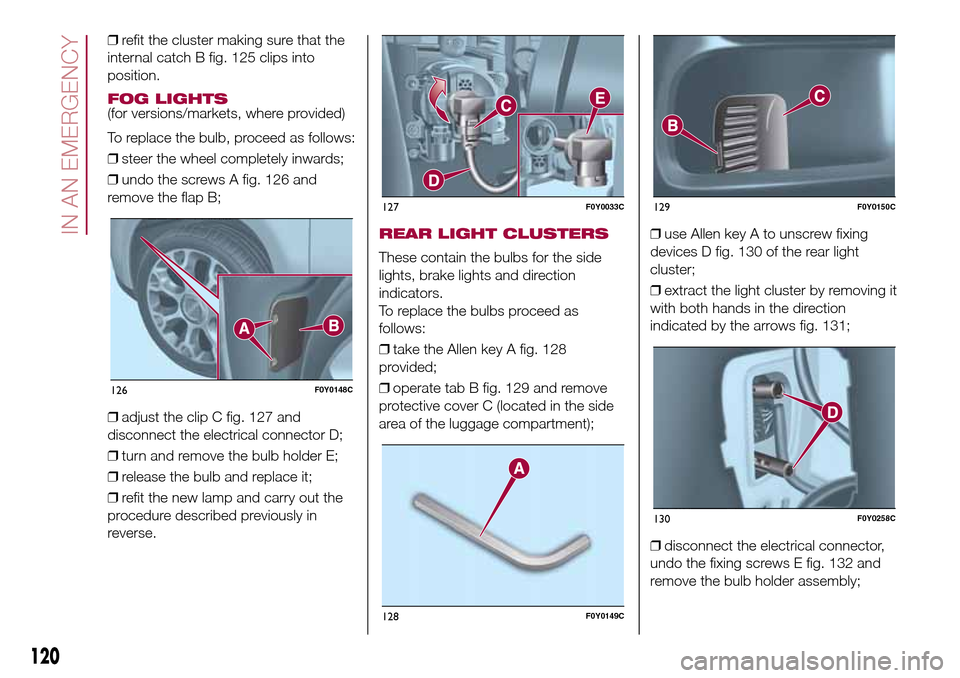
FOG LIGHTS(for versions/markets, where provided)
To replace the bulb, proceed as follows:
❒steer the wheel completely inwards;
❒undo the screws A fig. 126 and
remove the flap B;
❒adjust the clip C fig. 127 and
disconnect the electrical connector D;
❒turn and remove the bulb holder E;
❒release the bulb and replace it;
❒refit the new lamp and carry out the
procedure described previously in
reverse.
REAR LIGHT CLUSTERS
These contain the bulbs for the side
lights, brake lights and direction
indicators.
To replace the bulbs proceed as
follows:
❒take the Allen key A fig. 128
provided;
❒operate tab B fig. 129 and remove
protective cover C (located in the side
area of the luggage compartment);❒use Allen key A to unscrew fixing
devices D fig. 130 of the rear light
cluster;
❒extract the light cluster by removing it
with both hands in the direction
indicated by the arrows fig. 131;
❒disconnect the electrical connector,
undo the fixing screws E fig. 132 and
remove the bulb holder assembly;
126F0Y0148C
127F0Y0033C
128F0Y0149C
129F0Y0150C
130F0Y0258C
120
IN AN EMERGENCY
Page 123 of 240
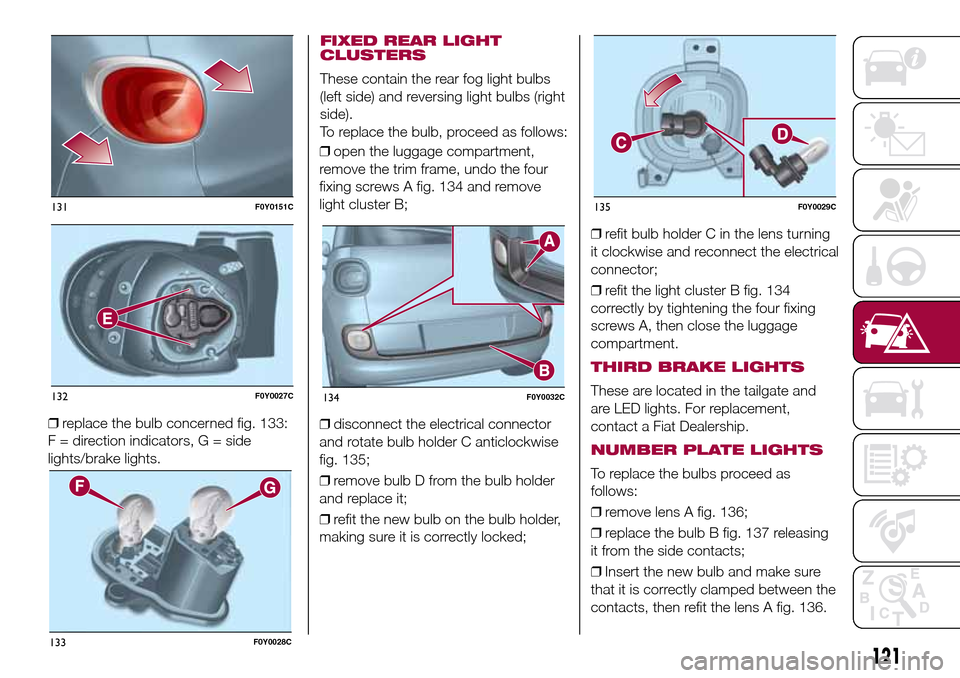
❒replace the bulb concerned fig. 133:
F = direction indicators, G = side
lights/brake lights.❒open the luggage compartment,
remove the trim frame, undo the four
fixing screws A fig. 134 and remove
light cluster B;
❒disconnect the electrical connector
and rotate bulb holder C anticlockwise
fig. 135;
❒remove bulb D from the bulb holder
and replace it;
❒refit the new bulb on the bulb holder,
making sure it is correctly locked;❒refit bulb holder C in the lens turning
it clockwise and reconnect the electrical
connector;
❒refit the light cluster B fig. 134
correctly by tightening the four fixing
screws A, then close the luggage
compartment.
THIRD BRAKE LIGHTS
These are located in the tailgate and
are LED lights. For replacement,
contact a Fiat Dealership.
NUMBER PLATE LIGHTS
To replace the bulbs proceed as
follows:
❒remove lens A fig. 136;
❒replace the bulb B fig. 137 releasing
it from the side contacts;
❒Insert the new bulb and make sure
that it is correctly clamped between the
contacts, then refit the lens A fig. 136.
131F0Y0151C
132F0Y0027C
133F0Y0028C
134F0Y0032C
135F0Y0029C
121
FIXED REAR LIGHT
CLUSTERS
These contain the rear fog light bulbs
(left side) and reversing light bulbs (right
side).
To replace the bulb, proceed as follows: