2017 FIAT 124 SPIDER light
[x] Cancel search: lightPage 62 of 300
8. At the garage door opener receiver
(motor-head unit) in the garage, locate
the “learn” or “smart” button. This can
usually be found where the hanging
antenna wire is attached to the
motorhead unit.
9. Firmly press and release the “learn”
or “smart” button (the name and color
of the button may vary by
manufacturer).
Note:Complete the programming
within 30 seconds.
10. Return to the vehicle and firmly
press, hold for two seconds and
release the programmed HomeLink
button. Repeat the “ press/hold/
release” sequence a second time, and,
depending on the brand of the garage
door opener (or other rolling code
equipped device), repeat this sequence
a third time to complete the
programming process. HomeLink
should now activate your rolling code
equipped device.
Note:
To program the remaining two
HomeLink buttons, begin with
“Programming” - step one.
For questions or comments,
please contact HomeLink at
www.homelink.com or
1-800-355-3515 .Gate Operator/Canadian
Programming
Canadian radio-frequency laws require
transmitter signals to “time-out” (or quit)
after several seconds of transmission -
which may not be long enough for
HomeLink to pick up the signal during
programming.
Similar to this Canadian law, some U.S.
gate operators are designed to
“time-out” in the same manner.
If you live in Canada or you are having
difficulties programming a gate operator
by using the “Programming”
procedures (regardless of where you
live), replace “Programming HomeLink”
step three with the following:
Note:If programming a garage door
opener or gate operator, it is advised to
unplug the device during the “cycling”
process to prevent possible
overheating.
1. Continue to press and hold the
HomeLink button while you press and
release -every two seconds (“cycle”)
your hand-held transmitter until the
frequency signal has successfully been
accepted by HomeLink (the indicator
light will flash slowly and then rapidly).
2. Proceed with the “Programming”
steps to complete.
Operating The System
Press the programmed HomeLink
button to operate a programmed
device.
The code will continue being
transmitted for a maximum of
20 seconds.
Reprogramming The
System
To program a device to HomeLink using
a HomeLink button previously trained,
follow these steps:
1. Press and hold the desired
HomeLink button. DO NOTrelease the
button;
2. The indicator light will begin to flash
after 20 seconds. Without releasing the
HomeLink button, proceed with
“Programming” - step one.
Erasing Programmed
Homelink Buttons
To erase the existing programming from
all three operating channels, press and
hold the two outside buttons 1 and
3 on the auto-dimming mirror until the
HomeLink indicator light begins to flash
after approximately 10 seconds.
Verify that the programming has been
erased when you resell the vehicle.
60
GETTING TO KNOW YOUR VEHICLE
Page 63 of 300
INTERNAL
EQUIPMENT
Storage Compartments
Center Console
The center console is located between
the driver and passenger seats.
Warning!
Keep storage compartments closed when
driving. Driving with the storage
compartments open is dangerous. To
reduce the possibility of injury in an
accident or a sudden stop, keep the
storage compartments closed when
driving.
Caution!
Do not leave lighters or eyeglasses in the
storage compartments while parked under
the sun. A lighter could explode or the
plastic material in eyeglasses could deform
and crack from high temperature.
Seat Side Compartment
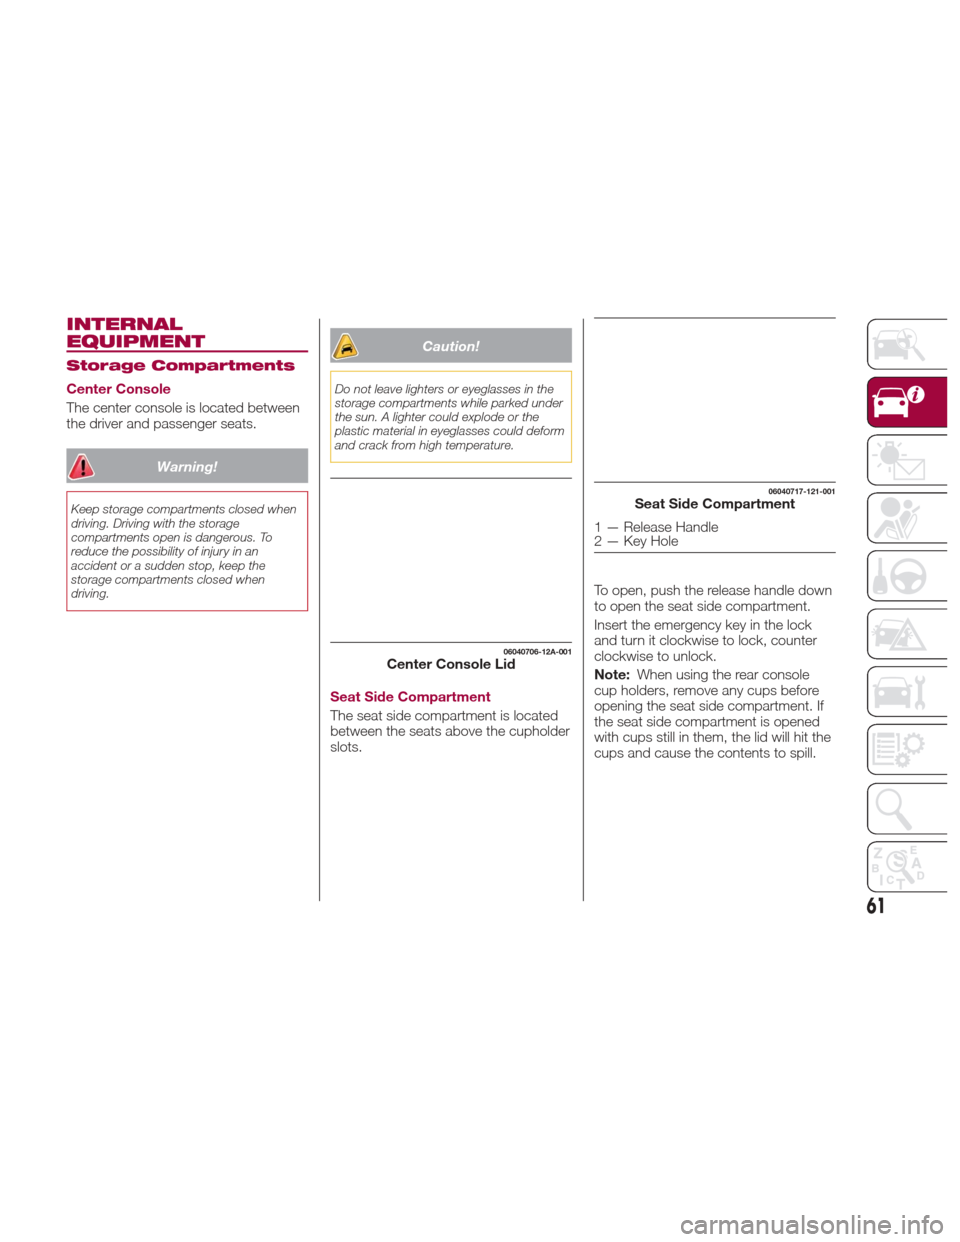
The seat side compartment is located
between the seats above the cupholder
slots.To open, push the release handle down
to open the seat side compartment.
Insert the emergency key in the lock
and turn it clockwise to lock, counter
clockwise to unlock.
Note:
When using the rear console
cup holders, remove any cups before
opening the seat side compartment. If
the seat side compartment is opened
with cups still in them, the lid will hit the
cups and cause the contents to spill.
06040706-12A-001Center Console Lid
06040717-121-001Seat Side Compartment
1 — Release Handle
2 — Key Hole
61
Page 64 of 300
Back Trim Storage Compartment
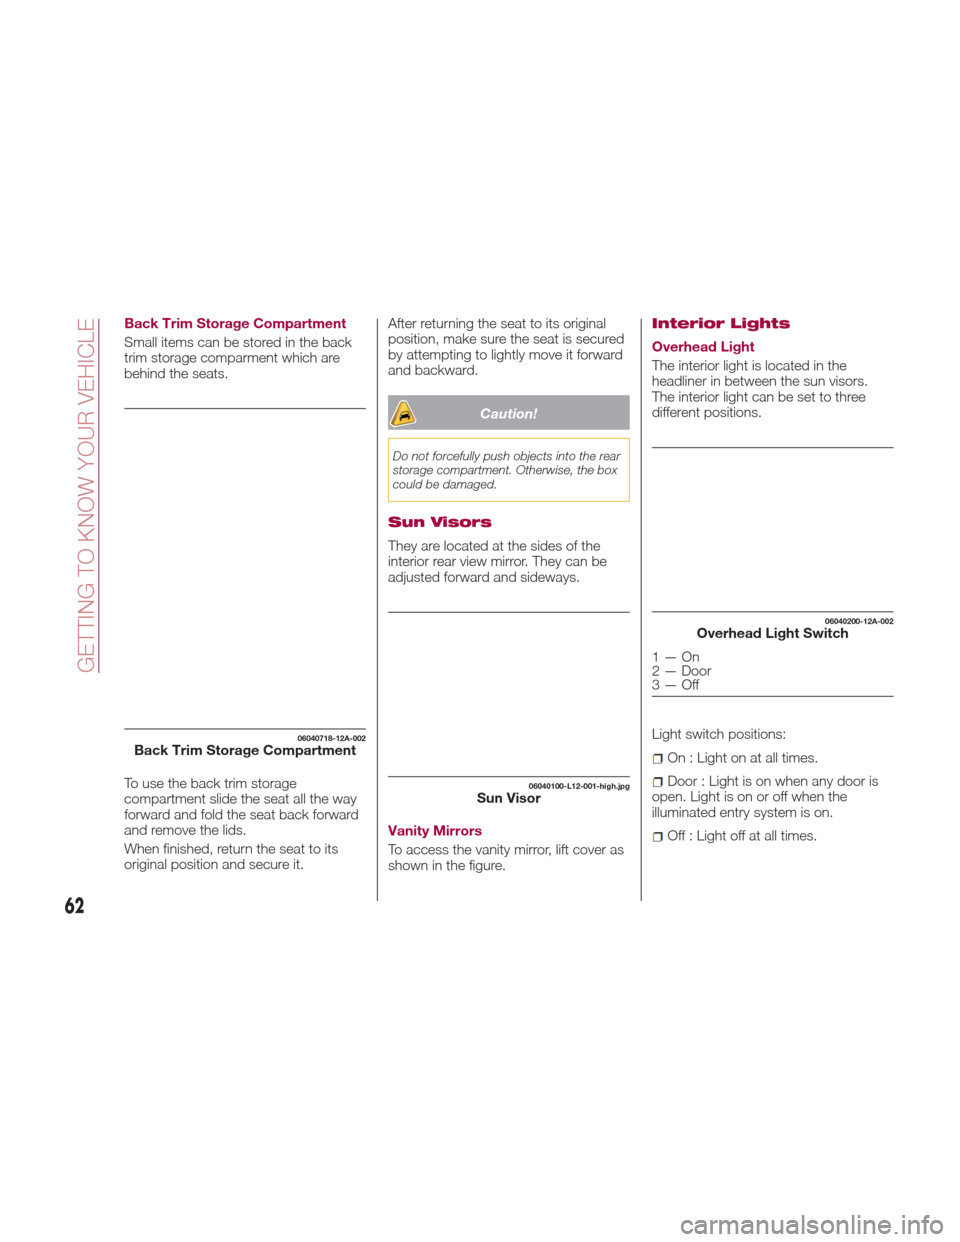
Small items can be stored in the back
trim storage comparment which are
behind the seats.
To use the back trim storage
compartment slide the seat all the way
forward and fold the seat back forward
and remove the lids.
When finished, return the seat to its
original position and secure it.After returning the seat to its original
position, make sure the seat is secured
by attempting to lightly move it forward
and backward.
Caution!
Do not forcefully push objects into the rear
storage compartment. Otherwise, the box
could be damaged.
Sun Visors
They are located at the sides of the
interior rear view mirror. They can be
adjusted forward and sideways.
Vanity Mirrors
To access the vanity mirror, lift cover as
shown in the figure.
Interior Lights
Overhead Light
The interior light is located in the
headliner in between the sun visors.
The interior light can be set to three
different positions.
Light switch positions:
On : Light on at all times.
Door : Light is on when any door is
open. Light is on or off when the
illuminated entry system is on.
Off : Light off at all times.
06040718-12A-002Back Trim Storage Compartment
06040100-L12-001-high.jpgSun Visor
06040200-12A-002Overhead Light Switch
1—On
2 — Door
3—Off
62
GETTING TO KNOW YOUR VEHICLE
Page 65 of 300
Trunk Light
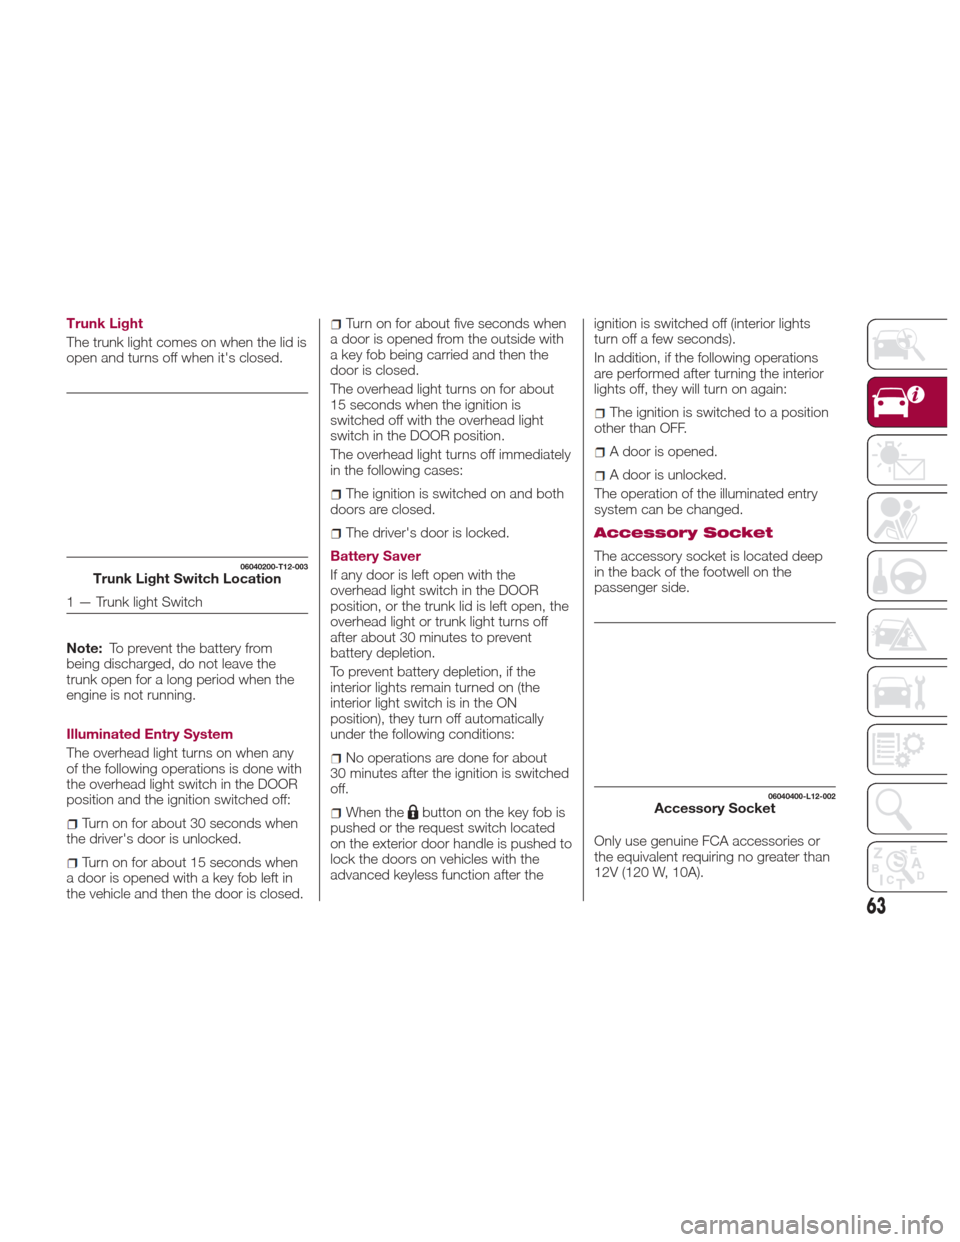
The trunk light comes on when the lid is
open and turns off when it's closed.
Note:To prevent the battery from
being discharged, do not leave the
trunk open for a long period when the
engine is not running.
Illuminated Entry System
The overhead light turns on when any
of the following operations is done with
the overhead light switch in the DOOR
position and the ignition switched off:
Turn on for about 30 seconds when
the driver's door is unlocked.
Turn on for about 15 seconds when
a door is opened with a key fob left in
the vehicle and then the door is closed.
Turn on for about five seconds when
a door is opened from the outside with
a key fob being carried and then the
door is closed.
The overhead light turns on for about
15 seconds when the ignition is
switched off with the overhead light
switch in the DOOR position.
The overhead light turns off immediately
in the following cases:
The ignition is switched on and both
doors are closed.
The driver's door is locked.
Battery Saver
If any door is left open with the
overhead light switch in the DOOR
position, or the trunk lid is left open, the
overhead light or trunk light turns off
after about 30 minutes to prevent
battery depletion.
To prevent battery depletion, if the
interior lights remain turned on (the
interior light switch is in the ON
position), they turn off automatically
under the following conditions:
No operations are done for about
30 minutes after the ignition is switched
off.
When thebutton on the key fob is
pushed or the request switch located
on the exterior door handle is pushed to
lock the doors on vehicles with the
advanced keyless function after the ignition is switched off (interior lights
turn off a few seconds).
In addition, if the following operations
are performed after turning the interior
lights off, they will turn on again:
The ignition is switched to a position
other than OFF.
A door is opened.
A door is unlocked.
The operation of the illuminated entry
system can be changed.
Accessory Socket
The accessory socket is located deep
in the back of the footwell on the
passenger side.
Only use genuine FCA accessories or
the equivalent requiring no greater than
12V (120 W, 10A).06040200-T12-003Trunk Light Switch Location
1 — Trunk light Switch
06040400-L12-002Accessory Socket
63
Page 66 of 300
The ignition must be switched to ACC
or ON.
To prevent accessory socket damage
or electrical failure, pay attention to the
following:
Do not use accessories that require
more than 12V (120 W, 10A).
Do not use accessories that are not
genuine FCA accessories or the
equivalent.
Close the cover when the accessory
socket is not in use to prevent foreign
objects and liquids from getting into the
accessory socket.
Correctly insert the plug into the
accessory socket.
Do not insert the cigarette lighter into
the accessory socket.
Noise may occur on the audio
playback depending on the device
connected to the accessory socket.
Depending on the device connected
to the accessory socket, the vehicle's
electrical system may be affected,
which could cause the warning light to
illuminate. Disconnect the connected
device and make sure that the problem
is resolved. If the problem is resolved,
disconnect the device from the socket
and switch the ignition off. If the
problem is not resolved, contact an
Authorized Dealership. Note:
To prevent discharging of the
battery, do not use the socket for long
periods with the engine off or idling.
Warning!
To avoid serious injury or death:Only devices designed for use in this
type of outlet should be inserted into any
12 Volt outlet.
Do not touch with wet hands.
Close the lid when not in use and while
driving the vehicle.
If this outlet is mishandled, it may cause
an electric shock and failure.
Cupholders — If
Equipped
Cupholders are available and can be
inserted in the center console on the
passenger side and the rear area of the
center console.
Warning!
Never use a cup holder to hold hot liquids
while the vehicle is moving. Using a cup
holder to hold hot liquids while the vehicle
is moving is dangerous. If the contents
spill, you could be burned.
GUID-06040500L21002Cupholders
1 — Front Cup Holder
2 — Rear Cup Holder (If Equipped)
64
GETTING TO KNOW YOUR VEHICLE
Page 73 of 300
5. Remove the striker from the anchor.
Note:The power windows go down
automatically when the convertible top
is opened. If the power windows do not
go down automatically, fully open the
windows using the switch on the doors. 6. Standing outside of the vehicle, hold
the convertible top along the front edge
and pull it toward the rear of the vehicle.
To lower the convertible top from inside
the vehicle, use the convertible top
handles.
7. Move the convertible top rearward
and while pushing the rear glass lightly
with your hand.
8. With the back end of the convertible
top pushed down, push the front end
until a latching sound is heard. Lightly
rock the retracted convertible top to
make sure it is securely locked.
Warning!
Always keep your hands and fingers
away from the fastening mechanisms when
moving the convertible top: it is dangerous
to place your hands or fingers near the
fastening mechanisms. Your hands or
fingers could be caught and injured by the
mechanism.
Sit in the seat with the seat belt correctly
fastened when the vehicle is moving:
standing in the vehicle, or sitting on the
convertible top storage area or center
console when the vehicle is moving is a
dangerous way to ride. During a sudden
manoeuvre or collision you could be
seriously injured or even killed.
04110102-L22-002Removing Striker From Anchor
4 — Striker
5 — Anchor
04110102-123-002Convertible Top Handles
6 — Handles
04110102-126-001Retracted Convertible Top
71
Page 76 of 300
Caution!
Before opening the convertible top,
make sure the rear window defroster
switch is turned off. Otherwise the heat
generated from the window defroster
could damage the convertible top and the
internal material.
Make sure nothing is on the convertible
top or near the back window when raising
or lowering the convertible top. Even small
objects may interfere and cause damage.
Do not drive through an automatic car
wash; it may damage the convertible top.
Do not raise or lower the convertible top
when the temperature is below 41 °F
(5 °C); this will damage the convertible top
material.
Do not lower the convertible top when
it's wet. If the convertible top dries while
folded, it will deteriorate and mold.
Do not raise or lower the convertible top
in a strong wind as it could damage the
convertible top or cause an unexpected
accident.
ELECTRIC POWER
STEERING
Power Steering
Electric power steering is only operable
when the engine is running.
If the engine is off or if the power
steering system is inoperable, you can
still steer, but it requires more physical
effort.
If the steering feels stiffer than usual
during normal driving or the steering
vibrates, contact your Authorized
Dealer.
The
warning light notifies the driver
of system abnormalities and operation
conditions.
Note: Never hold the steering wheel to
the extreme left or right for more than
five seconds with the engine running.
This could damage the power steering
system.
ENVIRONMENT
PROTECTION
SYSTEMS
Emission Control System
This vehicle is equipped with an
emission control system (the catalytic
converter is part of this system) that
enables the vehicle to comply with
existing exhaust emissions
requirements.
Ignoring the following precautions could
cause lead to accumulate on the
catalyst inside the converter or cause
the converter to get very hot. Either
condition will damage the converter and
cause poor performance:
USE ONLY UNLEADED FUEL.
Do not drive your vehicle with any
sign of engine malfunction.
Do not coast with the ignition off.
Do not descend steep grades in gear
with the ignition off.
Do not operate the engine at high
idle for more than two minutes.
74
GETTING TO KNOW YOUR VEHICLE
Page 78 of 300
GETTING TO KNOW YOUR INSTRUMENT PANEL
ONBOARD DIAGNOSTIC
SYSTEM — OBD II...........77
CONTROL PANEL AND
INSTRUMENTS..............78
MAINTENANCE MONITOR —
IF EQUIPPED ...............85
FUEL ECONOMY MONITOR —
IF EQUIPPED ...............88
WARNING LIGHTS AND
MESSAGES ................90
PERSONALIZATION FEATURES . .108
76
GETTING TO KNOW YOUR INSTRUMENT PANEL