2017 FIAT 124 SPIDER run flat
[x] Cancel search: run flatPage 34 of 300
Settings Changing
Settings can be changed using the
following procedure:
1. Safely park the vehicle. Both doors
must remain closed.
2. Place the ignition in the ON position.
3. Push and hold the lock side of the
driver's door-lock switch within
20 seconds of placing the ignition in the
ON position, and make sure a beep
sound is heard about eight seconds
afterwards.
4. Refer to the auto lock/unlock
function setting table, determine the
function number for the desired setting.
Push the unlock side of the driver's
door-lock switch the same number of
times as the selected function number
(example: if you select function 2, push
the unlock side of the switch only two
times).
5. Three seconds after the function
setting has been changed, a beep
sound will beep in the amount of the
selected function number (example:
Function number 3 = three beep
sounds). Automatic Transmission Vehicles
The doors cannot be locked or
unlocked while the setting
function is being performed.
The procedure can be cancelled by
pushing the lock side of the door-lock
switch.
Note:
The vehicle lock-out prevention
feature prevents you from locking
yourself out of the vehicle. Both doors,
trunk lid, and the fuel filler door will
automatically unlock if they are locked
using the power door locks with any
door open. If both the doors are closed
even though the trunk lid is open, both
the doors and the fuel filler door will
lock.
Door Unlock (Control) System
With Collision Detection — if
equipped : this system automatically
unlocks the doors, trunk lid, and the
fuel filler door in the event the vehicle is
involved in an accident to allow
passengers to get out of the vehicle
immediately and prevent being trapped
inside. While the ignition is placed in the ON position and in the event the
vehicle receives an impact strong
enough to inflate the air bags, both the
doors, the trunk lid, and fuel filler door
are automatically unlocked after about
six seconds have elapsed from the
time of the accident. The doors, trunk
lid, and the fuel filler door may not
unlock depending on how an impact is
applied, the force of the impact, and
other conditions of the accident. If
door-related systems or the battery is
malfunctioning, the doors, trunk lid,
and the fuel filler door will not unlock.
When opening a door, the power
windows open a little automatically.
When closing the door, the power
windows close automatically. This is a
function for improving the sealing of
the window, and it does not mean
there is a problem. If the vehicle battery
is disconnected for vehicle
maintenance or other reasons, the
power windows will not open or close
automatically. If the power windows do
not open or close, the automatic
open/close mechanism for the
windows must be reset.
32
GETTING TO KNOW YOUR VEHICLE
Page 109 of 300
Key Left-In-Vehicle Warning Beep
(with the advanced keyless function)
If a key fob is left in the vehicle and all
the doors and the trunk are locked
using a separate key fob, a beep sound
is heard for about 10 seconds to
remind the driver that the key fob has
been left in the vehicle.
If this happens, open the door and
remove the key fob. A key fob removed
from the vehicle this way may not
function because its functions may
have been temporarily suspended.
Perform the applicable procedure to
restore the functions of the key fob (see
paragraph “Keys” in “Getting To Know
Your Vehicle” chapter).
Vehicle Speed Alarm — If equipped
The vehicle speed alarm function is
designed to alarm the driver via a single
beep sound and a warning indication in
the instrument cluster that the
previously set vehicle speed has been
exceeded.
You can change the vehicle speed
setting at which the warning is triggered
(see paragraph “Trip Computer” in
“Getting To Know Your Vehicle”
chapter).Tire Inflation Pressure Warning
Beep — If Equipped
Vehicle With Conventional Tires
: the
warning beep sound will be heard for
about 3 seconds when there is any
abnormality in tire inflation pressures
(see “TMPS” in “Safety” chapter).
Vehicle With Run-Flat Tires (If
Equipped): the warning beep sound will
be heard for about 3 seconds if the tire
pressures decrease. If the tire pressure
decreases extremely, a beep sound will
be heard for approximately 30 seconds
(see “TMPS” in “Safety” chapter).
Blind Spot Monitoring (BSM)
System Warning Beep — If
Equipped
Driving Forward : the warning beep
operates when the direction indicator
lever is operated to the side where the
Blind Spot Monitoring (BSM) warning
light is illuminated.
Note: A personalized function is
available to change the Blind Spot
Monitoring (BSM) warning beep sound
volume. Reversing
: if a moving object such as
a vehicle or two-wheeled vehicle
approaches on the left or right from
behind your vehicle, the Blind Spot
Monitoring (BSM) warning sound is
activated.
Electronic Steering Lock Warning
Beep
The warning beep operates if the
steering wheel is not unlocked after the
keyless ignition START/STOP button is
pushed.
Speed Limiter Warning Beep — If
Equipped
If the vehicle speed exceeds the set
speed by about 2 MPH (3 km/h) or
more, a warning beep operates
continuously.
The warning beep operates until the
vehicle speed decreases to the set
speed or less.
107
Page 122 of 300

A run-flat tire, snow tire, or tire chains
are used.
An emergency tire is used (thewarning light may flash and then
continue illuminating).
A tire is repaired using the
emergency flat tire repair kit.
The tire pressure is excessively
higher than the specified pressure, or
the tire pressure is suddenly lowered for
some reason such as a tire burst during
driving.
The vehicle speed is lower than
about 9 mph (15 km/h) (including when
the vehicle is stopped), or the drive
period is shorter than 5 minutes.
The vehicle is driven on an extremely
rough road or a slippery, icy road.
Hard steering and rapid
acceleration/deceleration are repeated
such as during aggressive driving on a
winding road.
Load on the vehicle is applied to a
tire such as by loading heavy luggage
to one side of the vehicle.
System initialization has not been
implemented with the specified tire
pressure. Tire Pressure Monitoring System
Initialization
In the following cases, system
initialization must be performed so that
the system operates normally:
A tire pressure is adjusted.
A tire rotation is performed. A tire or
wheel is replaced.
The battery is replaced or completely
discharged.
Thewarning light is illuminated.
Initialization Method
Proceed as follows:
1. Park the car in a safe place and
firmly apply the parking brake.
2. Be sure the tires are cool, then
adjust the tire pressure of all four (4)
tires to the specified pressure indicated
on the tire placard label located on the
driver's door frame (door open).
3. Place the ignition in the ON mode.
4. While the vehicle is parked, press
and hold the TPMS system set switch
and verify that the
warning light in
the instrument cluster flashes twice and
a beep sound is heard once. Note:
If the system initialization is
performed without adjusting the tire
pressure, the system cannot detect the
normal tire pressure and it may not
illuminate the
warning light even if a
tire pressure is low, or it may illuminate
the light even if the pressures are
normal.
Adjust the tire pressure on all four
tires and initialize the system when the
warning light is turned on. If the
warning light turns on for a reason
other than a flat tire, the tire pressure of
all four tires may have decreased
naturally.
The system initialization will not be
performed if the switch is pressed
while the vehicle is being driven.
05120101-12A-001TPMS Set Switch
120
SAFETY
Page 147 of 300

If the passenger air bag deactivation
indicator light does not turn on when
the ignition is switched ON and does
not turn on as indicated in the
passenger air bag deactivation indicator
light on/off condition chart, do not allow
an occupant to sit in the passenger
seat and contact an Authorized
Dealership as soon as possible. The
system may not work properly in an
accident.
Warning!
If a child restraint system, child, small
teenager or adult in the front passenger
seat is seated improperly, the occupant
may provide an output signal to the
occupant classification sensor that is
different from the occupant’s properly
seated weight input. This may result in
serious injury or death in a collision.
Warning!
Never place a rear-facing child restraint
in front of an air bag. A deploying
passenger front air bag can cause death or
serious injury to a child 12 years or
younger, including a child in a rear-facing
child restraint.
Only use a rear-facing child restraint in a
vehicle with a rear seat.
Children 12 years or younger should
always ride buckled up in a vehicle with a
rear seat.
Warning!
No objects should be placed over or
near the air bag on the instrument panel or
steering wheel because any such objects
could cause harm if the vehicle is in a
collision severe enough to cause the air
bag to inflate.
Do not put anything on or around the air
bag covers or attempt to open them
manually. You may damage the air bags
and you could be injured because the air
bags may no longer be functional. The
protective covers for the air bag cushions
are designed to open only when the air
bags are inflating.
Relying on the air bags alone could lead
to more severe injuries in a collision. The air
bags work with your seat belt to restrain
you properly. In some collisions, air bags
won’t deploy at all. Always wear your seat
belts even though you have air bags.
Maintaining Your Air Bag
System
Warning!
Modifications to any part of the air bag
system could cause it to fail when you
need it. You could be injured if the air bag
system is not there to protect you. Do not
modify the components or wiring, including
adding any kind of badges or stickers to
the steering wheel hub trim cover or the
upper right side of the instrument panel. Do
not modify the front bumper, vehicle body
structure, or add aftermarket side steps or
running boards.
It is dangerous to try to repair any part
of the air bag system yourself. Be sure to
tell anyone who works on your vehicle that
it has an air bag system.
Do not attempt to modify any part of
your air bag system. The air bag may inflate
accidentally or may not function properly if
modifications are made. Take your vehicle
to an authorized dealer for any air bag
system service. If your seat, including your
trim cover and cushion, needs to be
serviced in any way (including removal or
loosening/tightening of seat attachment
bolts), take the vehicle to your authorized
dealer. Only manufacturer approved seat
accessories may be used. If it is necessary
to modify the air bag system for persons
with disabilities, contact your authorized
dealer.
145
Page 180 of 300
Improper weight distributions can have
an adverse effect on the way your
vehicle steers and handles and the way
the brakes operate.
Caution!
Do not load your vehicle any heavier than
the GVWR or the maximum front and rear
GAWR. If you do, parts on your vehicle can
break, or it can change the way your
vehicle handles. This could cause you to
lose control. Also overloading can shorten
the life of your vehicle.
TOWING TRAILERS
Trailer Towing
Your car is not designed for towing.
Recreational Towing
An example of "recreational towing" is
towing your vehicle behind a
motorhome.
The transmission is not designed for
towing this vehicle on all four wheels.
Caution!
DO NOT flat tow this vehicle. Damage
to the drivetrain will result. If this vehicle
requires towing, make sure the drive
wheels are OFF the ground.
Ensure that the Parking Brake is
released, and remains released, while
being towed.
Towing this vehicle in violation of the
above requirements can cause severe
transmission damage. Damage from
improper towing is not covered under the
New Vehicle Limited Warranty.
DRIVING TIPS
Engine Break-In
Recommendation
No special break-in is necessary, but a
few precautions in the first 620 miles
(1000 km) may add to the performance,
economy, and life of the vehicle:
Do not race the engine.
Do not maintain one constant speed,
either slow or fast, for a long period of
time.
Do not drive constantly at full-throttle
or high engine rpm for extended
periods of time.
Avoid unnecessary hard stops.
Avoid full-throttle starts.
Saving Fuel And
Protection Of The
Environment
How you operate your vehicle
determines how far it will travel on a
tank of fuel.
Use these suggestions to help save fuel
andreduceCO
2:
Avoid long warm-ups. Once the
engine runs smoothly, begin driving.
Avoid fast starts.
Drive at lower speeds.
Anticipate when to apply the brakes
(avoid sudden braking).
178
STARTING AND OPERATING
Page 183 of 300

Note:
Remove snow before driving. Snow
left on the windshield is dangerous as
it could obstruct vision.
Drive slowly. Braking performance
can be adversely affected if snow or
ice adheres to the brake components.
If this situation occurs, drive the vehicle
slowly, releasing the accelerator pedal
and lightly applying the brakes several
times until the brake performance
returns to normal.
Do not open or close the soft top when
the temperature is 41 °F (5 °C) or less.
The material of the soft top could be
damaged by freezing.
Do not apply excessive force to a
window scraper when removing ice or
frozen snow on the mirror glass and
windshield.
Never use warm or hot water for
removing snow or ice from windows
and mirrors as it could result in the
glass cracking.
Snow Tires
If your vehicle is equipped with the tire
pressure monitoring system (vehicle
with run-flat tires), the system may not
function correctly when using tires with
steel wire reinforcement in the
sidewalls. Use Snow Tires on all Four Wheels
:
Do not exceed the maximum
permissible speed for your snow tires or
legal speed limits.
When snow tires are used, select the
specified size and pressure.
Tire Chains
Check local regulations before using tire
chains.
If your vehicle is equipped with the
TPMS system, the system may not
function correctly when using tire
chains.
Install the chains on the rear tires only.
Do not use chains on the front tires.
Note:
Chains may affect handling.
Do not go faster than 30 mph
(50 km/h) or the chain manufacturer's
recommended limit, whichever is lower.
Drive carefully and avoid bumps,
holes, and sharp turns.
Avoid locked-wheel braking.
Do not use chains on roads that are
free of snow or ice. The tires and
chains could be damaged.
Chains may scratch or chip
aluminium wheels.
Warning!
Using tires of different size and type (M+S,
Snow) between front and rear axles can
cause unpredictable handling. You could
lose control and have a collision.
Caution!
To avoid damage to your vehicle or tires,
observe the following precautions:
Because of restricted traction device
clearance between tires and other
suspension components, it is important
that only traction devices in good condition
are used. Broken devices can cause
serious damage. Stop the vehicle
immediately if noise occurs that could
indicate device breakage. Remove the
damaged parts of the device before further
use.
Install device as tightly as possible and
then retighten after driving about ½ mile
(0.8 km).
Do not exceed 30 mph (48 km/h).
Drive cautiously and avoid severe turns
and large bumps, especially with a loaded
vehicle.
Do not drive for a prolonged period on
dry pavement.
181
Page 211 of 300
TIRE SERVICE KIT
Tire Service Storage
The tire service kit is located inside the
trunk.
The tire service kit included with your
vehicle is for a temporary repair of a
slightly damaged flat tire resulting from
running over nails or similar sharp
objects on the road surface.
Perform the emergency flat tire repair
without removing the nail or similar
sharp object which punctured the tire.
Note:Your vehicle is not equipped with
a spare tire. In the event of a flat tire,
use the tire service kit to repair the tire
temporarily. When doing the repair, refer
to the instructions included in the tire
service kit. If an emergency repair was
performed on a flat tire using the tire
service kit, contact an Authorized
Dealer, repair or replace the tire as soon
as possible.
Tire Service Kit
Components And
Operation
The tire service kit includes the
following items:
U.S.A. And Canada Markets: Mexico Market:
08020202-121-003Tire Service Kit Location
GUID-08070606457457Tire Service Kit Components —
U.S.A. And Canada Markets
1— Sealant Bottle
2— Compressor
3— Speed Restriction Sticker
4— Repaired Tire Sticker
5— Instructions
GUID-08070606456456Tire Service Kit Components — Mexico Markets
1— Tire Sealant
2— Compressor
3— Valve Core Tool
4— Injection Hose
5— Spare Valve Core
6— Speed Restriction Sticker
7— Instructions
209
Page 213 of 300
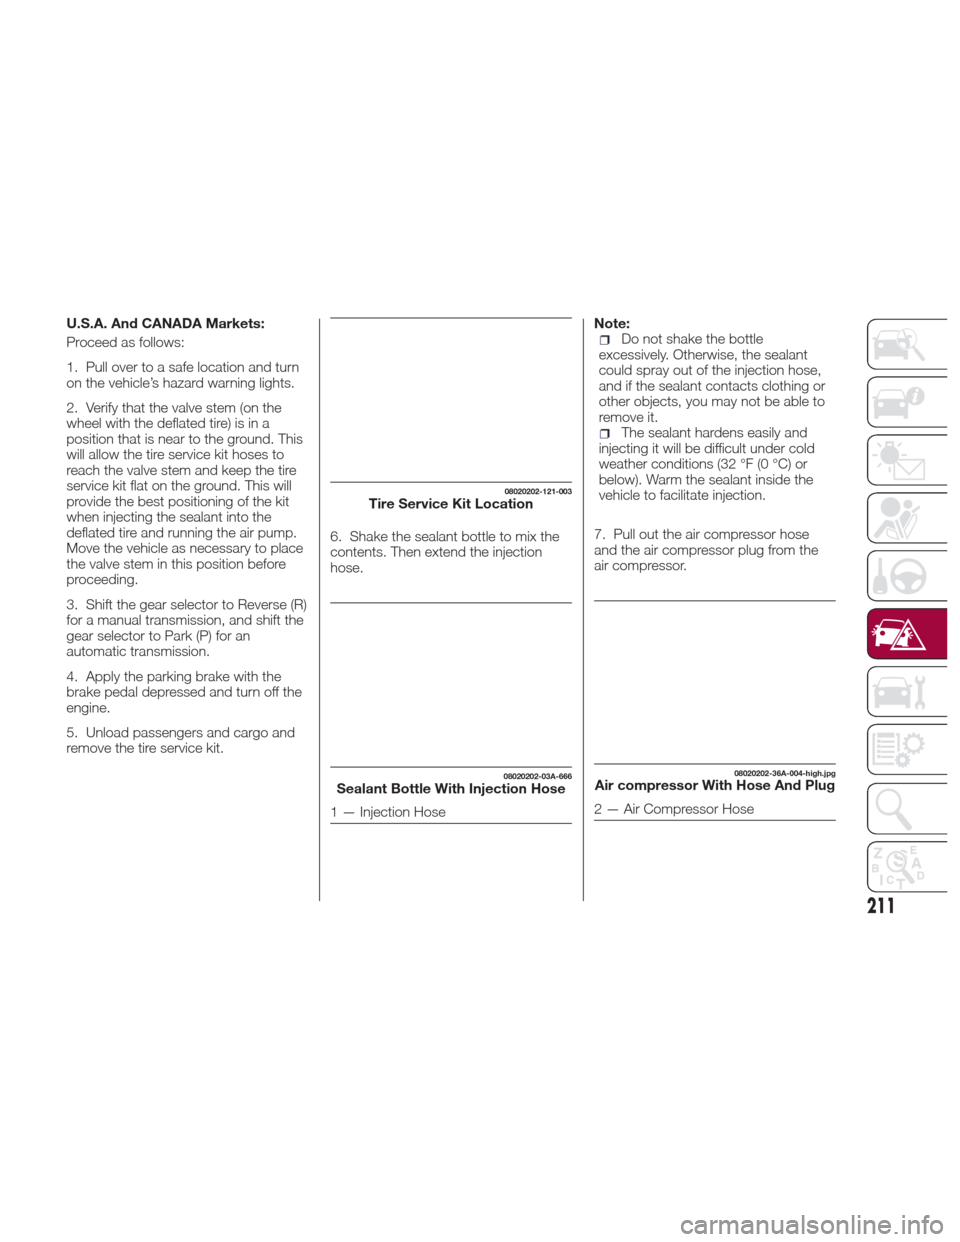
U.S.A. And CANADA Markets:
Proceed as follows:
1. Pull over to a safe location and turn
on the vehicle’s hazard warning lights.
2. Verify that the valve stem (on the
wheel with the deflated tire) is in a
position that is near to the ground. This
will allow the tire service kit hoses to
reach the valve stem and keep the tire
service kit flat on the ground. This will
provide the best positioning of the kit
when injecting the sealant into the
deflated tire and running the air pump.
Move the vehicle as necessary to place
the valve stem in this position before
proceeding.
3. Shift the gear selector to Reverse (R)
for a manual transmission, and shift the
gear selector to Park (P) for an
automatic transmission.
4. Apply the parking brake with the
brake pedal depressed and turn off the
engine.
5. Unload passengers and cargo and
remove the tire service kit.6. Shake the sealant bottle to mix the
contents. Then extend the injection
hose.Note:Do not shake the bottle
excessively. Otherwise, the sealant
could spray out of the injection hose,
and if the sealant contacts clothing or
other objects, you may not be able to
remove it.
The sealant hardens easily and
injecting it will be difficult under cold
weather conditions (32 °F (0 °C) or
below). Warm the sealant inside the
vehicle to facilitate injection.
7. Pull out the air compressor hose
and the air compressor plug from the
air compressor.
08020202-121-003Tire Service Kit Location
08020202-03A-666Sealant Bottle With Injection Hose
1 — Injection Hose
08020202-36A-004-high.jpgAir compressor With Hose And Plug
2 — Air Compressor Hose
211