2017 FIAT 124 SPIDER steering
[x] Cancel search: steeringPage 135 of 300
SUPPLEMENTARY
RESTRAINT SYSTEM
SRS — AIR BAG
Description
The front and side Supplementary
Restraint Systems (SRS) include
different types of Air Bags.
Note:
Please verify which kinds of Air Bags
are equipped on your vehicle by
locating the “SRS AIR BAG” location
indicators.
These indicators are visible in the area
where the Air Bags are installed.
The Air Bags are installed in the
following locations:
The steering wheel hub (Driver Air
Bag)
The passenger dashboard
(Passenger Air Bag)
The outer sides of the seat backs
(Side Air Bags) This vehicle has front air bags and
lap/shoulder belts for both the driver
and front passenger. The front air bags
are a supplement to the seat belt
restraint systems.
The Air Bag supplementary restraint
systems are designed to provide
supplementary protection in certain
situations so seat belts are always
important in the following ways.
Without seat belt usage, the Air Bags
cannot provide adequate protection
during an accident. Seat belt usage is
necessary to:
Keep the occupant from being
thrown into an inflating Air Bag.
Reduce the possibility of injuries
during an accident that is not designed
for Air Bag inflation, such as roll-over or
rear impact.
Reduce the possibility of injuries in
frontal, near frontal or side collisions
that are not severe enough to activate
the Air Bags.
Reduce the possibility of being
thrown from your vehicle.
Reduce the possibility of injuries to
lower body and legs during an accident
because the Air Bags provide no
protection to these parts of the body.
Hold the driver in a position which
allows better control of the vehicle.
If your vehicle is also equipped with
a passenger occupant classification
system, refer to the “Passenger
Occupant Classification System”
paragraph for further information.
If your vehicle is equipped with a
passenger occupant classification
system, the passenger Air Bag
deactivation indicator light illuminates
for a specified time after the ignition has
been placed in the ON position.
133
Page 136 of 300
Small children must be protected by a
child-restraint system as stipulated by
law in every state and province. In
certain states and provinces, larger
children must use a child-restraint
system. Carefully consider which
child-restraint system is necessary for
your child and follow the installation
directions in this Owner's Manual as
well as the child-restraint system
manufacturer's instructions.
Do not use a child-restraint system
which employs an upper tether
because there is no appropriate means
to anchor the tether.
Warning!
No objects should be placed over or
near the air bag on the instrument panel or
steering wheel because any such objects
could cause harm if the vehicle is in a
collision severe enough to cause the air
bag to inflate.
Do not put anything on or around the air
bag covers or attempt to open them
manually. You may damage the air bags
and you could be injured because the air
bags may no longer be functional. The
protective covers for the air bag cushions
are designed to open only when the air
bags are inflating.
Relying on the air bags alone could lead
to more severe injuries in a collision. The air
bags work with your seat belt to restrain
you properly. In some collisions, air bags
won’t deploy at all. Always wear your seat
belts even though you have air bags.
Warning!
Unapproved modifications or service
procedures to the passenger seat
assembly, its related components, seat
cover, or cushion may inadvertently change
the air bag deployment in case of a frontal
collision. This could result in death or
serious injury to the front passenger if the
vehicle is involved in a collision. A modified
vehicle may not comply with required
Federal Motor Vehicle Safety Standards
(FMVSS) and/or Canadian Motor Vehicle
Safety Standards (CMVSS).
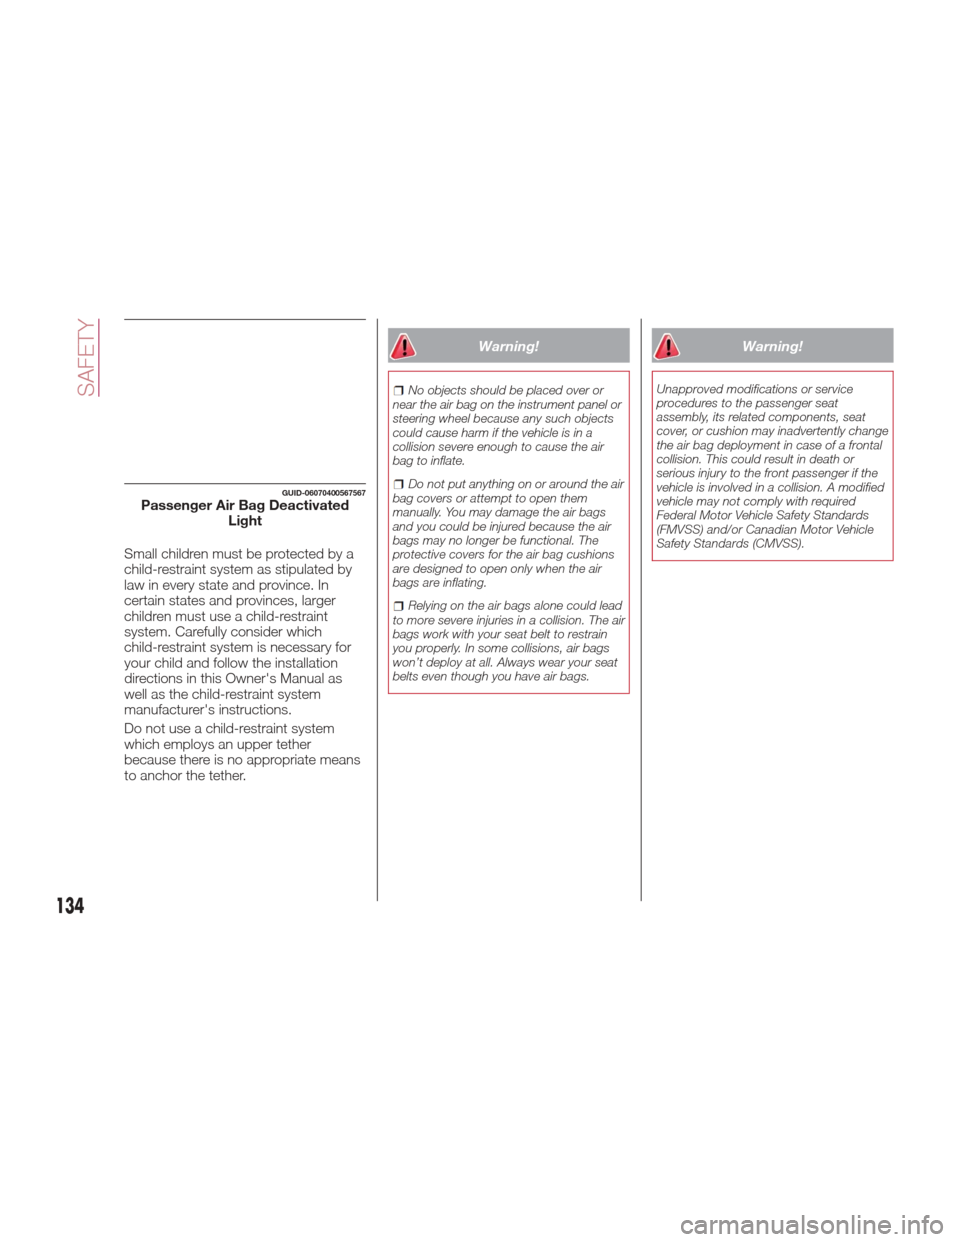
GUID-06070400567567Passenger Air Bag Deactivated Light
134
SAFETY
Page 139 of 300

How The SRS Air Bags
Work
Your vehicle is equipped with the
following types of SRS air bags. SRS air
bags are designed to work together
with the seat belts to help to reduce
injuries during an accident. The SRS air
bags are designed to provide further
protection for passengers in addition to
the seat belt functions. Be sure to wear
seat belts properly.
Seat Belt Pretensioners
The seat belt pretensioners are
designed to deploy in moderate or
severe frontal, near frontal collisions. In
addition, during a side collision, the
pretensioner operates on the side in
which the collision occurs.
The pretensioners operate differently
depending on what types of air bags
are equipped. For details on the seat
belt pretensioner operation, refer to the
SRS Air Bag Deployment Criteria.Driver Air Bag
The driver's air bag is mounted in the
steering wheel.
When Air Bag crash sensors detect a
frontal impact of greater than moderate
force, the driver's Air Bag inflates
quickly helping to reduce injury mainly
to the driver's head or chest caused by
directly hitting the steering wheel. For
more details about Air Bag deployment,
refer to "SRS Air Bag Deployment
Criteria" in this chapter for further
information.
(With Passenger Occupant
Classification System)
The driver's dual-stage air bag controls
air bag inflation in two energy stages.
During an impact of moderate severity,
the driver's air bag deploys with lesser
energy, whereas during more severe
impacts, it deploys with more energy.Passenger Air Bag
(Dual stage)
The passenger Air Bag is mounted in
the passenger dashboard.
The inflation mechanism for the
passenger Air Bag is the same as the
driver's Air Bag, as mentioned above.
For more details about Air Bag
deployment, refer to "SRS Air Bag
Deployment Criteria" in this chapter.
For further details about air bag
deployment, refer to "SRS Air Bag
deployment criteria" in this chapter.
Side Air Bags
The side air bags are mounted in the
outer sides of the seat backs. When the
air bag crash sensors detect a side
impact of greater than moderate force,
the system inflates the side air bag only
on the side in which the vehicle was hit.
06010203-126-123Spider Driver Side Air Bags06010204-126-123Spider Passenger Side Air Bag
137
Page 147 of 300

If the passenger air bag deactivation
indicator light does not turn on when
the ignition is switched ON and does
not turn on as indicated in the
passenger air bag deactivation indicator
light on/off condition chart, do not allow
an occupant to sit in the passenger
seat and contact an Authorized
Dealership as soon as possible. The
system may not work properly in an
accident.
Warning!
If a child restraint system, child, small
teenager or adult in the front passenger
seat is seated improperly, the occupant
may provide an output signal to the
occupant classification sensor that is
different from the occupant’s properly
seated weight input. This may result in
serious injury or death in a collision.
Warning!
Never place a rear-facing child restraint
in front of an air bag. A deploying
passenger front air bag can cause death or
serious injury to a child 12 years or
younger, including a child in a rear-facing
child restraint.
Only use a rear-facing child restraint in a
vehicle with a rear seat.
Children 12 years or younger should
always ride buckled up in a vehicle with a
rear seat.
Warning!
No objects should be placed over or
near the air bag on the instrument panel or
steering wheel because any such objects
could cause harm if the vehicle is in a
collision severe enough to cause the air
bag to inflate.
Do not put anything on or around the air
bag covers or attempt to open them
manually. You may damage the air bags
and you could be injured because the air
bags may no longer be functional. The
protective covers for the air bag cushions
are designed to open only when the air
bags are inflating.
Relying on the air bags alone could lead
to more severe injuries in a collision. The air
bags work with your seat belt to restrain
you properly. In some collisions, air bags
won’t deploy at all. Always wear your seat
belts even though you have air bags.
Maintaining Your Air Bag
System
Warning!
Modifications to any part of the air bag
system could cause it to fail when you
need it. You could be injured if the air bag
system is not there to protect you. Do not
modify the components or wiring, including
adding any kind of badges or stickers to
the steering wheel hub trim cover or the
upper right side of the instrument panel. Do
not modify the front bumper, vehicle body
structure, or add aftermarket side steps or
running boards.
It is dangerous to try to repair any part
of the air bag system yourself. Be sure to
tell anyone who works on your vehicle that
it has an air bag system.
Do not attempt to modify any part of
your air bag system. The air bag may inflate
accidentally or may not function properly if
modifications are made. Take your vehicle
to an authorized dealer for any air bag
system service. If your seat, including your
trim cover and cushion, needs to be
serviced in any way (including removal or
loosening/tightening of seat attachment
bolts), take the vehicle to your authorized
dealer. Only manufacturer approved seat
accessories may be used. If it is necessary
to modify the air bag system for persons
with disabilities, contact your authorized
dealer.
145
Page 159 of 300
Caution!
Changing to manual shift mode while
driving will not damage the transmission.
Note:
If you change to manual shift mode
when the vehicle is stopped, the gear
will shift to M1.
If you change to manual shift mode
while the vehicle is moving it will remain
in the current gear until a manual shift
request is made.
Indicators
Manual Shift Mode Indication
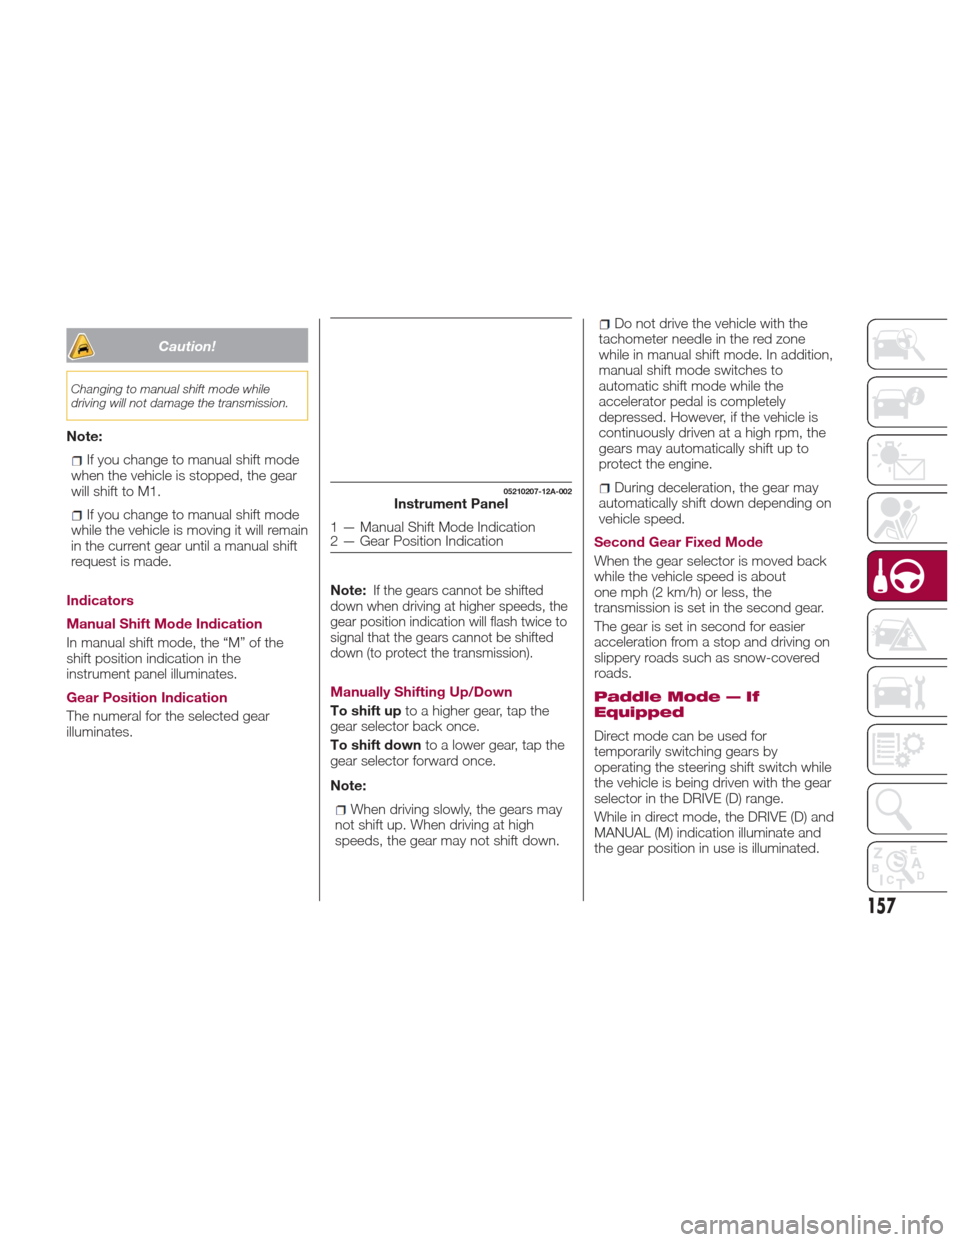
In manual shift mode, the “M” of the
shift position indication in the
instrument panel illuminates.
Gear Position Indication
The numeral for the selected gear
illuminates. Note:
If the gears cannot be shifted
down when driving at higher speeds, the
gear position indication will flash twice to
signal that the gears cannot be shifted
down (to protect the transmission).
Manually Shifting Up/Down
To shift up to a higher gear, tap the
gear selector back once.
To shift down to a lower gear, tap the
gear selector forward once.
Note:
When driving slowly, the gears may
not shift up. When driving at high
speeds, the gear may not shift down.
Do not drive the vehicle with the
tachometer needle in the red zone
while in manual shift mode. In addition,
manual shift mode switches to
automatic shift mode while the
accelerator pedal is completely
depressed. However, if the vehicle is
continuously driven at a high rpm, the
gears may automatically shift up to
protect the engine.
During deceleration, the gear may
automatically shift down depending on
vehicle speed.
Second Gear Fixed Mode
When the gear selector is moved back
while the vehicle speed is about
one mph (2 km/h) or less, the
transmission is set in the second gear.
The gear is set in second for easier
acceleration from a stop and driving on
slippery roads such as snow-covered
roads.
Paddle Mode — If
Equipped
Direct mode can be used for
temporarily switching gears by
operating the steering shift switch while
the vehicle is being driven with the gear
selector in the DRIVE (D) range.
While in direct mode, the DRIVE (D) and
MANUAL (M) indication illuminate and
the gear position in use is illuminated.
05210207-12A-002Instrument Panel
1 — Manual Shift Mode Indication
2 — Gear Position Indication
157
Page 171 of 300
Note:If it is difficult to see the display
under the following conditions, it does
notmeanthatthisisduetoa
malfunction:
In dark areas.
When the temperature around the
lens is particularly high/low.
When the camera is wet from rain
or due to a high atmospheric humidity.
When there is some foreign deposit
around the camera, for example mud.
When the camera lens reflects
sunlight or a headlight beam.
The image on the display may be
delayed if the temperature around the
camera is low.
Caution!
To avoid vehicle damage, ParkView
should only be used as a parking aid. The
ParkView camera is unable to view every
obstacle or object in your drive path.
To avoid vehicle damage, the vehicle
must be driven slowly when using ParkView
to be able to stop in time when an obstacle
is seen. It is recommended that the driver
look frequently over his/her shoulder when
using ParkView.
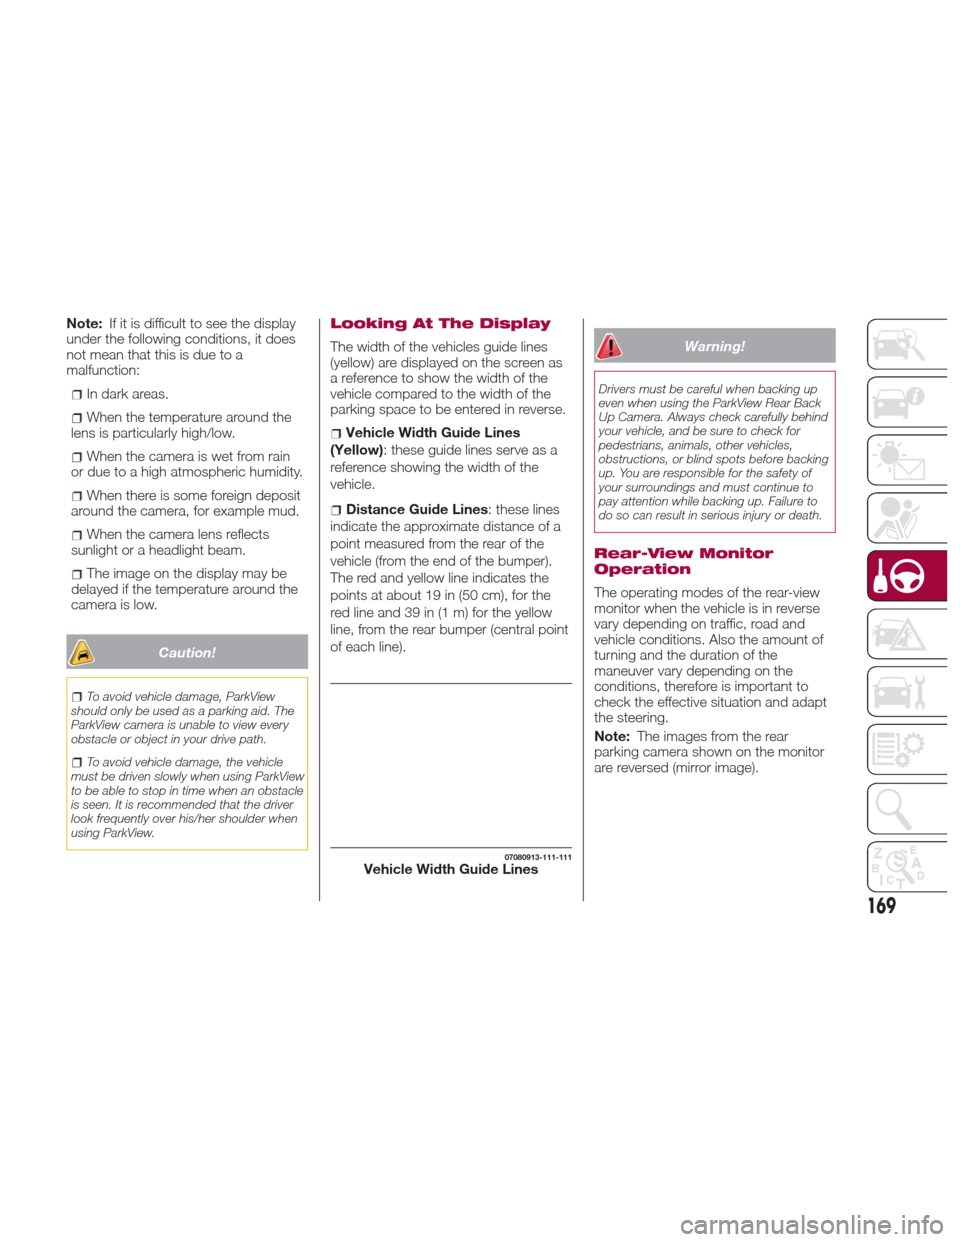
Looking At The Display
The width of the vehicles guide lines
(yellow) are displayed on the screen as
a reference to show the width of the
vehicle compared to the width of the
parking space to be entered in reverse.
Vehicle Width Guide Lines
(Yellow): these guide lines serve as a
reference showing the width of the
vehicle.
Distance Guide Lines : these lines
indicate the approximate distance of a
point measured from the rear of the
vehicle (from the end of the bumper).
The red and yellow line indicates the
pointsatabout19in(50cm),forthe
red line and 39 in (1 m) for the yellow
line, from the rear bumper (central point
of each line).
Warning!
Drivers must be careful when backing up
even when using the ParkView Rear Back
Up Camera. Always check carefully behind
your vehicle, and be sure to check for
pedestrians, animals, other vehicles,
obstructions, or blind spots before backing
up. You are responsible for the safety of
your surroundings and must continue to
pay attention while backing up. Failure to
do so can result in serious injury or death.
Rear-View Monitor
Operation
The operating modes of the rear-view
monitor when the vehicle is in reverse
vary depending on traffic, road and
vehicle conditions. Also the amount of
turning and the duration of the
maneuver vary depending on the
conditions, therefore is important to
check the effective situation and adapt
the steering.
Note: The images from the rear
parking camera shown on the monitor
are reversed (mirror image).
07080913-111-111Vehicle Width Guide Lines
169
Page 172 of 300
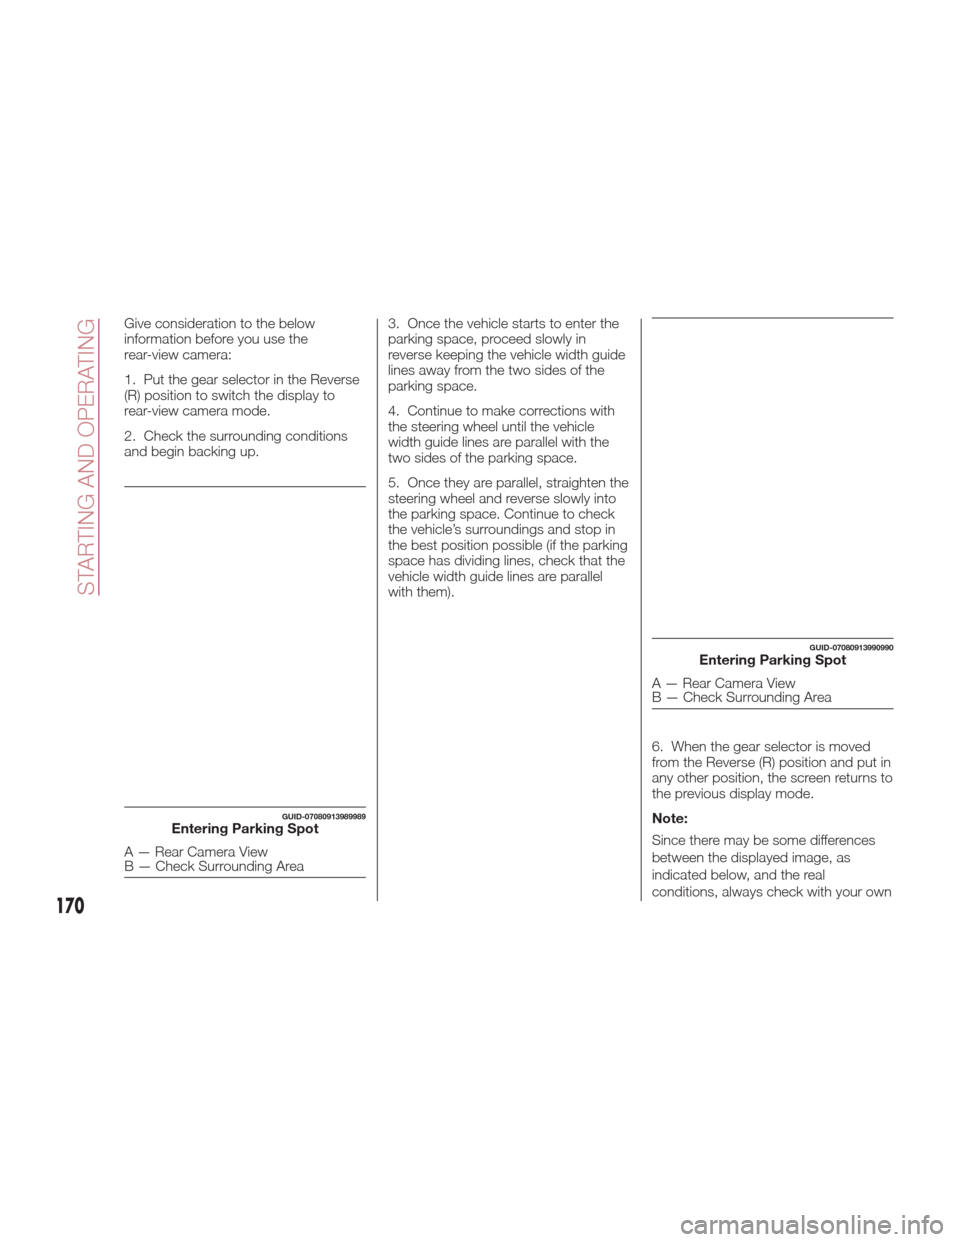
Give consideration to the below
information before you use the
rear-view camera:
1. Put the gear selector in the Reverse
(R) position to switch the display to
rear-view camera mode.
2. Check the surrounding conditions
and begin backing up.3. Once the vehicle starts to enter the
parking space, proceed slowly in
reverse keeping the vehicle width guide
lines away from the two sides of the
parking space.
4. Continue to make corrections with
the steering wheel until the vehicle
width guide lines are parallel with the
two sides of the parking space.
5. Once they are parallel, straighten the
steering wheel and reverse slowly into
the parking space. Continue to check
the vehicle’s surroundings and stop in
the best position possible (if the parking
space has dividing lines, check that the
vehicle width guide lines are parallel
with them).
6. When the gear selector is moved
from the Reverse (R) position and put in
any other position, the screen returns to
the previous display mode.
Note:
Since there may be some differences
between the displayed image, as
indicated below, and the real
conditions, always check with your own
GUID-07080913989989Entering Parking Spot
A — Rear Camera View
B — Check Surrounding Area
GUID-07080913990990Entering Parking Spot
A — Rear Camera View
B — Check Surrounding Area
170
STARTING AND OPERATING
Page 190 of 300
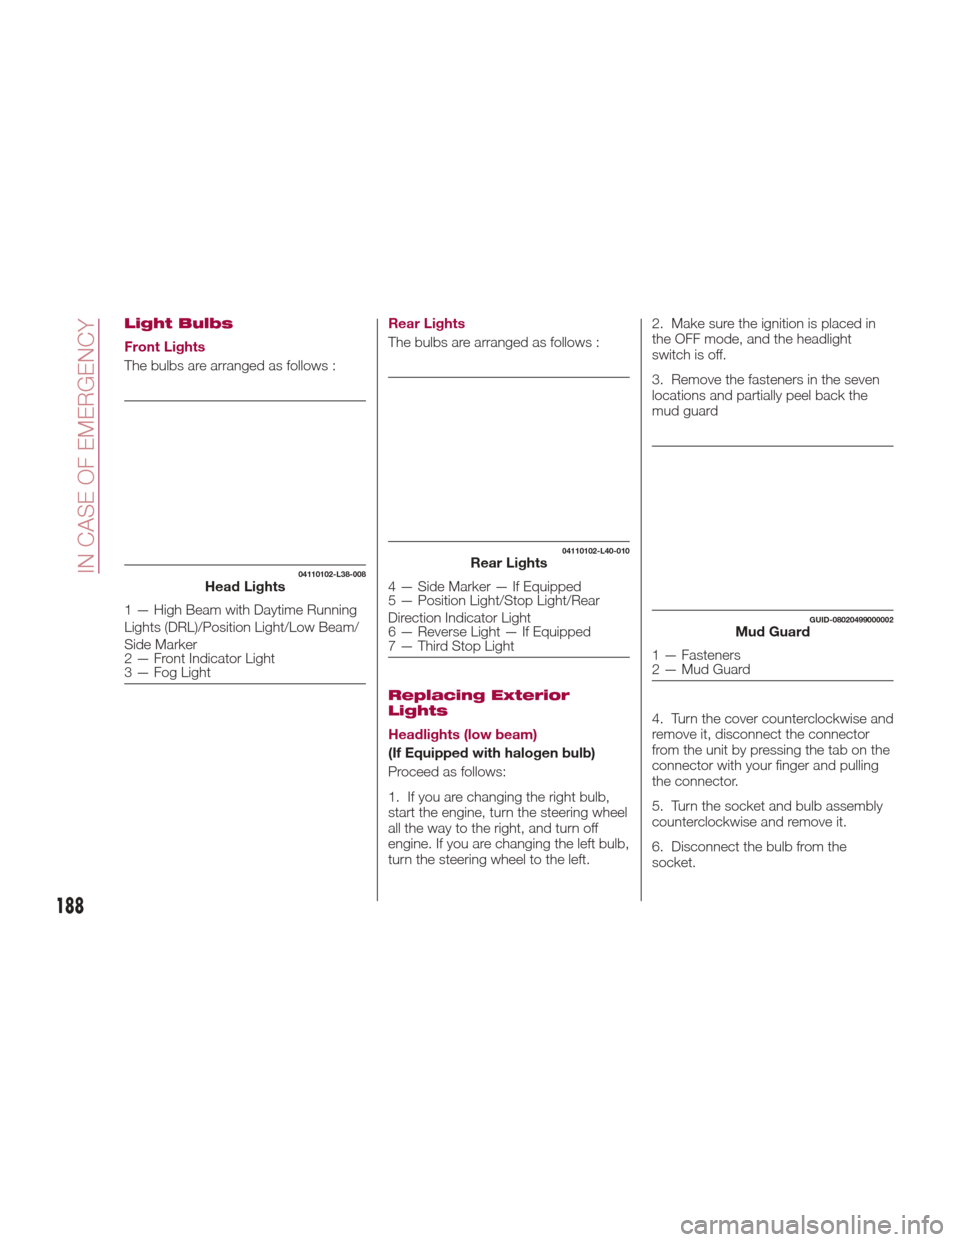
Light Bulbs
Front Lights
The bulbs are arranged as follows :Rear Lights
The bulbs are arranged as follows :
Replacing Exterior
Lights
Headlights (low beam)
(If Equipped with halogen bulb)
Proceed as follows:
1. If you are changing the right bulb,
start the engine, turn the steering wheel
all the way to the right, and turn off
engine. If you are changing the left bulb,
turn the steering wheel to the left.2. Make sure the ignition is placed in
the OFF mode, and the headlight
switch is off.
3. Remove the fasteners in the seven
locations and partially peel back the
mud guard
4. Turn the cover counterclockwise and
remove it, disconnect the connector
from the unit by pressing the tab on the
connector with your finger and pulling
the connector.
5. Turn the socket and bulb assembly
counterclockwise and remove it.
6. Disconnect the bulb from the
socket.
04110102-L38-008Head Lights
1 — High Beam with Daytime Running
Lights (DRL)/Position Light/Low Beam/
Side Marker
2 — Front Indicator Light
3 — Fog Light
04110102-L40-010Rear Lights
4 — Side Marker — If Equipped
5 — Position Light/Stop Light/Rear
Direction Indicator Light
6 — Reverse Light — If Equipped
7 — Third Stop Light
GUID-08020499000002Mud Guard
1 — Fasteners
2 — Mud Guard
188
IN CASE OF EMERGENCY