2017 DODGE GRAND CARAVAN brake light
[x] Cancel search: brake lightPage 370 of 530

Trailer Sway Control (TSC)
TSC uses sensors in the vehicle to recognize an excessively
swaying trailer and will take the appropriate actions to
attempt to stop the sway. TSC will become active automati-
cally once an excessively swaying trailer is recognized.
Note that TSC cannot stop all trailers from swaying.
Always use caution when towing a trailer and follow the
trailer tongue weight recommendations. Refer to “Trailer
Towing” in this section for further information. When TSC
is functioning, the “ESC Activation/Malfunction Indicator
Light” will flash, the engine power may be reduced and
you may feel the brakes being applied to individual wheels
to attempt to stop the trailer from swaying. TSC is disabled
when the ESC system is in the “Partial Off” modes.
WARNING!
If TSC activates while driving, slow the vehicle down,
stop at the nearest safe location, and adjust the trailer
load to eliminate trailer sway.
TIRE SAFETY INFORMATION
Tire Markings
1 — U.S. DOT Safety Standards
Code (TIN)4 — Maximum Load
2 — Size Designation 5 — Maximum Pressure
3 — Service Description 6 — Treadwear, Traction and Temperature Grades
368 STARTING AND OPERATING
Page 418 of 530

CAUTION!
If the trailer weighs more than 1,000 lbs (453 kg)
loaded, it should have its own brakes and they should
be of adequate capacity. Failure to do this could lead to
accelerated brake lining wear, higher brake pedal
effort, and longer stopping distances.
Towing Requirements — Trailer Lights And Wiring
(If Equipped)
Whenever you pull a trailer, regardless of the trailer size,
stoplights and turn signals on the trailer are required for
motoring safety.
The Trailer Tow Package may include a four- and seven-pin
wiring harness. Use a factory approved trailer harness and
connector.
NOTE:Do not cut or splice wiring into the vehicles wiring
harness.
The electrical connections are all complete to the vehicle
but you must mate the harness to a trailer connector. Refer
to the following illustrations.
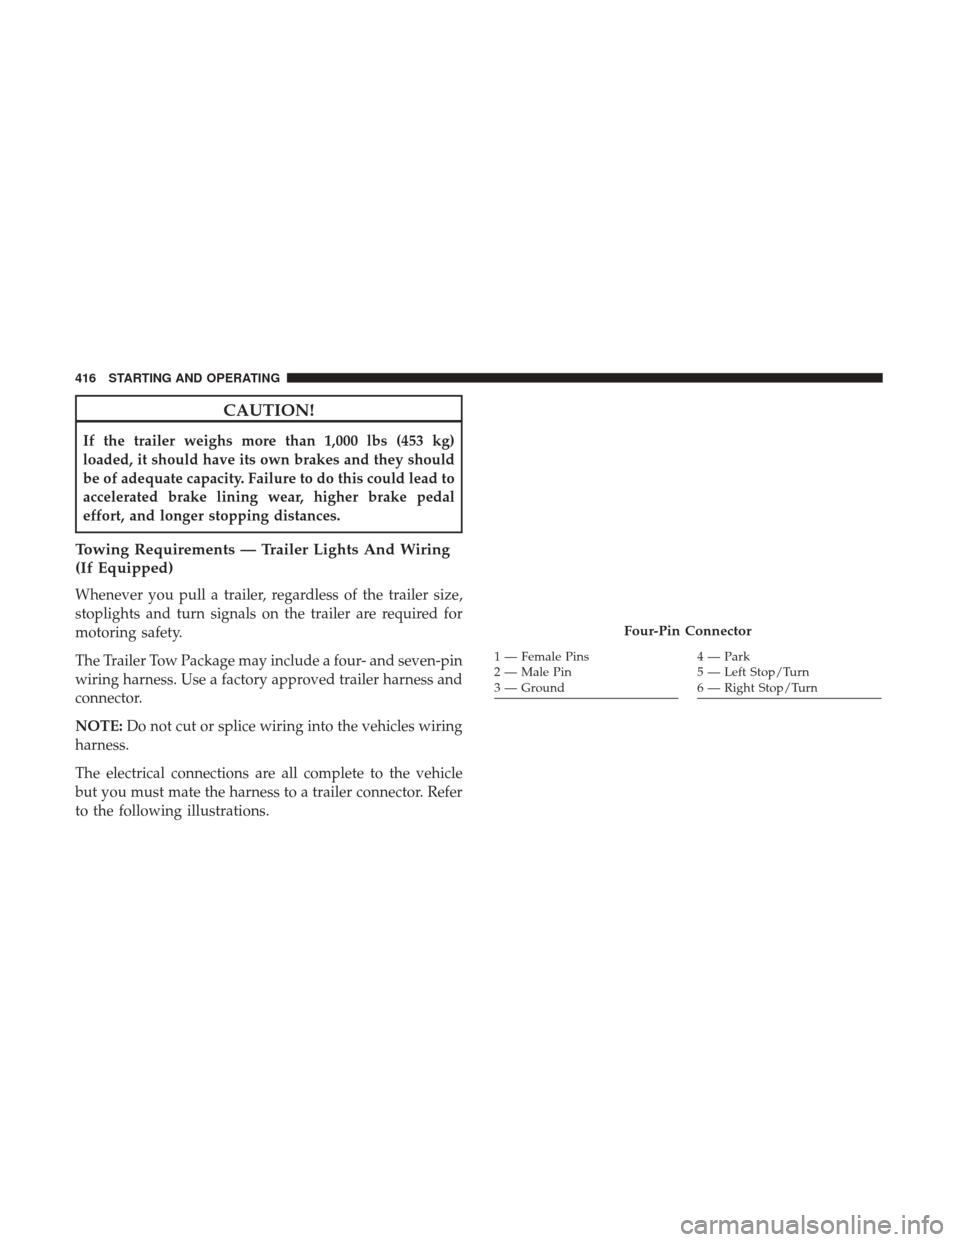
Four-Pin Connector
1 — Female Pins
2 — Male Pin
3 — Ground4 — Park
5 — Left Stop/Turn
6 — Right Stop/Turn
416 STARTING AND OPERATING
Page 419 of 530

Towing Tips
Before setting out on a trip, practice turning, stopping, and
backing up the trailer in an area located away from heavy
traffic.
Automatic Transmission
The DRIVE range can be selected when towing. However,
if frequent shifting occurs while in DRIVE, use the Elec-
tronic Range Select (ERS) shift control to select a lower gear
range.
NOTE:Using a lower gear range while operating the
vehicle under heavy loading conditions will improve per-
formance and extend transmission life by reducing exces-
sive shifting and heat build up. This action will also
provide better engine braking.
If you REGULARLY tow a trailer for more than 45 minutes
of continuous operation, then change the transmission
fluid and filter as specified for “police, taxi, fleet, or
frequent trailer towing”. Refer to the “Maintenance Sched-
ule” for the proper maintenance intervals.
Electronic Speed Control — If Equipped
• Do not use in hilly terrain or with heavy loads.
• When using the speed control, if you experience speed
drops greater than 10 mph (16 km/h), disengage until
you can get back to cruising speed.
• Use speed control in flat terrain and with light loads to
maximize fuel efficiency.
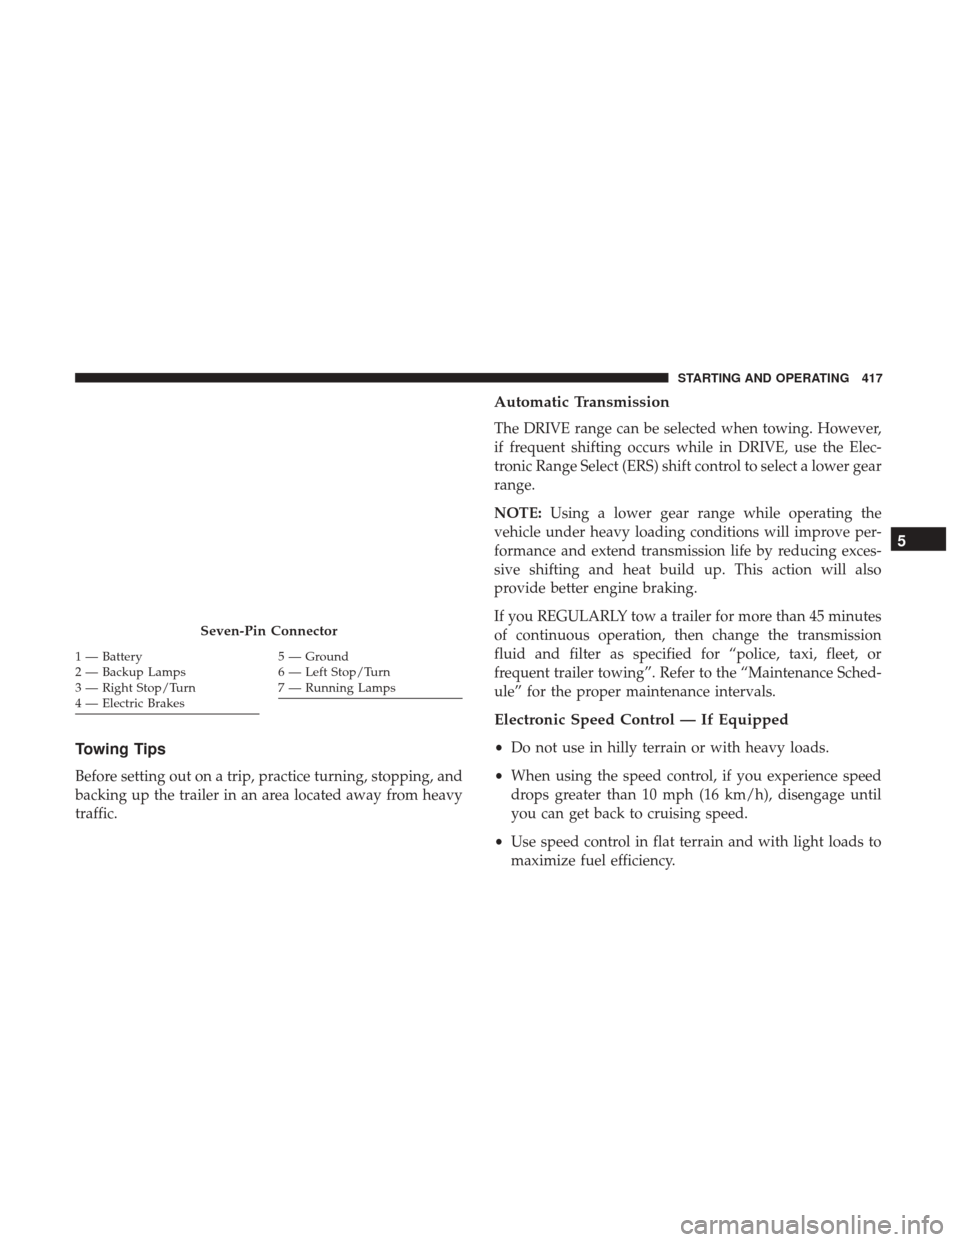
Seven-Pin Connector
1 — Battery
2 — Backup Lamps
3 — Right Stop/Turn
4 — Electric Brakes5 — Ground
6 — Left Stop/Turn
7 — Running Lamps
5
STARTING AND OPERATING 417
Page 479 of 530

WARNING!
Riding the brakes can lead to brake failure and possi-
bly a collision. Driving with your foot resting or riding
on the brake pedal can result in abnormally high brake
temperatures, excessive lining wear, and possible
brake damage. You would not have your full braking
capacity in an emergency.
Master Cylinder — Brake Fluid Level Check
The fluid level in the master cylinder should be checked
when performing underhood services, or immediately if
the “Brake System Warning Light” indicates system failure.
Clean the top of the master cylinder area before removing
the cap. Add fluid to bring the level up to the top of the
“FULL” mark on the side of the master cylinder reservoir.
Overfilling of fluid is not recommended because it may
cause leaking in the system.
Add enough fluid to bring the level up to the requirements
described on the brake fluid reservoir. With disc brakes,
fluid level can be expected to fall as the brake pads wear.
However, low fluid level may be caused by a leak and a
checkup may be needed.Use only manufacturer’s recommended brake fluid. Refer
to “Fluids, Lubricants, And Genuine Parts” in “Maintain-
ing Your Vehicle” for further information.
WARNING!
•
Use only manufacturer’s recommended brake fluid.
Refer to “Fluids, Lubricants, And Genuine Parts” in
“Maintaining Your Vehicle” for further information.
Using the wrong type of brake fluid can severely
damage your brake system and/or impair its perfor-
mance. The proper type of brake fluid for your
vehicle is also identified on the original factory
installed hydraulic master cylinder reservoir.
• To avoid contamination from foreign matter or mois-
ture, use only new brake fluid or fluid that has been
in a tightly closed container. Keep the master cylin-
der reservoir cap secured at all times. Brake fluid in
a open container absorbs moisture from the air
resulting in a lower boiling point. This may cause it
to boil unexpectedly during hard or prolonged brak-
ing, resulting in sudden brake failure. This could
result in a collision.
(Continued)
7
MAINTAINING YOUR VEHICLE 477
Page 489 of 530

Cavity Cartridge FuseMini-FuseDescription
J11 30 Amp Pink –Power Sliding Door Module/Anti–Theft Module
– If Equipped
J12 30 Amp Pink –HVAC Rear Blower, Radiator Fan Motor
J13 60 Amp Yellow –Ignition Off Draw (IOD) – Main
J14 40 Amp Green –Rear Window Defogger
J15 40 Amp Green – Front Blower
J17 40 Amp Green –Starter Solenoid
J18 20 Amp Blue –Powertrain Control Module Trans Range
J19 60 Amp Yellow – Radiator Fan
J20 30 Amp Pink –Front Wiper LO/HI
J21 20 Amp Blue –Front/Rear Washer
J22 25 Amp Clear –Sunroof Module
M1 –15 Amp Blue Rear Center Brake Lamp/Brake Switch
M2 –20 Amp Yellow Front Fog Lamps
M3 –20 Amp Yellow Vacuum Pump Motor
M5 –25 Amp Clear Inverter
M6 –20 Amp Yellow Power Outlet #1 (ACC), Rain Sensor, Cigar
Lighter (Instrument Panel or with Console Rear)
M7 –20 Amp Yellow Power Outlet #2 (BATT/ACC SELECT) – Center
Seat or with Console Rear
7
MAINTAINING YOUR VEHICLE 487
Page 502 of 530

MAINTENANCE SCHEDULE
Your vehicle is equipped with an automatic oil change
indicator system. The oil change indicator system will
remind you that it is time to take your vehicle in for
scheduled maintenance.
Based on engine operation conditions, the oil change
indicator message will illuminate. This means that service
is required for your vehicle. Operating conditions such as
frequent short-trips, trailer tow, extremely hot or cold
ambient temperatures, and E85 fuel usage will influence
when the “Oil Change Required” message is displayed.
Severe Operating Conditions can cause the change oil
message to illuminate as early as 3,500 miles (5,600 km)
since last reset. Have your vehicle serviced as soon as
possible, within the next 500 miles (805 km).
Your authorized dealer will reset the oil change indicator
message after completing the scheduled oil change. If a
scheduled oil change is performed by someone other than
your authorized dealer, the message can be reset by
referring to the steps described under “Instrument Cluster
Display” in “Understanding Your Instrument Panel” for
further information.NOTE:
Under no circumstances should oil change inter-
vals exceed 10,000 miles (16,000 km), twelve months or 350
hours of engine run time, whichever comes first. The 350
hours of engine run or idle time is generally only a concern
for fleet customers.
Severe Duty All Models
Change Engine Oil at 4,000 miles (6,500 km) if the vehicle
is operated in a dusty and off road environment or is
operated predominately at idle or only very low engine
RPM’s. This type of vehicle use is considered Severe Duty.
Once A Month Or Before A Long Trip:
• Check engine oil level.
• Check windshield washer fluid level.
• Check tire pressure and look for unusual wear or
damage. Rotate tires at the first sign of irregular wear,
even if it occurs before the oil indicator system turns on.
• Check the fluid levels of the coolant reservoir, brake
master cylinder, and power steering and fill as needed.
• Check function of all interior and exterior lights.
500 MAINTENANCE SCHEDULES
Page 514 of 530

About Your Brakes........................ .359
Adding Engine Coolant (Antifreeze) .............473
Adding Fuel ............................. .404
Adding Washer Fluid ........................471
Additives, Fuel ............................401
Adjust Forward ...............................142
Rearward ............................. .142
AirBag ..................................60 Air Bag Operation .........................62
Air Bag Warning Light .....................59
Driver Knee Air Bag .......................63
Enhanced Accident Response ..............69, 454
Event Data Recorder (EDR) .................455
If A Deployment Occurs ....................68
Knee Impact Bolsters .......................63
Maintaining Your Air Bag System ..............69
Side Air Bags ............................64
Transporting Pets .........................91
Air Bag Light ........................59, 93, 242
Air Bag Maintenance .........................69
Air Cleaner, Engine (Engine Air Cleaner Filter) ......466
Air Conditioner Maintenance ..................468
Air Conditioning .......................... .323
Air Conditioning Controls ....................323 Air Conditioning Filter
...................337, 469
Air Conditioning, Operating Tips ...............336
Air Conditioning, Rear Zone ...............327, 334
Air Conditioning Refrigerant ...............468, 469
Air Conditioning System ...............323, 329, 468
Air Conditioning System, Zone Control ...........323
Air Pressure, Tires ..........................380
Alarm (Security Alarm) ....................13, 247
Alterations/Modifications, Vehicle ................6
Antenna, Satellite Radio ..................... .293
Antifreeze (Engine Coolant) ................473, 495
Disposal ...............................475
Anti-Lock Brake System (ABS) .................360
Anti-Lock Warning Light .....................249
Appearance Car
e .......................... .479
Ashtray .................................214
Assistance Towing ..........................123
Assist, Hill Start .......................... .362
Auto Down Power Windows ...................31
Automatic Dimming Mirror ...................102
Automatic Door Locks .....................28, 29
Automatic Headlights .......................173
Automatic Temperature Control (ATC) ...........329
Automatic Transmission ...............344, 478, 479
Adding Fluid .......................... .479
512 INDEX
Page 515 of 530

Fluid And Filter Changes...................479
Fluid Change .......................... .479
Fluid Level Check ........................479
Fluid Type ..........................478, 498
Gear Ranges ............................348
Special Additives ........................ .478
Torque Converter ........................353
Auto Up Power Windows .....................31
Battery ...............................244, 468
Charging System Light ....................244
Jump Starting .......................... .448
Keyless Key Fob Replacement ................21
Saving Feature (Protection) ..................177
Belts, Seat .................................93
Body Mechanism Lubrication ..................470
B-Pillar Location .......................... .374
Brake Assist System ........................ .361
Brake Control System, Electronic ................359
Brake Fluid ...............................498
Brake System ..........................359, 476
Anti-Lock (ABS) ........................ .359
Fluid Check ............................477
Parking ...............................357
Warning Light .......................... .243Brake/Transmission Interlock
..................346
Bulb Replacement ..........................492
Bulbs, Light ............................95, 491
Calibration, Compass ........................267
Camera, Rear ............................ .192
Capacities, Fluid .......................... .495
Caps, Filler Fuel ................................. .404
Power Steering ..........................356
Radiator (Coolant Pressure) .................475
Carbon Monoxide Warning .................93, 402
Cargo Compartment Luggage Carrier ........................ .225
Car go
(Vehicle Loading) ..................... .219
Car Washes ...............................480
Center High Mounted Stop Light ...............494
Certification Label ..........................406
Chains, Tire ............................. .388
Changing A Flat Tire ........................433
Chart, Tire Sizing .......................... .370
Check Engine Light (Malfunction Indicator Light). . . .461
Checking Your Vehicle For Safety ................92
Checks, Safety .............................92
Child Restraint .............................71
10
INDEX 513