2017 DODGE GRAND CARAVAN brake light
[x] Cancel search: brake lightPage 27 of 530
To Enter The Vehicle After Remote Start
To enter the vehicle while the engine is running during a
Remote Start, you must first unlock the vehicle using the
UNLOCK button on the key fob. After the vehicle is
unlocked, you can enter the vehicle, insert the key fob into
the ignition switch, and turn it to the ON/RUN position.
Otherwise, the engine will shut off at the end of 15-minute
cycle.
To Exit Remote Start Mode And Drive The Vehicle
Before the end of the 15-minute cycle, push and release the
UNLOCK button on the key fob to unlock the doors and
disarm the Vehicle Security Alarm (if equipped). Then,
prior to the end of the 15-minute cycle, insert the key fob
into the ignition switch and turn the switch to the ON/
RUN position.
NOTE:
•The ignition switch must be in the ON/RUN position in
order to drive the vehicle.
• The message “Remote Start Active — Key To Run” will
display in the Instrument Cluster Display until you
insert and turn the key to ON/RUN position.
Cancel Remote Start
Remote Starting will also cancel if any of the following
occur:
•The engine stalls or engine speed exceeds 2500 rpm.
• Any engine warning lights come on.
• Low Fuel Light turns on.
• The hood is opened.
• The hazard switch is pushed.
• The gear selector is moved out of PARK.
• The engine is allowed to run for the entire 15-minute
cycle.
• The brake pedal is pushed.
To Turn Off The Engine While In Remote Start
Mode
Push and release the REMOTE START button 1 time or
allow the engine to run for the entire 15-minute cycle.
NOTE: To avoid unintentional shutdowns while in the
Remote Start Mode, the system will not allow the REMOTE
START button to shut down the engine for two seconds
after receiving a valid Remote Start request.
2
THINGS TO KNOW BEFORE STARTING YOUR VEHICLE 25
Page 37 of 530
If the inside or outside door handles are used while the
power sliding side door is activated, the power sliding
door feature will be canceled and will go into manual
mode.
To avoid unintentional operation of the power sliding
doors from the rear seats, push the power sliding door
master lock button, located in the overhead console, to
disable the switches and handles for the rear seat passen-
gers.
NOTE:
•The power sliding side door switches will not open the
power sliding door if the gear selector is in gear or the
vehicle speed is above 0 mph (0 km/h). To close the
power sliding door with the gear selector in gear and
vehicle speed at 0 mph (0 km/h), the brake must be
pushed.
• If anything obstructs the power sliding side door while
it is closing or opening, the door will automatically
reverse to the closed or open position, provided it meets
sufficient resistance.
• If the power sliding side door is not in the full open or
close position, it will fully open when a power sliding door switch is pushed. To close the door, wait until it is
fully open and then push the switch again.
• If the power sliding door encounters multiple obstruc-
tions within the same cycle, the system will automati-
cally stop, the power sliding door motor will make a
clicking sound until the door has no further movement.
This clicking sound can be stopped by pulling the inside
or outside handle. If this condition occurs, no damage is
done to the power sliding door motor. The power sliding
door must be opened or closed manually.
WARNING!
You, or others, could be injured if caught in the path of
the sliding door. Make sure the door path is clear
before closing the door.
Power Sliding Side Door Open Flash
The left and right exterior hazard lights will flash for 12
seconds when either sliding door is opened. This will alert
other drivers in the area that passenger(s) could be entering
or exiting the vehicle.
2
THINGS TO KNOW BEFORE STARTING YOUR VEHICLE 35
Page 96 of 530
have the system inspected at an authorized dealer as
soon as possible. This light will illuminate with a single
chime when a fault with the Air Bag Warning Light has
been detected, it will stay on until the fault is cleared. If
the light comes on intermittently or remains on while
driving, have an authorized dealer service the vehicle
immediately. Refer to “Occupant Restraints” for further
information.
Defroster
Check operation by selecting the defrost mode and place
the blower control on high speed. You should be able to
feel the air directed against the windshield. See your
authorized dealer for service if your defroster is inoper-
able.
Floor Mat Safety Information
Always use floor mats designed to fit the footwell of your
vehicle. Use only floor mats that leave the pedal area
unobstructed and that are firmly secured so that they
cannot slip out of position and interfere with the pedals or
impair safe operation of your vehicle in other ways.
WARNING!
An improperly attached, damaged, folded, or stacked
floor mat, or damaged floor mat fasteners may cause
your floor mat to interfere with the accelerator, brake,
or clutch pedals and cause a loss of vehicle control. To
prevent SERIOUS INJURY or DEATH:
•ALWAYS securely attach
your floor mat using
the floor mat fasteners. DO NOT install your floor
mat upside down or turn your floor mat over.
Lightly pull to confirm mat is secured using the
floor mat fasteners on a regular basis.
• ALWAYS REMOVE THE EXISTING FLOOR MAT
FROM THE VEHICLE
before installing any
other floor mat. NEVER install or stack an addi-
tional floor mat on top of an existing floor mat.
• ONLY install floor mats designed to fit your vehicle.
NEVER install a floor mat that cannot be properly
attached and secured to your vehicle. If a floor mat
needs to be replaced, only use a FCA approved floor
mat for the specific make, model, and year of your
vehicle.
• ONLY use the driver ’s side floor mat on the driver ’s
side floor area. To check for interference, with the
(Continued)
94 THINGS TO KNOW BEFORE STARTING YOUR VEHICLE
Page 97 of 530

WARNING!(Continued)
vehicle properly parked with the engine off, fully
depress the accelerator, the brake, and the clutch
pedal (if present) to check for interference. If your
floor mat interferes with the operation of any pedal,
or is not secure to the floor, remove the floor mat
from the vehicle and place the floor mat in your
trunk.
• ONLY use the passenger ’s side floor mat on the
passenger ’s side floor area.
• ALWAYS make sure objects cannot fall or slide into
the driver ’s side floor area when the vehicle is
moving. Objects can become trapped under accelera-
tor, brake, or clutch pedals and could cause a loss of
vehicle control.
• NEVER place any objects under the floor mat (e.g.,
towels, keys, etc.). These objects could change the
position of the floor mat and may cause interference
with the accelerator, brake, or clutch pedals.
• If the vehicle carpet has been removed and re-
installed, always properly attach carpet to the floor
and check the floor mat fasteners are secure to the
vehicle carpet. Fully depress each pedal to check for
(Continued)
WARNING! (Continued)
interference with the accelerator, brake, or clutch
pedals then re-install the floor mats.
• It is recommended to only use mild soap and water
to clean your floor mats. After cleaning, always check
your floor mat has been properly installed and is
secured to your vehicle using the floor mat fasteners
by lightly pulling mat.
Periodic Safety Checks You Should Make Outside
The Vehicle
Tires
Examine tires for excessive tread wear and uneven wear
patterns. Check for stones, nails, glass, or other objects
lodged in the tread or sidewall. Inspect the tread for cuts
and cracks. Inspect sidewalls for cuts, cracks, and bulges.
Check the wheel nuts for tightness. Check the tires (includ-
ing spare) for proper cold inflation pressure.
Lights
Have someone observe the operation of brake lights and
exterior lights while you work the controls. Check turn
signal and high beam indicator lights on the instrument
panel.
2
THINGS TO KNOW BEFORE STARTING YOUR VEHICLE 95
Page 176 of 530
Lights-On Reminder
If the headlights or the parking lights are left on, or if the
dimmer control is in the extreme top position after the
ignition switch is turned OFF, a chime will sound when the
driver’s door is opened.
Daytime Running Lights — If Equipped
The headlights on your vehicle will illuminate when the
engine is started and the transmission is in any gear except
PARK. This provides a constant lights on condition until
the ignition is turned OFF. The lights illuminate at less than
50% of normal intensity. If the parking brake is applied, the
Daytime Running Lights (DRL) will turn off. Also, if a turn
signal is activated, the DRL lamp on the same side of the
vehicle will turn off for the duration of the turn signal
activation. Once the turn signal is no longer active, the DRL
lamp will illuminate.
Front Fog Lights — If Equipped
To activate the front fog lights, turn on the
parking lights or the low beam headlights and
push in the headlight switch control knob. Push-
ing the headlight switch control knob in a second time will
turn the front fog lights off.
Dimmer Controls
The dimmer switch is located next to the headlight switch.
With the parking lights or headlights on, rotating the
dimmer control upward will increase the brightness of the
instrument panel lights.
Interior Lighting On
Rotate the left dimmer control completely upward to the
second detent (extreme top position) to turn on the interior
lights. The interior lights will remain on when the dimmer
control is in this position.
Dimmer Control
174 UNDERSTANDING THE FEATURES OF YOUR VEHICLE
Page 245 of 530
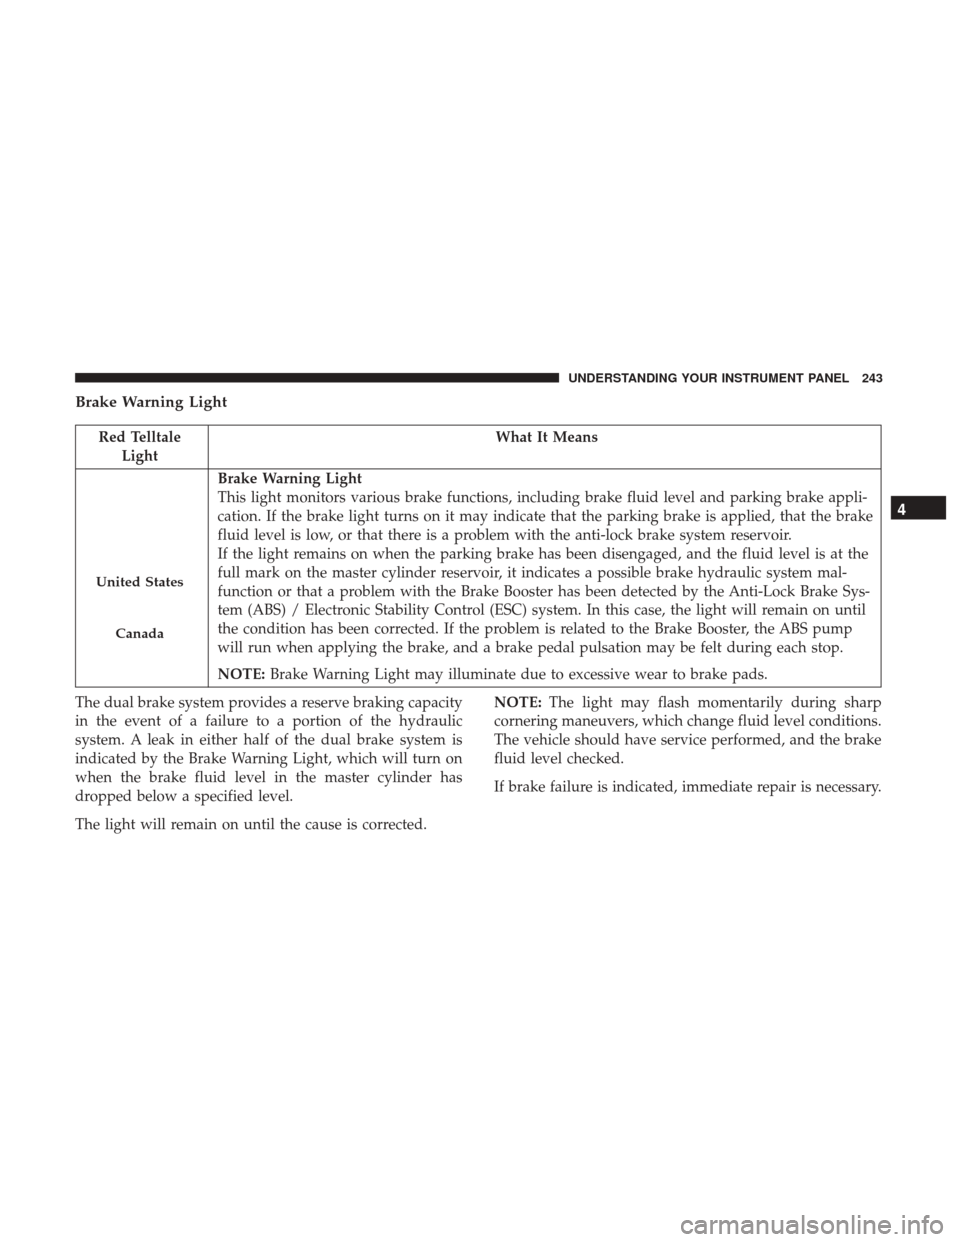
Brake Warning Light
Red TelltaleLight What It Means
United States
Canada
Brake Warning Light
This light monitors various brake functions, including brake fluid level and parking brake appli-
cation. If the brake light turns on it may indicate that the parking brake is applied, that the brake
fluid level is low, or that there is a problem with the anti-lock brake system reservoir.
If the light remains on when the parking brake has been disengaged, and the fluid level is at the
full mark on the master cylinder reservoir, it indicates a possible brake hydraulic system mal-
function or that a problem with the Brake Booster has been detected by the Anti-Lock Brake Sys-
tem (ABS) / Electronic Stability Control (ESC) system. In this case, the light will remain on until
the condition has been corrected. If the problem is related to the Brake Booster, the ABS pump
will run when applying the brake, and a brake pedal pulsation may be felt during each stop.
NOTE:
Brake Warning Light may illuminate due to excessive wear to brake pads.
The dual brake system provides a reserve braking capacity
in the event of a failure to a portion of the hydraulic
system. A leak in either half of the dual brake system is
indicated by the Brake Warning Light, which will turn on
when the brake fluid level in the master cylinder has
dropped below a specified level.
The light will remain on until the cause is corrected. NOTE:
The light may flash momentarily during sharp
cornering maneuvers, which change fluid level conditions.
The vehicle should have service performed, and the brake
fluid level checked.
If brake failure is indicated, immediate repair is necessary.
4
UNDERSTANDING YOUR INSTRUMENT PANEL 243
Page 246 of 530

WARNING!
Driving a vehicle with the red brake light on is
dangerous. Part of the brake system may have failed. It
will take longer to stop the vehicle. You could have a
collision. Have the vehicle checked immediately.
Vehicles equipped with the Anti-Lock Brake System (ABS)
are also equipped with Electronic Brake Force Distribution
(EBD). In the event of an EBD failure, the Brake Warning
Light will turn on along with the ABS Light. Immediate
repair to the ABS system is required. Operation of the Brake Warning Light can be checked by
placing the ignition in the ON/RUN position. The light
should illuminate for approximately two seconds. The light
should then turn off unless the parking brake is applied or
a brake fault is detected. If the light does not illuminate,
have the light inspected by an authorized dealer.
The light also will turn on when the parking brake is
applied with the ignition placed in the ON/RUN position.
NOTE:
This light shows only that the parking brake is
applied. It does not show the degree of brake application.
Battery Charge Warning Light
Red Telltale Light What It Means
Battery Charge Warning Light
This light illuminates when the battery is not charging properly. If it stays on while the engine is
running, there may be a malfunction with the charging system. Contact your authorized dealer as
soon as possible. This indicates a possible problem with the electrical system or a related compo-
nent.
244 UNDERSTANDING YOUR INSTRUMENT PANEL
Page 251 of 530

Yellow Telltale Indicator Lights
Anti-Lock Brake (ABS) Indicator Light
Yellow TelltaleLight What It Means
Anti-Lock Brake (ABS) Indicator Light
This light monitors the Anti-Lock Brake System (ABS). The light will turn on when the ignition is
placed in the ON/RUN position and may stay on for as long as four seconds.
If the ABS light remains on or turns on while driving, then the Anti-Lock portion of the brake
system is not functioning and service is required. However, the conventional brake system will
continue to operate normally if the brake warning light is not on.
If the ABS light is on, the brake system should be serviced as soon as possible to restore the ben-
efits of Anti-Lock Brakes. If the ABS light does not turn on when the ignition is placed in the
ON/RUN position, have the light inspected by an authorized dealer.4
UNDERSTANDING YOUR INSTRUMENT PANEL 249