Page 284 of 372

Black plate (56,1)Chevrolet Orlando Owner Manual - 2013 - CRC - 6/5/12
10-56 Vehicle Care
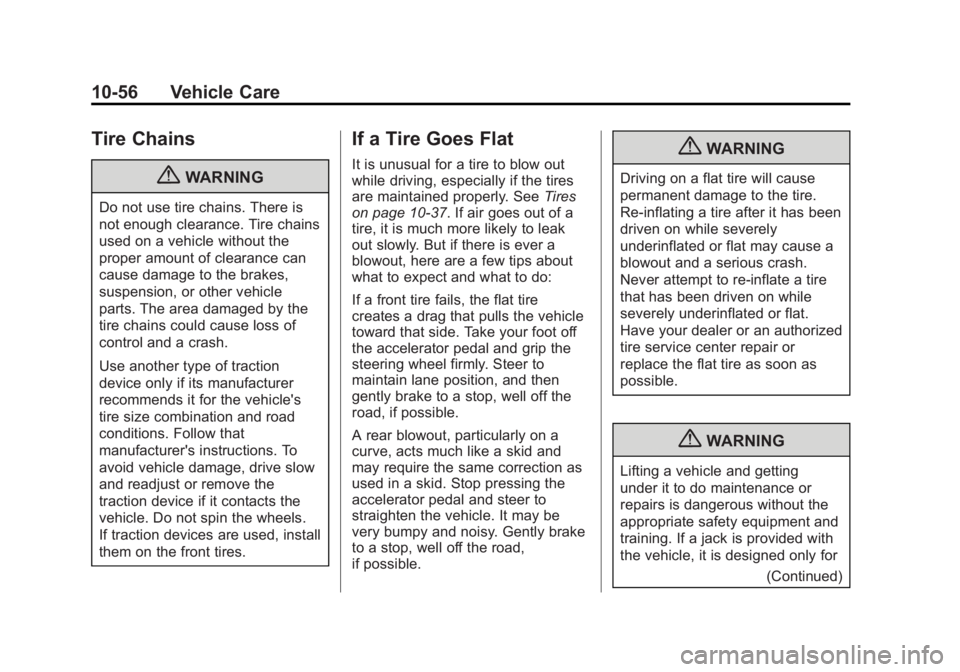
Tire Chains
{WARNING
Do not use tire chains. There is
not enough clearance. Tire chains
used on a vehicle without the
proper amount of clearance can
cause damage to the brakes,
suspension, or other vehicle
parts. The area damaged by the
tire chains could cause loss of
control and a crash.
Use another type of traction
device only if its manufacturer
recommends it for the vehicle's
tire size combination and road
conditions. Follow that
manufacturer's instructions. To
avoid vehicle damage, drive slow
and readjust or remove the
traction device if it contacts the
vehicle. Do not spin the wheels.
If traction devices are used, install
them on the front tires.
If a Tire Goes Flat
It is unusual for a tire to blow out
while driving, especially if the tires
are maintained properly. SeeTires
on page 10‑37. If air goes out of a
tire, it is much more likely to leak
out slowly. But if there is ever a
blowout, here are a few tips about
what to expect and what to do:
If a front tire fails, the flat tire
creates a drag that pulls the vehicle
toward that side. Take your foot off
the accelerator pedal and grip the
steering wheel firmly. Steer to
maintain lane position, and then
gently brake to a stop, well off the
road, if possible.
A rear blowout, particularly on a
curve, acts much like a skid and
may require the same correction as
used in a skid. Stop pressing the
accelerator pedal and steer to
straighten the vehicle. It may be
very bumpy and noisy. Gently brake
to a stop, well off the road,
if possible.{WARNING
Driving on a flat tire will cause
permanent damage to the tire.
Re-inflating a tire after it has been
driven on while severely
underinflated or flat may cause a
blowout and a serious crash.
Never attempt to re-inflate a tire
that has been driven on while
severely underinflated or flat.
Have your dealer or an authorized
tire service center repair or
replace the flat tire as soon as
possible.
{WARNING
Lifting a vehicle and getting
under it to do maintenance or
repairs is dangerous without the
appropriate safety equipment and
training. If a jack is provided with
the vehicle, it is designed only for
(Continued)
Page 300 of 372

Black plate (72,1)Chevrolet Orlando Owner Manual - 2013 - CRC - 6/5/12
10-72 Vehicle Care
3. Lift the spare tire holder andengage it in both catches. The
open side of the catches must
point in the direction of travel.
4. Turn the wheel wrench clockwise to tighten both
hexagon bolts.
5. Close and lock the storage compartment cover.
6. Replace the two wheel bolt caps.
7. Store the wheel wrench and extension.
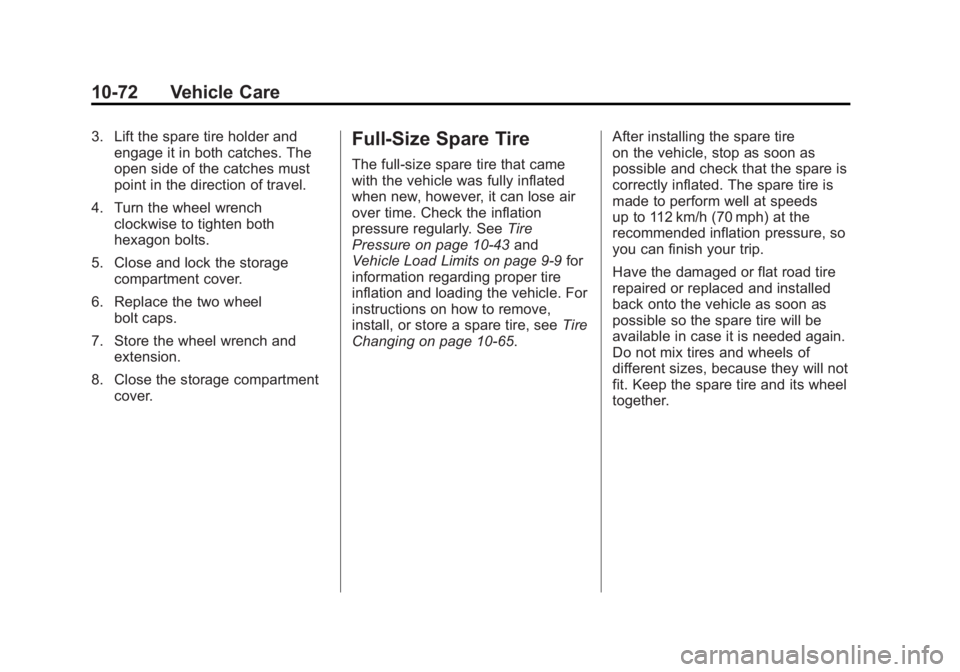
8. Close the storage compartment cover.Full-Size Spare Tire
The full-size spare tire that came
with the vehicle was fully inflated
when new, however, it can lose air
over time. Check the inflation
pressure regularly. See Tire
Pressure on page 10‑43 and
Vehicle Load Limits on page 9‑9 for
information regarding proper tire
inflation and loading the vehicle. For
instructions on how to remove,
install, or store a spare tire, see Tire
Changing on page 10‑65. After installing the spare tire
on the vehicle, stop as soon as
possible and check that the spare is
correctly inflated. The spare tire is
made to perform well at speeds
up to 112 km/h (70 mph) at the
recommended inflation pressure, so
you can finish your trip.
Have the damaged or flat road tire
repaired or replaced and installed
back onto the vehicle as soon as
possible so the spare tire will be
available in case it is needed again.
Do not mix tires and wheels of
different sizes, because they will not
fit. Keep the spare tire and its wheel
together.
Page 370 of 372

Black plate (10,1)Chevrolet Orlando Owner Manual - 2013 - CRC - 6/5/12
i-10 INDEX
Service (cont'd)Maintenance, General
Information . . . . . . . . . . . . . . . . . . 11-1
Parts Identification Label . . . . . 12-1
Publications Ordering
Information . . . . . . . . . . . . . . . . .13-11
Scheduling Appointments . . . . . 13-7
Vehicle Messages . . . . . . . . . . . . 5-28
Vehicle Soon Light . . . . . . . . . . . . 5-14
Servicing the Airbag . . . . . . . . . . . 3-30
Shift Lock Control Function Check, Automatic
Transmission . . . . . . . . . . . . . . . . 10-22
Shifting
Into Park . . . . . . . . . . . . . . . . . . . . . . 9-18
Out of Park . . . . . . . . . . . . . . . . . . . 9-19
Sidemarker and Stoplamps Bulb Replacement . . . . . . . . . . 10-27
Signals, Turn and Lane-Change . . . . . . . . . . . . . . . . . 6-4
Specifications and Capacities . . . . . . . . . . . . . . . . . . . . 12-2
Speedometer . . . . . . . . . . . . . . . . . . . 5-9
StabiliTrak
OFF Light . . . . . . . . . . . . . . . . . . . . . 5-17
System . . . . . . . . . . . . . . . . . . . . . . . 9-29
Start Vehicle, Remote . . . . . . . . . . 2-5 Starter Switch Check . . . . . . . . . 10-22
Starting the Engine . . . . . . . . . . . . 9-16
Starting the Vehicle
Messsages . . . . . . . . . . . . . . . . . . . 5-29
Steering . . . . . . . . . . . . . . . . . . . . . . . . 9-3 Power, Warning Lights . . . . . . . . 5-16
Wheel Adjustment . . . . . . . . . . . . . 5-2
Wheel Controls . . . . . . . . . . . . . . . . 5-3
Storage Areas Cargo Cover . . . . . . . . . . . . . . . . . . . 4-2
Cargo Management System . . . 4-4
Center Console . . . . . . . . . . . . . . . . 4-2
Convenience Net . . . . . . . . . . . . . . 4-4
Front . . . . . . . . . . . . . . . . . . . . . . . . . . 4-1
Glove Box . . . . . . . . . . . . . . . . . . . . . 4-1
Instrument Panel . . . . . . . . . . . . . . 4-1
Roof Rack System . . . . . . . . . . . . . 4-5
Storing the Tire Sealant and Compressor Kit . . . . . . . . . 10-65
Stuck Vehicle . . . . . . . . . . . . . . . . . . . 9-8
Sun Visors . . . . . . . . . . . . . . . . . . . . . 2-16
Sunroof . . . . . . . . . . . . . . . . . . . . . . . . 2-16
Symbols . . . . . . . . . . . . . . . . . . . . . . . . . . iv
System Infotainment . . . . . . . . . . . . . . . . . . . 7-1
Roof Rack . . . . . . . . . . . . . . . . . . . . . 4-5T
Tachometer . . . . . . . . . . . . . . . . . . . . . 5-9
Taillamps
Bulb Replacement . . . . . . . . . . 10-27
Text Telephone (TTY) Users . . . 13-4
Theft-Deterrent Systems . . . . . . . 2-10 Immobilizer . . . . . . . . . . . . . . . . . . . 2-10
Third-Row Seats . . . . . . . . . . . . . . . 3-12
Time . . . . . . . . . . . . . . . . . . . . . . . . . . . . 5-5
Tires Buying New Tires . . . . . . . . . . . 10-51
Chains . . . . . . . . . . . . . . . . . . . . . . 10-56
Changing . . . . . . . . . . . . . . . . . . . 10-65
Designations . . . . . . . . . . . . . . . 10-40
Different Size . . . . . . . . . . . . . . . 10-53
Full-Size Spare . . . . . . . . . . . . . 10-72
If a Tire Goes Flat . . . . . . . . . . 10-56
Inflation Monitor System . . . . 10-45
Inspection . . . . . . . . . . . . . . . . . . 10-48
Messages . . . . . . . . . . . . . . . . . . . . 5-29
Pressure Light . . . . . . . . . . . . . . . . 5-17
Pressure Monitor System . . . 10-44
Rotation . . . . . . . . . . . . . . . . . . . . 10-49
Sealant andCompressor Kit . . . . . . . . . . . 10-58
Page 372 of 372

Black plate (12,1)Chevrolet Orlando Owner Manual - 2013 - CRC - 6/5/12
i-12 INDEX
W
WarningBrake System Light . . . . . . . . . . . 5-14
Warning Lights, Gauges, and Indicators . . . . . . . . . . . . . . . . . . . . . 5-7
Warnings . . . . . . . . . . . . . . . . . . . . . . . . . iv Cautions and Danger . . . . . . . . . . . .iv
Hazard Flashers . . . . . . . . . . . . . . . 6-4
Washer Fluid . . . . . . . . . . . . . . . . . 10-18
Wheels Alignment and Tire
Balance . . . . . . . . . . . . . . . . . . . 10-55
Different Size . . . . . . . . . . . . . . . 10-53
Replacement . . . . . . . . . . . . . . . 10-55
When It Is Time for New Tires . . . . . . . . . . . . . . . . . . . . . . . . 10-50
Where to Put the Restraint . . . . 3-38
Windows . . . . . . . . . . . . . . . . . . . . . . 2-14 Power . . . . . . . . . . . . . . . . . . . . . . . . 2-14
Windshield
Wiper/Washer . . . . . . . . . . . . . . . . . 5-3 Winter
Driving . . . . . . . . . . . . . . . . . . . . . . . . . 9-7
Winter Tires . . . . . . . . . . . . . . . . . . 10-38
Wiper Blade Replacement . . . . 10-23
Wipers Rear Washer . . . . . . . . . . . . . . . . . . 5-4