Page 164 of 259

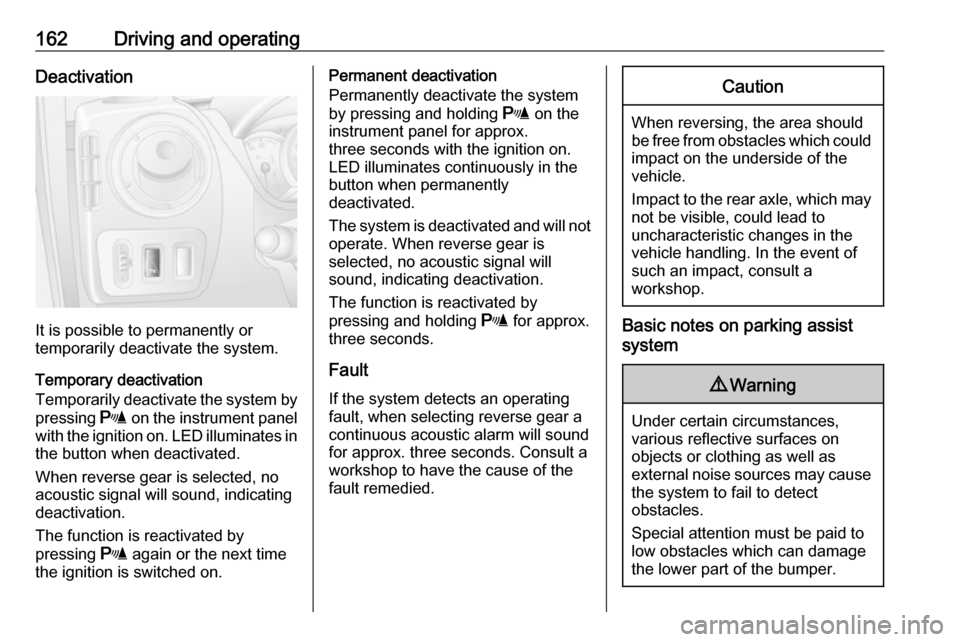
162Driving and operatingDeactivation
It is possible to permanently or
temporarily deactivate the system.
Temporary deactivation
Temporarily deactivate the system by
pressing r on the instrument panel
with the ignition on. LED illuminates in
the button when deactivated.
When reverse gear is selected, no
acoustic signal will sound, indicating
deactivation.
The function is reactivated by
pressing r again or the next time
the ignition is switched on.
Permanent deactivation
Permanently deactivate the system
by pressing and holding r on the
instrument panel for approx. three seconds with the ignition on.
LED illuminates continuously in the
button when permanently
deactivated.
The system is deactivated and will not
operate. When reverse gear is
selected, no acoustic signal will
sound, indicating deactivation.
The function is reactivated by
pressing and holding r for approx.
three seconds.
Fault
If the system detects an operating fault, when selecting reverse gear a
continuous acoustic alarm will sound for approx. three seconds. Consult a
workshop to have the cause of the
fault remedied.Caution
When reversing, the area should
be free from obstacles which could impact on the underside of the
vehicle.
Impact to the rear axle, which may
not be visible, could lead to
uncharacteristic changes in the
vehicle handling. In the event of
such an impact, consult a
workshop.
Basic notes on parking assist
system
9 Warning
Under certain circumstances,
various reflective surfaces on
objects or clothing as well as
external noise sources may cause the system to fail to detect
obstacles.
Special attention must be paid to
low obstacles which can damage
the lower part of the bumper.
Page 165 of 259

Driving and operating163Caution
Performance of the sensors can
be reduced when sensors are
covered, e.g. by ice or snow.
Performance of the parking assist
system can be reduced due to
heavy loading.
Special conditions apply if there
are taller vehicles involved (e.g.
off-road vehicles, mini vans,
vans). Object identification in the
upper part of these vehicles
cannot be guaranteed.
Objects with a very small reflection
cross-section, e.g. objects of
narrow size or soft materials, may
not be detected by the system.
The parking assist system will not
detect objects which are out of the detection range of the sensors.
Rear view camera
The rear view camera assists the
driver when reversing by displaying a view of the area behind the vehicle in
either the interior mirror or the
Infotainment system display screen.
9 Warning
The rear view camera does not
replace driver vision. Note that
objects that are outside the
camera's field of view, e.g. below
the bumper or underneath the
vehicle, are not displayed.
Do not reverse the vehicle by only looking at the display and checkthe surrounding area behind and
around the vehicle before
reversing.
The camera is typically installed on
the rear doors/tailgate, beneath the
number plate moulding.
The area displayed by the camera is
limited. The distance of the image that
appears on the display differs from
the actual distance.
Notice
To achieve the optimum visibility, the rear view camera must not be
obscured by dirt, snow or ice.
Activation
Interior mirror display screen
Rear view camera display is
automatically activated when reverse
gear is engaged. An audible signal
confirms activation.
Page 167 of 259

Driving and operating165● the rear doors/tailgate are notclosed correctly
● the vehicle had a rear-end accident
● there are extreme temperature changes
Lane departure warning The lane departure warning systemuses a front camera to observe the
lane markings between which the
vehicle is driving. The system detects
lane changes and warns the driver in
the event of an unintended lane
change via visual and acoustic
signals.
Criteria for the detection of an
unintended lane change are:
● no operation of turn and lane- change signals
● no active steering
If the driver is performing these
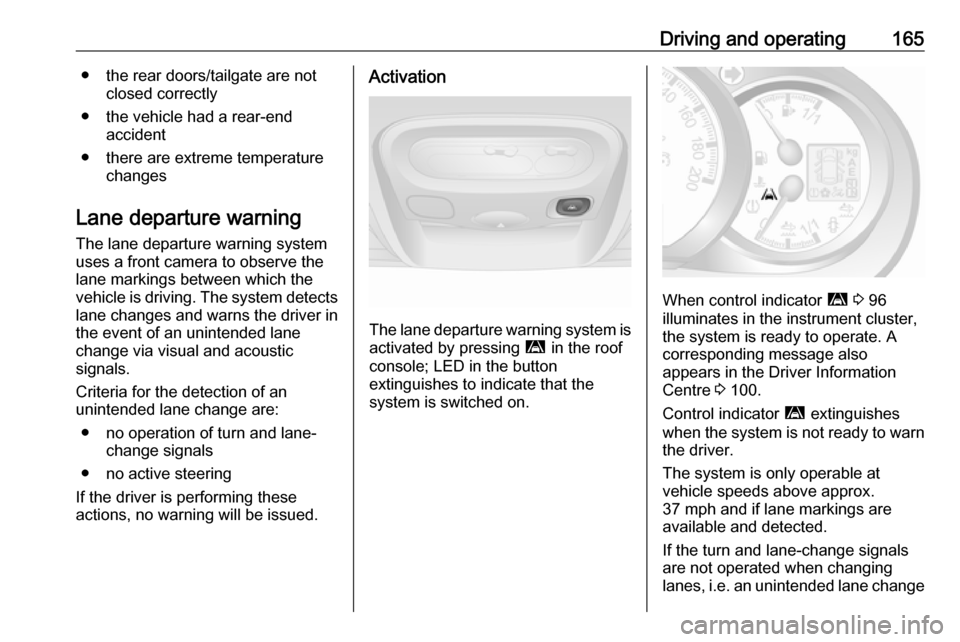
actions, no warning will be issued.Activation
The lane departure warning system is activated by pressing ì in the roof
console; LED in the button
extinguishes to indicate that the
system is switched on.
When control indicator ì 3 96
illuminates in the instrument cluster,
the system is ready to operate. A
corresponding message also
appears in the Driver Information
Centre 3 100.
Control indicator ì extinguishes
when the system is not ready to warn the driver.
The system is only operable at
vehicle speeds above approx.
37 mph and if lane markings are
available and detected.
If the turn and lane-change signals
are not operated when changing
lanes, i.e. an unintended lane change
Page 168 of 259

166Driving and operatingis detected, control indicator ì
flashes together with a warning chime
to alert the driver.
Deactivation The system is deactivated by
pressing ì; LED in the button
illuminates. A corresponding message also appears in the Driver
Information Centre.
At speeds below approx. 37 mph the
system is inoperable.
Operation hints The lane departure warning system
may not operate properly when:
● The windscreen is not clean.● There are adverse environmental
conditions like heavy rain, snow,
direct sunlight or shadows.
The system cannot operate when no
lane marking is detected.
Fault
In the event of a fault in the system, a warning message appears in the
Driver Information Centre (possibly incombination with control indicator
A ) and the LED in the button
illuminates.
Seek the assistance of a workshop.
Driver Information Centre 3 100.Fuel
Fuel for diesel engines Only use diesel fuel that complies
with EN 590. The fuel must have low
sulphur content (max. 10 ppm).
Equivalent standardised fuels with a
biodiesel (= FAME according to
EN14214) content of max. 7% by
volume (like DIN 51628 or equivalent
standards) may be used.
In countries outside the European
Union use Euro-Diesel fuel with a
sulphur concentration below 50 ppm.Caution
Use of fuel that does not comply to EN 590 or similar can lead to
engine powerloss, increased wear
or engine damage and may affect
your warranty.
Do not use marine diesel oils, heating
oils or entirely plant-based diesel
fuels, such as rape seed oil or bio
Page 172 of 259

170Driving and operatingIn the case of trailer loads of
1200 kg or more, the vertical coupling load should not be less than 50 kg.
Rear axle load When the trailer is coupled and the
towing vehicle fully loaded (including all occupants), the permissible rear
axle load (see identification plate or
vehicle documents) must not be
exceeded.
Towing equipmentCaution
When operating without a trailer,
remove the coupling ball bar.
Towing equipment audible
warning
For vehicles fitted with towing
equipment, when connected to a
trailer the pitch of the audible warning
changes upon operation of the turn
signals.
The pitch of the audible warning will
change if a turn signal light on the
trailer or the towing vehicle fails.
Trailer stability assist
If the system detects snaking
movements, engine power is reduced
and the vehicle/trailer combination is
selectively braked until the snaking ceases. While the system is working,keep steering wheel as still as
possible.
Trailer stability assist (TSA) is a
function of the Electronic Stability
Program (ESP) 3 155.Auxiliary features
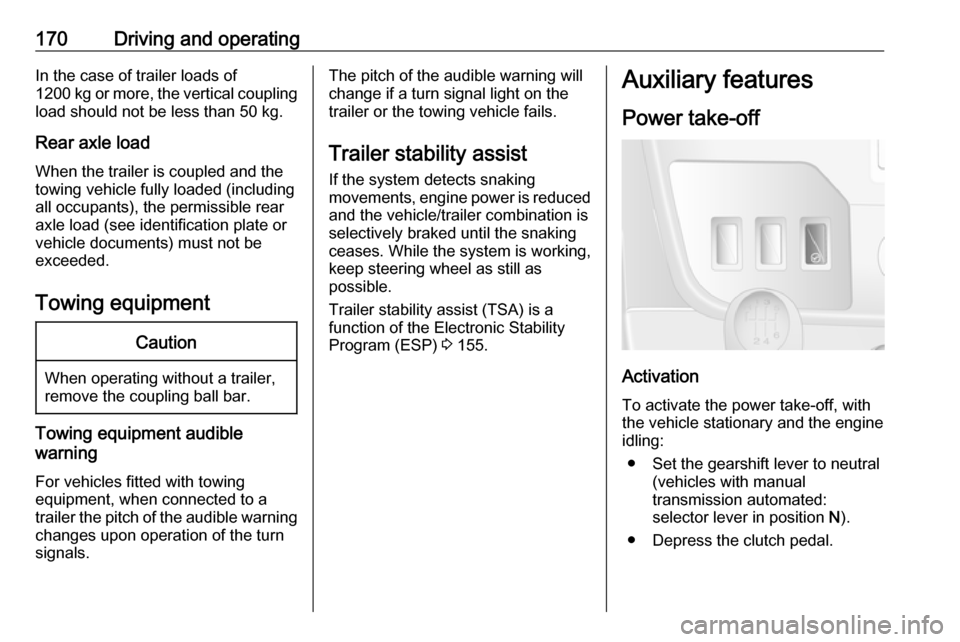
Power take-off
Activation
To activate the power take-off, with
the vehicle stationary and the engine
idling:
● Set the gearshift lever to neutral (vehicles with manual
transmission automated:
selector lever in position N).
● Depress the clutch pedal.
Page 176 of 259
174Vehicle careEnd-of-life vehicle recoveryInformation on end-of-life vehicle
recovery centres and the recycling of
end-of-life vehicles is available on our website, where legally required. Only
entrust this work to an authorised
recycling centre.Vehicle checks
Performing work9 Warning
Only perform engine compartment
checks when the ignition is off.
The vehicle must not be in an
Autostop 3 134.
The cooling fan may start
operating even if the ignition is off.
9 Danger
The ignition system generates
extremely high voltages. Do not
touch.
The caps for topping up the engine oil, the coolant, the washer fluid and the
oil dipstick handle are yellow for ease
of identification.
Bonnet
Opening
Pull the release lever and return it to
its original position.
Page 177 of 259

Vehicle care175
Pull the safety catch, located slightly
left of centre, and open the bonnet.
Pull up the support rod from its holder,
then secure it in the right side hook on the underside of the bonnet.
If the bonnet is opened during an Autostop, the engine will be restarted
automatically for safety reasons.
Stop-start system 3 134.Caution
Ensure the windscreen wiper is
switched off before opening the
bonnet 3 83.
Closing
Before closing the bonnet, press the
support into the holder.
Lower the bonnet and allow it to drop into the catch from a low height
(20-25 cm). Check that the bonnet is
engaged.
Caution
Do not press the bonnet into the
latch, to avoid dents.
9 Warning
In the event of even a minor head-
on collision, have the bonnet
safety catch checked by a
workshop.
Engine oil
Check the engine oil level manually on a regular basis to prevent damage
to the engine.
Ensure that the correct specification
of oil is used. Recommended fluids
and lubricants 3 219.
The maximum engine oil
consumption is 0.6 litres per
600 miles.
Check with the vehicle on a level
surface. The engine must be at
operating temperature and switched
off for at least ten minutes.
Pull out the dipstick, wipe it clean,
insert it to the stop on the handle, pull
out and read the engine oil level.
Page 179 of 259

Vehicle care177Coolant levelCaution
Too low a coolant level can causeengine damage.
If the cooling system is cold, the
coolant level should be just above the
MINI mark. Top up if the level is low.
9Warning
Allow the engine to cool before
opening the cap. Carefully open
the cap, relieving the pressure
slowly.
Top up with antifreeze. If no
antifreeze is available, use clean tap
water or distilled water. Install the cap
tightly. Have the antifreeze
concentration checked and have the
cause of the coolant loss remedied by a workshop.
If a substantial amount of coolant is
required, it will be necessary to bleed
any trapped air from the cooling
system. Seek the assistance of a
workshop.
Power steering fluidCaution
Extremely small amounts of
contamination can cause steering
system damage and cause it to not work properly. Do not allow
contaminates to contact the fluid
side of the reservoir cap or from
entering the reservoir.
The fluid level normally does not need
to be checked. If an unusual noise is
heard during steering or if the power
steering reacts conspicuously, seek
the assistance of a workshop.
Depending on vehicle, the power
steering fluid reservoir may be
located in the engine compartment
(Type A) or below the front wheel
arch, behind a trim panel (Type B).
Type A
If the fluid level in the reservoir falls
below the MINI mark, consult a
workshop.