2016 VOLVO XC90 T8 mirror
[x] Cancel search: mirrorPage 197 of 546
CLIMATE
}}
* Option/accessory, for more information, see Introduction.195
Activating/deactivating the recirculation timer
With the timer activated, recirculation will switch off automatically after 20 minutes. 1.
Tap
Settings in the center display's Top
view.
2. Tap
Climate.
3. Activate/deactivate the timer by selecting/ deselecting the box for
Recirculation
Timer.
Related information
• Climate system controls in the center display (p. 189)
Defrosting windows and mirrors
The max. defroster, heated windshield * and
heated rear window/door mirror functions are used to remove ice or condensation.
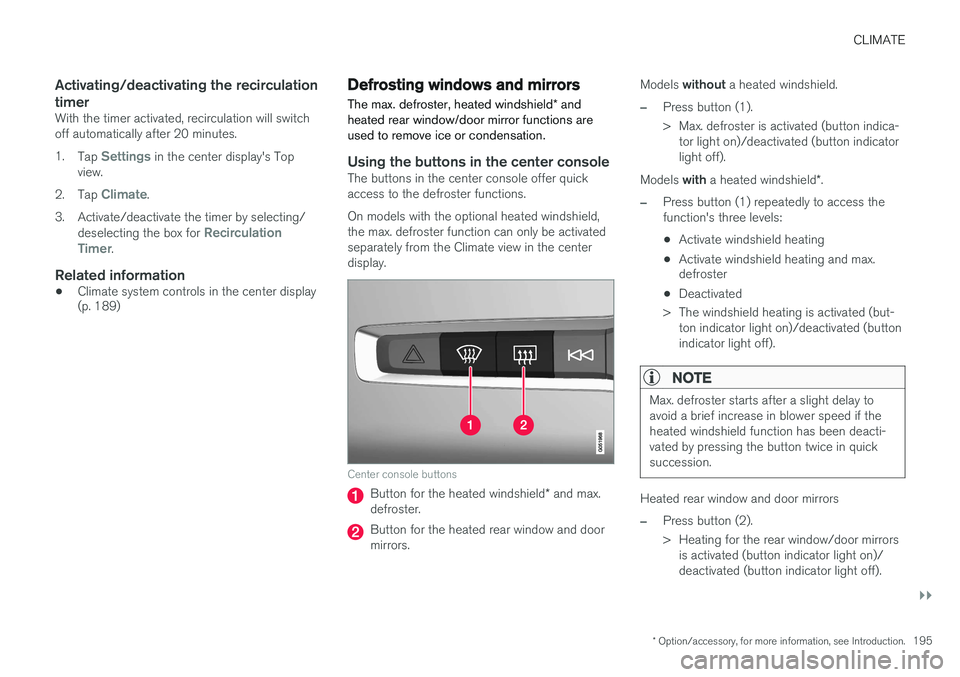
Using the buttons in the center consoleThe buttons in the center console offer quick access to the defroster functions. On models with the optional heated windshield, the max. defroster function can only be activatedseparately from the Climate view in the centerdisplay.
Center console buttons
Button for the heated windshield * and max.
defroster.
Button for the heated rear window and door mirrors. Models
without a heated windshield.
–Press button (1).
> Max. defroster is activated (button indica-
tor light on)/deactivated (button indicator light off).
Models with a heated windshield *.
–Press button (1) repeatedly to access the function's three levels:
• Activate windshield heating
• Activate windshield heating and max. defroster
• Deactivated
> The windshield heating is activated (but- ton indicator light on)/deactivated (button indicator light off).
NOTE
Max. defroster starts after a slight delay to avoid a brief increase in blower speed if theheated windshield function has been deacti-vated by pressing the button twice in quicksuccession.
Heated rear window and door mirrors
–Press button (2).
> Heating for the rear window/door mirrorsis activated (button indicator light on)/ deactivated (button indicator light off).
Page 198 of 546
||
CLIMATE
* Option/accessory, for more information, see Introduction.
196
From the center display's Climate view
Activate/deactivate max. defroster
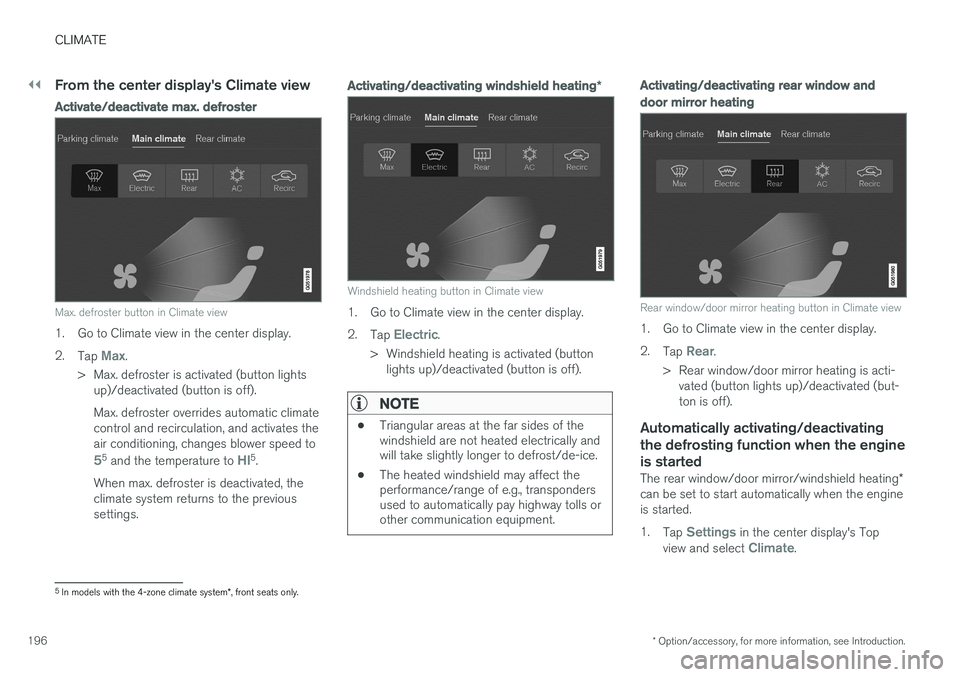
Max. defroster button in Climate view
1. Go to Climate view in the center display. 2.
Tap
Max.
> Max. defroster is activated (button lights up)/deactivated (button is off). Max. defroster overrides automatic climate control and recirculation, and activates theair conditioning, changes blower speed to
55 and the temperature to HI5.
When max. defroster is deactivated, the climate system returns to the previoussettings.
Activating/deactivating windshield heating *
Windshield heating button in Climate view
1. Go to Climate view in the center display. 2.
Tap
Electric.
> Windshield heating is activated (button lights up)/deactivated (button is off).
NOTE
• Triangular areas at the far sides of the windshield are not heated electrically andwill take slightly longer to defrost/de-ice.
• The heated windshield may affect theperformance/range of e.g., transpondersused to automatically pay highway tolls orother communication equipment.
Activating/deactivating rear window and door mirror heating
Rear window/door mirror heating button in Climate view
1. Go to Climate view in the center display. 2.
Tap
Rear.
> Rear window/door mirror heating is acti- vated (button lights up)/deactivated (but- ton is off).
Automatically activating/deactivating the defrosting function when the engineis started
The rear window/door mirror/windshield heating *
can be set to start automatically when the engine is started. 1. Tap
Settings in the center display's Top
view and select Climate.
5 In models with the 4-zone climate system *, front seats only.
Page 199 of 546
CLIMATE
* Option/accessory, for more information, see Introduction.197
2. Activate/deactivate the respective defroster
functions when the engine is started by selecting/deselecting the boxes for
Auto
Electric Front Defroster and Auto Electric
Rear Defroster.
The heating function will switch off automatically when the window/mirror is sufficiently warm andthe ice/condensation has disappeared.
Related information
• Climate system controls (p. 188)
• Climate system controls in the center display (p. 189)
• Defrosting windows and mirrors (p. 195)
• Air conditioning (p. 198)
• Turning recirculation on and off (p. 194)
• Adjusting air distribution (p. 202)
• Setting the blower speed (p. 191)
• Automatic climate control (p. 187)
• Turning front seat ventilation
* on and off
(p. 200)
• Turning steering wheel heating
* on and off
(p. 197)
Turning steering wheel heating * on
and off
The steering wheel can be heated electrically for added comfort in cold weather.
Activating/deactivating steering wheel
heating
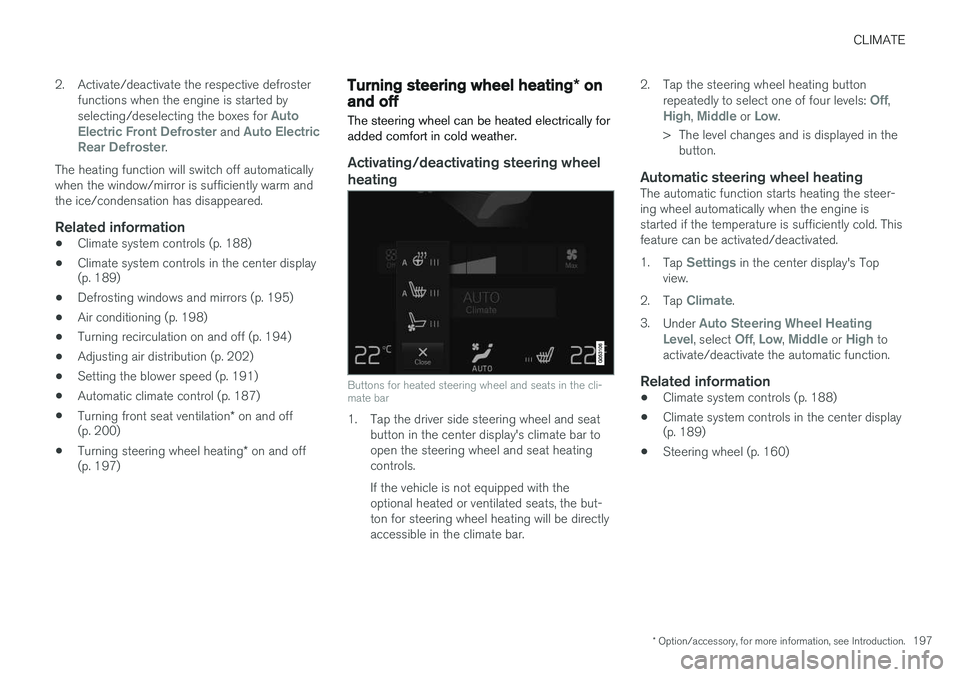
Buttons for heated steering wheel and seats in the cli- mate bar
1. Tap the driver side steering wheel and seat button in the center display's climate bar to open the steering wheel and seat heatingcontrols. If the vehicle is not equipped with the optional heated or ventilated seats, the but-ton for steering wheel heating will be directlyaccessible in the climate bar. 2. Tap the steering wheel heating button
repeatedly to select one of four levels:
Off,High, Middle or Low.
> The level changes and is displayed in the button.
Automatic steering wheel heatingThe automatic function starts heating the steer- ing wheel automatically when the engine isstarted if the temperature is sufficiently cold. Thisfeature can be activated/deactivated. 1. Tap
Settings in the center display's Top
view.
2. Tap
Climate.
3. Under
Auto Steering Wheel Heating
Level, select Off, Low, Middle or High to
activate/deactivate the automatic function.
Related information
• Climate system controls (p. 188)
• Climate system controls in the center display (p. 189)
• Steering wheel (p. 160)
Page 213 of 546
LOADING AND STORAGE
211
Related information
•Passenger compartment storage spaces (p. 208)
• Electrical sockets (p. 212)
• Alarm (p. 226)
• Rear climate system controls on the tunnelconsole (p. 190)
Sun visors There are vanity mirrors with card holders on the upper sides of the sun visors.
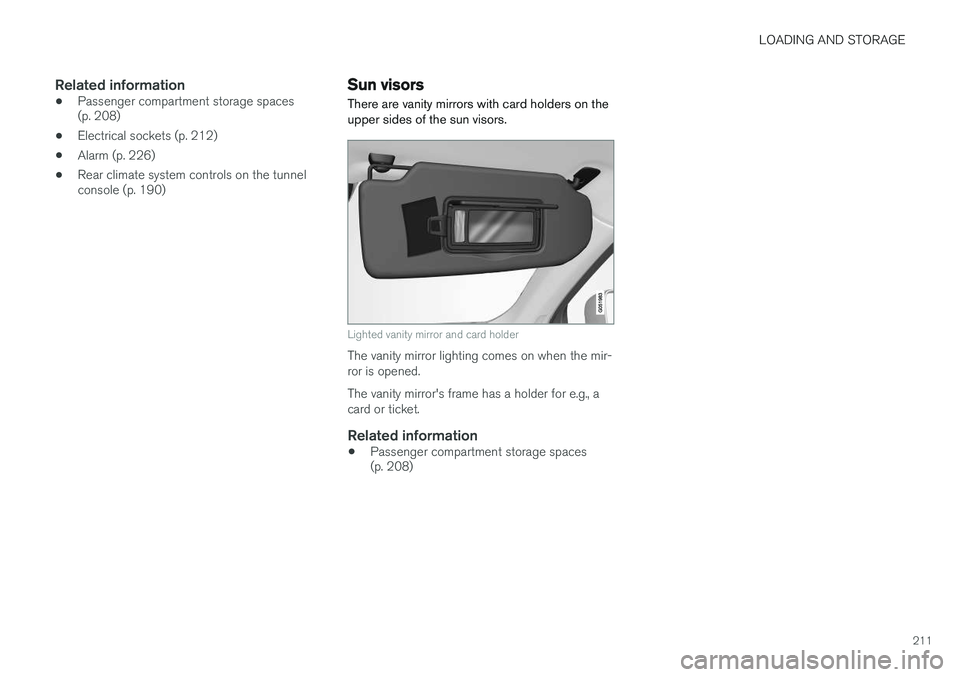
Lighted vanity mirror and card holder
The vanity mirror lighting comes on when the mir- ror is opened. The vanity mirror's frame has a holder for e.g., a card or ticket.
Related information
• Passenger compartment storage spaces (p. 208)
Page 242 of 546
||
LOCKS AND ALARM
* Option/accessory, for more information, see Introduction.
240
Related information
• Power tailgate
* (p. 246)
• Locking/unlocking the tailgate (p. 244)
• Remote key's range (p. 235)
Locking and unlocking confirmation
The turn signals can be used to indicate that the vehicle has been locked/unlocked with theremote key. These settings can also bechanged.
Exterior confirmation
• Locking: the turn signals flash once and the door mirrors will fold in (retract) 11
• Unlocking: the turn signals flash twice andthe door mirrors will fold out 11
When the vehicle is locked, confirmation will only be given if all doors/tailgate and the hood areclosed. If the vehicle is locked while only the driver's door is closed, all doors/tailgate will lock but confirma-tion will only be given when all doors/tailgate/hood are closed.
Interior confirmation
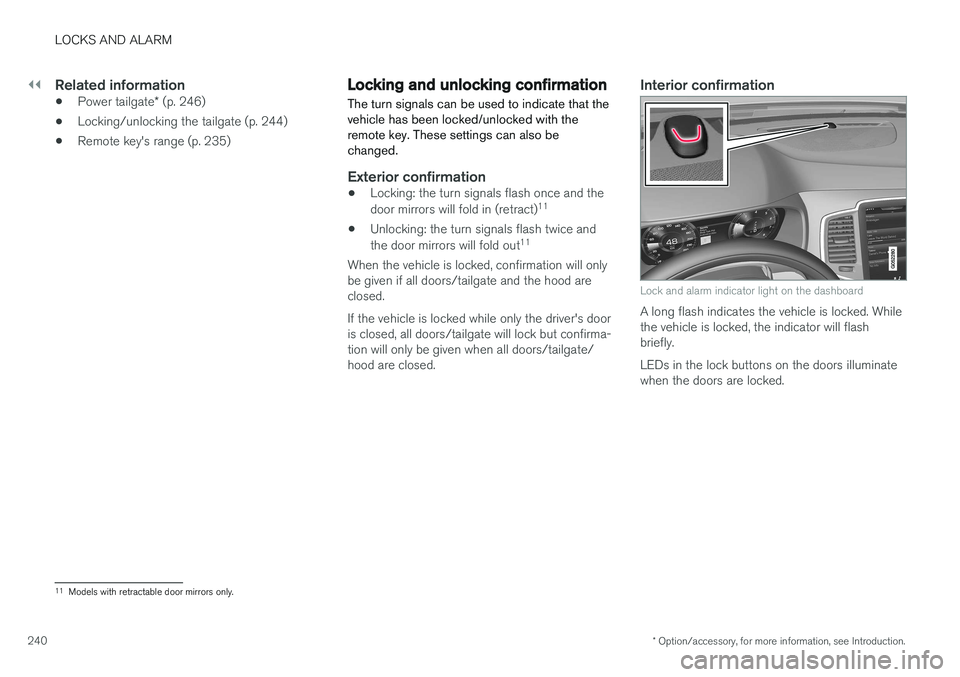
Lock and alarm indicator light on the dashboard
A long flash indicates the vehicle is locked. While the vehicle is locked, the indicator will flashbriefly. LEDs in the lock buttons on the doors illuminate when the doors are locked.
11 Models with retractable door mirrors only.
Page 243 of 546
LOCKS AND ALARM
241
Indicators in the interior lock buttons
Lock buttons in the front doors
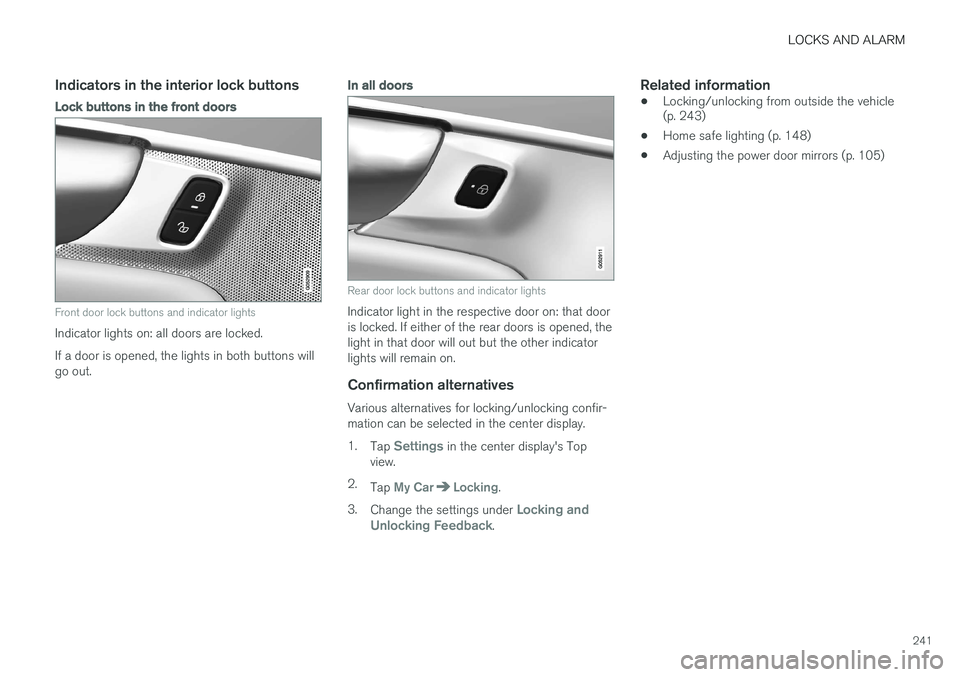
Front door lock buttons and indicator lights
Indicator lights on: all doors are locked. If a door is opened, the lights in both buttons will go out.
In all doors
Rear door lock buttons and indicator lights
Indicator light in the respective door on: that door is locked. If either of the rear doors is opened, thelight in that door will out but the other indicatorlights will remain on.
Confirmation alternatives
Various alternatives for locking/unlocking confir-mation can be selected in the center display. 1.Tap
Settings in the center display's Top
view.
2. Tap
My CarLocking.
3. Change the settings under
Locking and
Unlocking Feedback.
Related information
• Locking/unlocking from outside the vehicle (p. 243)
• Home safe lighting (p. 148)
• Adjusting the power door mirrors (p. 105)
Page 314 of 546
||
DRIVER SUPPORT
* Option/accessory, for more information, see Introduction.
312
Backing up
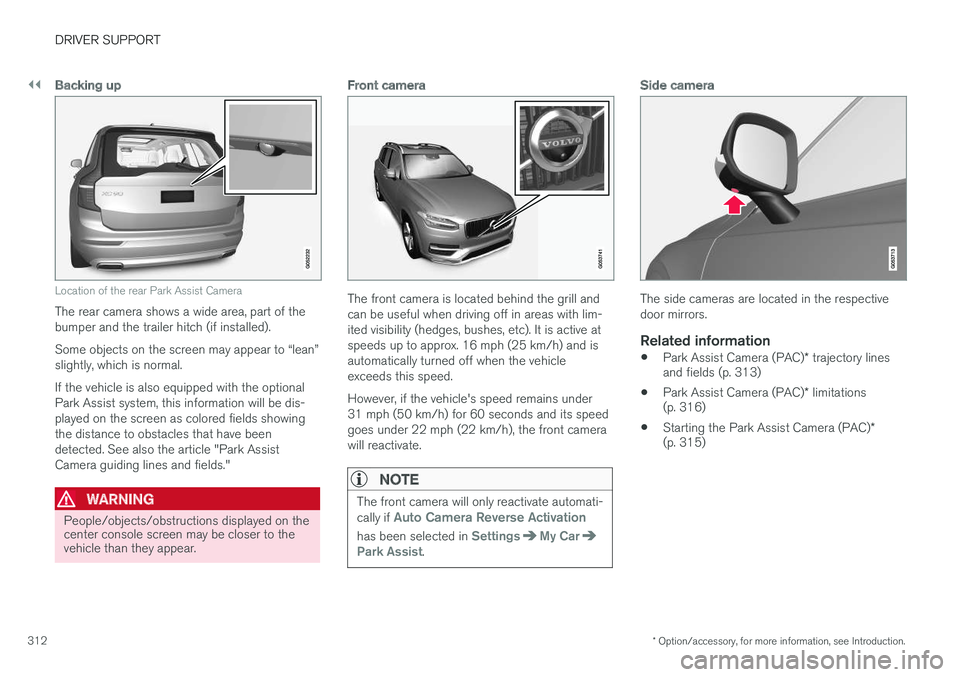
Location of the rear Park Assist Camera
The rear camera shows a wide area, part of the bumper and the trailer hitch (if installed). Some objects on the screen may appear to “lean” slightly, which is normal. If the vehicle is also equipped with the optional Park Assist system, this information will be dis-played on the screen as colored fields showingthe distance to obstacles that have beendetected. See also the article "Park AssistCamera guiding lines and fields."
WARNING
People/objects/obstructions displayed on the center console screen may be closer to thevehicle than they appear.
Front camera
The front camera is located behind the grill and can be useful when driving off in areas with lim-ited visibility (hedges, bushes, etc). It is active atspeeds up to approx. 16 mph (25 km/h) and isautomatically turned off when the vehicleexceeds this speed. However, if the vehicle's speed remains under 31 mph (50 km/h) for 60 seconds and its speedgoes under 22 mph (22 km/h), the front camerawill reactivate.
NOTE
The front camera will only reactivate automati- cally if Auto Camera Reverse Activation
has been selected in SettingsMy CarPark Assist.
Side camera
The side cameras are located in the respective door mirrors.
Related information
• Park Assist Camera (PAC)
* trajectory lines
and fields (p. 313)
• Park Assist Camera (PAC)
* limitations
(p. 316)
• Starting the Park Assist Camera (PAC)
*
(p. 315)
Page 315 of 546
DRIVER SUPPORT
}}
* Option/accessory, for more information, see Introduction.313
Park Assist Camera (PAC)*
trajectory lines and fields
The Park Assist Camera system uses trajectory and lines and fields to indicate the vehicle'sposition in relation to its immediate surround-ings.
Trajectory lines
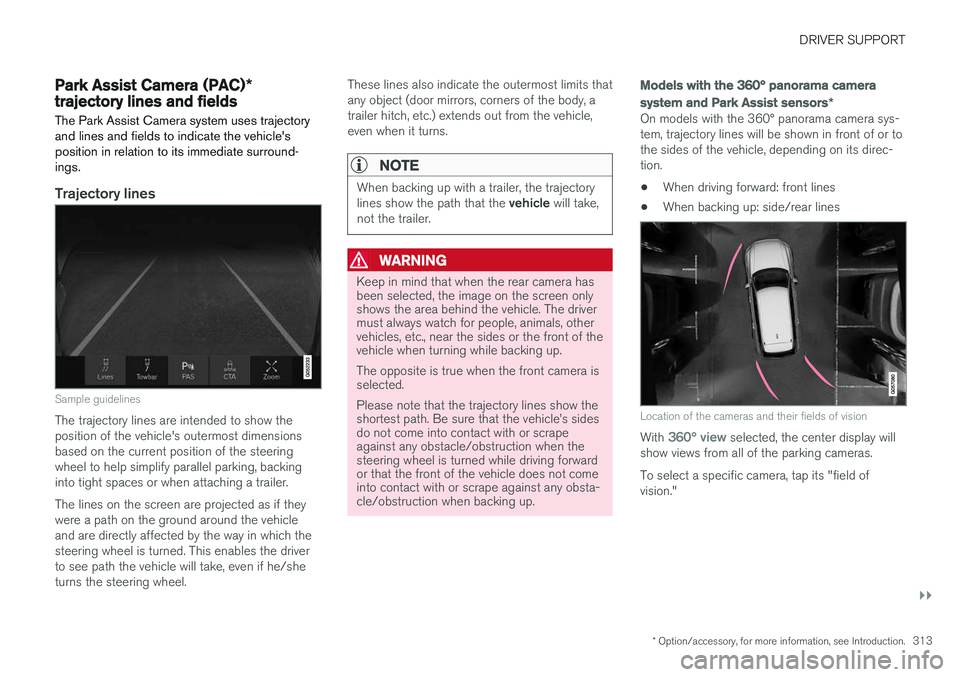
Sample guidelines
The trajectory lines are intended to show the position of the vehicle's outermost dimensionsbased on the current position of the steeringwheel to help simplify parallel parking, backinginto tight spaces or when attaching a trailer. The lines on the screen are projected as if they were a path on the ground around the vehicleand are directly affected by the way in which thesteering wheel is turned. This enables the driverto see path the vehicle will take, even if he/sheturns the steering wheel. These lines also indicate the outermost limits thatany object (door mirrors, corners of the body, atrailer hitch, etc.) extends out from the vehicle,even when it turns.
NOTE
When backing up with a trailer, the trajectory lines show the path that the
vehicle will take,
not the trailer.
WARNING
Keep in mind that when the rear camera has been selected, the image on the screen onlyshows the area behind the vehicle. The drivermust always watch for people, animals, othervehicles, etc., near the sides or the front of thevehicle when turning while backing up. The opposite is true when the front camera is selected. Please note that the trajectory lines show the shortest path. Be sure that the vehicle