2016 VOLVO XC90 T8 brake
[x] Cancel search: brakePage 392 of 546
STARTING AND DRIVING
390
Drive modes
Selecting a drive mode affects the vehicle's driv- ing characteristics to help make driving moreenjoyable or easier in certain types of situations.
The following systems are adapted to help pro- vide the best vehicle performance in the respec-tive drive modes: • Steering
• Engine/transmission/All Wheel Drive
• Brakes
• Suspension control
• Instrument panel
• Climate system settings
Select the drive mode best suited to the current driving conditions. Please be aware that not all modes can be selected in all driving situations. The selectedmode will be displayed in the instrument panel.
Selecting a drive mode
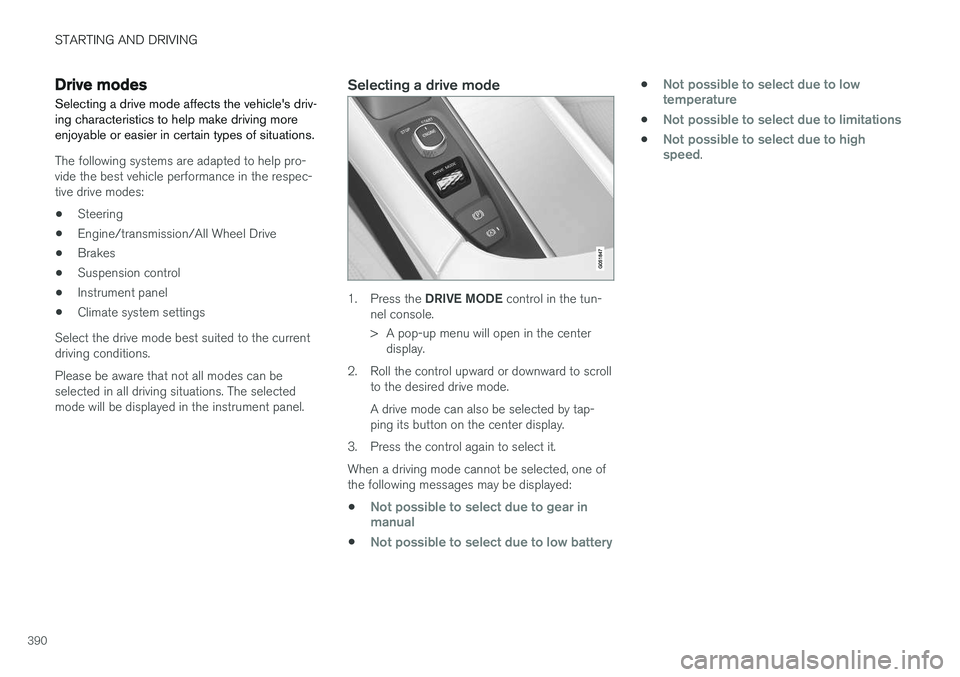
1. Press the DRIVE MODE control in the tun-
nel console.
> A pop-up menu will open in the center display.
2. Roll the control upward or downward to scroll to the desired drive mode. A drive mode can also be selected by tap- ping its button on the center display.
3. Press the control again to select it. When a driving mode cannot be selected, one of the following messages may be displayed:
•
Not possible to select due to gear in manual
•Not possible to select due to low battery
•Not possible to select due to low temperature
•Not possible to select due to limitations
•Not possible to select due to high speed.
Page 393 of 546
STARTING AND DRIVING
}}
391
Available drive modes
HYBRID
This is the default mode. The vehicle normally starts in
Hybrid mode 4
. The
engine management system uses both the elec- tric motor and gasoline engine (separately or intandem) and calculates the optimal levels of per-formance, fuel consumption and comfort. Athigher speeds, ground clearance is reducedautomatically to help reduce wind resistance. The amount of driving done using only the elec- tric motor in
Hybrid mode is determined by the
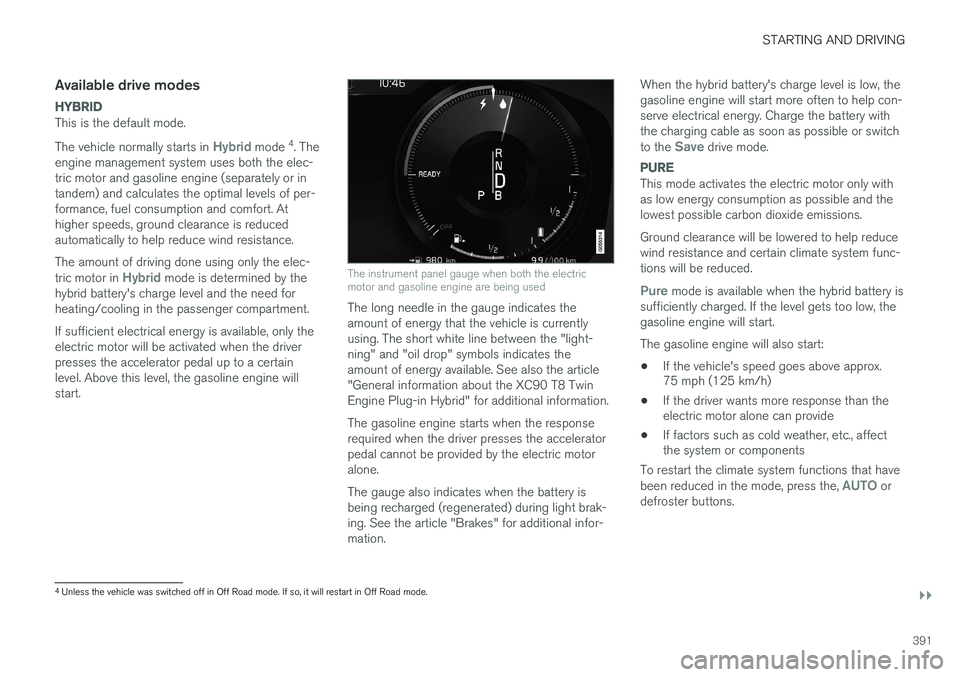
hybrid battery's charge level and the need for heating/cooling in the passenger compartment. If sufficient electrical energy is available, only the electric motor will be activated when the driverpresses the accelerator pedal up to a certainlevel. Above this level, the gasoline engine willstart.The instrument panel gauge when both the electric motor and gasoline engine are being used
The long needle in the gauge indicates the amount of energy that the vehicle is currentlyusing. The short white line between the "light-ning" and "oil drop" symbols indicates theamount of energy available. See also the article"General information about the XC90 T8 TwinEngine Plug-in Hybrid" for additional information. The gasoline engine starts when the response required when the driver presses the acceleratorpedal cannot be provided by the electric motoralone. The gauge also indicates when the battery is being recharged (regenerated) during light brak-ing. See the article "Brakes" for additional infor-mation. When the hybrid battery's charge level is low, thegasoline engine will start more often to help con-serve electrical energy. Charge the battery withthe charging cable as soon as possible or switch to the
Save drive mode.
PURE
This mode activates the electric motor only with as low energy consumption as possible and thelowest possible carbon dioxide emissions. Ground clearance will be lowered to help reduce wind resistance and certain climate system func-tions will be reduced.
Pure mode is available when the hybrid battery is
sufficiently charged. If the level gets too low, the gasoline engine will start. The gasoline engine will also start: • If the vehicle's speed goes above approx. 75 mph (125 km/h)
• If the driver wants more response than theelectric motor alone can provide
• If factors such as cold weather, etc., affectthe system or components
To restart the climate system functions that have been reduced in the mode, press the,
AUTO or
defroster buttons.
4 Unless the vehicle was switched off in Off Road mode. If so, it will restart in Off Road mode.
Page 395 of 546
STARTING AND DRIVING
* Option/accessory, for more information, see Introduction.393
INDIVIDUAL
This setting allows you to adapt a driving mode to your personal preferences. Select one of the other driving modes as a basis and change the settings to provide the drivingcharacteristics that you prefer. This driving modeis only available if it has been activated in thecenter display. INDIVIDUAL is only available if it has been acti- vated in the center display.
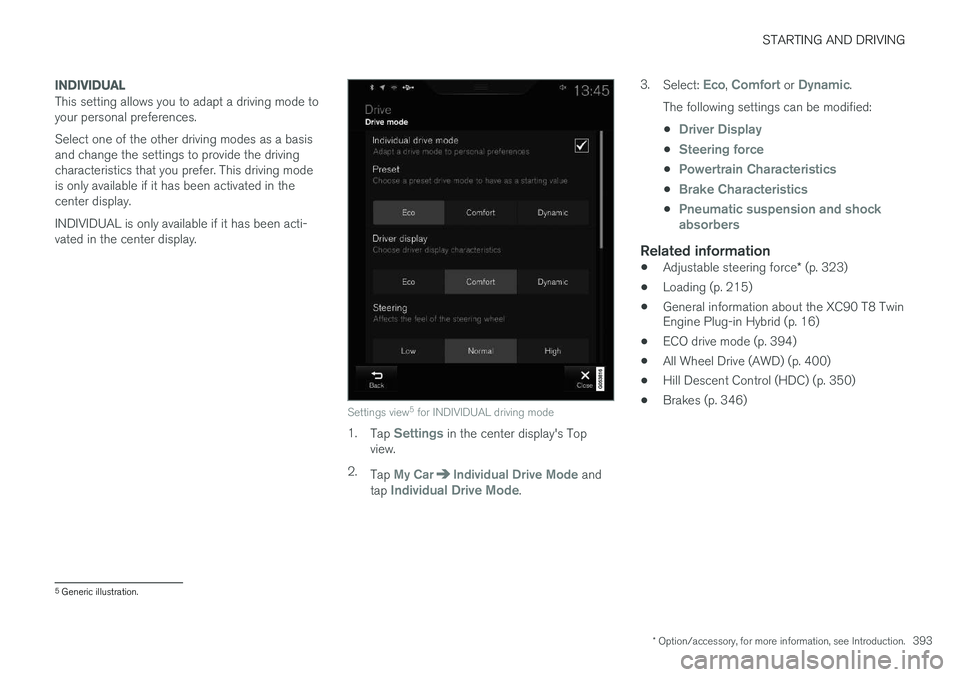
Settings view5
for INDIVIDUAL driving mode
1. Tap Settings in the center display's Top
view.
2. Tap
My CarIndividual Drive Mode and
tap Individual Drive Mode. 3.
Select:
Eco, Comfort or Dynamic.
The following settings can be modified: •
Driver Display
•Steering force
•Powertrain Characteristics
•Brake Characteristics
•Pneumatic suspension and shock absorbers
Related information
• Adjustable steering force
* (p. 323)
• Loading (p. 215)
• General information about the XC90 T8 Twin Engine Plug-in Hybrid (p. 16)
• ECO drive mode (p. 394)
• All Wheel Drive (AWD) (p. 400)
• Hill Descent Control (HDC) (p. 350)
• Brakes (p. 346)
5
Generic illustration.
Page 398 of 546
STARTING AND DRIVING
* Option/accessory, for more information, see Introduction.
396
Shiftlock The automatic transmission's shiftlock feature helps prevent inadvertently moving the gearselector between different positions.
Automatic shiftlock
From Park – P
In order to move the gear selector from the P
position, the brake pedal must be depressed and the ignition must be in mode II.
From neutral – N
If the gear selector is in N and the vehicle has
been stationary for more than 3 seconds (regard- less of whether or not the engine is running), theshiftlock feature will lock the gear selector in thisposition. In order to move the gear selector from the N
position, the brake pedal must be depressed and the ignition must be in mode II.
Messages in the instrument panelIf the gear selector is locked in position, a mes- sage such as: Gear lever Press brake pedal
to activate gear lever will be displayed.
There is no mechanical shiftlock function.
Related information
• Gear selector positions (p. 396)
• Automatic transmission (p. 395)
Gear shift indicator
The gear shift indicator in the instrument panel shows the current gear (in manual shiftingmode) and will prompt the driver to shift up ordown to help get the best possible fuel econ-omy.
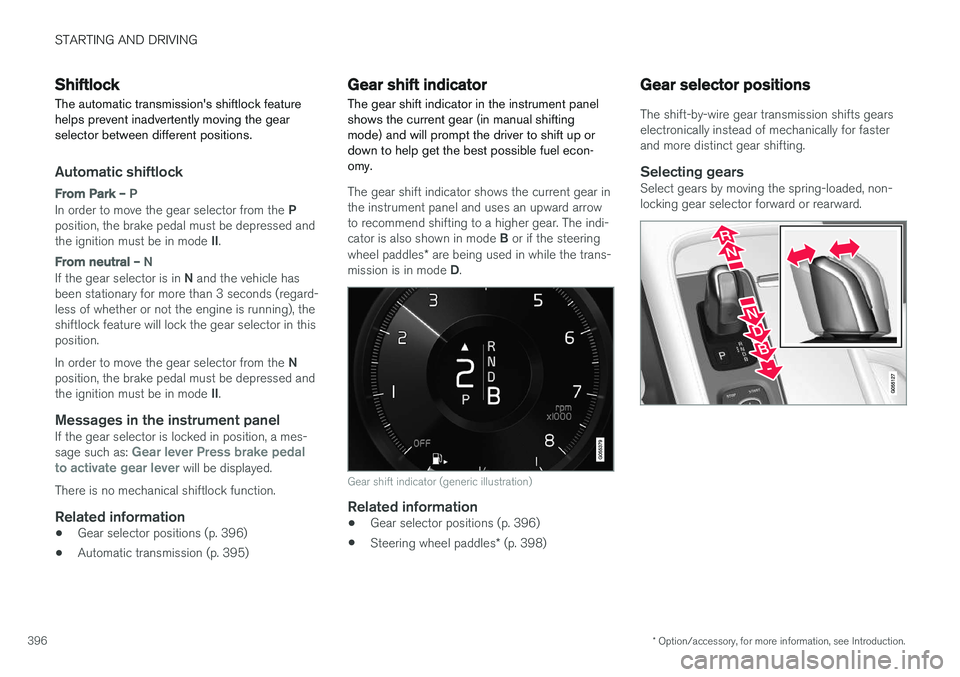
The gear shift indicator shows the current gear in the instrument panel and uses an upward arrowto recommend shifting to a higher gear. The indi- cator is also shown in mode B or if the steering
wheel paddles * are being used in while the trans-
mission is in mode D.
Gear shift indicator (generic illustration)
Related information
• Gear selector positions (p. 396)
• Steering wheel paddles
* (p. 398)
Gear selector positions
The shift-by-wire gear transmission shifts gears electronically instead of mechanically for fasterand more distinct gear shifting.
Selecting gearsSelect gears by moving the spring-loaded, non-locking gear selector forward or rearward.
Page 399 of 546
STARTING AND DRIVING
}}
397
Gear selector positions
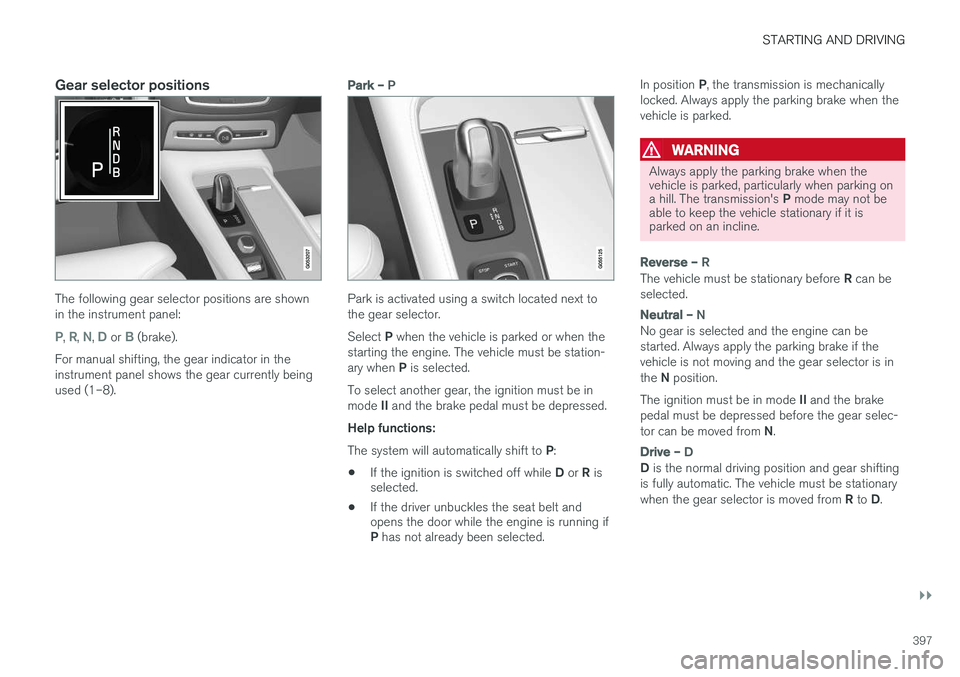
The following gear selector positions are shown in the instrument panel:
P, R, N, D or B (brake).
For manual shifting, the gear indicator in the instrument panel shows the gear currently beingused (1–8).
Park – P
Park is activated using a switch located next to the gear selector. Select P when the vehicle is parked or when the
starting the engine. The vehicle must be station- ary when P is selected.
To select another gear, the ignition must be inmode II and the brake pedal must be depressed.
Help functions: The system will automatically shift to P:
• If the ignition is switched off while
D or R is
selected.
• If the driver unbuckles the seat belt and opens the door while the engine is running if P
has not already been selected. In position
P, the transmission is mechanically
locked. Always apply the parking brake when the vehicle is parked.
WARNING
Always apply the parking brake when the vehicle is parked, particularly when parking on a hill. The transmission's P mode may not be
able to keep the vehicle stationary if it is parked on an incline.
Reverse – R
The vehicle must be stationary before R can be
selected.
Neutral – N
No gear is selected and the engine can be started. Always apply the parking brake if thevehicle is not moving and the gear selector is in the N position.
The ignition must be in mode II and the brake
pedal must be depressed before the gear selec-tor can be moved from N.
Drive – D
D is the normal driving position and gear shifting
is fully automatic. The vehicle must be stationary when the gear selector is moved from R to D.
Page 400 of 546
||
STARTING AND DRIVING
* Option/accessory, for more information, see Introduction.
398
Brake – B
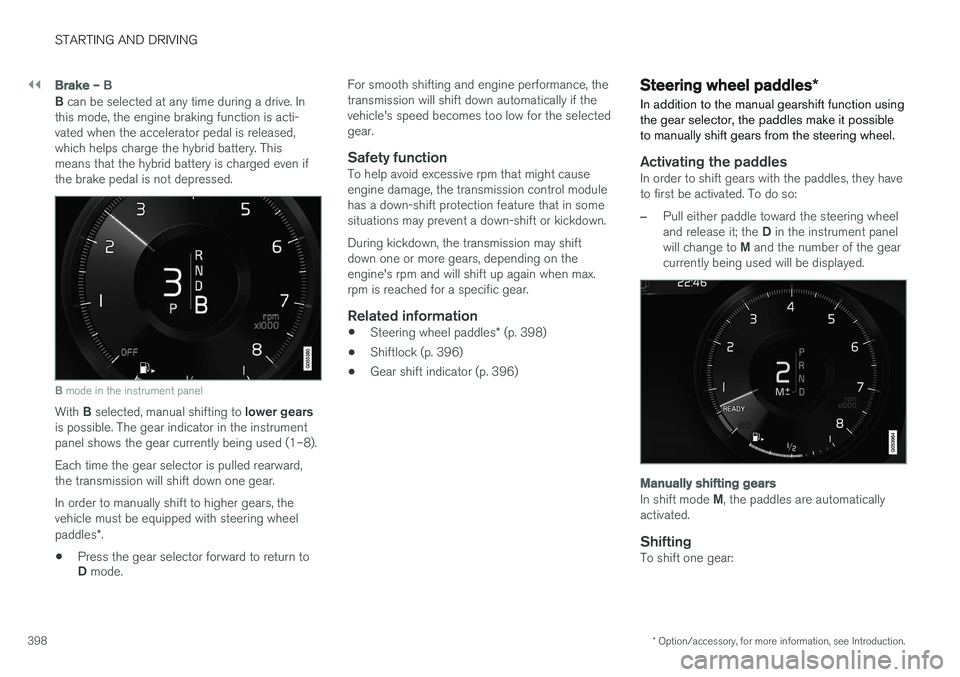
B can be selected at any time during a drive. In
this mode, the engine braking function is acti- vated when the accelerator pedal is released,which helps charge the hybrid battery. Thismeans that the hybrid battery is charged even ifthe brake pedal is not depressed.
B mode in the instrument panel
With B selected, manual shifting to lower gears
is possible. The gear indicator in the instrument panel shows the gear currently being used (1–8). Each time the gear selector is pulled rearward, the transmission will shift down one gear. In order to manually shift to higher gears, the vehicle must be equipped with steering wheel paddles *.
• Press the gear selector forward to return to D
mode. For smooth shifting and engine performance, the transmission will shift down automatically if thevehicle's speed becomes too low for the selectedgear.
Safety functionTo help avoid excessive rpm that might causeengine damage, the transmission control modulehas a down-shift protection feature that in somesituations may prevent a down-shift or kickdown. During kickdown, the transmission may shift down one or more gears, depending on theengine's rpm and will shift up again when max.rpm is reached for a specific gear.
Related information
•
Steering wheel paddles
* (p. 398)
• Shiftlock (p. 396)
• Gear shift indicator (p. 396)
Steering wheel paddles
*
In addition to the manual gearshift function using the gear selector, the paddles make it possibleto manually shift gears from the steering wheel.
Activating the paddlesIn order to shift gears with the paddles, they have to first be activated. To do so:
–Pull either paddle toward the steering wheel and release it; the D in the instrument panel
will change to M and the number of the gear
currently being used will be displayed.
Manually shifting gears
In shift mode M, the paddles are automatically
activated.
ShiftingTo shift one gear:
Page 402 of 546
||
STARTING AND DRIVING
* Option/accessory, for more information, see Introduction.
400
Activating LSC
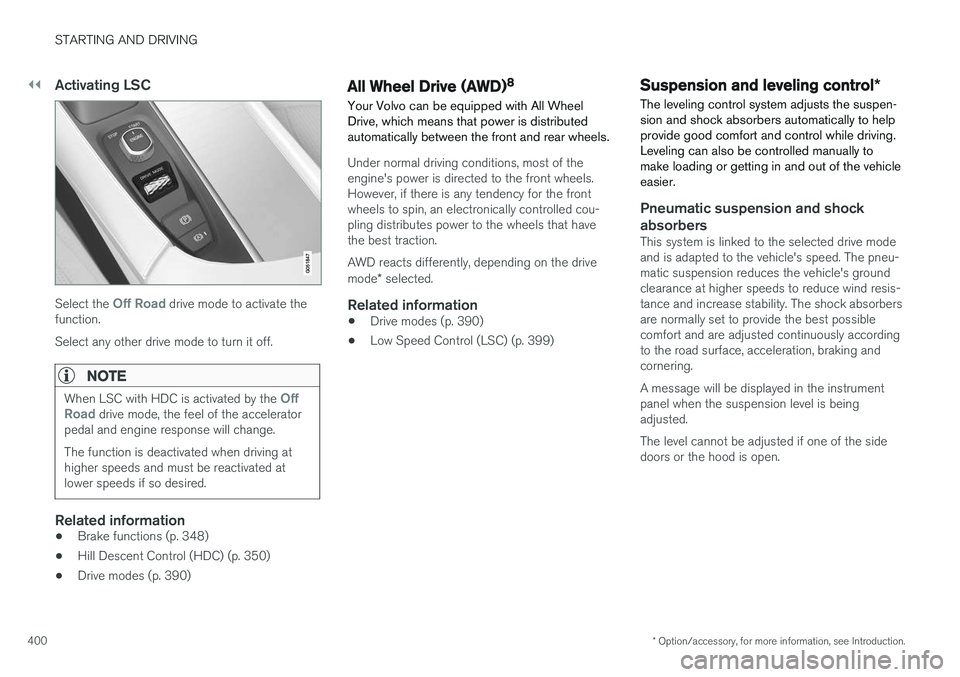
Select the Off Road drive mode to activate the
function. Select any other drive mode to turn it off.
NOTE
When LSC with HDC is activated by the Off
Road drive mode, the feel of the accelerator
pedal and engine response will change. The function is deactivated when driving at higher speeds and must be reactivated atlower speeds if so desired.
Related information
• Brake functions (p. 348)
• Hill Descent Control (HDC) (p. 350)
• Drive modes (p. 390)
All Wheel Drive (AWD) 8
Your Volvo can be equipped with All Wheel Drive, which means that power is distributedautomatically between the front and rear wheels.
Under normal driving conditions, most of the engine's power is directed to the front wheels.However, if there is any tendency for the frontwheels to spin, an electronically controlled cou-pling distributes power to the wheels that havethe best traction. AWD reacts differently, depending on the drive mode * selected.
Related information
• Drive modes (p. 390)
• Low Speed Control (LSC) (p. 399)
Suspension and leveling control
*
The leveling control system adjusts the suspen- sion and shock absorbers automatically to helpprovide good comfort and control while driving.Leveling can also be controlled manually tomake loading or getting in and out of the vehicleeasier.
Pneumatic suspension and shock absorbers
This system is linked to the selected drive mode and is adapted to the vehicle's speed. The pneu-matic suspension reduces the vehicle's groundclearance at higher speeds to reduce wind resis-tance and increase stability. The shock absorbersare normally set to provide the best possiblecomfort and are adjusted continuously accordingto the road surface, acceleration, braking andcornering. A message will be displayed in the instrument panel when the suspension level is beingadjusted. The level cannot be adjusted if one of the side doors or the hood is open.
Page 453 of 546
WHEELS AND TIRES
}}
451
Snow tires and chains
The use of snow chains and/or winter tires can help improve traction in winter driving conditions.
Snow chains can be used on your Volvo with the following restrictions:
• Snow chains should be installed on front wheels only. Use only Volvo approved snowchains.
• If accessory, aftermarket or "custom" tiresand wheels are installed and are of a size dif-ferent than the original tires and wheels,chains in some cases CANNOT be used.Sufficient clearances between chains andbrakes, suspension and body componentsmust be maintained.
• Some strap-on type chains will interfere withbrake components and therefore CANNOTbe used.
• All Wheel Drive models
: Snow chains
should only be installed on the front wheels.
• Certain size tires may not allow the assemblyof snow chains/traction devices.
Consult your Volvo retailer for additional snow chain information.
CAUTION
• Snow chains should not be used on wheels larger than 19".
• Always follow the chain manufacturer'sinstallation instructions carefully. Installchains as tightly as possible andretighten periodically.
• Check local regulations regarding the useof snow chains before installing.
• Use single-sided snow chains only.
• Never exceed the chain manufacturer'sspecified maximum speed limit. (Underno circumstances should you exceed31 mph (50 km/h).
• Avoid bumps, holes or sharp turns whendriving with snow chains.
• The handling of the vehicle can beadversely affected when driving withchains. Avoid fast or sharp turns as wellas locked wheel braking.
Checking tire inflation pressure
Correct tire inflation pressure helps improve driv- ing stability, save fuel and increase the servicelife of the tires.
WARNING
• Under-inflation is the most common cause of tire failure and may result insevere tire cracking, tread separation, or"blow-out," with unexpected loss of vehi-cle control and increased risk of injury.
• Under-inflated tires reduce the load car-rying capacity of your vehicle.
Cold tiresInflation pressure should be checked when the tires are cold. The tires are considered to be cold when they have the same temperature as the sur-rounding (ambient) air. This temperature is normally reached after the vehicle has been parked for at least 3 hours. After driving a distance of approximately 1 mile (1.6 km), the tires are considered to be hot. If youhave to drive farther than this distance to pumpyour tire(s), check and record the tire pressurefirst and add the appropriate air pressure whenyou get to the pump. When weather temperature changes occur, tire inflation pressures also change. A 10-degree