Page 3 of 620

3
1
9 8
7
6 4 3
2
PRIUS v_OM_OM47B12U_(U)
10
5
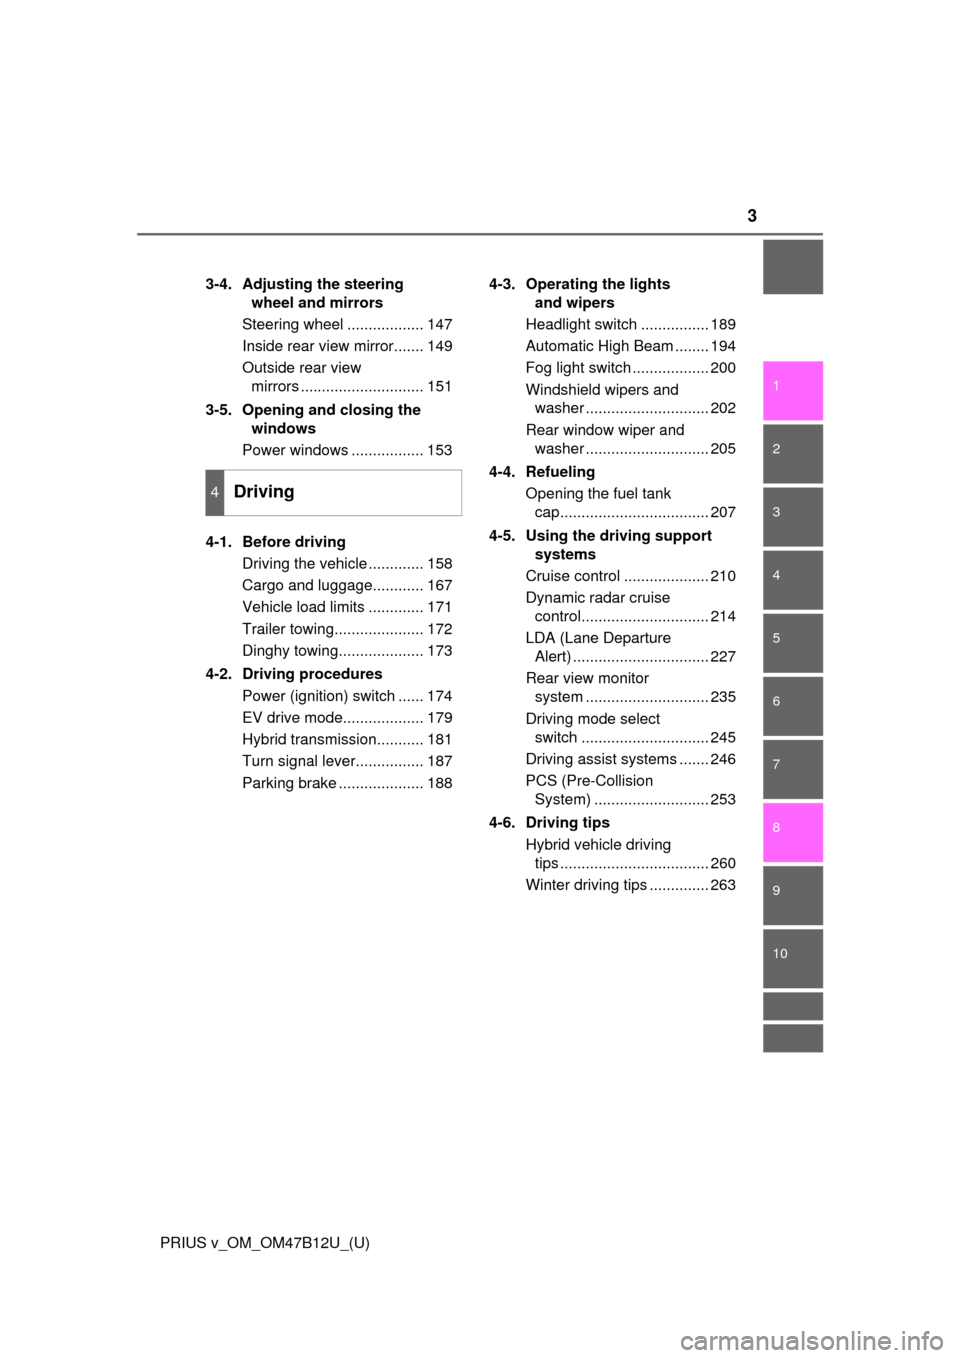
3-4. Adjusting the steering
wheel and mirrors
Steering wheel .................. 147
Inside rear view mirror....... 149
Outside rear view
mirrors ............................. 151
3-5. Opening and closing the
windows
Power windows ................. 153
4-1. Before driving
Driving the vehicle ............. 158
Cargo and luggage............ 167
Vehicle load limits ............. 171
Trailer towing..................... 172
Dinghy towing.................... 173
4-2. Driving procedures
Power (ignition) switch ...... 174
EV drive mode................... 179
Hybrid transmission........... 181
Turn signal lever................ 187
Parking brake .................... 1884-3. Operating the lights
and wipers
Headlight switch ................ 189
Automatic High Beam ........ 194
Fog light switch .................. 200
Windshield wipers and
washer ............................. 202
Rear window wiper and
washer ............................. 205
4-4. Refueling
Opening the fuel tank
cap................................... 207
4-5. Using the driving support
systems
Cruise control .................... 210
Dynamic radar cruise
control.............................. 214
LDA (Lane Departure
Alert) ................................ 227
Rear view monitor
system ............................. 235
Driving mode select
switch .............................. 245
Driving assist systems ....... 246
PCS (Pre-Collision
System) ........................... 253
4-6. Driving tips
Hybrid vehicle driving
tips ................................... 260
Winter driving tips .............. 263
4Driving
Page 8 of 620

8
PRIUS v_OM_OM47B12U_(U)
For your infor mation
Please note that this manual applies to all models and explains all equipment,
including options. Therefore, you may find some explanations for equipment
not installed on your vehicle.
All specifications provided in this manual are current at the time of printing.
However, because of the Toyota policy of continual product improvement, we
reserve the right to make changes at any time without notice.
Depending on specifications, the vehicle shown in the illustrations may differ
from your vehicle in terms of color and equipment.
Approximately five hours after the hybrid system is turned off, you may hear
sound coming from under the vehicle for several minutes. This is the sound of
a fuel evaporation leakage check and, it does not indicate a malfunction.
A wide variety of non-genuine spare parts and accessories for Toyota vehi-
cles are currently available in the market. You should know that Toyota does
not warrant these products and is not responsible for their performance,
repair, or replacement, or for any damage they may cause to, or adverse
effect they may have on, your Toyota vehicle.
This vehicle should not be modified with non-genuine Toyota products. Modi-
fication with non-genuine Toyota products could affect its performance, safety
or durability, and may even violate governmental regulations. In addition,
damage or performance problems resulting from the modification may not be
covered under warranty.
Main Owner’s Manual
Noise from under vehicle after turning off the hybrid system
Accessories, spare parts and modification of your Toyota
Page 18 of 620

18Pictorial index
PRIUS v_OM_OM47B12U_(U)
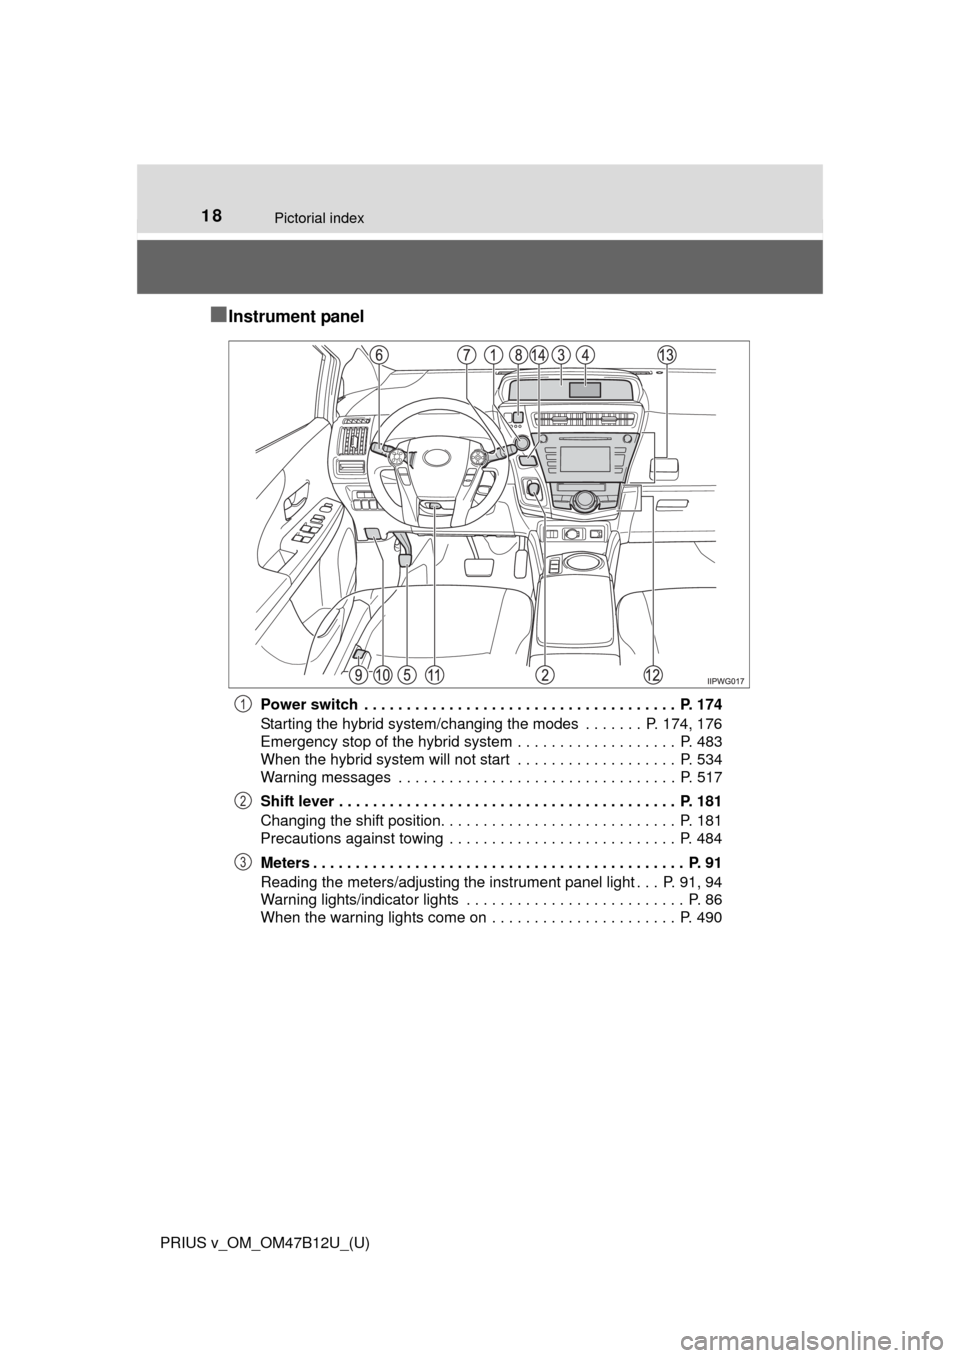
■Instrument panel
Power switch . . . . . . . . . . . . . . . . . . . . . . . . . . . . . . . . . . . . . P. 174
Starting the hybrid system/changing the modes . . . . . . . P. 174, 176
Emergency stop of the hybrid system . . . . . . . . . . . . . . . . . . . P. 483
When the hybrid system will not start . . . . . . . . . . . . . . . . . . . P. 534
Warning messages . . . . . . . . . . . . . . . . . . . . . . . . . . . . . . . . . P. 517
Shift lever . . . . . . . . . . . . . . . . . . . . . . . . . . . . . . . . . . . . . . . . P. 181
Changing the shift position. . . . . . . . . . . . . . . . . . . . . . . . . . . . P. 181
Precautions against towing . . . . . . . . . . . . . . . . . . . . . . . . . . . P. 484
Meters . . . . . . . . . . . . . . . . . . . . . . . . . . . . . . . . . . . . . . . . . . . . P. 91
Reading the meters/adjusting the instrument panel light . . . P. 91, 94
Warning lights/indicator lights . . . . . . . . . . . . . . . . . . . . . . . . . . P. 86
When the warning lights come on . . . . . . . . . . . . . . . . . . . . . . P. 4901
2
3
Page 23 of 620
23Pictorial index
PRIUS v_OM_OM47B12U_(U)Seat heater switches
*2 . . . . . . . . . . . . . . . . . . . . . . . . . . . . . P. 372
EV drive mode switch . . . . . . . . . . . . . . . . . . . . . . . . . . . . . . P. 179
Driving mode select switches . . . . . . . . . . . . . . . . . . . . . . . P. 245
*1: Refer to “NAVIGATION SYSTEM OWNER’S MANUAL”.
*2: If equipped
1
2
3
Page 28 of 620
281-1. For safe use
PRIUS v_OM_OM47B12U_(U)
Before driving
Use only floor mats designed specifically for vehicles of the same
model and model year as your vehicle. Fix them securely in place
onto the carpet.
Insert the retaining hooks (clips)
into the floor mat eyelets.
Turn the upper knob of each
retaining hook (clip) to secure
the floor mats in place.
*: Always align the marks.
The shape of the retaining hooks (clips) may differ from that shown in the
illustration.
Floor mat
1
*
2
Page 29 of 620

291-1. For safe use
PRIUS v_OM_OM47B12U_(U)
1
For safety and security
WARNING
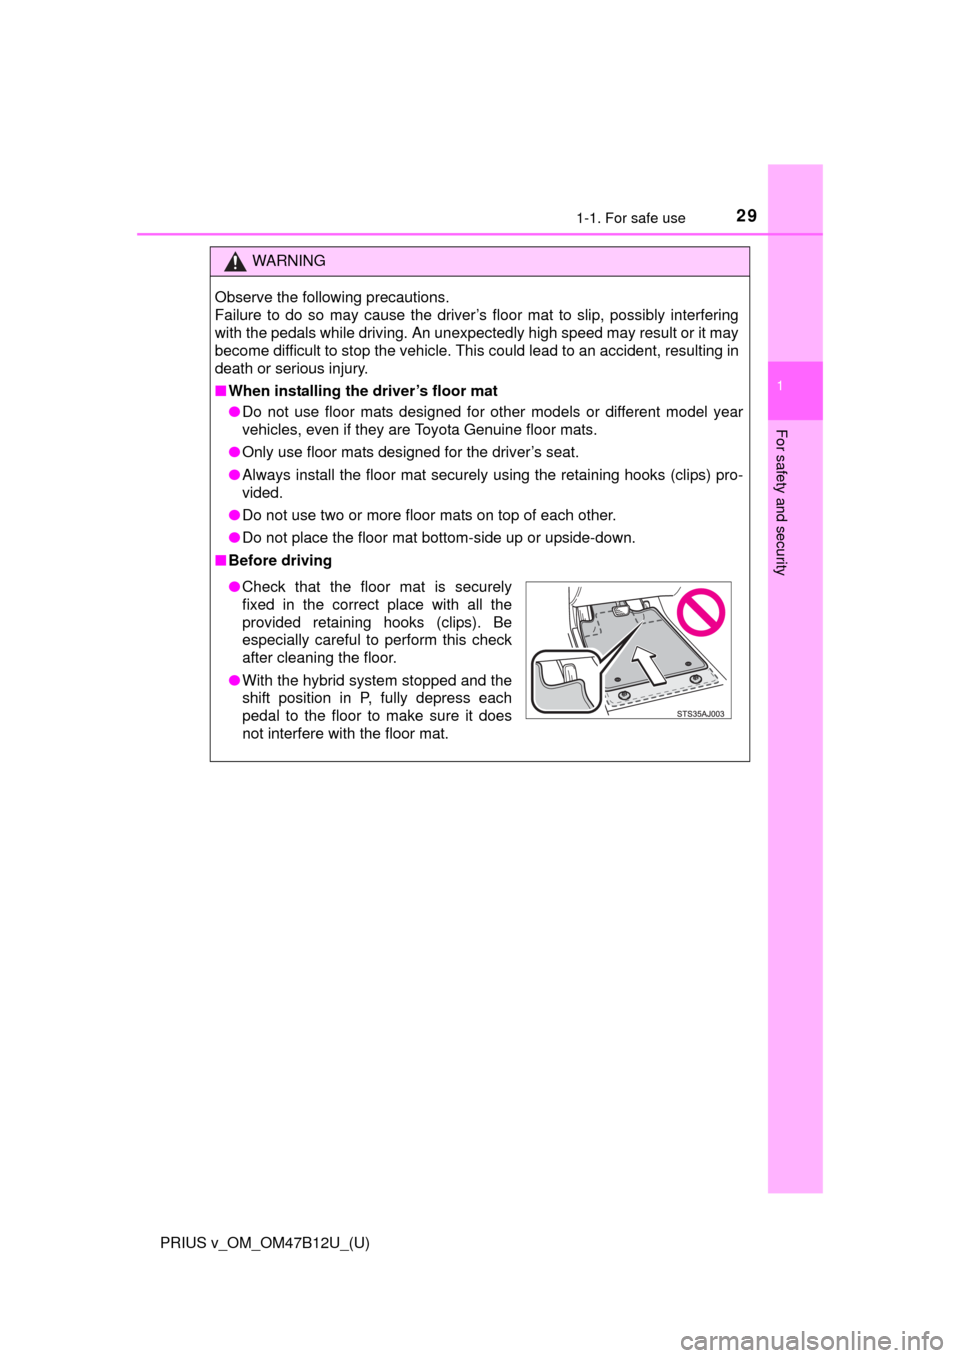
Observe the following precautions.
Failure to do so may cause the driver’s floor mat to slip, possibly interfering
with the pedals while driving. An unexpectedly high speed may result or it may
become difficult to stop the vehicle. This could lead to an accident, resulting in
death or serious injury.
■When installing the driver’s floor mat
●Do not use floor mats designed for other models or different model year
vehicles, even if they are Toyota Genuine floor mats.
●Only use floor mats designed for the driver’s seat.
●Always install the floor mat securely using the retaining hooks (clips) pro-
vided.
●Do not use two or more floor mats on top of each other.
●Do not place the floor mat bottom-side up or upside-down.
■Before driving
●Check that the floor mat is securely
fixed in the correct place with all the
provided retaining hooks (clips). Be
especially careful to perform this check
after cleaning the floor.
●With the hybrid system stopped and the
shift position in P, fully depress each
pedal to the floor to make sure it does
not interfere with the floor mat.
Page 65 of 620
651-1. For safe use
PRIUS v_OM_OM47B12U_(U)
1
For safety and security
■Rear facing Infant seat/convertible seat
Adjusting the angle of the
seatback.
While pulling the lever, fold the
seatback forward and then back
to the 1st lock position (most
upright position) until it locks into
place.
Place the child restraint sys-
tem on the rear seat facing
the rear of the vehicle.
Run the seat belt through the
child restraint system and
insert the plate into the
buckle. Make sure that the
belt is not twisted.
Fully extend the shoulder belt
and allow it to retract to put it
in lock mode. In lock mode,
the belt cannot be extended.
Installing child restraints using a seat belt (child restraint lock
function belt)
1
2
3
4
Page 67 of 620
671-1. For safe use
PRIUS v_OM_OM47B12U_(U)
1
For safety and security
Fully extend the shoulder belt
and allow it to retract to put it
in lock mode. In lock mode,
the belt cannot be extended.
While pushing the child
restraint system into the rear
seat, allow the shoulder belt
to retract until the child
restraint system is securely
in place.
After the shoulder belt has
retracted to a point where there
is no slack in the belt, pull the
belt to check that it cannot be
extended.
If the child restraint has a top tether strap, the top tether strap
should be latched onto the top tether strap anchor. (P. 69)
4
5
6