Page 57 of 87
5 Other settings
System settings...................................5-2
Touchscreen click ..............................5-3
System Beeps .................................5-3
Return to factory settings ........................5-3
Software licenses ..............................5-3
System software version ........................5-3
Display settings ...................................5-3 Display
........................................5-3
Brightness . ....................................5-4
Rear View Camera Settings . ....................5-4
Temperature Unit Settings .......................5-4
Clock settings .....................................5-4
Set clock manually ..............................5-5
Language settings .................................5-5
Page 58 of 87
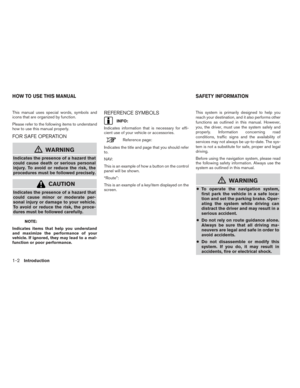
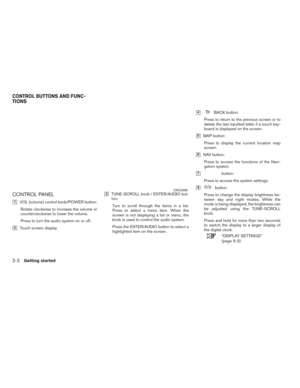
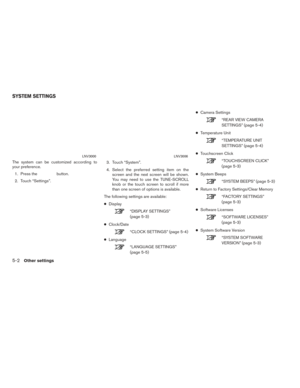
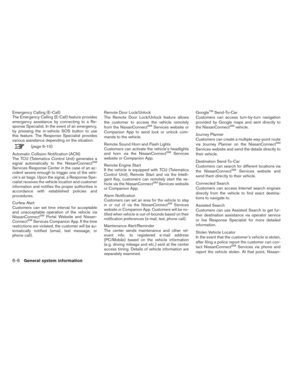
The system can be customized according to
your preference.1. Press the
button.
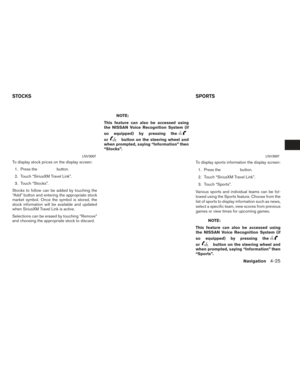
2. Touch “Settings”. 3. Touch “System”.
4. Select the preferred setting item on the
screen and the next screen will be shown.
You may need to use the TUNE-SCROLL
knob or the touch screen to scroll if more
than one screen of options is available.
The following settings are available:
● Display
“DISPLAY SETTINGS”
(page 5-3)
● Clock/Date
“CLOCK SETTINGS” (page 5-4)
● Language
“LANGUAGE SETTINGS”
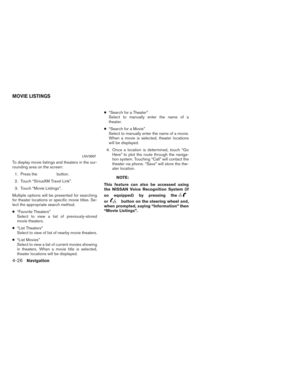
(page 5-5) ●
Camera Settings
“REAR VIEW CAMERA
SETTINGS” (page 5-4)
● Temperature Unit
“TEMPERATURE UNIT
SETTINGS” (page 5-4)
● Touchscreen Click
“TOUCHSCREEN CLICK”
(page 5-3)
● System Beeps
“SYSTEM BEEPS” (page 5-3)
● Return to Factory Settings/Clear Memory
“FACTORY SETTINGS”
(page 5-3)
● Software Licenses
“SOFTWARE LICENSES”
(page 5-3)
● System Software Version
“SYSTEM SOFTWARE
VERSION” (page 5-3)
LNV3000LNV3006
SYSTEM SETTINGS
5-2Other settings
Page 59 of 87
 .
6. Press the BACK or
BACK button to
retu")
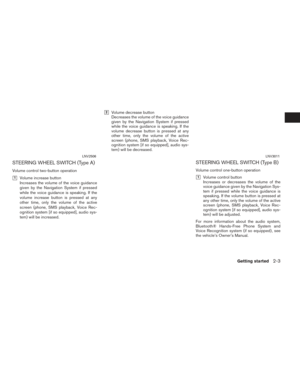
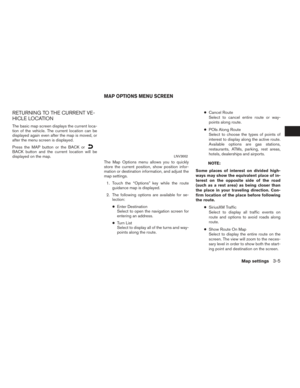
5. Select the button of the preferred item andadjust the setting. Alternatively, use the
TUNE-SCROLL knob or steering wheel
scrolling switch (if so equipped) .
6. Press the BACK or
BACK button to
return to the previous screen or press the
NAV button to return to the current location
map screen.
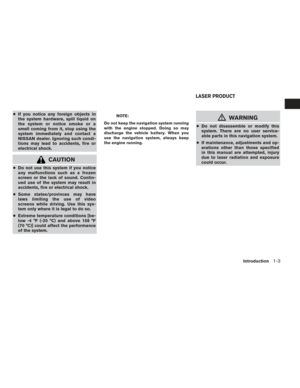
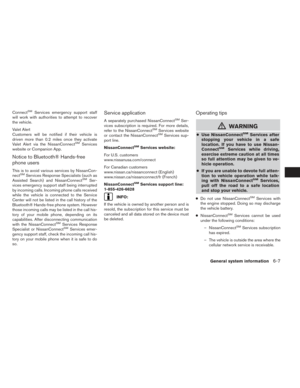
TOUCHSCREEN CLICK
Use this setting to change the audible confirma-
tion between the on or off position when a
screen button is touched.
Select the “Touchscreen Click” key to toggle be-
tween On and Off.
SYSTEM BEEPS
Use this setting to change the audible confirma-
tion when:
● a button on the unit is pressed and held for
about two seconds, such as the
button.
● a pop-up message appears on the screen.
Select the “System Beeps” key to toggle be-
tween ON and OFF.
RETURN TO FACTORY SETTINGS
Use this setting to restore the factory default
settings.
Touch the “Return to Factory Settings/Clear
Memory” key and then confirm the message. If
you choose “Yes”, the system will reset the set-
tings to the default settings. If you choose “No”,
the default settings will not be restored and the
display returns to the system settings screen.
SOFTWARE LICENSES
Select this option to view the license agree-
ments associated with this software version.
Use the scroll bar to navigate through the menu.
SYSTEM SOFTWARE VERSION
This displays the software version your naviga-
tion system is currently running.
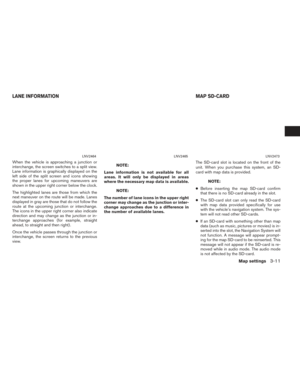
DISPLAY
Switching the display on or off
This setting allows you to turn the display on or
off. When the display is turned off, the clock will
still be displayed.
To turn off the display, press and hold the
button.
The display will switch on when:
● the
button is pressed.
● any other button is pressed.
● receiving incoming calls or during a phone
call. When the call is ended, the display re-
turns to clock display.
Voice guidance (if active) continues even when
the display is turned off.
Press and hold the
button for more than
two seconds to switch the display to a larger dis-
play of the digital clock.
DISPLAY SETTINGS
Other settings5-3
Page 60 of 87
 when head-
lights are on.
● between night and auto (day) when head-
lights are")
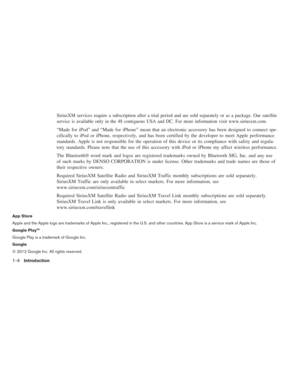
Changing day-night brightness
Press the
button for less than two sec-
onds to toggle:
● between day and auto (night) when head-
lights are on.
● between night and auto (day) when head-
lights are off.
While the display is showing the current bright-
ness mode, turn the TUNE/SCROLL knob to ad-
just the brightness.
The day or night mode can also be toggled from
the Display Settings menu.
BRIGHTNESS
This menu allows you to adjust the brightness of
the screen. 1. Press the
button.
2. Touch the “Settings” key.
3. Touch the “System” key.
4. Touch the “Display” key.
5. Adjust the brightness using the “+” and “-” keys.
6. To save the setting, press the BACK or
BACK button to return to the pre-
vious screen.
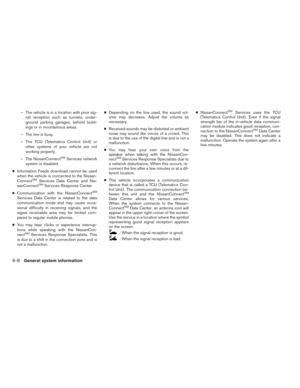
REAR VIEW CAMERA SETTINGS
Use this setting to change the display mode
(automatic/day/night) for the rear view camera.
Brightness, contrast and color can also be
adjusted.
1. Press the
button.
2. Touch the “Settings” key.
3. Touch the “System” key.
4. Scroll down and touch the “Camera Set- tings” key.
Toggle display mode and use the “+” and “–”
keys to adjust brightness, contrast and color for
rear camera display.
TEMPERATURE UNIT SETTINGS
Use this setting to change the temperature units
(Fahrenheit/Celsius) . 1. Press the
button.
2. Touch the “Settings” key.
3. Touch the “System” key.
4. Scroll down and touch the “Temperature Unit” key. This setting allows you to make clock
adjustments.
1. Press the
.
2. Touch the “Settings” key.
3. Touch the “System” key.
4. Touch the “Clock/Date” key.
5. Select the preferred setting item and make an adjustment.
● Time Format
Touch the “Time Format” key to change the
clock format between 12-hour and 24-hour.
● Date Format
Touch the “Date Format” key to choose one
of five available date formats.
● Clock Mode
Select “Manual” to manually set the clock
with the “Set Clock Manually” key. Select
“Auto” to have the clock automatically ad-
justed by the GPS system. Select “Time
Zone” to have the time set to a specific time
zone.
CLOCK SETTINGS
5-4Other settings
Page 61 of 87

● Daylight Savings")
●Set Clock Manually
Allows you to set the clock manually. This
feature is only available if “Manual” is se-
lected for “Clock Mode”.
“SET CLOCK MANUALLY”
(page 5-5)
● Daylight Savings Time
Touch the “Daylight Savings Time” key to
toggle daylight savings time on or off. This
feature is unavailable if “Clock Mode” is set
to “Auto”.
● Time Zone
Select and touch an appropriate time zone
of the current vehicle location to bypass the
GPS satellite. This feature is only available if
“Time Zone” is selected for “Clock Mode”.
NOTE:
If “Daylight Savings Time” is set to “ON”
and a time zone is chosen for an area that
does not observe Daylight Savings Time,
the “Daylight Savings Time” setting re-
mains “On” and must be turned off
manually. 6. After adjusting the desired settings, press
the BACK or
BACK button to return
to the previous screen. You can also press
the MAP button to return to the current lo-
cation map screen or the FM, AM, CD or
AUX button to return to the audio screen.
SET CLOCK MANUALLY
Adjust the hour, minute, day, month and year us-
ing the “+” and “–” keys.
1. Press the
button.
2. Touch the “Settings” key.
3. Touch the “System” key.
4. Touch the “Clock/Date” key.
5. Toggle “Clock Mode” key to “Manual”.
6. Toggle “MODE” to “AM” or “PM”, then use “+” and “–” keys to adjust hour, minute, day,
month and year.
After adjusting the desired settings, press the
BACK or
BACK button to return to the
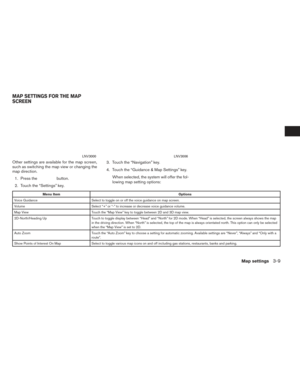
previous screen. This setting allows you to change the language
used by the system.
1. Press the
button.
2. Touch the “Settings” key.
3. Touch the “System” key.
4. Touch the “Language” key.
5. Select the appropriate language. The avail- able languages are:
– English
– Français
– Español
LANGUAGE SETTINGS
Other settings5-5
Page 62 of 87
Page 63 of 87

6 General system information
Safety information.................................6-2
Features of this navigation system ...................6-2
Route guidance ................................6-2
Points of Interest directory .......................6-3
Address book ..................................6-3
SiriusXM Traffic information ......................6-3
Voice guidance .................................6-3
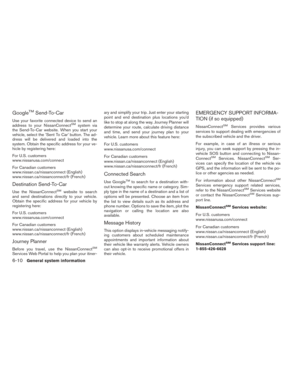
NissanConnect
SMServices (if so equipped) ..........6-4
Subscription to NissanConnectSMServices .......6-4
Legal Disclaimer ................................6-4
NissanConnect
SMServices Features .............6-4
NissanConnectSMServices menus ...............6-9
Emergency support information
(if so equipped) ............................... 6-10
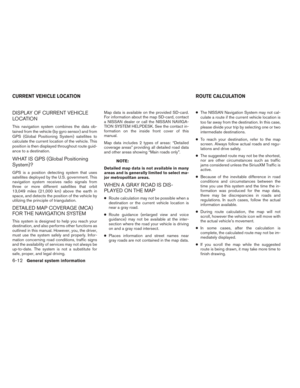
Current vehicle location ........................... 6-12Display of current vehicle location
...............6-12
What is GPS (Global Positioning System)? .......6-12
Detailed map coverage (MCA) for the
navigation system ............................. 6-12
When a gray road is displayed on the map .......6-12
Route calculation ................................. 6-12
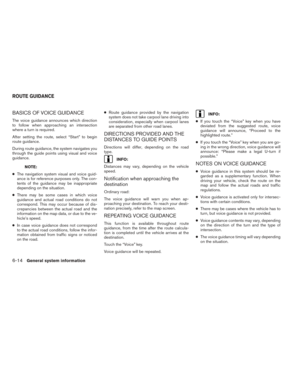
Route guidance .................................. 6-14
Basics of voice guidance .......................6-14
Directions provided and the distances to
guide points .................................. 6-14
Repeating voice guidance ......................6-14
Notes on voice guidance .......................6-14
How to handle the display ......................... 6-15
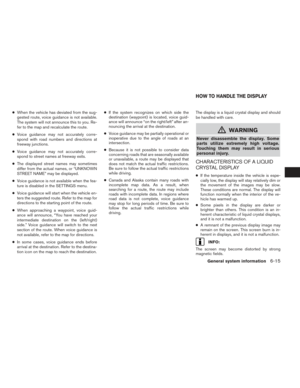
Characteristics of a liquid crystal display .........6-15
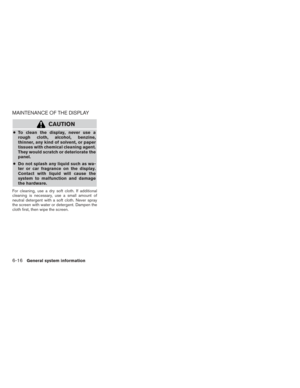
Maintenance of the display .....................6-16
Page 64 of 87

This system is primarily designed to help you
reach your destination, and it performs other
functions as outlined in this manual. However the
driver must use the system safely and properly.
Information concerning road conditions, traffic
signs and the availability of services may not al-
ways be up-to-date. The system is not a substi-
tute for safe, proper and legal driving.
Before using the navigation system, please read
the following safety information. Always use the
system as outlined in this manual.
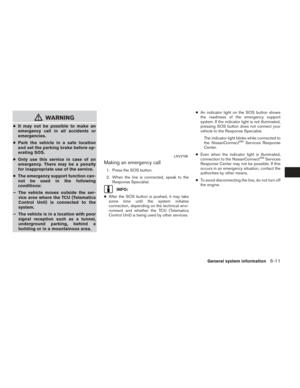
mWARNING
●When the driver wants to operate the
navigation system, first park the ve-
hicle in a safe location and set the
parking brake. Operating the system
while driving can distract the driver
and may result in a serious accident.
● Do not rely on route guidance alone.
Always be sure that all driving ma-
neuvers are legal and safe in order to
avoid accidents.
● Do not disassemble or modify this
system. If you do, it may result in
accidents, fire or electrical shock. ●
Do not use this system if you notice
any malfunctions such as a frozen
screen or lack of sound. Continued
use of the system may result in
accidents, fire or electrical shock.
● If you notice any foreign objects in
the system hardware, spill liquid on
the system or notice smoke or a
smell, stop using the system immedi-
ately and contact a NISSAN dealer.
Ignoring such conditions may lead to
accidents, fire or electrical shock.CAUTION
●Some states or provinces may have
laws limiting the use of video
screens while driving. Use this sys-
tem only where it is legal to do so.
NOTE:
Do not keep the navigation system running
with the engine stopped. Doing so may
discharge the vehicle battery. When you
use the navigation system, always keep
the engine running.
ROUTE GUIDANCE
The main features of the NISSAN Navigation
System are visual guidance and voice guidance
in selected map coverage areas. Utilizing a net-
work of GPS (Global Positioning System)
satellites, the NISSAN Navigation System tracks
the location on the map and navigates to a pre-
ferred location.
Once you set the destination in a map coverage
area, the NISSAN Navigation System will calcu-
late a route from your current location to your
destination. The real-time map display and turn-
by-turn voice guidance leads the driver along the
route. These features can be especially helpful
when driving to unfamiliar locations.
The system may be unable to set a destination
and/or calculate a route when the destination is
outside the map coverage area. Additionally,
voice guidance may not be available if the desti-
nation is outside the map coverage area. For
more information on how to set a destination, re-
fer to Section 4.
SAFETY INFORMATION FEATURES OF THIS NAVIGATION
SYSTEM
6-2General system information