2016 NISSAN NOTE start
[x] Cancel search: startPage 3550 of 3641

WCS
POWER SUPPLY AND GROUND CIRCUITWCS-35
< DTC/CIRCUIT DIAGNOSIS >
C
DE
F
G H
I
J
K L
M B A
O P
COMBINATION METER (TYPE B) : Diagnosis ProcedureINFOID:0000000012542991
Regarding Wiring Diagram information, refer to MWI-79, "Wiring Diagram".
1.CHECK FUSE
Check that the following fuses are not blown.
Is the fuse blown?
YES >> Replace the blown fuse after repairing the affected circuit.
NO >> GO TO 2.
2.POWER SUPPLY CIRCUIT CHECK
1. Disconnect combination meter connector.
2. Check voltage between combination meter harness connector M24, terminals 27, 28, 15 and ground.
Is the inspection result normal?
YES >> GO TO 3.
NO >> Repair or replace harness or connector.
3.GROUND CIRCUIT CHECK
1. Turn ignition switch OFF.
2. Disconnect combination meter connector.
3. Check continuity between combination meter harness connector M24, terminals 21, 22, 23 and ground.
Is the inspection result normal?
YES >> Inspection End.
NO >> Repair or replace harness or connector.
BCM (BODY CONTROL SYSTEM) (W ITH INTELLIGENT KEY SYSTEM)
BCM (BODY CONTROL SYSTEM) (WITH IN TELLIGENT KEY SYSTEM) : Diagnosis
Procedure
INFOID:0000000012542992
Regarding Wiring Diagram information, refer to BCS-52, "Wiring Diagram".
Power source Fuse No.
Battery 8
Ignition switch ON or START 3
Ignition switch ACC or ON 18
TerminalsIgnition switch position
(+) (–)OFF ACC ONSTART
Connector Terminal
M24 27
GroundBattery voltage Battery voltage Battery voltage Battery voltage
28 0V0VBattery voltage Battery voltage
15 0V Battery voltage Battery voltage 0V
Te r m i n a l s
Continuity
(+)
(–)
Connector Terminal
M24 21
Ground Yes
22
23
Revision: August 2015 2016 Versa Note
cardiagn.com
Page 3551 of 3641

WCS-36
< DTC/CIRCUIT DIAGNOSIS >
POWER SUPPLY AND GROUND CIRCUIT
1.CHECK FUSES AND FUSIBLE LINK
Check that the following fuses and fusible link are not blown.
Is the fuse blown?
YES >> Replace the blown fuse or fusible link after repairing the affected circuit.
NO >> GO TO 2.
2.CHECK POWER SUPPLY CIRCUIT
1. Disconnect BCM connector M99.
2. Check voltage between BCM connector M99 and ground.
Is the inspection result normal?
YES >> GO TO 3.
NO >> Repair harness or connector.
3.CHECK GROUND CIRCUIT
Check continuity between BCM connector M99 and ground.
Is the inspection result normal?
YES >> Inspection End.
NO >> Repair harness or connector.
BCM (BODY CONTROL SYSTEM) (WIT HOUT INTELLIGENT KEY SYSTEM)
BCM (BODY CONTROL SYSTEM) (WITHOUT INTELLIGENT KEY SYSTEM) : Diag-
nosis Procedure
INFOID:0000000012542993
Regarding Wiring Diagram information, refer to BCS-117, "Wiring Diagram".
1.CHECK FUSES AND FUSIBLE LINK
Check that the following fuses and fusible link are not blown.
Terminal No. Signal nameFuses and fusible link No.
57 Battery power supply 12 (10A)
70 G (40A)
BCM
Ground Voltage
Connector Terminal
M99 57
— Battery voltage
70
BCM GroundContinuity
Connector Terminal
M99 67—Yes
Terminal No. Signal nameFuses and fusible link No.
37 Battery power supply 8 (10A)
42 12 (10A)
50 G (40A)
11 Ignition switch ACC or ON 18 (10A)
38 Ignition switch ON or START 2 (10A)
Revision: August 2015 2016 Versa Note
cardiagn.com
Page 3562 of 3641
WCS
THE PARKING BRAKE RELEASE WARNING CONTINUES SOUNDING, OR
DOES NOT SOUND
WCS-47
< SYMPTOM DIAGNOSIS >
C
DE
F
G H
I
J
K L
M B A
O P
SYMPTOM DIAGNOSIS
THE PARKING BRAKE RELEASE WARN ING CONTINUES SOUNDING, OR
DOES NOT SOUND
DescriptionINFOID:0000000012432710
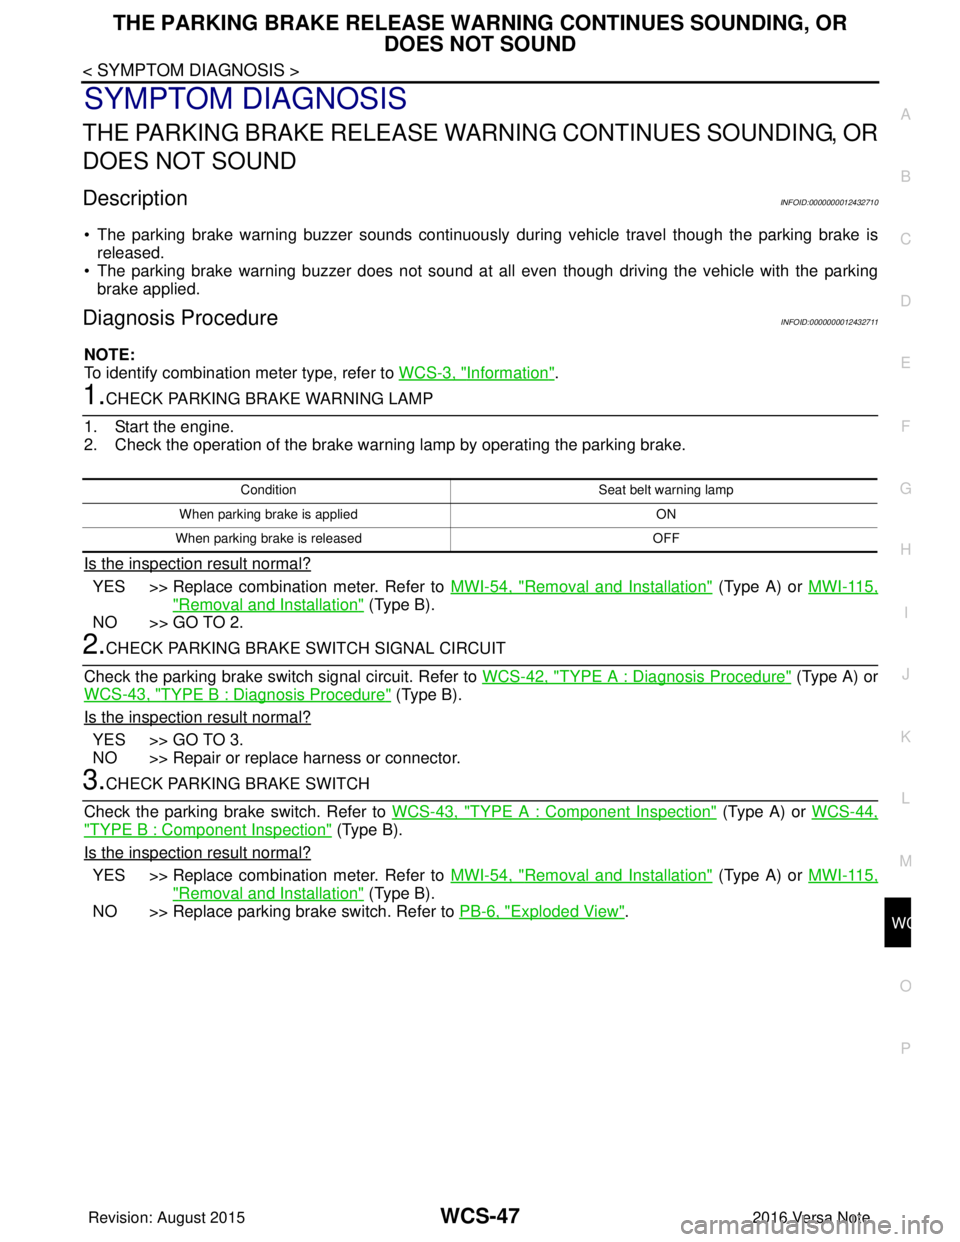
• The parking brake warning buzzer sounds continuously during vehicle travel though the parking brake is
released.
• The parking brake warning buzzer does not sound at all even though driving the vehicle with the parking brake applied.
Diagnosis ProcedureINFOID:0000000012432711
NOTE:
To identify combination meter type, refer to WCS-3, "
Information".
1.CHECK PARKING BRAKE WARNING LAMP
1. Start the engine.
2. Check the operation of the brake warning lamp by operating the parking brake.
Is the inspection result normal?
YES >> Replace combination meter. Refer to MWI-54, "Removal and Installation" (Type A) or MWI-115,
"Removal and Installation" (Type B).
NO >> GO TO 2.
2.CHECK PARKING BRAKE SWITCH SIGNAL CIRCUIT
Check the parking brake switch signal circuit. Refer to WCS-42, "
TYPE A : Diagnosis Procedure" (Type A) or
WCS-43, "
TYPE B : Diagnosis Procedure" (Type B).
Is the inspection result normal?
YES >> GO TO 3.
NO >> Repair or replace harness or connector.
3.CHECK PARKING BRAKE SWITCH
Check the parking brake switch. Refer to WCS-43, "
TYPE A : Component Inspection" (Type A) or WCS-44,
"TYPE B : Component Inspection" (Type B).
Is the inspection result normal?
YES >> Replace combination meter. Refer to MWI-54, "Removal and Installation" (Type A) or MWI-115,
"Removal and Installation" (Type B).
NO >> Replace parking brake switch. Refer to PB-6, "
Exploded View".
Condition Seat belt warning lamp
When parking brake is applied ON
When parking brake is released OFF
Revision: August 2015 2016 Versa Note
cardiagn.com
Page 3575 of 3641
WW-10
< SYSTEM DESCRIPTION >
SYSTEM
2. Front washer switch ON.
3. The front washer switch provides ground for the front and rear washer motor.
4. BCM reads the combination switch position and transmi ts the front wiper request signal (LO) to IPDM E/R
using CAN communication.
5. BCM transmits the front wiper request signal (LO) to IPDM E/R using CAN communication.
6. IPDM E/R turns ON the front wiper relay.
7. The front wiper operates.
NOTE:
BCM transmits the front wiper request signal (LO) so t hat the front wiper operates approximately 3 times after
front washer switch OFF is detected.
FRONT WIPER AND WASHER SYSTEM : Fail-SafeINFOID:0000000012433200
FA I L −SAFE OPERATION
IPDM E/R performs the fail-safe function when the front wiper auto stop circuit is malfunctioning. Refer to
PCS-19, "
Fail-safe".
REAR WIPER AND WASHER SYSTEM
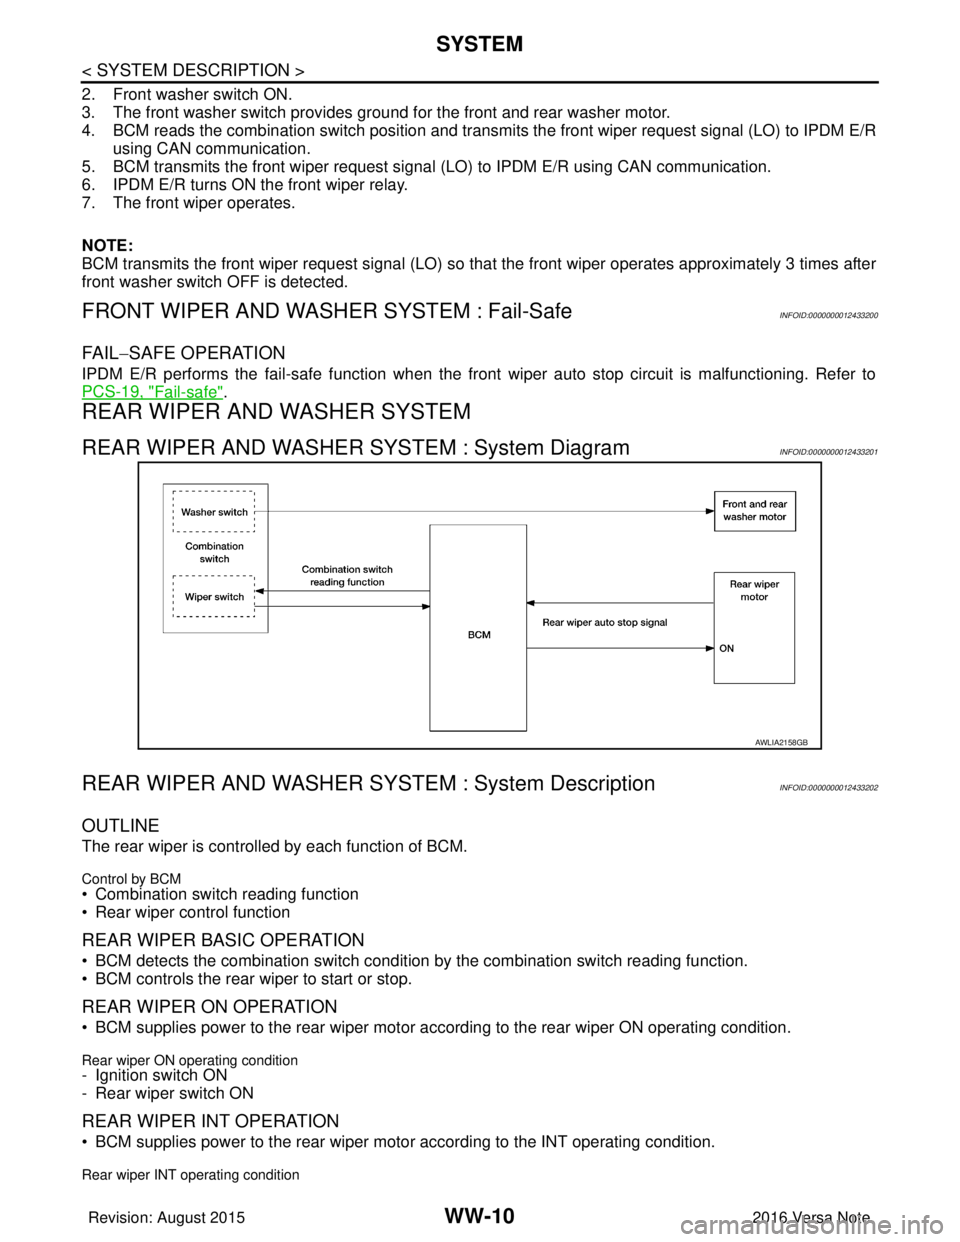
REAR WIPER AND WASHER SYSTEM : System DiagramINFOID:0000000012433201
REAR WIPER AND WASHER SY STEM : System DescriptionINFOID:0000000012433202
OUTLINE
The rear wiper is controlled by each function of BCM.
Control by BCM
• Combination switch reading function
• Rear wiper control function
REAR WIPER BASIC OPERATION
• BCM detects the combination switch conditi on by the combination switch reading function.
• BCM controls the rear wiper to start or stop.
REAR WIPER ON OPERATION
• BCM supplies power to the rear wiper motor ac cording to the rear wiper ON operating condition.
Rear wiper ON operating condition- Ignition switch ON
- Rear wiper switch ON
REAR WIPER INT OPERATION
• BCM supplies power to the rear wiper motor according to the INT operating condition.
Rear wiper INT operating condition
AWLIA2158GB
Revision: August 2015 2016 Versa Note
cardiagn.com
Page 3582 of 3641
DIAGNOSIS SYSTEM (IPDM E/R)WW-17
< SYSTEM DESCRIPTION >
C
DE
F
G H
I
J
K
M A
B
WW
N
O P
DIAGNOSIS SYSTEM (IPDM E/R)
Diagnosis DescriptionINFOID:0000000012542540
AUTO ACTIVE TEST
Description
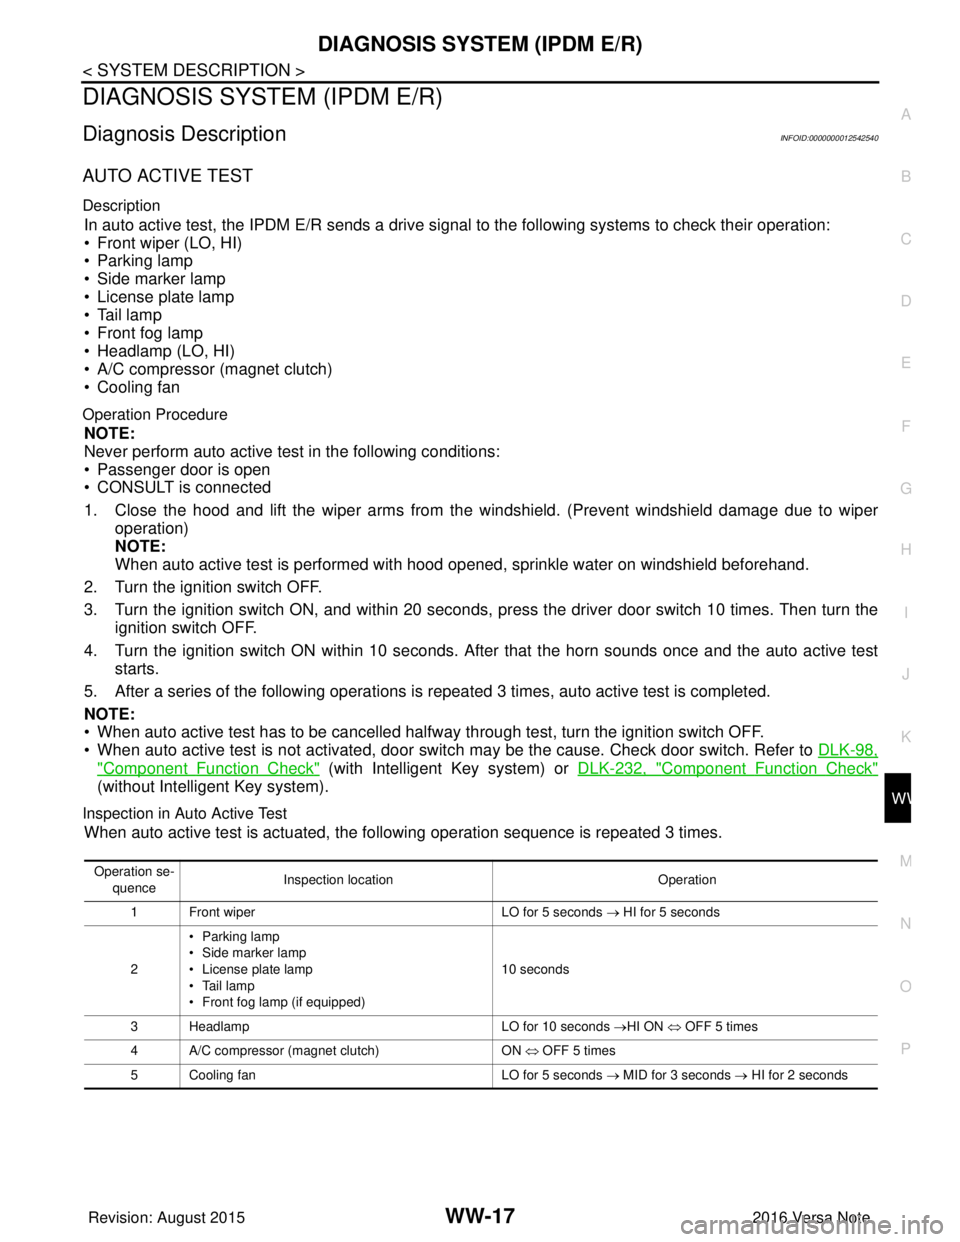
In auto active test, the IPDM E/R sends a drive signal to the following systems to check their operation:
• Front wiper (LO, HI)
• Parking lamp
• Side marker lamp
• License plate lamp
• Tail lamp
• Front fog lamp
• Headlamp (LO, HI)
• A/C compressor (magnet clutch)
• Cooling fan
Operation Procedure
NOTE:
Never perform auto active test in the following conditions:
• Passenger door is open
• CONSULT is connected
1. Close the hood and lift the wiper arms from the windshield. (Prevent windshield damage due to wiper
operation)
NOTE:
When auto active test is performed with hood opened, sprinkle water on windshield beforehand.
2. Turn the ignition switch OFF.
3. Turn the ignition switch ON, and within 20 seconds, pr ess the driver door switch 10 times. Then turn the
ignition switch OFF.
4. Turn the ignition switch ON within 10 seconds. Af ter that the horn sounds once and the auto active test
starts.
5. After a series of the following operations is repeated 3 times, auto active test is completed.
NOTE:
• When auto active test has to be cancelled halfw ay through test, turn the ignition switch OFF.
• When auto active test is not activated, door swit ch may be the cause. Check door switch. Refer to DLK-98,
"ComponentFunctionCheck" (with Intelligent Key system) or DLK-232, "ComponentFunctionCheck"
(without Intelligent Key system).
Inspection in Auto Active Test
When auto active test is actuated, the following operation sequence is repeated 3 times.
Operation se-
quence Inspection location
Operation
1 Front wiper LO for 5 seconds → HI for 5 seconds
2 •Parking lamp
• Side marker lamp
• License plate lamp
• Tail lamp
• Front fog lamp (if equipped) 10 seconds
3 Headlamp LO for 10 seconds →HI ON ⇔ OFF 5 times
4 A/C compressor (magnet clutch) ON ⇔ OFF 5 times
5 Cooling fan LO for 5 seconds → MID for 3 seconds → HI for 2 seconds
Revision: August 2015 2016 Versa Note
cardiagn.com
Page 3583 of 3641
WW-18
< SYSTEM DESCRIPTION >
DIAGNOSIS SYSTEM (IPDM E/R)
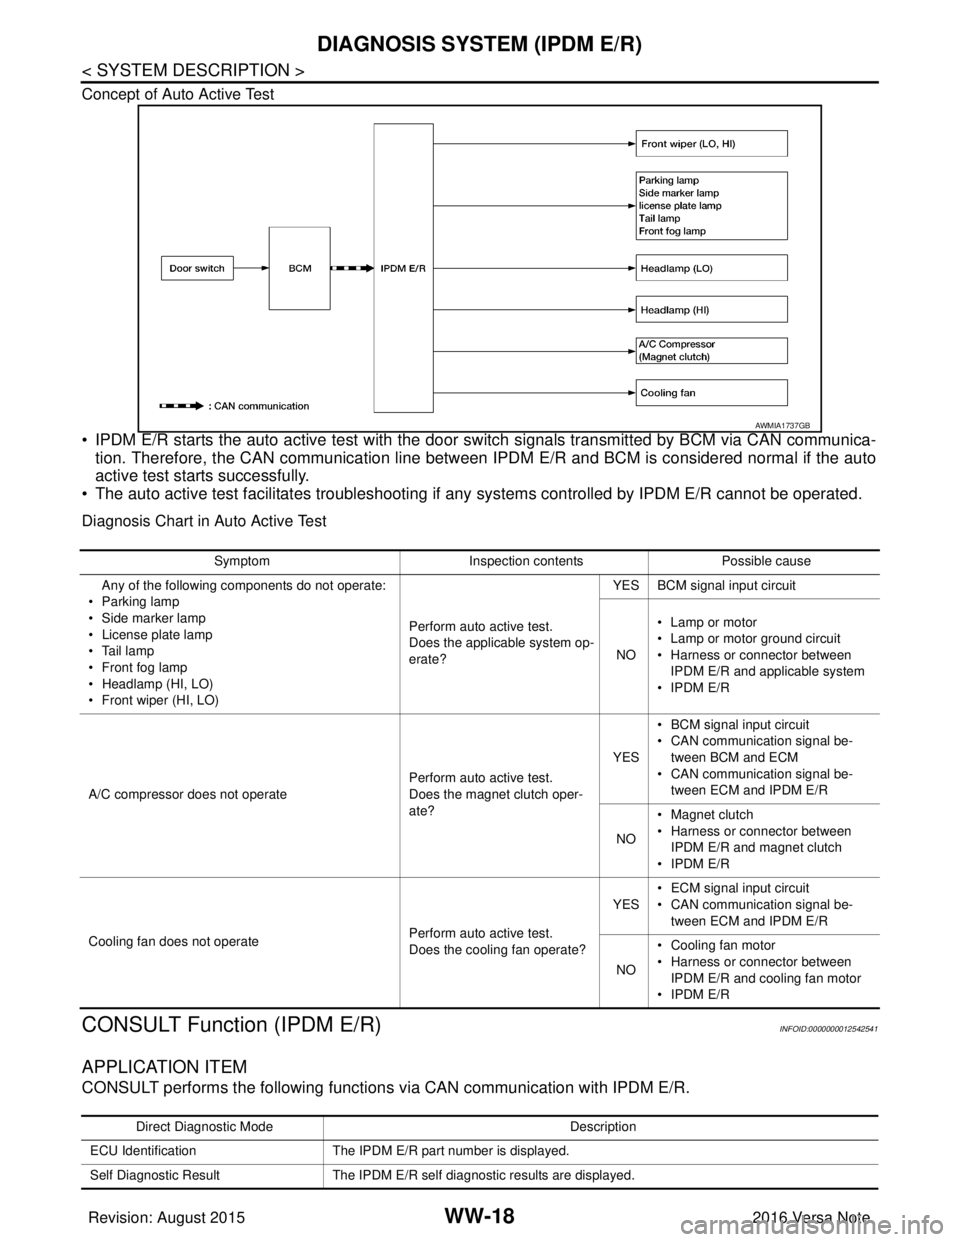
Concept of Auto Active Test
• IPDM E/R starts the auto active test with the door switch signals transmitted by BCM via CAN communica-
tion. Therefore, the CAN communication line between IPDM E/R and BCM is considered normal if the auto
active test starts successfully.
• The auto active test facilitates troubleshooting if any systems controlled by IPDM E/R cannot be operated.
Diagnosis Chart in Auto Active Test
CONSULT Function (IPDM E/R)INFOID:0000000012542541
APPLICATION ITEM
CONSULT performs the following functions via CAN communication with IPDM E/R.
AWMIA1737GB
Symptom Inspection contentsPossible cause
Any of the following components do not operate:
•Parking lamp
• Side marker lamp
• License plate lamp
•Tail lamp
• Front fog lamp
• Headlamp (HI, LO)
• Front wiper (HI, LO) Perform auto active test.
Does the applicable system op-
erate?YES BCM signal input circuit
NO • Lamp or motor
• Lamp or motor ground circuit
• Harness or connector between
IPDM E/R and applicable system
• IPDM E/R
A/C compressor does not operate Perform auto active test.
Does the magnet clutch oper-
ate?YES
• BCM signal input circuit
• CAN communication signal be-
tween BCM and ECM
• CAN communication signal be-
tween ECM and IPDM E/R
NO • Magnet clutch
• Harness or connector between
IPDM E/R and magnet clutch
• IPDM E/R
Cooling fan does not operate Perform auto active test.
Does the cooling fan operate?YES
• ECM signal input circuit
• CAN communication signal be-
tween ECM and IPDM E/R
NO • Cooling fan motor
• Harness or connector between
IPDM E/R and cooling fan motor
• IPDM E/R
Direct Diagnostic Mode Description
ECU Identification The IPDM E/R part number is displayed.
Self Diagnostic Result The IPDM E/R self diagnostic results are displayed.
Revision: August 2015 2016 Versa Note
cardiagn.com
Page 3584 of 3641

DIAGNOSIS SYSTEM (IPDM E/R)WW-19
< SYSTEM DESCRIPTION >
C
DE
F
G H
I
J
K
M A
B
WW
N
O P
ECU IDENTIFICATION
The IPDM E/R part number is displayed.
SELF DIAGNOSTIC RESULT
Refer to PCS-20, "DTCIndex".
DATA MONITOR
ACTIVE TEST
Data Monitor The IPDM E/R input/output data is displayed in real time.
Active Test The IPDM E/R activates outputs to test components.
CAN Diag Support Mntr The result of transmit/receive diagnosis of CAN communication is displayed.
Direct Diagnostic Mode
Description
Monitor Item [Unit]Main
Signals Description
MOTOR FAN REQ [1/2/3/4] ×Indicates cooling fan speed signal received from ECM on CAN communication
line
AC COMP REQ [On/Off] ×Indicates A/C compressor request signal received from ECM on CAN commu-
nication line
TAIL&CLR REQ [On/Off] ×Indicates position light request signal
received from BCM on CAN communica-
tion line
HL LO REQ [On/Off] ×Indicates low beam request signal received from BCM on CAN communication
line
HL HI REQ [On/Off] ×Indicates high beam request signal received from BCM on CAN communication
line
FR FOG REQ [On/Off] ×Indicates front fog light request signal received from BCM on CAN communica-
tion line
FR WIP REQ [Stop/1LOW/Low/Hi] ×Indicates front wiper request signal received from BCM on CAN communication
line
WIP AUTO STOP [STOP P/ACT P] ×Indicates condition of front wiper auto stop signal
WIP PROT [Off/BLOCK] ×Indicates condition of front wiper fail-safe operation
IGN RLY1 -REQ [On/Off] Indicates ignition switch ON signal received from BCM on CAN communication
line
IGN RLY [On/Off] ×Indicates condition of ignition relay
PUSH SW [On/Off] Indicates condition of push-button ignition switch
INTER/NP SW [On/Off] Indicates condition of CVT shift position
ST RLY CONT [On/Off] Indicates starter relay status signal received from BCM on CAN communication
line
IHBT RLY -REQ [On/Off] Indicates starter control relay signal received from BCM on CAN communication
line
ST/INHI RLY [Off/ ST /INHI] Indicates condition of starter relay and starter control relay
DETENT SW [On/Off] Indicates condition of CVT shift selector (park position switch)
DTRL REQ [Off] Indicates daytime running light request signal received from BCM on CAN com-
munication line
THFT HRN REQ [On/Off] Indicates theft warning horn request signal received from BCM on CAN commu-
nication line
HORN CHIRP [On/Off] Indicates horn reminder signal received from BCM on CAN communication line
Test item Description
HORN This test is able to check horn operation [On].
FRONT WIPER This test is able to check wiper motor operation [Hi/Lo/Off].
Revision: August 2015 2016 Versa Note
cardiagn.com
Page 3601 of 3641
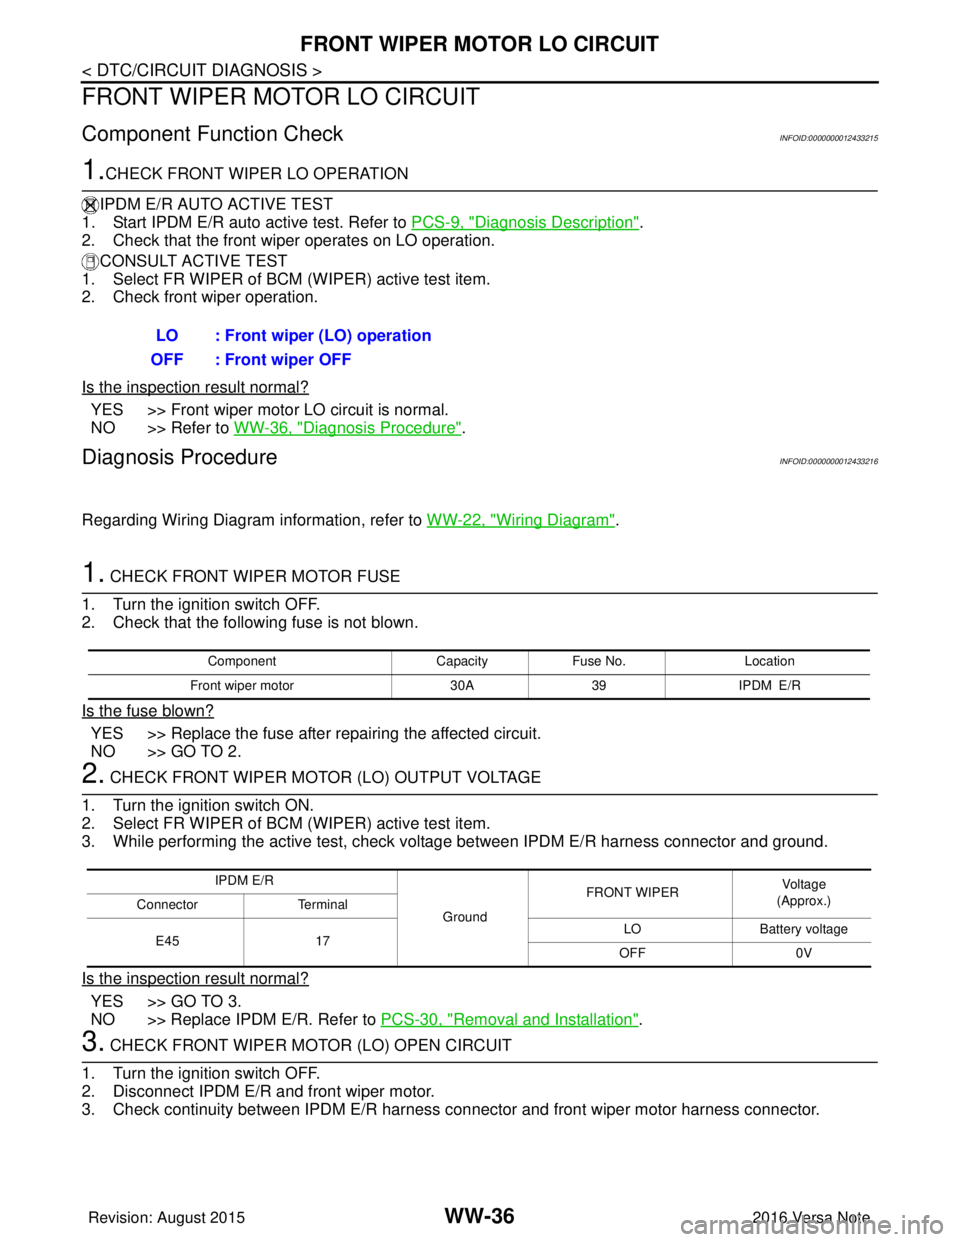
WW-36
< DTC/CIRCUIT DIAGNOSIS >
FRONT WIPER MOTOR LO CIRCUIT
FRONT WIPER MOTOR LO CIRCUIT
Component Function CheckINFOID:0000000012433215
1.CHECK FRONT WIPER LO OPERATION
IPDM E/R AUTO ACTIVE TEST
1. Start IPDM E/R auto active test. Refer to PCS-9, "
Diagnosis Description".
2. Check that the front wiper operates on LO operation.
CONSULT ACTIVE TEST
1. Select FR WIPER of BCM (WIPER) active test item.
2. Check front wiper operation.
Is the inspection result normal?
YES >> Front wiper motor LO circuit is normal.
NO >> Refer to WW-36, "
Diagnosis Procedure".
Diagnosis ProcedureINFOID:0000000012433216
Regarding Wiring Diagram information, refer to WW-22, "Wiring Diagram".
1. CHECK FRONT WIPER MOTOR FUSE
1. Turn the ignition switch OFF.
2. Check that the following fuse is not blown.
Is the fuse blown?
YES >> Replace the fuse after repairing the affected circuit.
NO >> GO TO 2.
2. CHECK FRONT WIPER MOTOR (LO) OUTPUT VOLTAGE
1. Turn the ignition switch ON.
2. Select FR WIPER of BCM (WIPER) active test item.
3. While performing the active test, check vo ltage between IPDM E/R harness connector and ground.
Is the inspection result normal?
YES >> GO TO 3.
NO >> Replace IPDM E/R. Refer to PCS-30, "
Removal and Installation".
3. CHECK FRONT WIPER MOTOR (LO) OPEN CIRCUIT
1. Turn the ignition switch OFF.
2. Disconnect IPDM E/R and front wiper motor.
3. Check continuity between IPDM E/R harness connector and front wiper motor harness connector.
LO : Front wiper (LO) operation
OFF : Front wiper OFF
Component CapacityFuse No. Location
Front wiper motor 30A39 IPDM E/R
IPDM E/R
GroundFRONT WIPER
Vo l ta g e
(Approx.)
Connector Terminal
E45 17 LO
Battery voltage
OFF 0V
Revision: August 2015 2016 Versa Note
cardiagn.com