2016 NISSAN NOTE wiring
[x] Cancel search: wiringPage 608 of 3641
CHG
CHARGING SYSTEMCHG-13
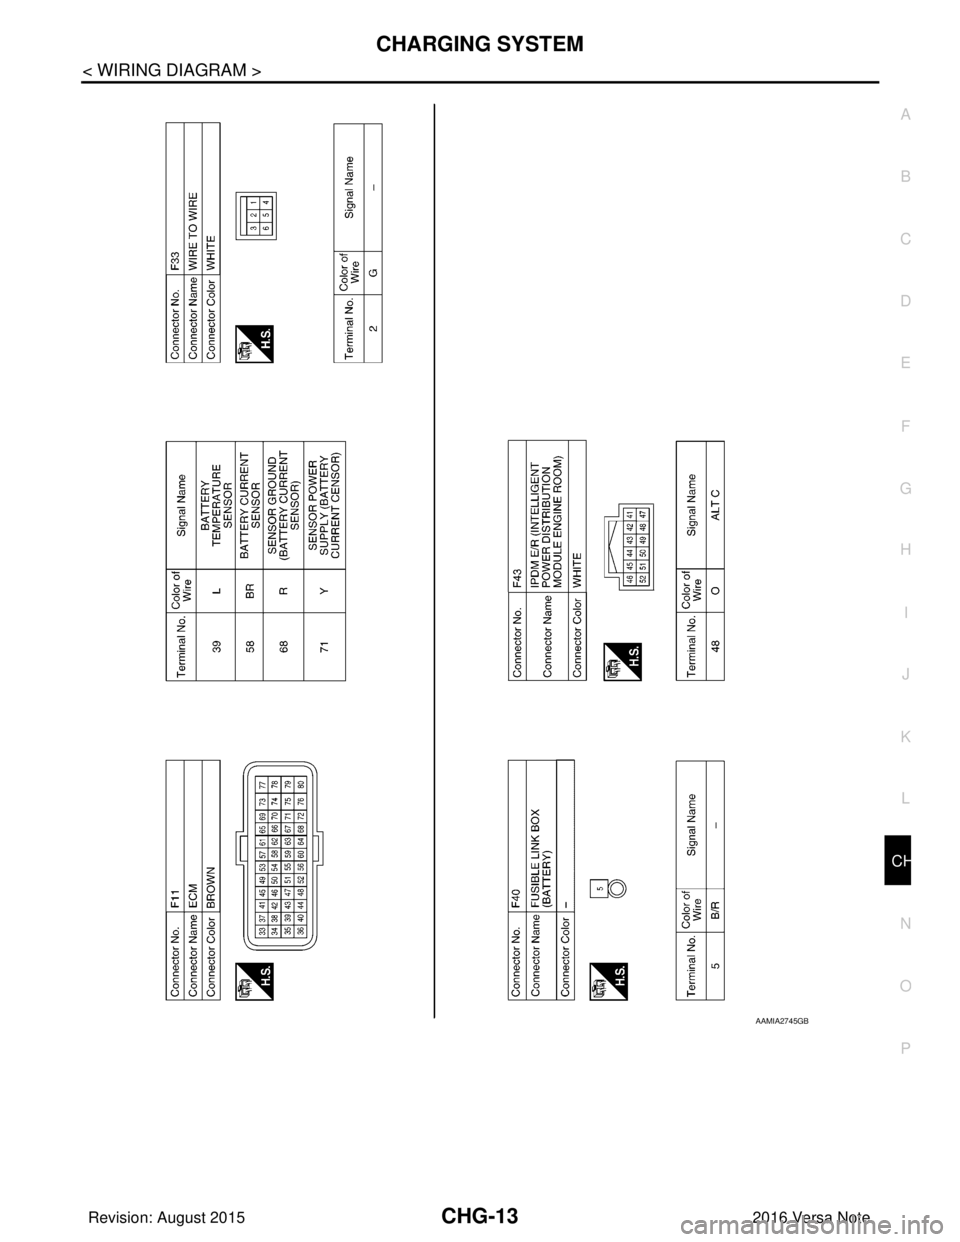
< WIRING DIAGRAM >
C
DE
F
G H
I
J
K L
B A
O P
N
AAMIA2745GB
Revision: August 2015
2016 Versa Note
cardiagn.com
Page 616 of 3641
CHG
POWER GENERATION VOLTAGE VARIABLE CONTROL SYSTEM OPERATION
INSPECTION
CHG-21
< DTC/CIRCUIT DIAGNOSIS >
C
DE
F
G H
I
J
K L
B A
O P
N
POWER GENERATION VOLTAGE VARI
ABLE CONTROL SYSTEM OPER-
ATION INSPECTION
Diagnosis ProcedureINFOID:0000000012431250
Regarding Wiring Diagram information. Refer to CHG-9, "Wiring Diagram".
CAUTION:
When performing this inspection, always use a charged battery that has completed the battery inspec-
tion. (When the charging rate of the battery is low, the response speed of the voltage change will
become slow. This can cause an incorrect inspection.)
1.CHECK ECM (CONSULT)
Perform “Self Diagnostic Result” of “ECM” with CONSULT. Refer to EC-60, "
CONSULT Function".
Self
-diagnostic results content
No malfunction detected>> GO TO 2.
Malfunction detected>> Check applicable parts, and repair or replace corresponding parts.
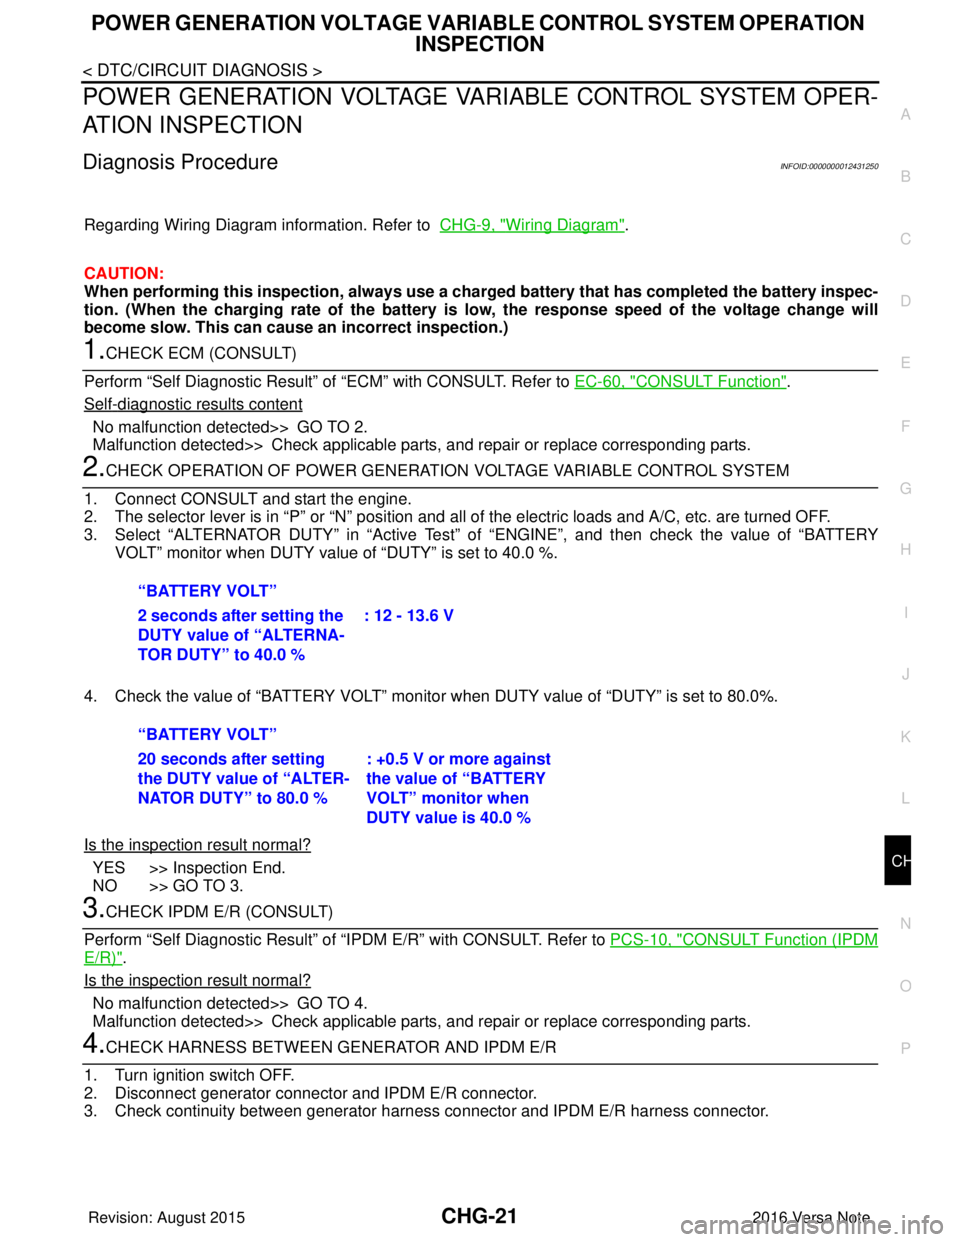
2.CHECK OPERATION OF POWER GENERATION VOLTAGE VARIABLE CONTROL SYSTEM
1. Connect CONSULT and start the engine.
2. The selector lever is in “P” or “N” position and a ll of the electric loads and A/C, etc. are turned OFF.
3. Select “ALTERNATOR DUTY” in “Active Test” of “ENGINE”, and then check the value of “BATTERY
VOLT” monitor when DUTY value of “DUTY” is set to 40.0 %.
4. Check the value of “BATTERY VOLT” monitor when DUTY value of “DUTY” is set to 80.0%.
Is the inspection result normal?
YES >> Inspection End.
NO >> GO TO 3.
3.CHECK IPDM E/R (CONSULT)
Perform “Self Diagnostic Result” of “I PDM E/R” with CONSULT. Refer to PCS-10, "
CONSULT Function (IPDM
E/R)".
Is the inspection result normal?
No malfunction detected>> GO TO 4.
Malfunction detected>> Check applicable parts, and repair or replace corresponding parts.
4.CHECK HARNESS BETWEEN GE NERATOR AND IPDM E/R
1. Turn ignition switch OFF.
2. Disconnect generator connector and IPDM E/R connector.
3. Check continuity between generator harne ss connector and IPDM E/R harness connector.
“BATTERY VOLT”
2 seconds after setting the
DUTY value of “ALTERNA-
TOR DUTY” to 40.0 %
: 12 - 13.6 V
“BATTERY VOLT”
20 seconds after setting
the DUTY value of “ALTER-
NATOR DUTY” to 80.0 % : +0.5 V or more against
the value of “BATTERY
VOLT” monitor when
DUTY value is 40.0 %
Revision: August 2015
2016 Versa Note
cardiagn.com
Page 618 of 3641
CHG
B TERMINAL CIRCUITCHG-23
< DTC/CIRCUIT DIAGNOSIS >
C
DE
F
G H
I
J
K L
B A
O P
N
B TERMINAL CIRCUIT
DescriptionINFOID:0000000012431251
“B” terminal circuit supplies power to charge the batte
ry and to operate the vehicles electrical system.
Diagnosis ProcedureINFOID:0000000012431252
Regarding Wiring Diagram information. Refer to CHG-9, "Wiring Diagram".
1.CHECK “B” TERMINAL CONNECTION
1. Turn ignition switch OFF.
2. Check if “B” terminal is clean and tight.
Is the inspection result normal?
YES >> GO TO 2.
NO >> Repair terminal “B” connection. Confirm repair by performing complete Charging system test using the EXP-800 NI or GR8-1200 NI (if availabl e). Refer to applicable Instruction Manual for
proper testing procedures.
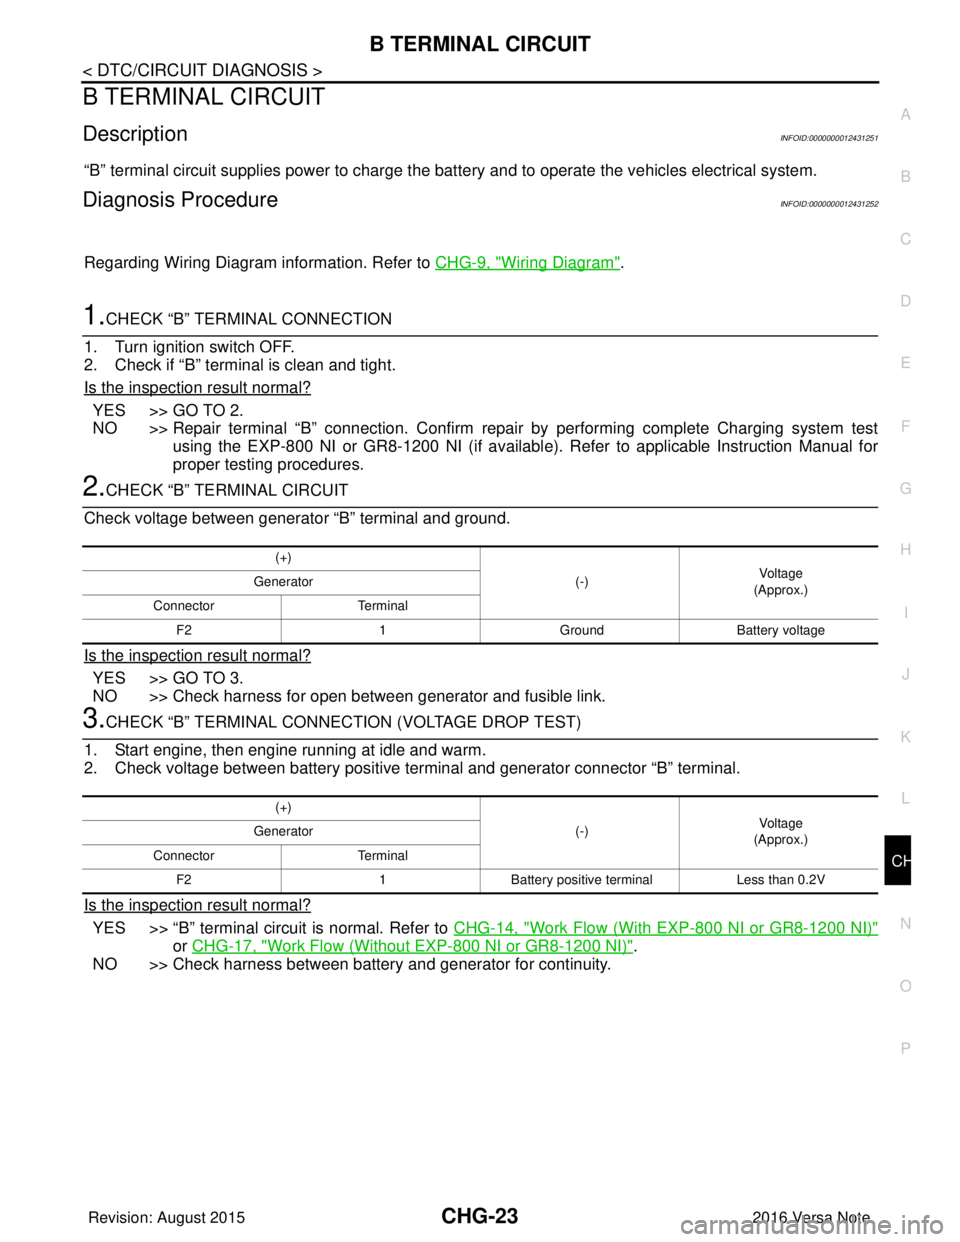
2.CHECK “B” TERMINAL CIRCUIT
Check voltage between generator “B” terminal and ground.
Is the inspection result normal?
YES >> GO TO 3.
NO >> Check harness for open between generator and fusible link.
3.CHECK “B” TERMINAL CONNECT ION (VOLTAGE DROP TEST)
1. Start engine, then engine running at idle and warm.
2. Check voltage between battery positive te rminal and generator connector “B” terminal.
Is the inspection result normal?
YES >> “B” terminal circuit is normal. Refer to CHG-14, "Work Flow (With EXP-800 NI or GR8-1200 NI)"
or CHG-17, "Work Flow (Without EXP-800 NI or GR8-1200 NI)".
NO >> Check harness between battery and generator for continuity.
(+)
(-)Voltage
(Approx.)
Generator
Connector Terminal
F2 1GroundBattery voltage
(+)
(-)Voltage
(Approx.)
Generator
Connector Terminal
F2 1Battery positive terminal Less than 0.2V
Revision: August 2015 2016 Versa Note
cardiagn.com
Page 619 of 3641
CHG-24
< DTC/CIRCUIT DIAGNOSIS >
L TERMINAL CIRCUIT (OPEN)
L TERMINAL CIRCUIT (OPEN)
DescriptionINFOID:0000000012431253
The “L” terminal circuit controls the charge warning lamp. The charge warning lamp turns ON when the igni-
tion switch is set to ON or START. When the generator is providing sufficient voltage with the engine running,
the charge warning lamp turns OFF. If the charge warn ing lamp illuminates with the engine running, a malfunc-
tion is indicated.
Diagnosis ProcedureINFOID:0000000012431254
Regarding Wiring Diagram information. Refer to CHG-9, "Wiring Diagram".
1.CHECK “L” TERMINAL CONNECTION
1. Turn ignition switch OFF.
2. Check if “L” terminal is clean and tight.
Is the inspection result normal?
YES >> GO TO 2.
NO >> Repair “L” terminal connection. Confirm repa ir by performing complete Charging system test
using EXP-800 NI or GR8-1200 NI (if available). Refer to applicable Instruction Manual for proper
testing procedures.
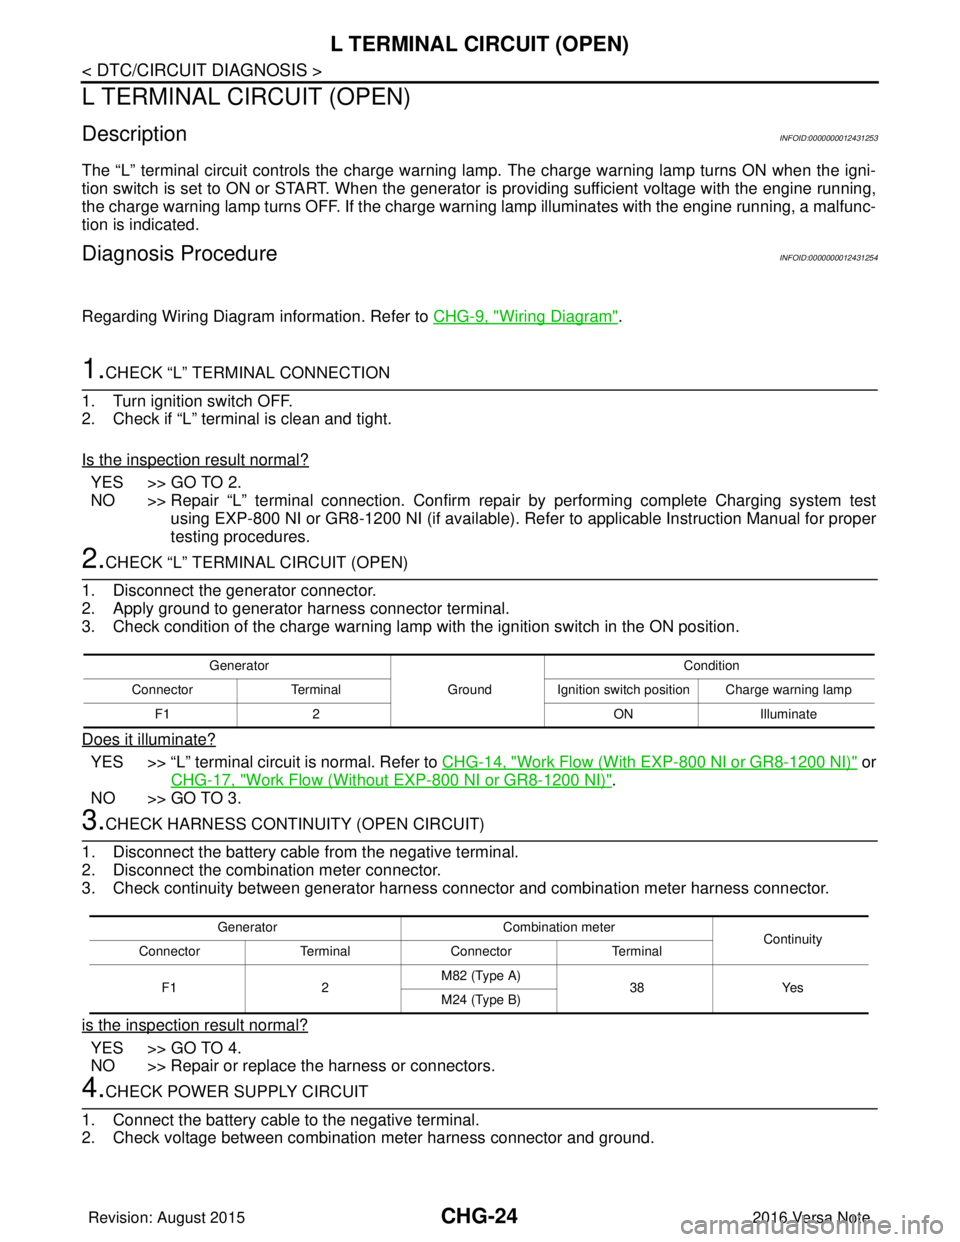
2.CHECK “L” TERMIN AL CIRCUIT (OPEN)
1. Disconnect the generator connector.
2. Apply ground to generator harness connector terminal.
3. Check condition of the charge warning lamp with the ignition switch in the ON position.
Does it illuminate?
YES >> “L” terminal circuit is normal. Refer to CHG-14, "Work Flow (With EXP-800 NI or GR8-1200 NI)" or
CHG-17, "
Work Flow (Without EXP-800 NI or GR8-1200 NI)".
NO >> GO TO 3.
3.CHECK HARNESS CONTI NUITY (OPEN CIRCUIT)
1. Disconnect the battery cable from the negative terminal.
2. Disconnect the combination meter connector.
3. Check continuity between generator harness c onnector and combination meter harness connector.
is the inspection result normal?
YES >> GO TO 4.
NO >> Repair or replace the harness or connectors.
4.CHECK POWER SUPPLY CIRCUIT
1. Connect the battery cable to the negative terminal.
2. Check voltage between combination meter harness connector and ground.
Generator
GroundCondition
Connector Terminal Ignition switch position Charge warning lamp
F1 2 ONIlluminate
Generator Combination meter
Continuity
Connector TerminalConnector Terminal
F1 2M82 (Type A)
38Yes
M24 (Type B)
Revision: August 2015 2016 Versa Note
cardiagn.com
Page 621 of 3641
CHG-26
< DTC/CIRCUIT DIAGNOSIS >
L TERMINAL CIRCUIT (SHORT)
L TERMINAL CIRCUIT (SHORT)
DescriptionINFOID:0000000012431255
The terminal “L” circuit controls the charge warning lamp. The charge warning lamp turns ON when the igni-
tion switch is set to ON or START. When the generator is providing sufficient voltage with the engine running,
the charge warning lamp turns off. If the charge warning lamp illuminates with the engine running, a malfunc-
tion is indicated.
Diagnosis ProcedureINFOID:0000000012431256
Regarding Wiring Diagram information, refer to CHG-9, "Wiring Diagram".
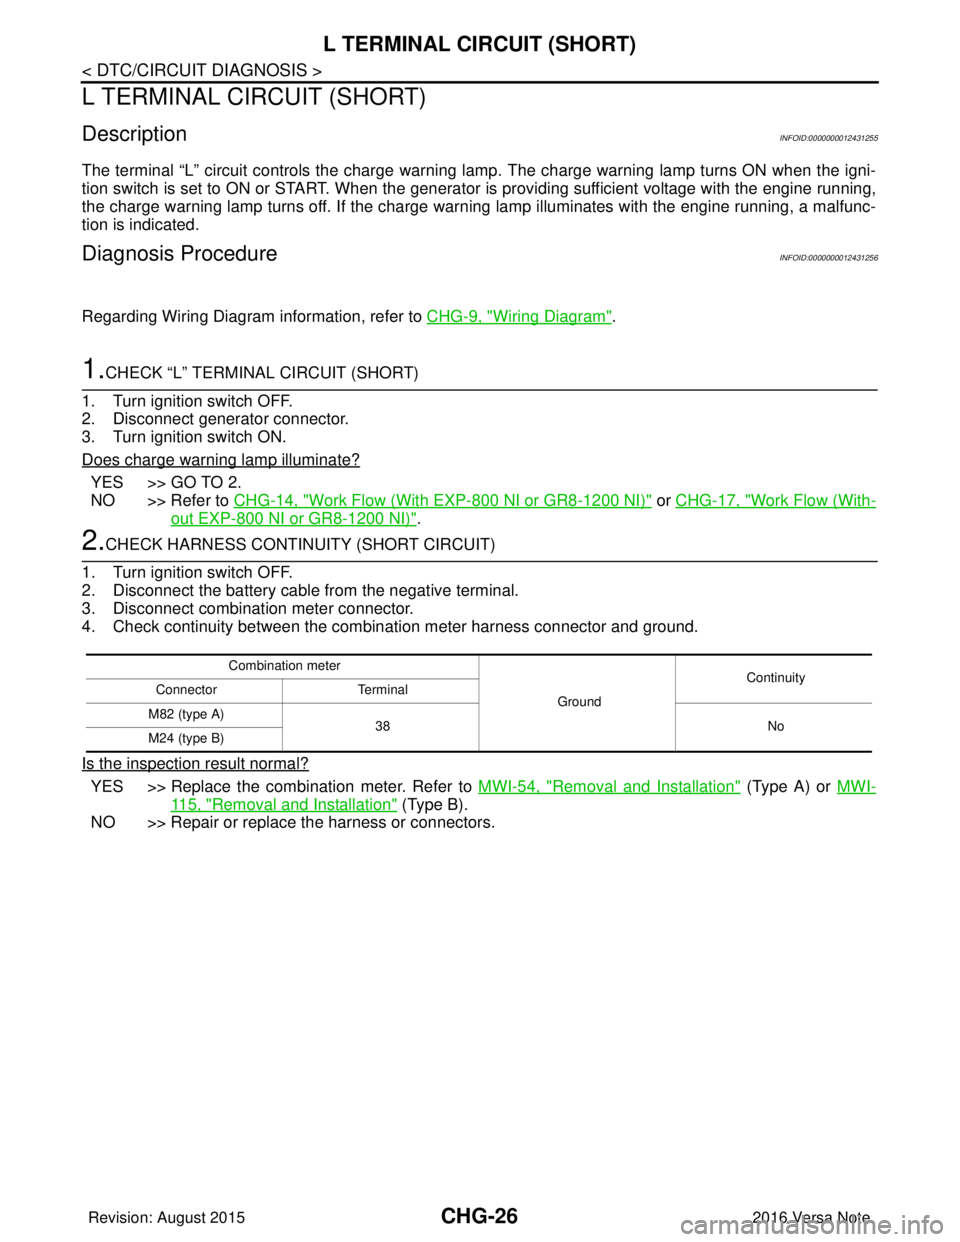
1.CHECK “L” TERMINAL CIRCUIT (SHORT)
1. Turn ignition switch OFF.
2. Disconnect generator connector.
3. Turn ignition switch ON.
Does charge warning lamp illuminate?
YES >> GO TO 2.
NO >> Refer to CHG-14, "
Work Flow (With EXP-800 NI or GR8-1200 NI)" or CHG-17, "Work Flow (With-
out EXP-800 NI or GR8-1200 NI)".
2.CHECK HARNESS CONTI NUITY (SHORT CIRCUIT)
1. Turn ignition switch OFF.
2. Disconnect the battery cable from the negative terminal.
3. Disconnect combination meter connector.
4. Check continuity between the combination meter harness connector and ground.
Is the inspection result normal?
YES >> Replace the combination meter. Refer to MWI-54, "Removal and Installation" (Type A) or MWI-
115, "Removal and Installation" (Type B).
NO >> Repair or replace the harness or connectors.
Combination meter
GroundContinuity
Connector Terminal
M82 (type A) 38 No
M24 (type B)
Revision: August 2015 2016 Versa Note
cardiagn.com
Page 622 of 3641
CHG
S TERMINAL CIRCUITCHG-27
< DTC/CIRCUIT DIAGNOSIS >
C
DE
F
G H
I
J
K L
B A
O P
N
S TERMINAL CIRCUIT
DescriptionINFOID:0000000012431257
The output voltage of the generator is controlled by the IC
regulator at terminal “S” detecting the input voltage
from battery.
The “S” terminal circuit detects the battery voltage to adjust the generator output voltage with the IC voltage
regulator.
Diagnosis ProcedureINFOID:0000000012431258
Regarding Wiring Diagram information. Refer to CHG-9, "Wiring Diagram".
1.CHECK “S” TERMINAL CONNECTION
1. Turn ignition switch OFF.
2. Check if “S” terminal is clean and tight.
Is the inspection result normal?
YES >> GO TO 2.
NO >> Repair “S” terminal connection. Confirm repair by performing complete Charging system test using EXP-800 NI or GR8-1200 NI (if available). Refer to the applicable Instruction Manual for
proper testing procedures.
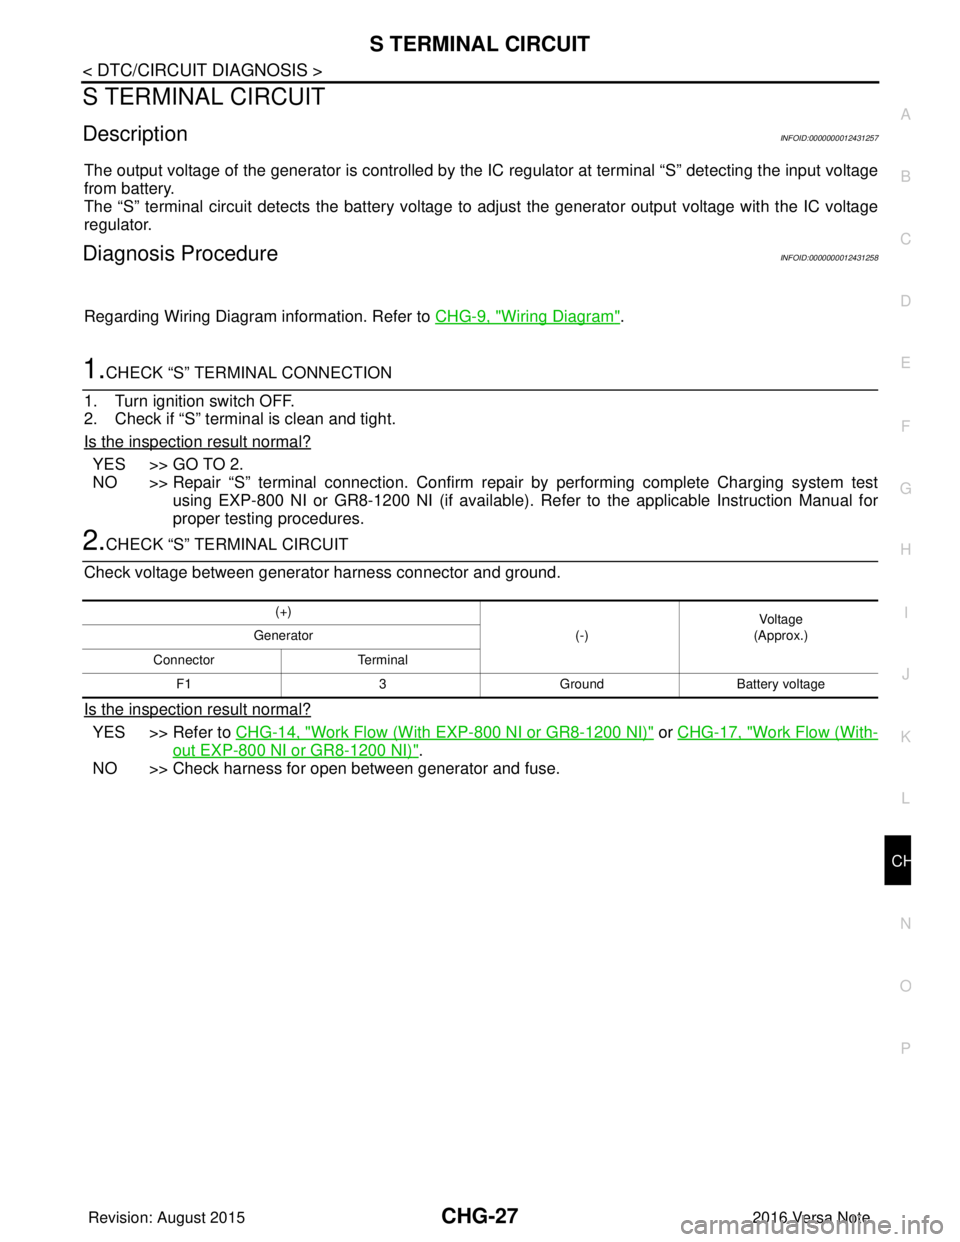
2.CHECK “S” TERMINAL CIRCUIT
Check voltage between generator harness connector and ground.
Is the inspection result normal?
YES >> Refer to CHG-14, "Work Flow (With EXP-800 NI or GR8-1200 NI)" or CHG-17, "Work Flow (With-
out EXP-800 NI or GR8-1200 NI)".
NO >> Check harness for open between generator and fuse.
(+)
(-)Voltage
(Approx.)
Generator
Connector Terminal F1 3GroundBattery voltage
Revision: August 2015 2016 Versa Note
cardiagn.com
Page 628 of 3641

CL-2
< PRECAUTION >
PRECAUTIONS
PRECAUTION
PRECAUTIONS
Precaution for Supplemental Restraint System (SRS) "AIR BAG" and "SEAT BELT
PRE-TENSIONER"
INFOID:0000000012432210
The Supplemental Restraint System such as “A IR BAG” and “SEAT BELT PRE-TENSIONER”, used along
with a front seat belt, helps to reduce the risk or severity of injury to the driver and front passenger for certain
types of collision. Information necessary to service the system safely is included in the SR and SB section of
this Service Manual.
WARNING:
• To avoid rendering the SRS inopera tive, which could increase the risk of personal injury or death in
the event of a collision which would result in air bag inflation, all maintenance must be performed by
an authorized NISSAN/INFINITI dealer.
• Improper maintenance, including in correct removal and installation of the SRS, can lead to personal
injury caused by unintent ional activation of the system. For re moval of Spiral Cable and Air Bag
Module, see the SR section.
• Do not use electrical test equipmen t on any circuit related to the SRS unless instructed to in this
Service Manual. SRS wiring harn esses can be identified by yellow and/or orange harnesses or har-
ness connectors.
PRECAUTIONS WHEN USING POWER TOOLS (AIR OR ELECTRIC) AND HAMMERS
WARNING:
• When working near the Airbag Diagnosis Sensor Unit or other Airbag System sensors with the Igni-
tion ON or engine running, DO NOT use air or electri c power tools or strike near the sensor(s) with a
hammer. Heavy vibration could activate the sensor( s) and deploy the air bag(s), possibly causing
serious injury.
• When using air or electric power tools or hammers , always switch the Ignition OFF, disconnect the
battery and wait at least three minutes before performing any service.
General PrecautionsINFOID:0000000012432211
WARNING:
After cleaning clutch disc, wipe it with a dust collector. Do not use compressed air.
CAUTION:
• Always use recommended clutch fluid. Refer to MA-11, "
Fluids and Lubricants".
• Do not reuse drained clutch fluid.
• Keep painted surface on the body and other parts free of clutch fluid. If fluid spills, wipe up immedi-
ately and wash the affected area with water.
• Do not use mineral oils, such as gasoline or kerosen e. It will ruin the rubber parts of the hydraulic
system.
• Do not reuse CSC (Concentric Slave Cylinder). CS C slides back to the original position every time
when removing transaxle assembly. At this time, dust on the sliding parts may damage the seal of
CSC and may cause clutch fluid leakage. Refer to CL-17, "
Removal and Installation".
• Do not disassemble clutch master cylinder and CSC.
Revision: August 2015 2016 Versa Note
cardiagn.com
Page 650 of 3641
![NISSAN NOTE 2016 Service Repair Manual CCS-2
< PRECAUTION >[ASCD]
PRECAUTIONS
PRECAUTION
PRECAUTIONS
Precaution for Supplemental Restraint Syst
em (SRS) "AIR BAG" and "SEAT BELT
PRE-TENSIONER"
INFOID:0000000012542559
The Supplemental Rest NISSAN NOTE 2016 Service Repair Manual CCS-2
< PRECAUTION >[ASCD]
PRECAUTIONS
PRECAUTION
PRECAUTIONS
Precaution for Supplemental Restraint Syst
em (SRS) "AIR BAG" and "SEAT BELT
PRE-TENSIONER"
INFOID:0000000012542559
The Supplemental Rest](/manual-img/5/57363/w960_57363-649.png)
CCS-2
< PRECAUTION >[ASCD]
PRECAUTIONS
PRECAUTION
PRECAUTIONS
Precaution for Supplemental Restraint Syst
em (SRS) "AIR BAG" and "SEAT BELT
PRE-TENSIONER"
INFOID:0000000012542559
The Supplemental Restraint System such as “A IR BAG” and “SEAT BELT PRE-TENSIONER”, used along
with a front seat belt, helps to reduce the risk or severity of injury to the driver and front passenger for certain
types of collision. Information necessary to service the system safely is included in the SR and SB section of
this Service Manual.
WARNING:
• To avoid rendering the SRS inopera tive, which could increase the risk of personal injury or death in
the event of a collision which would result in air bag inflation, all maintenance must be performed by
an authorized NISSAN/INFINITI dealer.
• Improper maintenance, including in correct removal and installation of the SRS, can lead to personal
injury caused by unintent ional activation of the system. For re moval of Spiral Cable and Air Bag
Module, see the SR section.
• Do not use electrical test equipmen t on any circuit related to the SRS unless instructed to in this
Service Manual. SRS wiring harn esses can be identified by yellow and/or orange harnesses or har-
ness connectors.
PRECAUTIONS WHEN USING POWER TOOLS (AIR OR ELECTRIC) AND HAMMERS
WARNING:
• When working near the Airbag Diagnosis Sensor Unit or other Airbag System sensors with the Igni-
tion ON or engine running, DO NOT use air or electri c power tools or strike near the sensor(s) with a
hammer. Heavy vibration could activate the sensor( s) and deploy the air bag(s), possibly causing
serious injury.
• When using air or electric power tools or hammers , always switch the Ignition OFF, disconnect the
battery and wait at least three minutes before performing any service.
Revision: August 2015 2016 Versa Note
cardiagn.com