2016 MERCEDES-BENZ SL ROADSTER jump start
[x] Cancel search: jump startPage 8 of 333
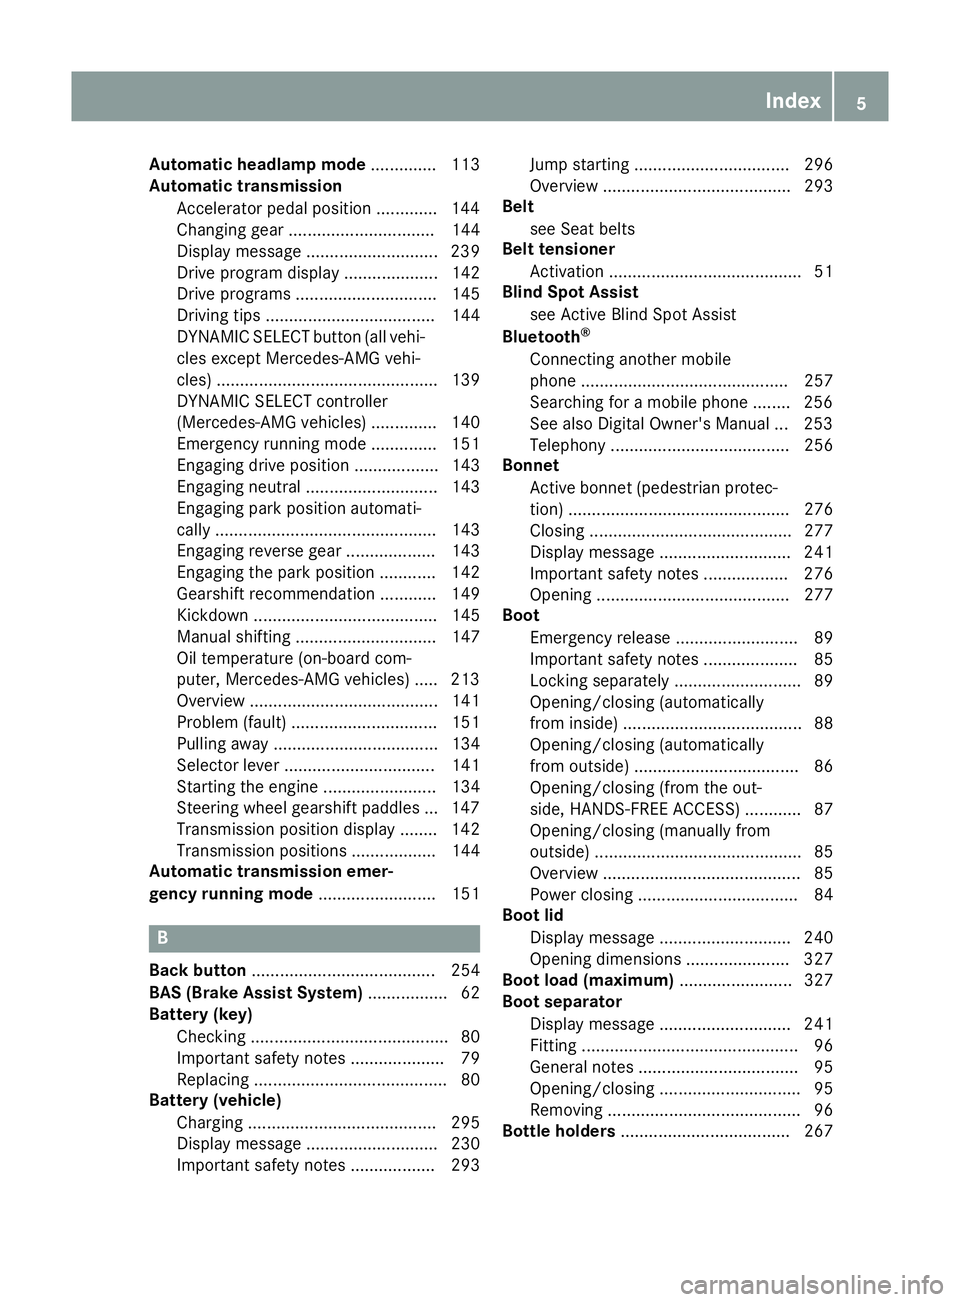
Automatic headlamp mode
.............. 113
Automatic transmission
Accelerator pedal position ............ .144
Changing gear ............................... 144
Display message ............................ 239
Drive program displa y.................... 142
Drive programs .............................. 145
Driving tips .................................... 144
DYNAMIC SELECT button (all vehi-
cles except Mercedes-AMG vehi-
cles) ............................................... 139
DYNAMIC SELECT controller
(Mercedes-AMG vehicles) .............. 140
Emergency running mod e.............. 151
Engaging drive position .................. 143
Engaging neutral ............................ 143
Engaging park position automati-
cally ............................................... 143
Engaging reverse gear ................... 143
Engaging the park position ............ 142
Gearshift recommendation ............ 149
Kickdown ....................................... 145
Manual shifting .............................. 147
Oil temperature (on-board com-
puter, Mercedes-AMG vehicles) ..... 213
Overview ........................................ 141
Problem (fault) ............................... 151
Pulling away ................................... 134
Selector lever ................................ 141
Starting the engine ........................ 134
Steering wheel gearshift paddle s... 147
Transmission position display ........ 142
Transmission positions .................. 144
Automatic transmission emer-
gency running mode ......................... 151B
Back button ....................................... 254
BAS (Brake Assist System) ................. 62
Battery (key)
Checking .......................................... 80
Important safety notes .................... 79
Replacing ......................................... 80
Battery (vehicle)
Charging ........................................ 295
Display message ............................ 230
Important safety notes .................. 293 Jump starting ................................. 296
Overview ........................................ 293
Belt
see Seat belts
Belt tensioner
Activation ......................................... 51
Blind Spot Assist
see Active Blind Spot Assist
Bluetooth ®
Connecting another mobile
phone ............................................ 257
Searching for a mobile phone ........ 256
See also Digital Owner's Manua l... 253
Telephony ...................................... 256
Bonnet
Active bonnet (pedestrian protec-tion) ............................................... 276
Closing ........................................... 277
Display message ............................ 241
Important safety notes .................. 276
Opening ......................................... 277
Boot
Emergency release .......................... 89
Important safety notes .................... 85
Locking separately ........................... 89
Opening/closing (automatically
from inside) ...................................... 88
Opening/closing (automatically
from outside) ................................... 86
Opening/closing (from the out-
side, HANDS-FREE ACCESS) ............ 87
Opening/closing (manually from
outside) ............................................ 85
Overview .......................................... 85
Power closing .................................. 84
Boot lid
Display message ............................ 240
Opening dimensions ...................... 327
Boot load (maximum) ........................ 327
Boot separator
Display message ............................ 241
Fitting .............................................. 96
General notes .................................. 95
Opening/closing .............................. 95
Removing ......................................... 96
Bottle holders .................................... 267 Index
5
Page 13 of 333

Removing ......................................
.318
Storage location ............................ 318
Technical data ............................... 318
Emergency unlocking
Vehicle ............................................. 84
Engine
Display message ............................ 229
ECO start/stop function ................ 135
Jump-starting ................................. 296
Running irregularl y......................... 138
Starting problems .......................... 138
Starting the engine with the key .... 134
Starting with KEYLESS GO ............. 134
Stopping ........................................ 153
Tow-starting (vehicle) ..................... 301
Warning lamp (engine diagnos-
tics) ............................................... 249
Engine electronics
Notes ............................................. 320
Problem (fault) ............................... 138
Engine oil
Additives ........................................ 325
Checking the oil level ..................... 277
Checking the oil level using the
dipstick .......................................... 278
Display message ............................ 230
Filling capacity ............................... 325
General notes ................................ 324
Notes about oil grade s................... 324
Notes on oil level/consumption .... 277
Temperature (on-board computer, Mercedes-AMG vehicles) ............... 213
Topping up ..................................... 278
Entering an address
See also Digital Owner's Manua l... 253
Environmental protection
Returning an end-of-life vehicle ....... 23
ESP ®
(Electronic Stability Pro-
gram)
AMG menu (on-board computer) ... 213
Characteristics ................................. 67
Deactivating/activating (button
in Mercedes-AMG vehicles) ............. 70
Deactivating/activating (except
Mercedes‑ AMG vehicles) ................. 69
Display message ............................ 217
Function/note s................................ 67
General notes .................................. 67 Important safety guidelines ............. 67
Warning lamp ................................. 246
ETS/4ETS (Electronic Traction Sys-
tem) ...................................................... 67
Exhaust pipe (cleaning instruc-
tions) .................................................. 285
Exterior lighting
Settings options ............................. 113
see Lights
Exterior mirrors
Adjusting ....................................... 108
Anti-dazzle mode (automatic) ........ 109
Folding in when locking (on-board computer) ...................................... 212
Folding in/out (automatically )....... 109
Folding in/out (electrically) ........... 109
Out of position (troubleshooting) ... 109
Parking position ............................. 110
Resetting ....................................... 109
Storing settings (memory func-
tion) ............................................... 111 F
Fault message see Display messages
Favourites
Overview ........................................ 254
Filler cap
see Fuel filler flap
Fire extinguisher ............................... 287
First-aid kit ......................................... 287
Fitting a wheel
Fitting a wheel ............................... 316
Lowering the vehicle ...................... 316
Preparing the vehicle ..................... 313
Raising the vehicle ......................... 313
Removing a wheel .......................... 315
Securing the vehicle against roll-
ing away ........................................ 313
Flat tyre
MOExtended tyre s......................... 289
Preparing the vehicle ..................... 289
TIREFIT kit ...................................... 290
see Emergency spare wheel
Floormat ............................................. 274
Foglamps
Extended rang e.............................. 116 10
Index
Page 15 of 333

General notes ................................ 172
Home address
See also Digital Owner's Manual .. .253
Horn ...................................................... 30 I
Ignition lock see Key positions
Immobiliser .......................................... 74
Indicator and warning lamp
Restraint system ............................ 248
Indicator and warning lamps
Coolant .......................................... 249
Engine diagnostics ......................... 249
SPORT handling mode ................... 248
Indicator lamps
Display message ............................ 228
see Warning and indicator lamps
Indicators
see Turn signals
Instrument cluster
Overview .......................................... 32
Instrument cluster lighting .............. 199
Intelligent Light System
Activating/deactivating ................. 209
Display message ............................ 228
Overview ........................................ 115
Setting the dipped-beam head-
lamps for driving on the right/left .. 210
Interior lighting
Automatic control system .............. 118
Delayed switch-off (on-board
computer) ...................................... 211
Overview ........................................ 117
Reading lamp ................................. 117
Setting the ambient lighting
brightness (on-board computer) .... 210
Setting the ambient lighting col-
our (on-board computer) ................ 210
Interior motion sensor
Deactivating ..................................... 76
Function .......................................... .75
Priming ............................................ 75
Switching off .................................... 76
iPod ®
See also Digital Owner's Manual ... 253
ISOFIX child seat securing system ....56 J
Jack Storage location ............................2 88
Using ............................................. 313
Jump starting (engine) ......................296 K
Key Changing the battery ....................... 80
Checking the battery ....................... 80
Display message ............................ 243
Door central locking/unlocking ....... 77
Emergency key element ................... 79
Important safety notes .................... 77
Loss ................................................. 81
Modifying the programming ............. 78
Opening/closing the roof ................ 95
Overview .......................................... 77
Positions (ignition lock) ................. 132
Problem (malfunction) ..................... 81
Starting the engine ........................ 134
Key positions
Key ................................................ 132
KEYLESS GO .................................. 132
KEYLESS-GO
Activating ......................................... 78
Convenience closing ........................ 91
Deactivation ..................................... 78
Display message ............................ 243
Locking ............................................ 78
Removing the Start/Stop button ... 133
Start/Stop button .......................... 132
Starting the engine ........................ 134
Unlocking ......................................... 78
Kickdown
Driving tips ................................... .145
Manual gearshifting ....................... 150 L
Lamps see Warning and indicator lamps
Lane Keeping Assist
see Active Lane Keeping Assist
Lap time (RACETIMER) ......................213
Licence plate lamp (display mes-
sage) ................................................... 228 12
Index
Page 85 of 333
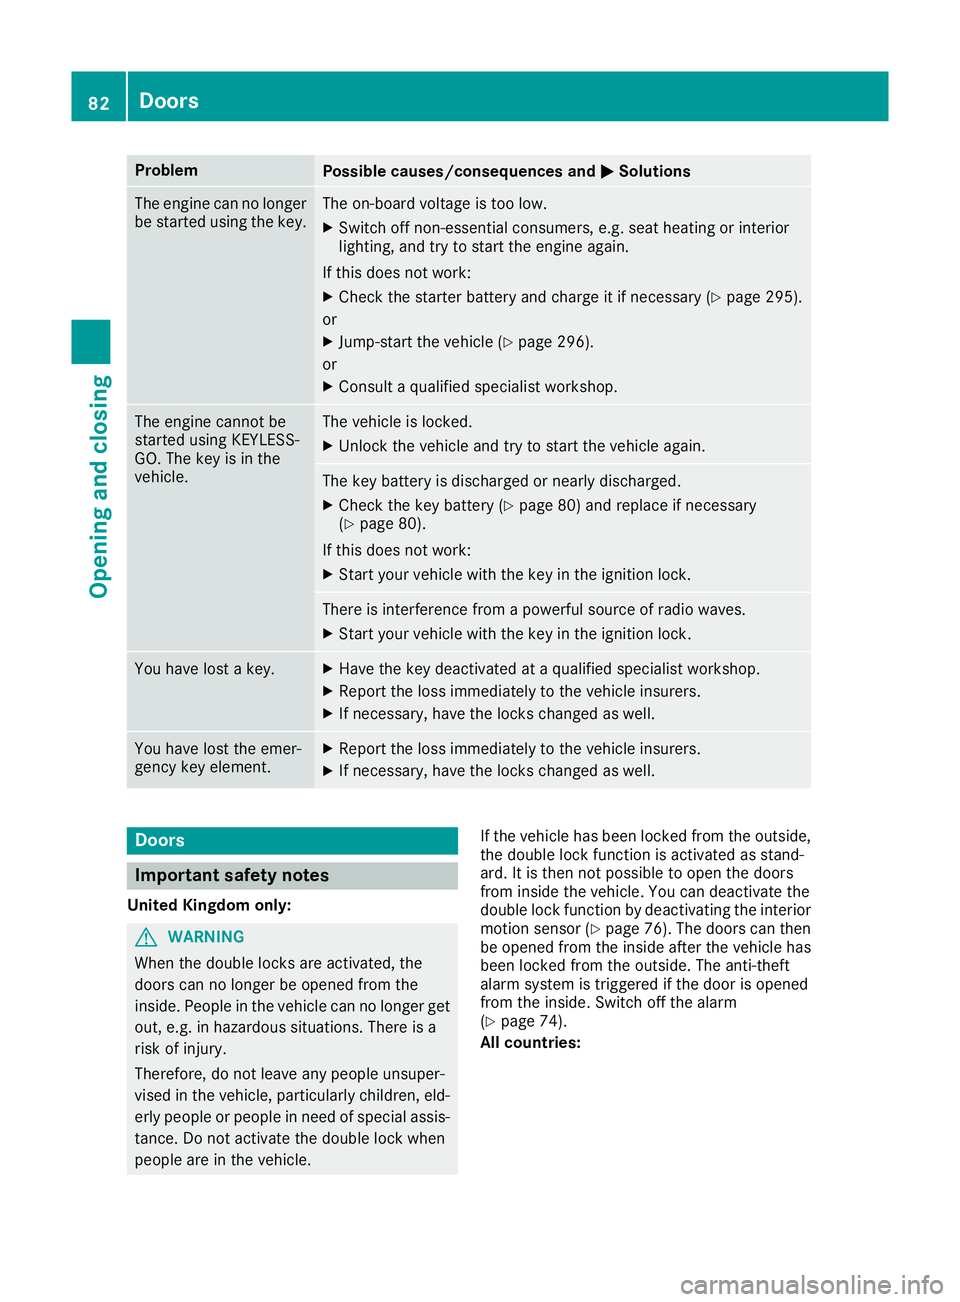
Problem
Possible causes/consequences and
M
MSolutions The engine can no longer
be started using the key. The on-board voltage is too low.
X Switch off non-essential consumers, e.g. seat heating or interior
lighting, and try to start the engine again.
If this does not work:
X Check the starter battery and charge it if necessary (Y page 295).
or X Jump-start the vehicle (Y page 296).
or X Consult a qualified specialist workshop. The engine cannot be
started using KEYLESS-
GO. The key is in the
vehicle. The vehicle is locked.
X Unlock the vehicle and try to start the vehicle again. The key battery is discharged or nearly discharged.
X Check the key battery (Y page 80) and replace if necessary
(Y page 80).
If this does not work: X Start your vehicle with the key in the ignition lock. There is interference from a powerful source of radio waves.
X Start your vehicle with the key in the ignition lock. You have lost a key. X
Have the key deactivated at a qualified specialist workshop.
X Report the loss immediately to the vehicle insurers.
X If necessary, have the locks changed as well. You have lost the emer-
gency key element. X
Report the loss immediately to the vehicle insurers.
X If necessary, have the locks changed as well. Doors
Important safety notes
United Kingdom only: G
WARNING
When the double locks are activated, the
doors can no longer be opened from the
inside. People in the vehicle can no longer get out, e.g. in hazardous situations. There is a
risk of injury.
Therefore, do not leave any people unsuper-
vised in the vehicle, particularly children, eld-
erly people or people in need of special assis-
tance. Do not activate the double lock when
people are in the vehicle. If the vehicle has been locked from the outside,
the double lock function is activated as stand-
ard. It is then not possible to open the doors
from inside the vehicle. You can deactivate the
double lock function by deactivating the interior
motion sensor (Y page 76). The doors can then
be opened from the inside after the vehicle has
been locked from the outside. The anti-theft
alarm system is triggered if the door is opened
from the inside. Switch off the alarm
(Y page 74).
All countries: 82
DoorsOpening and closing
Page 141 of 333
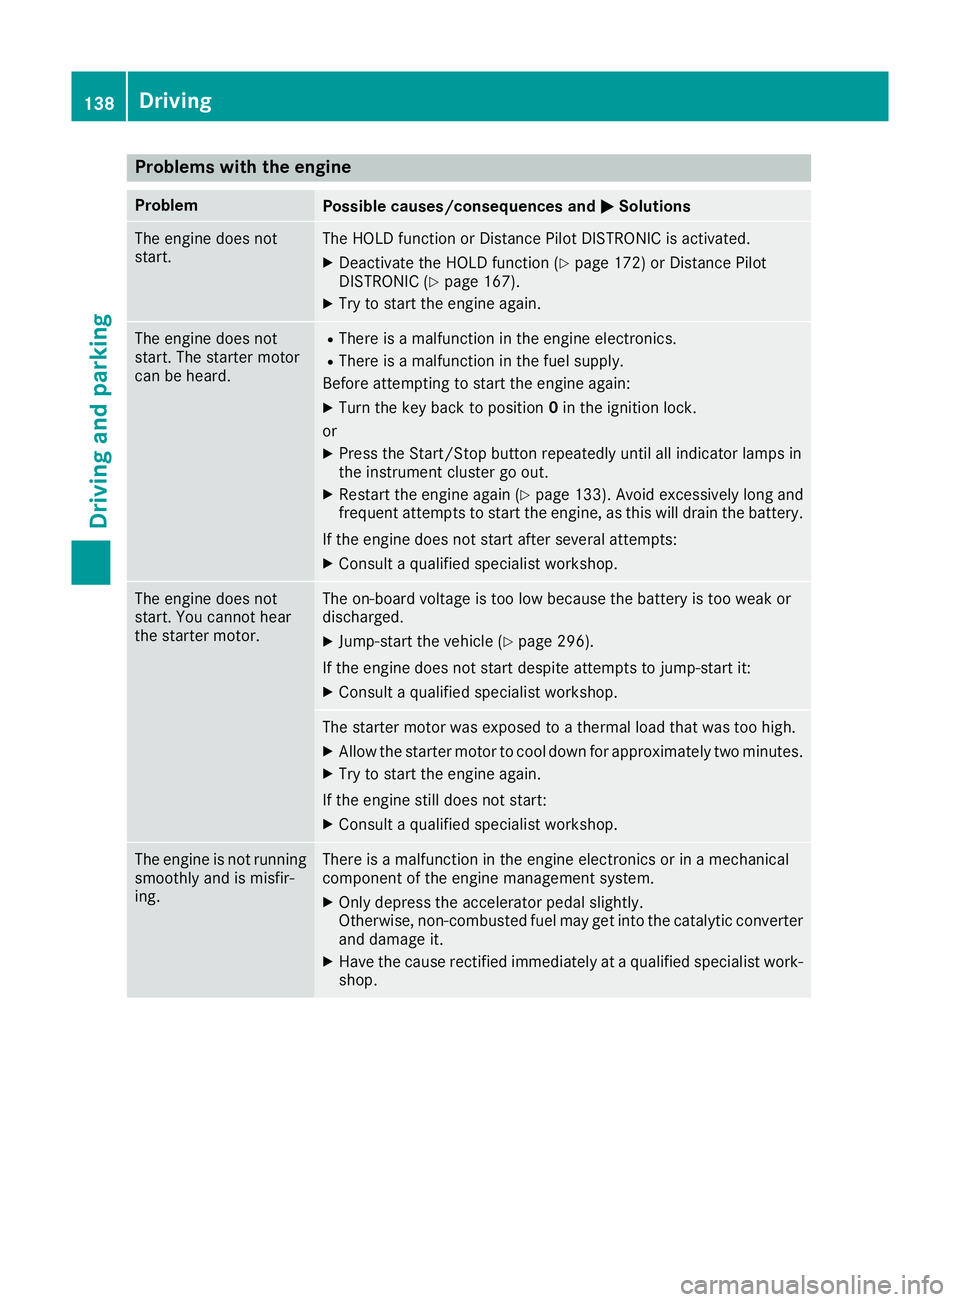
Problems with the engine
Problem
Possible causes/consequences and
M
MSolutions The engine does not
start. The HOLD function or Distance Pilot DISTRONIC is activated.
X Deactivate the HOLD function (Y page 172) or Distance Pilot
DISTRONIC (Y page 167).
X Try to start the engine again. The engine does not
start. The starter motor
can be heard. R
There is a malfunction in the engine electronics.
R There is a malfunction in the fuel supply.
Before attempting to start the engine again:
X Turn the key back to position 0in the ignition lock.
or X Press the Start/Stop button repeatedly until all indicator lamps in
the instrument cluster go out.
X Restart the engine again (Y page 133). Avoid excessively long and
frequent attempts to start the engine, as this will drain the battery.
If the engine does not start after several attempts:
X Consult a qualified specialist workshop. The engine does not
start. You cannot hear
the starter motor. The on-board voltage is too low because the battery is too weak or
discharged.
X Jump-start the vehicle (Y page 296).
If the engine does not start despite attempts to jump-start it:
X Consult a qualified specialist workshop. The starter motor was exposed to a thermal load that was too high.
X Allow the starter motor to cool down for approximately two minutes.
X Try to start the engine again.
If the engine still does not start: X Consult a qualified specialist workshop. The engine is not running
smoothly and is misfir-
ing. There is a malfunction in the engine electronics or in a mechanical
component of the engine management system.
X Only depress the accelerator pedal slightly.
Otherwise, non-combusted fuel may get into the catalytic converter
and damage it.
X Have the cause rectified immediately at a qualified specialist work-
shop. 138
DrivingDriving and parking
Page 296 of 333

X
To reduce the tyre pressure: depress pres-
sure release button Enext to pressure gauge
F.
X When the tyre pressure is correct, unscrew
the filler hose from the valve of the sealed
tyre.
X Screw the valve cap onto the tyre valve of the
sealed tyre.
X Pull the tyre sealant bottle out of the tyre
inflation compressor.
The filler hose stays on the tyre sealant bottle.
X Drive to the nearest qualified specialist work-
shop and have the tyre changed there.
X Have the tyre sealant bottle replaced as soon
as possible at a qualified specialist workshop.
X Have the tyre sealant bottle replaced every
four years at a qualified specialist workshop. Battery (vehicle)
Important safety notes
Work on the battery, e.g. removing or fitting,
requires specialist knowledge and the use of
special tools. Therefore, always have work on
the battery carried out at a qualified specialist
workshop. G
WARNING
Work carried out incorrectly on the battery
can lead, for example, to a short circuit and
thus damage the vehicle electronics. This can lead to function restrictions applying to
safety-relevant systems, e.g the lighting sys-
tem, the ABS (anti-lock braking system) or the
ESP ®
(Electronic Stability Program). The oper-
ating safety of your vehicle may be restricted.
You could lose control of the vehicle, for
example:
R when braking
R in the event of abrupt steering manoeuvres
and/or when the vehicle's speed is not
adapted to the road conditions
There is a risk of an accident.
In the event of a short circuit or a similar inci- dent, contact a qualified specialist workshop
immediately. Do not drive any further. Always have work on the battery carried out at a
qualified specialist workshop.
Further information about ABS (Y page 62) and
ESP ®
(Y page 67). G
WARNING
Electrostatic build-up can lead to the creation of sparks, which could ignite the highly explo-
sive gases of a battery. There is a risk of an
explosion.
Before handling the battery, touch the vehicle body to remove any existing electrostatic
build-up.
The highly flammable gas mixture is created
while the battery is charging and when jump-
starting.
Always make sure that neither you nor the bat-
tery is electrostatically charged. Electrostatic
charge is created, for example: R by wearing synthetic fibre clothing
R by friction between clothing and the seat
R when you pull or push the battery across car-
pet or other synthetic materials
R when you rub the battery with a cloth G
WARNING
During the charging process, a battery produ- ces hydrogen gas. If a short circuit occurs or
sparks are created, the hydrogen gas can
ignite. There is a risk of an explosion.
R Make sure that the positive terminal of a
connected battery does not come into con-
tact with vehicle parts.
R Never place metal objects or tools on a bat-
tery.
R It is important that you observe the descri-
bed order of the battery terminals when
connecting and disconnecting a battery.
R When jump-starting, make sure that the
battery poles with identical polarity are
connected.
R It is particularly important to observe the
described order when connecting and dis-
connecting the jump leads.
R Never connect or disconnect the battery
terminals while the engine is running. Battery (vehicle)
293Breakdown assis tance Z
Page 298 of 333
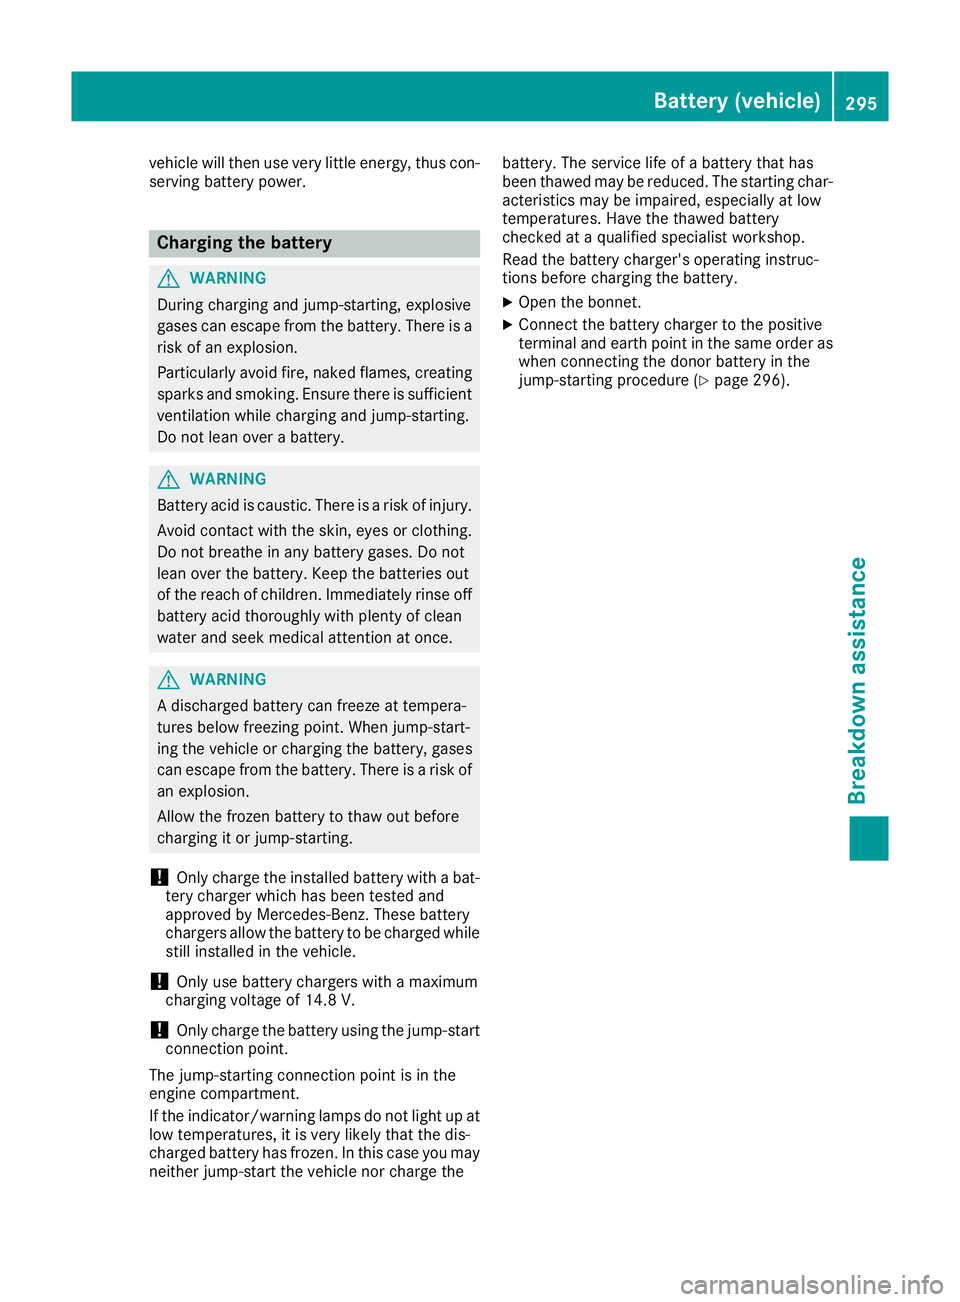
vehicle will then use very little energy, thus con-
serving battery power. Charging the battery
G
WARNING
During charging and jump-starting, explosive
gases can escape from the battery. There is a risk of an explosion.
Particularly avoid fire, naked flames, creating
sparks and smoking. Ensure there is sufficient
ventilation while charging and jump-starting.
Do not lean over a battery. G
WARNING
Battery acid is caustic. There is a risk of injury. Avoid contact with the skin, eyes or clothing.
Do not breathe in any battery gases. Do not
lean over the battery. Keep the batteries out
of the reach of children. Immediately rinse off
battery acid thoroughly with plenty of clean
water and seek medical attention at once. G
WARNING
A discharged battery can freeze at tempera-
tures below freezing point. When jump-start-
ing the vehicle or charging the battery, gases can escape from the battery. There is a risk of
an explosion.
Allow the frozen battery to thaw out before
charging it or jump-starting.
! Only charge the installed battery with a bat-
tery charger which has been tested and
approved by Mercedes-Benz. These battery
chargers allow the battery to be charged while still installed in the vehicle.
! Only use battery chargers with a maximum
charging voltage of 14.8 V.
! Only
charge the battery using the jump-start
connection point.
The jump-starting connection point is in the
engine compartment.
If the indicator/warning lamps do not light up at
low temperatures, it is very likely that the dis-
charged battery has frozen. In this case you may
neither jump-start the vehicle nor charge the battery. The service life of a battery that has
been thawed may be reduced. The starting char-
acteristics may be impaired, especially at low
temperatures. Have the thawed battery
checked at a qualified specialist workshop.
Read the battery charger's operating instruc-
tions before charging the battery.
X Open the bonnet.
X Connect the battery charger to the positive
terminal and earth point in the same order as
when connecting the donor battery in the
jump-starting procedure (Y page 296). Battery (vehicle)
295Breakdown assistance Z
Page 299 of 333
Jump-starting
For the jump-starting procedure, use only the jump-starting connection point, consisting of a pos- itive terminal and an earth point, in the engine compartment. G
WARNING
Battery acid is caustic. There is a risk of injury.
Avoid contact with the skin, eyes or clothing. Do not breathe in any battery gases. Do not lean over the battery. Keep the batteries out of the reach of children. Immediately rinse off battery acid
thoroughly with plenty of clean water and seek medical attention at once. G
WARNING
During charging and jump-starting, explosive gases can escape from the battery. There is a risk of an explosion.
Particularly avoid fire, naked flames, creating sparks and smoking. Ensure there is sufficient
ventilation while charging and jump-starting. Do not lean over a battery. G
WARNING
During the charging process, a battery produces hydrogen gas. If a short circuit occurs or sparks
are created, the hydrogen gas can ignite. There is a risk of an explosion.
R Make sure that the positive terminal of a connected battery does not come into contact with
vehicle parts.
R Never place metal objects or tools on a battery.
R It is important that you observe the described order of the battery terminals when connecting
and disconnecting a battery.
R When jump-starting, make sure that the battery poles with identical polarity are connected.
R It is particularly important to observe the described order when connecting and disconnecting
the jump leads.
R Never connect or disconnect the battery terminals while the engine is running. G
WARNING
A discharged battery can freeze at temperatures below freezing point. When jump-starting the
vehicle or charging the battery, gases can escape from the battery. There is a risk of an explosion.
Allow the frozen battery to thaw out before charging it or jump-starting.
! Avoid repeated and lengthy starting attempts. Otherwise, the catalytic converter could be
damaged by the non-combusted fuel.
If the indicator/warning lamps do not light up at low temperatures, it is very likely that the dis-
charged battery has frozen. In this case you may neither jump-start the vehicle nor charge the
battery. The service life of a battery that has been thawed may be reduced. The starting charac-
teristics may be impaired, especially at low temperatures. Have the thawed battery checked at a
qualified specialist workshop. 296
Jump-startingBreakdown assistance