2016 MERCEDES-BENZ GLS SUV weight
[x] Cancel search: weightPage 359 of 397

X
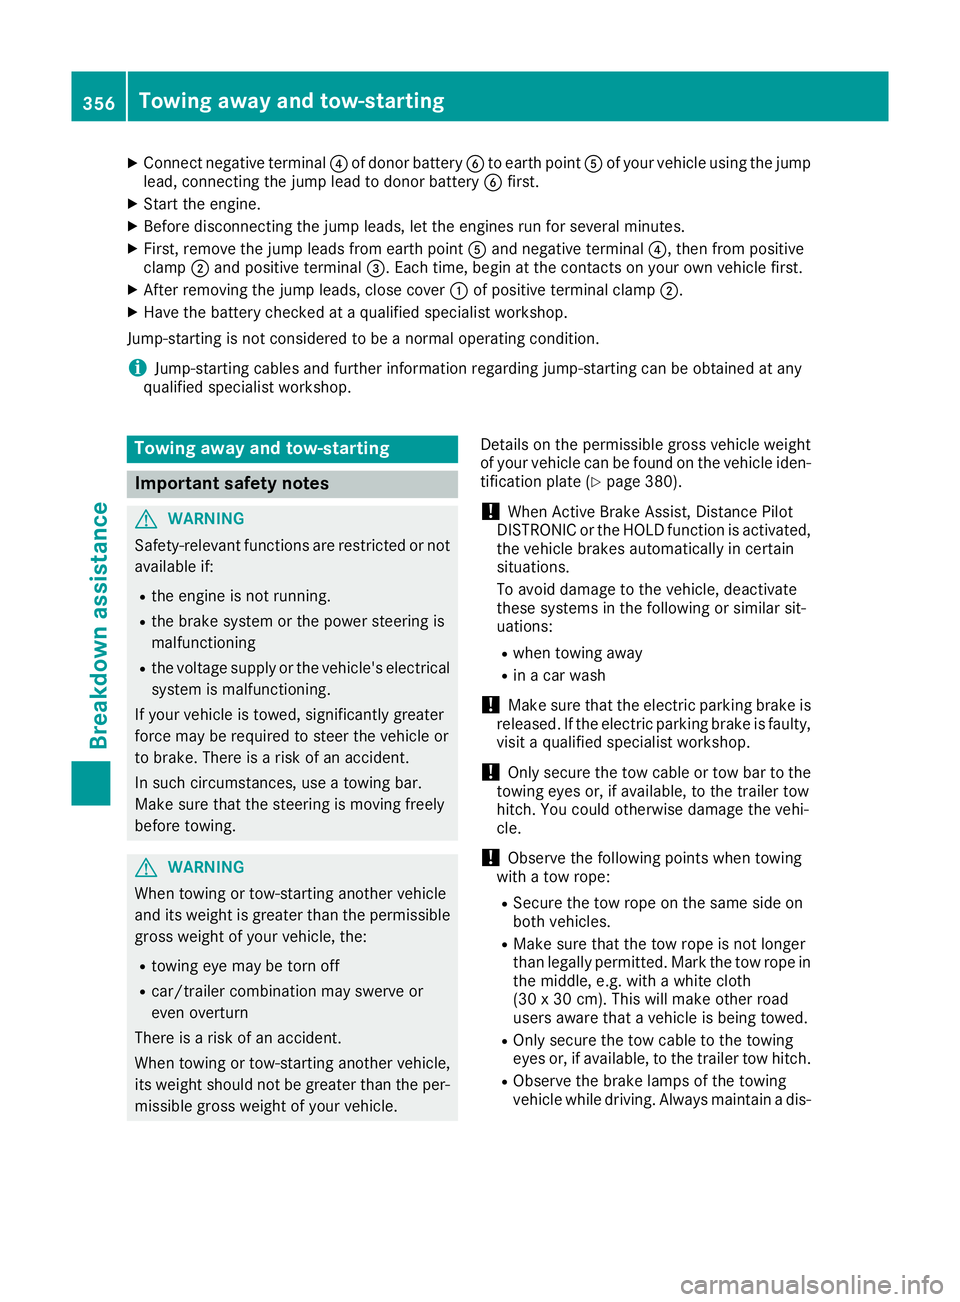
Connect negative terminal ?of donor battery Bto earth point Aof your vehicle using the jump
lead, connecting the jump lead to donor battery Bfirst.
X Start the engine.
X Before disconnecting the jump leads, let the engines run for several minutes.
X First, remove the jump leads from earth point Aand negative terminal ?, then from positive
clamp ;and positive terminal =. Each time, begin at the contacts on your own vehicle first.
X After removing the jump leads, close cover :of positive terminal clamp ;.
X Have the battery checked at a qualified specialist workshop.
Jump-starting is not considered to be a normal operating condition.
i Jump-starting cables and further information regarding jump-starting can be obtained at any
qualified specialist workshop. Towing away and tow-starting
Important safety notes
G
WARNING
Safety-relevant functions are restricted or not
available if:
R the engine is not running.
R the brake system or the power steering is
malfunctioning
R the voltage supply or the vehicle's electrical
system is malfunctioning.
If your vehicle is towed, significantly greater
force may be required to steer the vehicle or
to brake. There is a risk of an accident.
In such circumstances, use a towing bar.
Make sure that the steering is moving freely
before towing. G
WARNING
When towing or tow-starting another vehicle
and its weight is greater than the permissible gross weight of your vehicle, the:
R towing eye may be torn off
R car/trailer combination may swerve or
even overturn
There is a risk of an accident.
When towing or tow-starting another vehicle,
its weight should not be greater than the per- missible gross weight of your vehicle. Details on the permissible gross vehicle weight
of your vehicle can be found on the vehicle iden-
tification plate (Y page 380).
! When Active Brake Assist, Distance Pilot
DISTRONIC or the HOLD function is activated, the vehicle brakes automatically in certain
situations.
To avoid damage to the vehicle, deactivate
these systems in the following or similar sit-
uations:
R when towing away
R in a car wash
! Make sure that the electric parking brake is
released. If the electric parking brake is faulty, visit a qualified specialist workshop.
! Only secure the tow cable or tow bar to the
towing eyes or, if available, to the trailer tow
hitch. You could otherwise damage the vehi-
cle.
! Observe the following points when towing
with a tow rope:
R Secure the tow rope on the same side on
both vehicles.
R Make sure that the tow rope is not longer
than legally permitted. Mark the tow rope in
the middle, e.g. with a white cloth
(30 x 30 cm). This will make other road
users aware that a vehicle is being towed.
R Only secure the tow cable to the towing
eyes or, if available, to the trailer tow hitch.
R Observe the brake lamps of the towing
vehicle while driving. Always maintain a dis- 356
Towing away and tow-startingBreakdown assistance
Page 384 of 397

Vehicle identification plate (example: vehicles with
a trailer tow hitch – all other countries)
: Vehicle manufacturer (Daimler AG)
; EU type approval number (for certain coun-
tries only)
= VIN
? Maximum gross vehicle weight (kg)
A Maximum gross vehicle weight of vehicle
combination (kg)
B Permissible front axle load (kg)
C Permissible rear axle load (kg)
D Paint code
i The data shown on the vehicle identification
plate is sample data. This data is different for every vehicle and may differ from the data
shown here. You can find the data applicable to your vehicle on the vehicle's identification
plate. Vehicle identification number (VIN)
X
Open the front right-hand door.
X Open cover :in the direction of the arrow
and remove it.
The VIN can be seen.
The VIN can also be found on the vehicle iden-
tification plate (Y page 380). Engine number
The engine number is stamped into the crank-
case. You can obtain further information from
any qualified specialist workshop. Service products and capacities
Important safety notes
G
WARNING
Service product can be poisonous and haz-
ardous to health. There is a risk of injury.
Observe the instructions on the respective
original container when using, storing and dis- posing off service products. Always store ser-
vice products in the sealed original container. Always keep service products out of the reach
of children. H
Environmental note
Dispose of service products in an environ-
mentally-responsible manner.
Service products include the following:
R fuels
R exhaust gas aftertreatment additives, e.g.
AdBlue ®
R lubricants (e.g. engine oil, transmission oil)
R coolant
R brake fluid
R windscreen washer fluid
R climate control system refrigerant
Components and service products must be
matched. Only use products recommended by
Mercedes-Benz. Damage caused by the use of
products that have not been recommended is
not covered by the Mercedes-Benz warranty or
goodwill gestures. They are listed in this
Mercedes-Benz Owner's Manual in the appro-
priate section.
You can identify service products approved by
Mercedes-Benz by the following inscriptions on
the container:
R MB-Freigabe (e.g. MB-Freigabe 229.51)
R MB-Approval (e.g. MB-Approval 229.51)
Other designations or recommendations indi-
cate a level of quality or a specification in
accordance with an MB Sheet Number (e.g. MB Service products and capacities
381Technical data Z
Page 390 of 397

Windscreen washer system
Important safety notes G
WARNING
If windscreen washer concentrate comes into contact with hot components of the engine or
the exhaust system, it can ignite. There is a
risk of fire and injury.
Make sure the windscreen washer concen-
trate does not come into contact with the filler neck.
! Only use washer fluid that is suitable for
plastic lamp lenses, e.g. MB SummerFit or MB
WinterFit. Unsuitable washer fluid could dam-
age the plastic lenses of the headlamps.
! Only the washer fluids SummerFit and Win-
terFit can be mixed. Otherwise, the spraying
nozzles could become blocked.
Do not use distilled or de-ionised water. Other-
wise, the level sensor may give a false reading.
When handling washer fluid, observe the impor- tant safety notes on service products
(Y page 381).
At temperatures above freezing:
X Fill the washer fluid reservoir with a mixture of
water and washer fluid, e.g. MB SummerFit.
Mix 1 part MB SummerFit to 100 parts water.
At temperatures below freezing:
X Fill the washer fluid reservoir with a mixture of
water and washer fluid, e.g. MB WinterFit.
For the correct mixing ratio refer to the infor- mation on the antifreeze reservoir.
i Add washer fluid concentrate, e.g. MB Sum-
merFit or MB WinterFit, to the washer fluid all
year round. Vehicle data
General notes
Please note that for the specified vehicle data: R the heights specified may vary as a result of:
- tyres
- load
- condition of the suspension
- optional equipment
R optional equipment reduces the maximum
payload
R vehicle-specific weight information can be
found on the vehicle identification plate
(Y page 380)
R for certain countries only: you can find vehi-
cle-specific vehicle data in the COC docu-
ments (CERTIFICATE OF CONFORMITY).
These documents are delivered with your
vehicle
Observe the information relating to level con-
trol:
R AIRMATIC package (Y page 198)
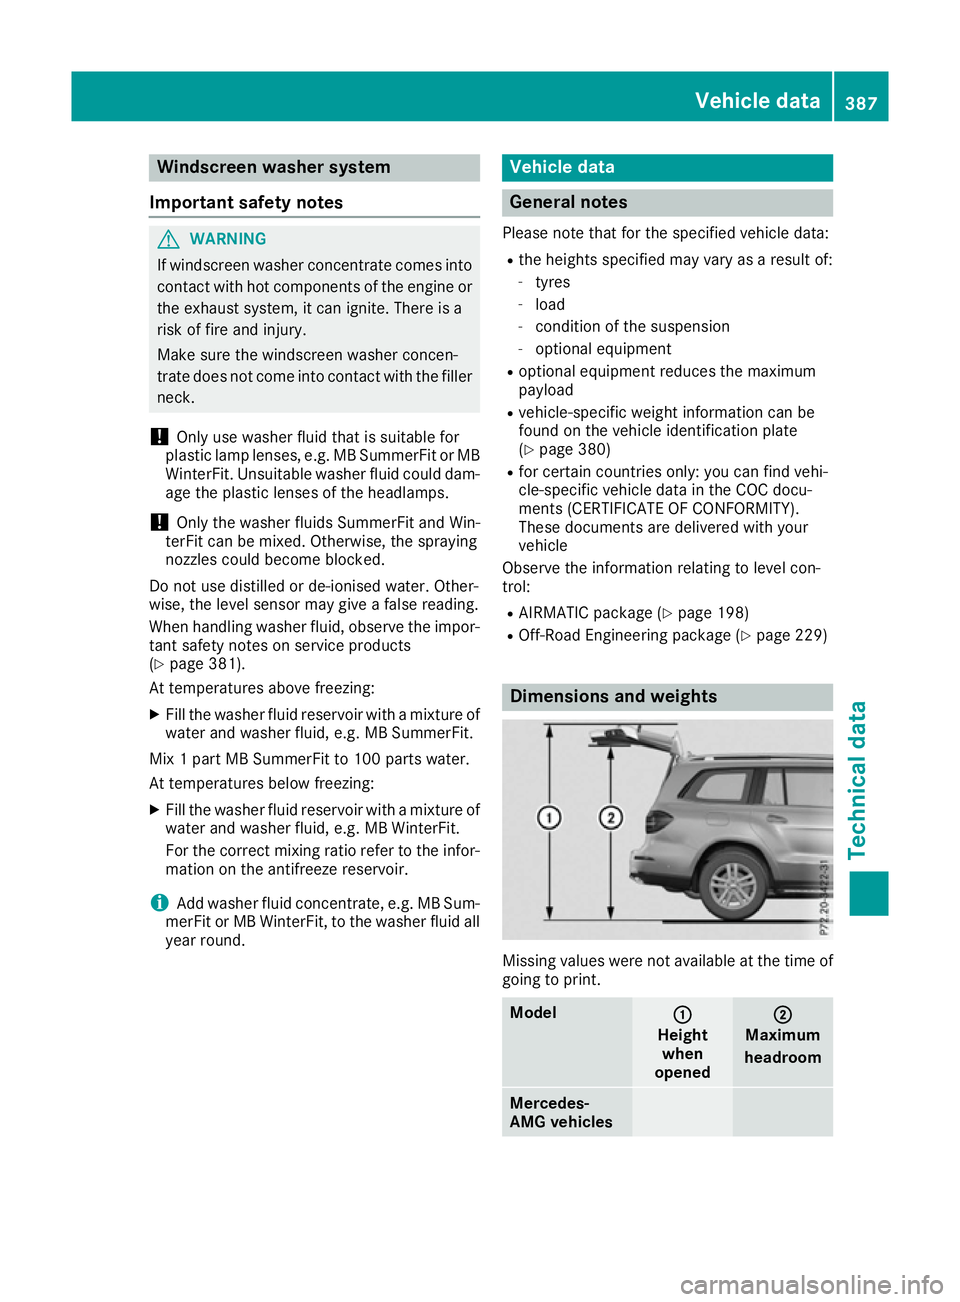
R Off-Road Engineering package (Y page 229) Dimensions and weights
Missing values were not available at the time of
going to print. Model
: :
Height when
opened ;
;
Maximum
headroom Mercedes-
AMG vehicles Vehicle data
387Technical data Z
Page 393 of 397

i
If the load on the front axle is reduced when
pulling away on a steep uphill slope, the front
wheels have a tendency to spin. 4ETS recog-
nises this and brakes the wheels accordingly. The rear wheel torque is increased and it is
easier to pull away.
For further information about maximum gradi-
ent-climbing capability, see (Y page 180).Trailer tow hitch
Trailer loads
Trailer loads, noseweights and axle
loads !
Use a drawbar noseweight as close as pos-
sible to the maximum permissible nose-
weight. Do not use a noseweight of less than
50kg, otherwise the trailer may come loose.
Note that the payload and the rear axle load
are reduced by the actual payload.
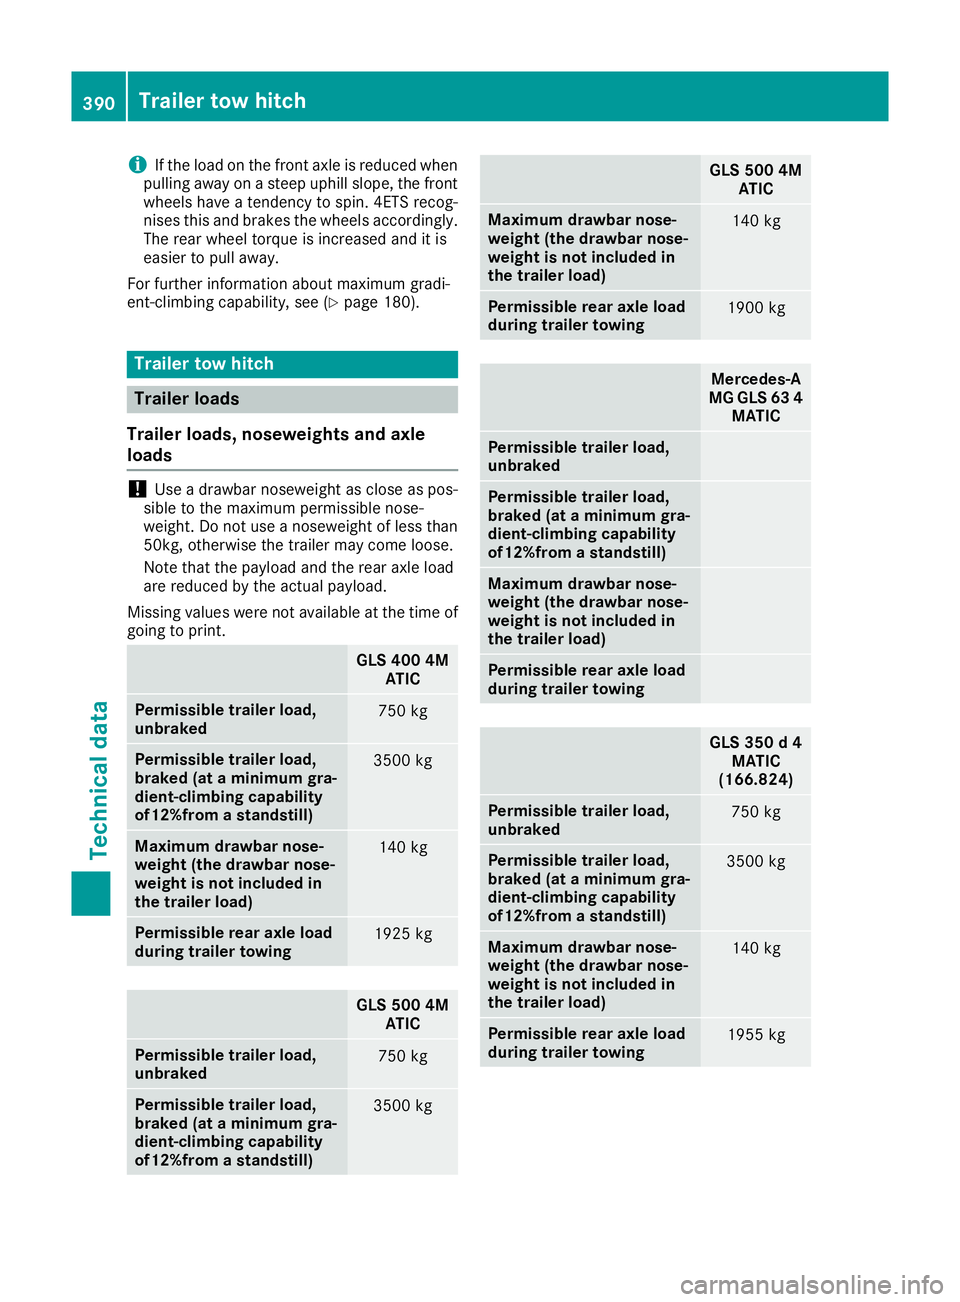
Missing values were not available at the time of going to print. GLS 400 4M
ATIC Permissible trailer load,
unbraked
750 kg
Permissible trailer load,
braked (at a minimum gra-
dient-climbing capability
of12%from a standstill)
3500 kg
Maximum drawbar nose-
weight (the drawbar nose-
weight is not included in
the trailer load)
140 kg
Permissible rear axle load
during trailer towing
1925 kg
GLS 500 4M
ATIC Permissible trailer load,
unbraked
750 kg
Permissible trailer load,
braked (at a minimum gra-
dient-climbing capability
of12%from a standstill)
3500 kg GLS 500 4M
ATIC Maximum drawbar nose-
weight (the drawbar nose-
weight is not included in
the trailer load)
140 kg
Permissible rear axle load
during trailer towing
1900 kg
Mercedes‑A
MG GLS 63 4 MATIC Permissible trailer load,
unbraked
Permissible trailer load,
braked (at a minimum gra-
dient-climbing capability
of12%from a standstill)
Maximum drawbar nose-
weight (the drawbar nose-
weight is not included in
the trailer load)
Permissible rear axle load
during trailer towing
GLS 350 d 4
MATIC
(166.824) Permissible trailer load,
unbraked
750 kg
Permissible trailer load,
braked (at a minimum gra-
dient-climbing capability
of12%from a standstill)
3500 kg
Maximum drawbar nose-
weight (the drawbar nose-
weight is not included in
the trailer load)
140 kg
Permissible rear axle load
during trailer towing
1955 kg390
Trailer tow hitchTechnical data
Page 394 of 397

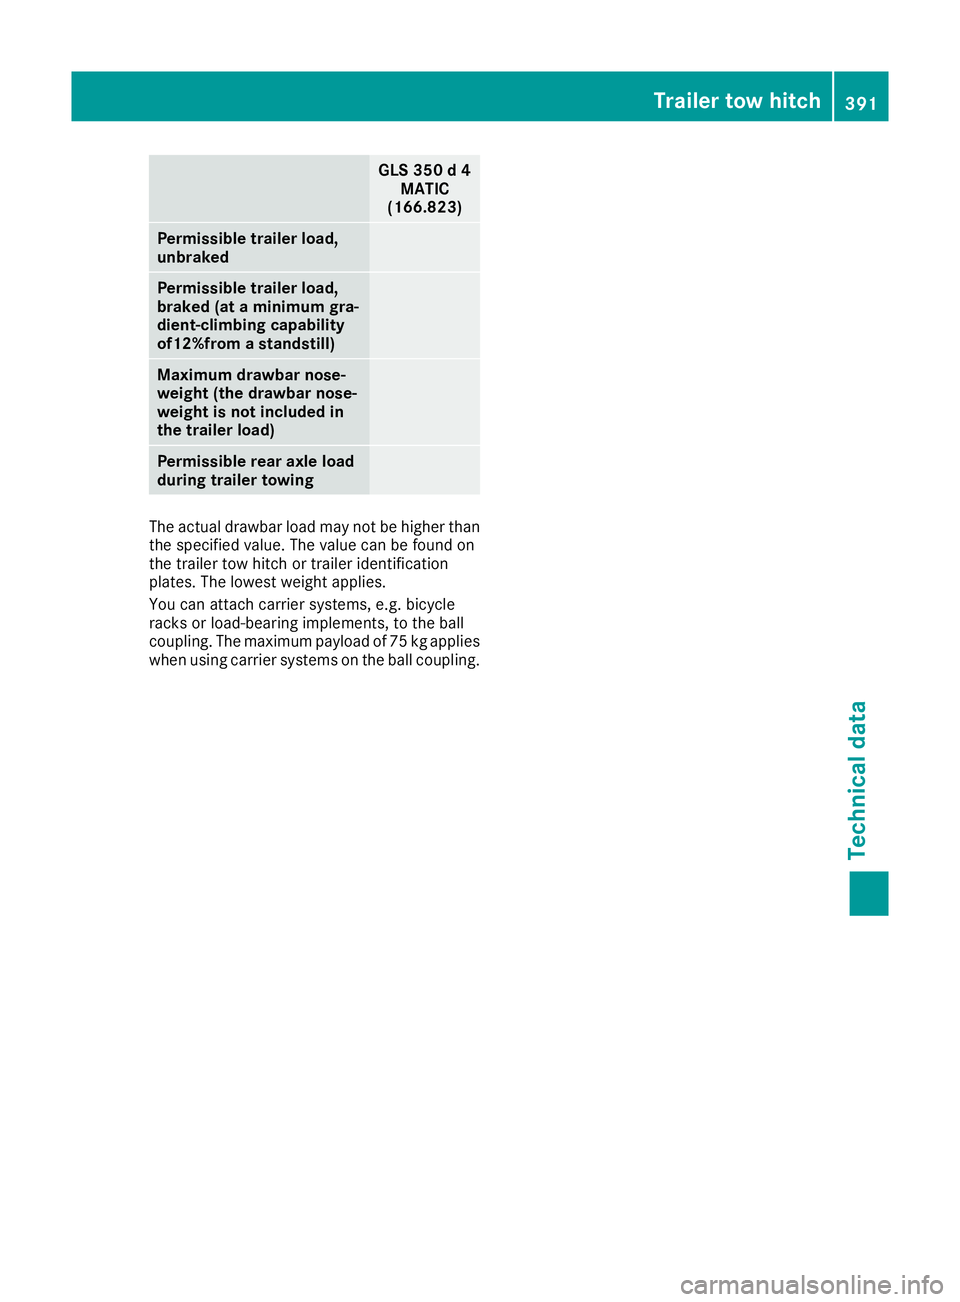
GLS 350 d 4
MATIC
(166.823) Permissible trailer load,
unbraked
Permissible trailer load,
braked (at a minimum gra-
dient-climbing capability
of12%from a standstill)
Maximum drawbar nose-
weight (the drawbar nose-
weight is not included in
the trailer load)
Permissible rear axle load
during trailer towing
The actual drawbar load may not be higher than
the specified value. The value can be found on
the trailer tow hitch or trailer identification
plates. The lowest weight applies.
You can attach carrier systems, e.g. bicycle
racks or load-bearing implements, to the ball
coupling. The maximum payload of 75 kg applies
when using carrier systems on the ball coupling. Trailer tow hitch
391Technical data Z