2016 MERCEDES-BENZ GLC-Class phone
[x] Cancel search: phonePage 85 of 222
XSet the map scale (Ypage 96).
XTo switch to the menu: press the%but-
ton.
XTo call the personal POI: turn and press
the controller to select Call
.
If a mobile phone is connected to COMAND
and the telephone number is available, the
call is connected (
Ypage 118).
XTo save a personal POI: turn and press the
controller to select Save
.
XTo continue saving (Ypage 94).
XTo edit the name and symbol: turn and
press the controller to select Edit
.
XSelectChange NameorEdit Icon.
XCharacter entry (Ypage 31).
XSelect a symbol.
XTo delete a personal POI or route: turn
and press the controller to select Delete
.
A prompt will appear.
XSelect YesorNo.
If you select Yes
, the personal destination
or personal route is deleted.
XTo select the outward and return
routes: turn and press the controller to
select Swap
.
The starting and destination positions of
your personal route, and thus the direction
for route guidance, are switched round.
One-way streets or restricted intersections
are taken into consideration. Therefore, the outward and return routes may differ from
each other.
XTo start route guidance: turn and press
the controller to select Start
.
Recording the route
General notes
Routes are recorded on the SD memory card.
Requirement: the SD memory card is format-
ted using the FAT file system (e.g. FAT32). When recording the route, bear in mind the
following:
Rif the SD memory card is inserted, it must
not be removed during recording.
Rif route recording is started manually, it
must be finished manually before COMAND
is switched off (e
.g. when the engine is
switched off).
RCOMAND minimizes the number of route
points recorded. Therefore when the recor-
ded route is subsequently commenced, it
may differ from the route that was originally
recorded.
Starting/finishing route recording
XInsert the SD memory card (Ypage 182).
XTo switch to navigation mode: press the
ß button.
XTo show the menu: slide6the control-
ler.
XTo select Destination, turn and press the
controller.
XSelect From Memory Card.
XSelectStart Route Recording.
The route is recorded and REC appears at
the bottom edge of the screen.
XTo stop recording, select End Route
Recordingfrom the menu.
The route is stored under Personal
Routes.
Displaying/editing the recorded route
XInsert the SD memory card (Ypage 182).
XTo switch to navigation mode: press the
ß button.
XTo show the menu: slide6the control-
ler.
XTo select Destination: turn and press the
controller.
XSelect From Memory Card.
Personal POIs and routes83
Navigation
Z
Page 88 of 222
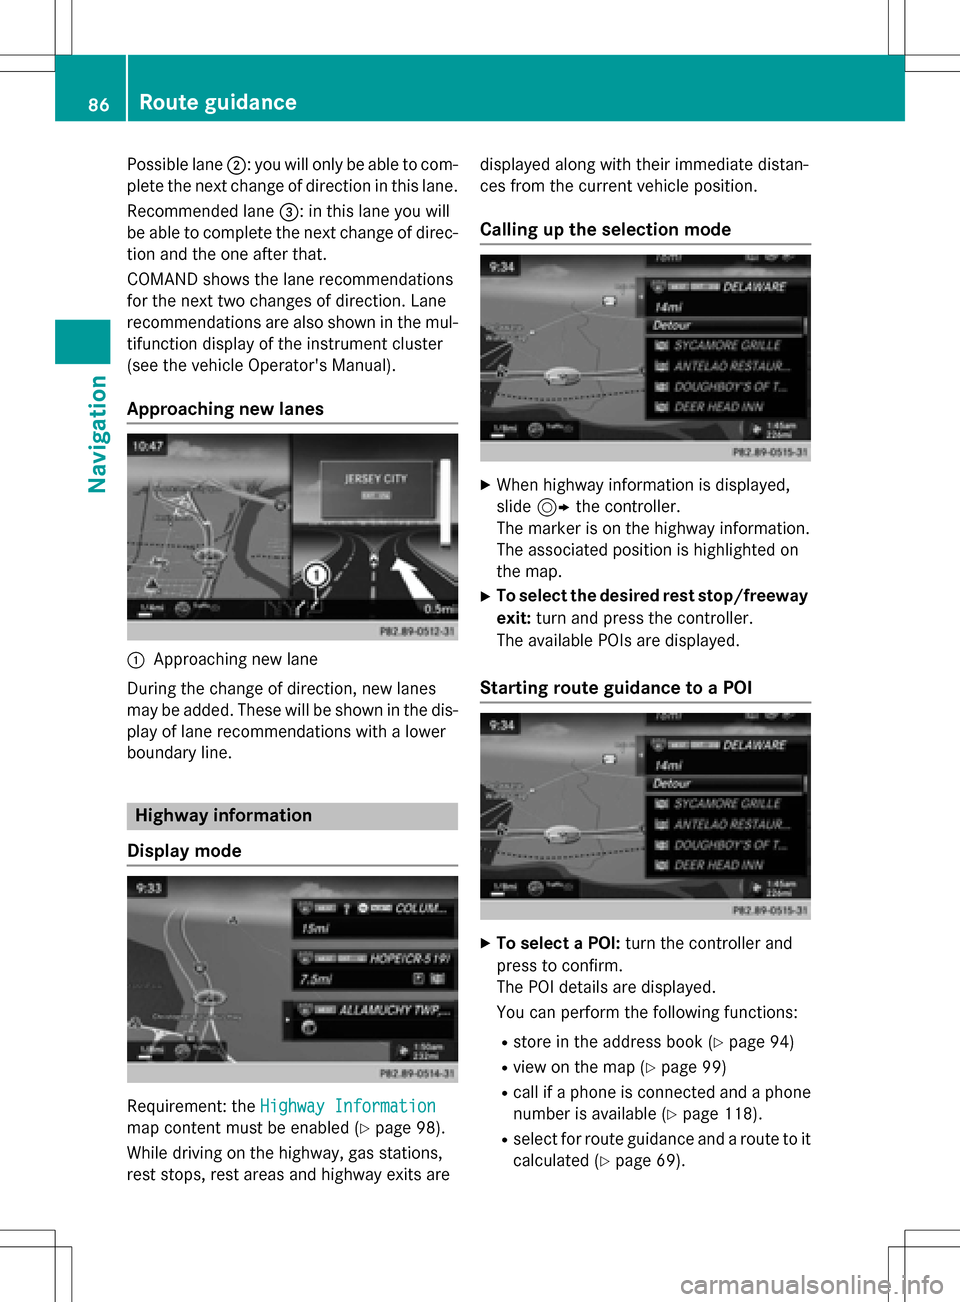
Possible lane;: you will only be able to com-
plete the next change of direction in this lane.
Recommended lane =: in this lane you will
be able to complete the next change of direc-
tion and the one after that.
COMAND shows the lane recommendations
for the next two changes of direction. Lane
recommendations are also shown in the mul- tifunction display of the instrument cluster
(see the vehicle Operator's Manual).
Approaching new lanes
:Approaching new lane
During the change of direction, new lanes
may be added. These will be shown in the dis-
play of lane recommendations with a lower
boundary line.
Highway information
Display mode
Requirement: the Highway Information
map content must be enabled (Ypage 98).
While driving on the highway, gas stations,
rest stops, rest areas and highway exits are displayed along with their immediate distan-
ces from the current vehicle position.
Calling up the selection mode
XWhen highway information is displayed,
slide
9 the controller.
The marker is on the highway information.
The associated position is highlighted on
the map.
XTo select the desired rest stop/freeway
exit: turn and press the controller.
The available POIs are displayed.
Starting route guidance to a POI
XTo select a POI: turn the controller and
press to confirm.
The POI details are displayed.
You can perform the following functions:
Rstore in the address book (Ypage 94)
Rview on the map (Ypage 99)
Rcall if a phone is connected and a phone
number is available (
Ypage 118).
Rselect for route guidance and a route to it
calculated (
Ypage 69).
86Route guidance
Navigation
Page 90 of 222
Canceling/continuing route guidance
Canceling route guidance
XSlide 6the controller.
The menu is shown.
XTo select Destination: turn and press the
controller.
XSelect Cancel Active Route Guidance.
The blue route line is no longer shown on
the map.
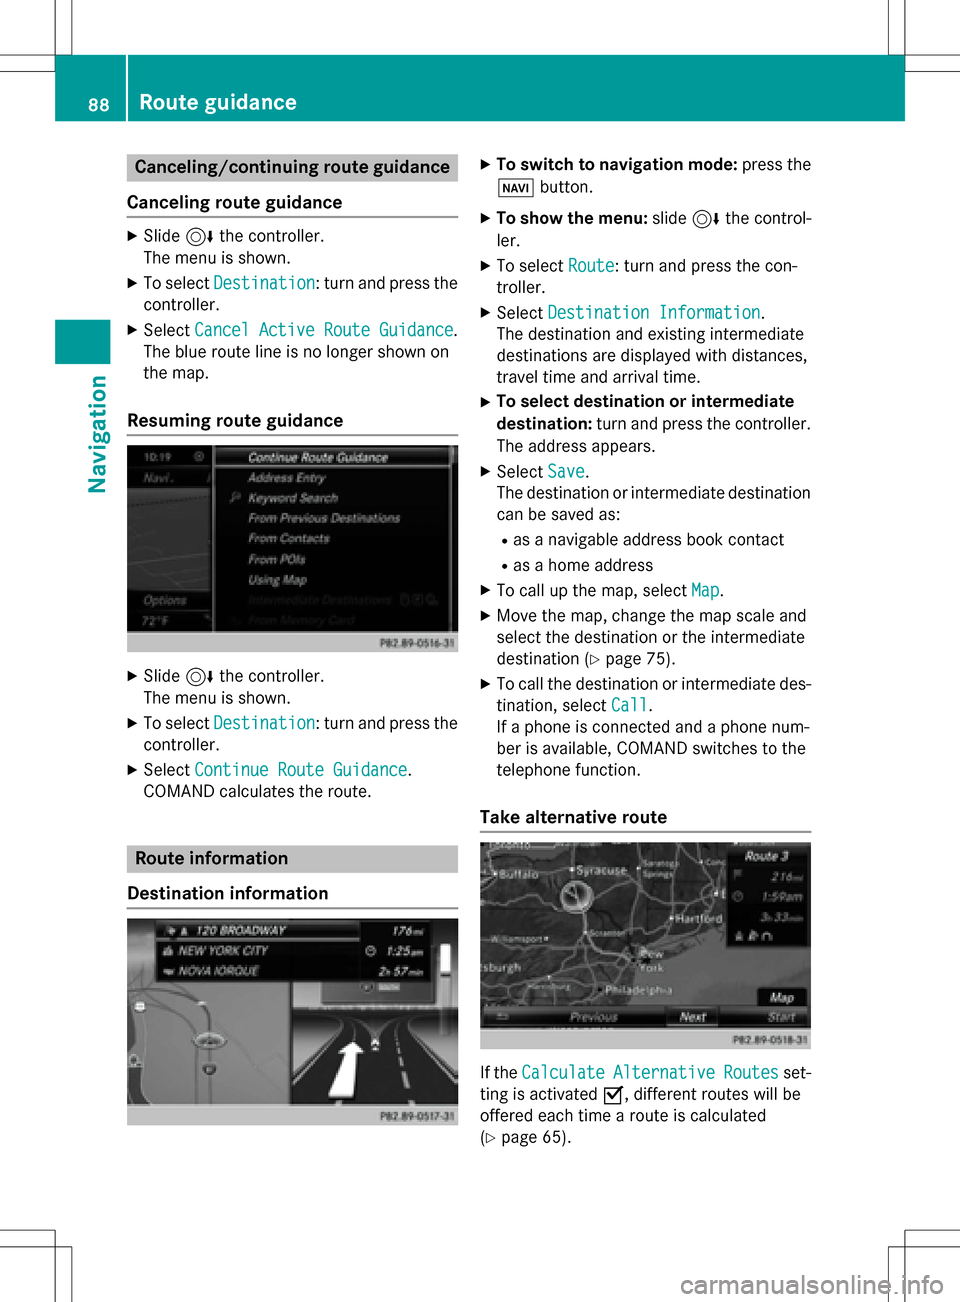
Resuming route guidance
XSlide 6the controller.
The menu is shown.
XTo select Destination: turn and press the
controller.
XSelect Continue Route Guidance.
COMAND calculates the route.
Route information
Destination information
XTo switch to navigation mode: press the
Ø button.
XTo show the menu: slide6the control-
ler.
XTo select Route: turn and press the con-
troller.
XSelect Destination Information.
The destination and existing intermediate
destinations are displayed with distances,
travel time and arrival time.
XTo select destination or intermediate
destination: turn and press the controller.
The address appears.
XSelect Save.
The destination or intermediate destination
can be saved as:
Ras a navigable address book contact
Ras a home address
XTo call up the map, select Map.
XMove the map, change the map scale and
select the destination or the intermediate
destination (
Ypage 75).
XTo call the destination or intermediate des-
tination, selectCall
.
If a phone is connected and a phone num-
ber is available, COMAND switches to the
telephone function.
Take alternative route
If the CalculateAlternativeRoutesset-
ting is activated O, different routes will be
offered each time a route is calculated
(
Ypage 65).
88Route guidance
Navigation
Page 97 of 222
XEnter a surname and first name. Characterentry (
Ypage 31).
XTo select OK: turn and press the controller.
The Saving Successful
message
appears. The destination address is saved
in the address book as a navigable contact.
XTo add to a contact: selectAdd to Con‐
tact.
The address book appears.
XSearch for a contact (Ypage 126).
XPress the controller.
The Saving Successful
message
appears. The destination address is alloca- ted to a contact in the address book.
Telephone numbers are not transferred to
the telephone number fields of the address
book. After selecting the destination
address from the address book for naviga-
tion, the associated telephone number will
be displayed.
If the contact already has two destination
addresses, a prompt will appear asking if a
destination address should be overwritten.
XSelect YesorNo.
If you select Yes
, a list showing both des-
tination addresses appears.
XTo select the destination address: turn and
press the controller.
The destination address is overwritten.
Saving destination to the SD memory
card
XInsert the SD memory card (Ypage 182).
XDisplay a point of interest, for example
(
Ypage 94).
XTo select Save: turn and press the control-
ler.
A menu appears.
XSelect To Memory Card.
XNot Classifiedor, if available, select a
category that you have created yourself.
An input menu appears.
XEnter a surname and first name. Character
entry (
Ypage 32).
XSelect OK.
The Saving Successful
message
appears. The destination is saved to the SD
memory card.
Saving the current vehicle position
XTo switch to navigation mode: press the
ß button.
XTo show the menu: slide6the control-
ler.
XTo select Position: turn and press the
controller.
XSelect Save.
The current vehicle position is saved in
"Last destinations".
Saving the crosshair position
XTo switch to navigation mode: press the
ß button.
XTo display the crosshair: press the con-
troller.
XMove the map to the desired position
(
Ypage 64).
XTo show the menu: press the controller.
XTo select Position: turn and press the
controller.
XSelect Save.
The crosshair position is saved in the last
destinations.
Storing destinations95
Navigation
Z
Page 104 of 222
XSelectDelete All.
A prompt appears asking whether you wish
to delete all areas.
XSelect YesorNo.
After selecting Yes
, all areas are deleted.
SIRIUS XM service
Displaying SIRIUS XM service informa-
tion
You can display the SIRIUS XM service infor-
mation.
XTo switch to navigation mode: press the
Ø button.
XTo show the menu: slide6the control-
ler.
XTo select Traffic: turn and press the con-
troller.
XSelect SIRIUS Service.
The provider's phone number (SIRIUS XM)
and the serial number of your service mod-
ule are displayed.
iAlternatively you can call up this function
using the touchpad (
Ypage 25).
Registering for the SIRIUS XM traffic
report service
XCall the provider telephone number shown
on the COMAND display.
iYou can also have the satellite service
activated online. To do so, visit the SIRIUS
XM Radio website at
http://www.sirius.com (USA).
Once the connection has been established:
XFollow the service employee's instructions.
The activation process may take up to
10 minutes.
If registration is not included when purchas-
ing the system, your credit card details will be
required to activate your account.
Updating the digital map
Introduction
The digital maps generated by the map soft-
ware become outdated in the same way as
conventional road maps. Optimal route guid-
ance can only be provided by the navigation
system in conjunction with the most up-to-
date map software.
Information about new versions of the digital
map can be obtained from an authorized
Mercedes-Benz Center. You can have the dig-
ital map updated there using a data medium,
or you can update it yourself.
For North American countries, it is possible to
update the map data for COMAND free of
charge for a period of three years. Information
on the availability of this service for your vehi-
cle can be obtained from your authorized
Mercedes-Benz Center.
Entitlement to the free update
For the first three years after your vehicle is
registered, you are entitled to all available
updates to the map software for COMAND.
They are usually installed during a regular
vehicle service. After this period, you can pur-
chase further updates from your authorized
Mercedes-Benz Center.
The free updates relate to the vehicle and not
to an individual. If there is a change of own-
ership within the three years after first regis-
tration, the new owner is entitled to the map
software updates.
Updating at an authorized Mercedes-
Benz Center
If an update for your map software is availa-
ble, you will receive it free of charge at your
authorized Mercedes-Benz Center during
your vehicle's annual service. You can
arrange a separate appointment for this at
your authorized Mercedes-Benz Center on
request.
102Map functions
Navigation
Page 105 of 222
The update can only be performed:
Rat an authorized Mercedes-Benz Center
Rfor map data for North America
The map software is not provided on DVD.
Carrying out a manual update
After the free update of the map data has
expired or when buying map data, you can
update the data yourself.
The update process may take some time (up
to 45 minutes), depending on the size of the
digital map. The update will be completed
more quickly if the vehicle is stationary. If you
start the update with the engine switched off
and the starter battery has insufficient power,
COMAND may automatically switch off. This
protects the battery. In order to prevent this,
a suitable power supply to the vehicle must be
maintained.
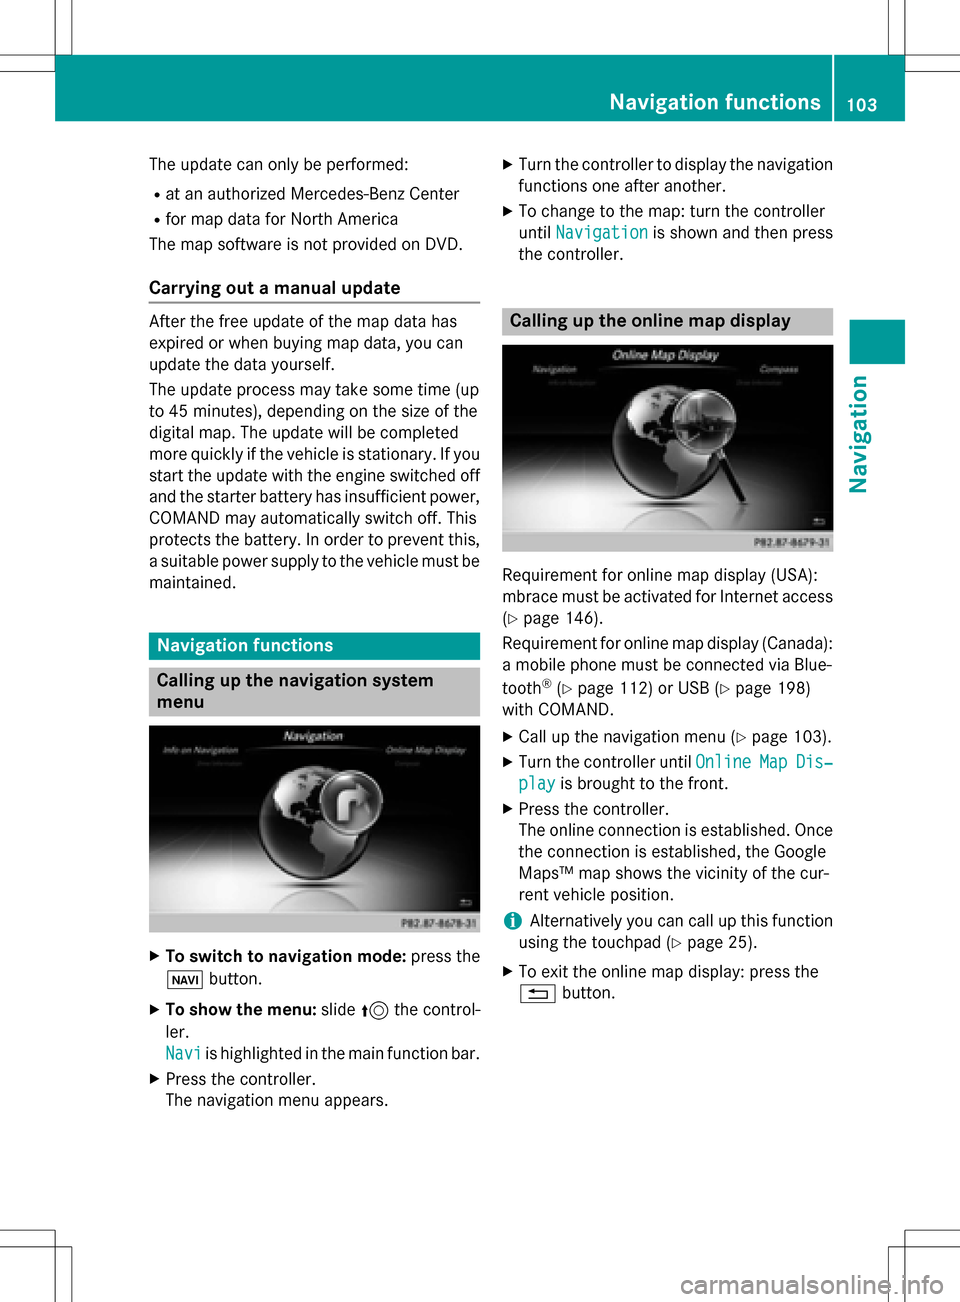
Navigation functions
Calling up the navigation system
menu
XTo switch to navigation mode: press the
ß button.
XTo show the menu: slide5the control-
ler.
Navi
is highlighted in the main function bar.
XPress the controller.
The navigation menu appears.
XTurn the controller to display the navigation
functions one after another.
XTo change to the map: turn the controller
until Navigation
is shown and then press
the controller.
Calling up the online map display
Requirement for online map display (USA):
mbrace must be activated for Internet access
(
Ypage 146).
Requirement for online map display (Canada):
a mobile phone must be connected via Blue-
tooth
®(Ypage 112) or USB (Ypage 198)
with COMAND.
XCall up the navigation menu (Ypage 103).
XTurn the controller until OnlineMapDis‐
playis brought to the front.
XPress the controller.
The online connection is established. Once
the connection is established, the Google
Maps™ map shows the vicinity of the cur-
rent vehicle position.
iAlternatively you can call up this function
using the touchpad (
Ypage 25).
XTo exit the online map display: press the
% button.
Navigation functions103
Navigation
Z
Page 111 of 222

Your COMAND equipment................110
Important safet ynotes .................... .110
General notes .................................... 110
Telephon emenu ................................ 111
Connecting/disconnecting a
mobile phone .................................... .112
Reception an dtransmission vol-
um e.................................................... 116
Usin gth etelephon e........................ .117
Mobile phone voice recognition ......121
Phone book ........................................ 121
Address book .................................... 125
Cal llist s............................................ .132
Speed dial list s.................................. 134
Messages (text messages an de-
mails) ................................................ .135
109
Telephone
Page 112 of 222
Your COMANDequipment
i
These operatin ginstruction sdescribe all
th estandar dan doptional equipmen tof
your COMAN Dsystem, as available at th e
time of going to print .Country-specifi cdif -
ference sare possible. Bear in min dthat
your vehicle may no tfeature all function s
described here. Thi salso applies to safety-
relevant systems an dfunctions.
iRead th einformation on qualified special-
ist workshop sin th evehicle Operator's
Manual.
Important safet ynotes
GWARNING
If you operat emobile communication equip-
men twhil edriving, you will be distracted from
traffic conditions. You could also los econtro l
of th evehicle. There is aris kof an accident.
Only operat ethis equipment when th evehicle
is stationary.
If you mak e acallon your mobile phone whil e
driving, always use hands-free mode. Only
use th emobile phone when road, weather
an dtraffic condition spermit .Some jurisdic -
tion sprohibi tth edriver from usin g amobile
phone whil edrivin g avehicle.
Bear in min dthat at aspeed of 30 mph
(approximately 50 km/h), th evehicle cover s
a distanc eof 44 feet (approximately 14 m)
per second.
Excessive levels of electromagnetic radiation
may cause damage to your health an dth e
health of others.
There is scientific discussio nsurroundin gth e
possible health risks posed by electromag-
neti cfields .You can reduce this ris kby usin g
an exterio rantenna.
Therefore, connec tyour mobile communica-
tion sequipmen tto th evehicle' sexterio r
antenn awhereve rpossible.
General notes
Telephon y
ABluetoot h®interface is available fo rteleph -
ony.
If your mobile phone supports th eBluetoot h
®
profilePBAP (Phone Book Access Profile) ,th e
contact sare automatically displaye din
COMAND.
You can use th emessag efunction if your
mobile phone supports th eMA PBluetoot h
®
profile (Messag eAccess Profile).
Wit h a suitable mobile phone ,you can use th e
hands-free syste man dreceiv evCards via th e
Bluetoot h
®interface .
You can obtain more information about suit -
able mobile phone son th eInternet at
www.mercedes-benz-mobile.com .
Or cal lth eMercedes-Ben zCustomer Assis -
tanc ecenter at
1-800-FOR-MERCedes(1-800-367-6372) fo r
th eUS Aor at 1-800-387-0100 fo rCanada.
HD Voice®
COMAN Dsupports telephon ecalls in HD
Voice®. The voic equalit ycan be improved
wit hthis procedure.
Requirements fo rHD Voice
®:
RYour mobile phone an dmobile phone net-
wor kprovider suppor tHD Voice®.
RThe mobile phone an dmobile phone net-
wor kprovider of th eperson you are callin g
suppor tHD Voice
®.
Dependin gon th equalit yof th econnection ,
th evoic equalit ymay fluctuate.
110General notes
Telephone