2016 MERCEDES-BENZ GLC-Class phone
[x] Cancel search: phonePage 30 of 222

Deleting characters
Prerequisite: an input linefo rtext ,number sor
characters has been selected.
XUse your finger to touch th etouch-sensi-
tive surfac eand swip eto th eleft.
The characte rlast entered is deleted.
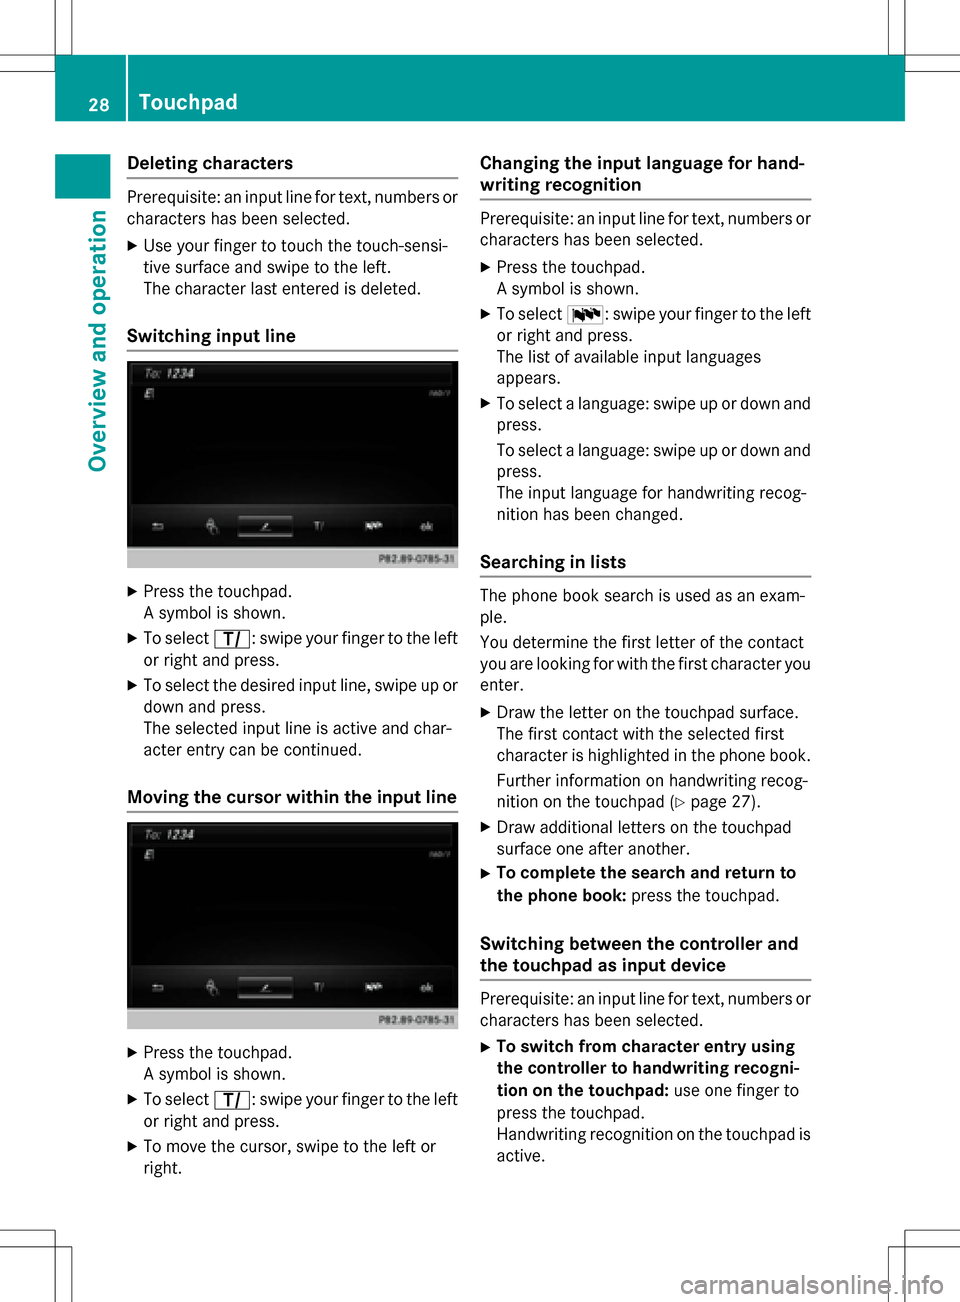
Switchin ginput line
XPress th etouchpad.
A symbol is shown .
XTo selectp: swipeyour finger to th elef t
or right and press.
XTo selec tth edesire dinput line, swip eup or
down and press.
The selecte dinput lin eis active and char-
acter entr ycan be continued.
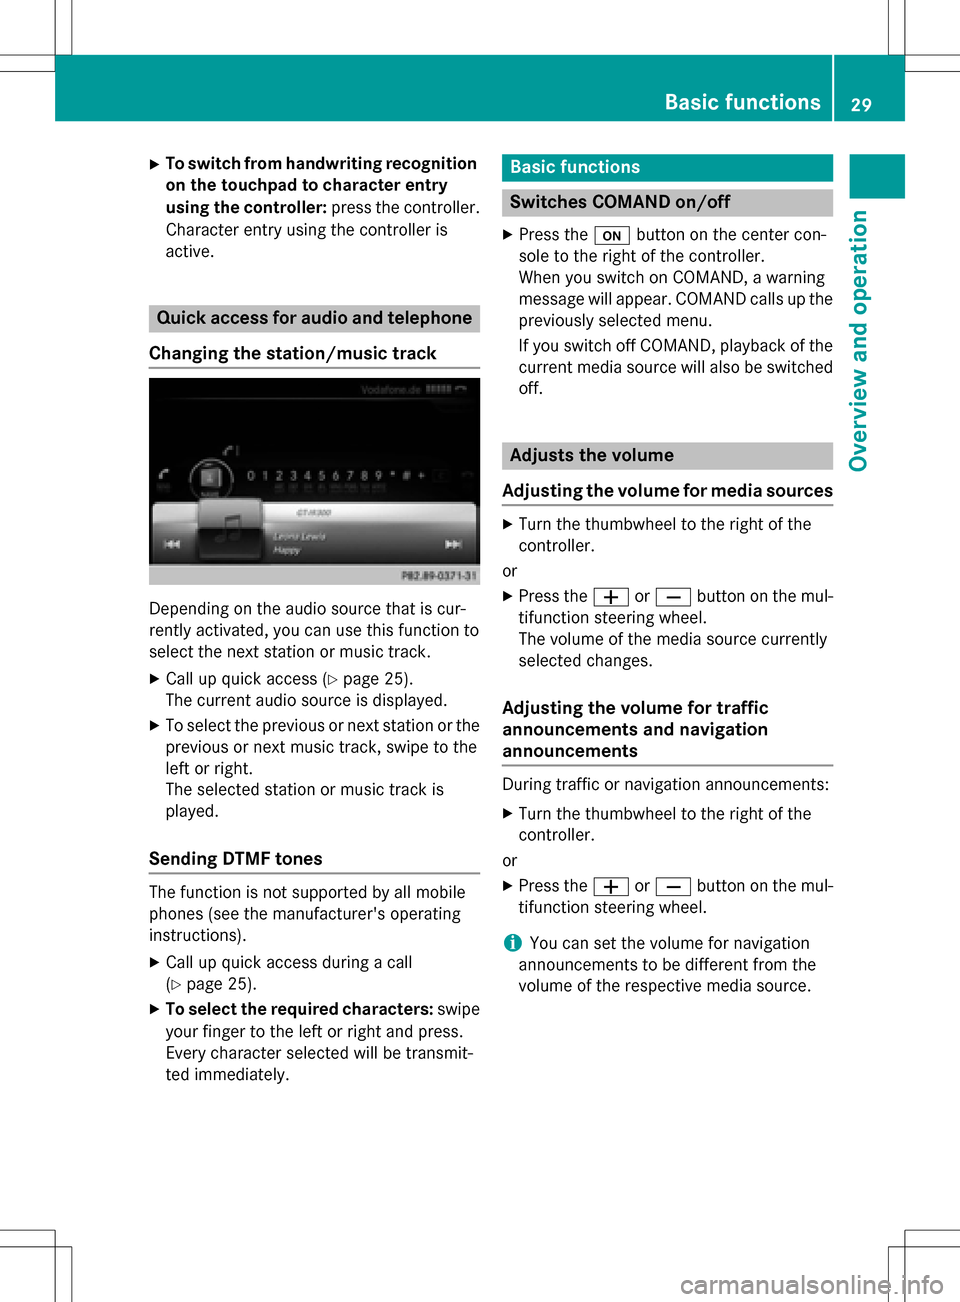
Moving th ecursor within th einput line
XPress th etouchpad.
A symbol is shown .
XTo selectp: swipeyour finger to th elef t
or right and press.
XTo move th ecursor ,swip eto th elef tor
right .
Changin gth einput language for hand -
writing recognition
Prerequisite: an input lin efo rtext ,number sor
characters has been selected.
XPress th etouchpad.
A symbol is shown .
XTo selectB: swipeyour finger to th elef t
or right and press.
The list of available input language s
appears .
XTo selec t alanguage :swip eup or down and
press.
To selec t alanguage :swip eup or down and
press.
The input language fo rhandwritin grecog-
nition has been changed.
Searchin gin list s
The phone boo ksearch is used as an exam-
ple.
You determin eth efirst lette rof th econtact
you are looking fo rwit hth efirst characte ryou
enter.
XDraw th elette ron th etouchpad surface.
The first contact wit hth eselecte dfirst
characte ris highlighted in th ephone book.
Further information on handwritin grecog-
nition on th etouchpad (
Ypage 27).
XDraw additional letters on th etouchpad
surfac eon eafter another.
XTo complet eth esearc han dreturn to
th ephone book :press th etouchpad.
Switchin gbetween th econtroller an d
th etouchpa das input device
Prerequisite: an input lin efo rtext ,number sor
characters has been selected.
XTo switch from characte rentry using
th econtroller to handwriting recogni -
tion on th etouchpad: use onefinger to
press th etouchpad.
Handwritin grecognition on th etouchpad is
active .
28Touchpad
Overview and operation
Page 31 of 222

XTo switch from handwriting recognition
on the touchpad to character entry
using the controller:press the controller.
Character entry using the controller is
active.
Quick access for audio and telephone
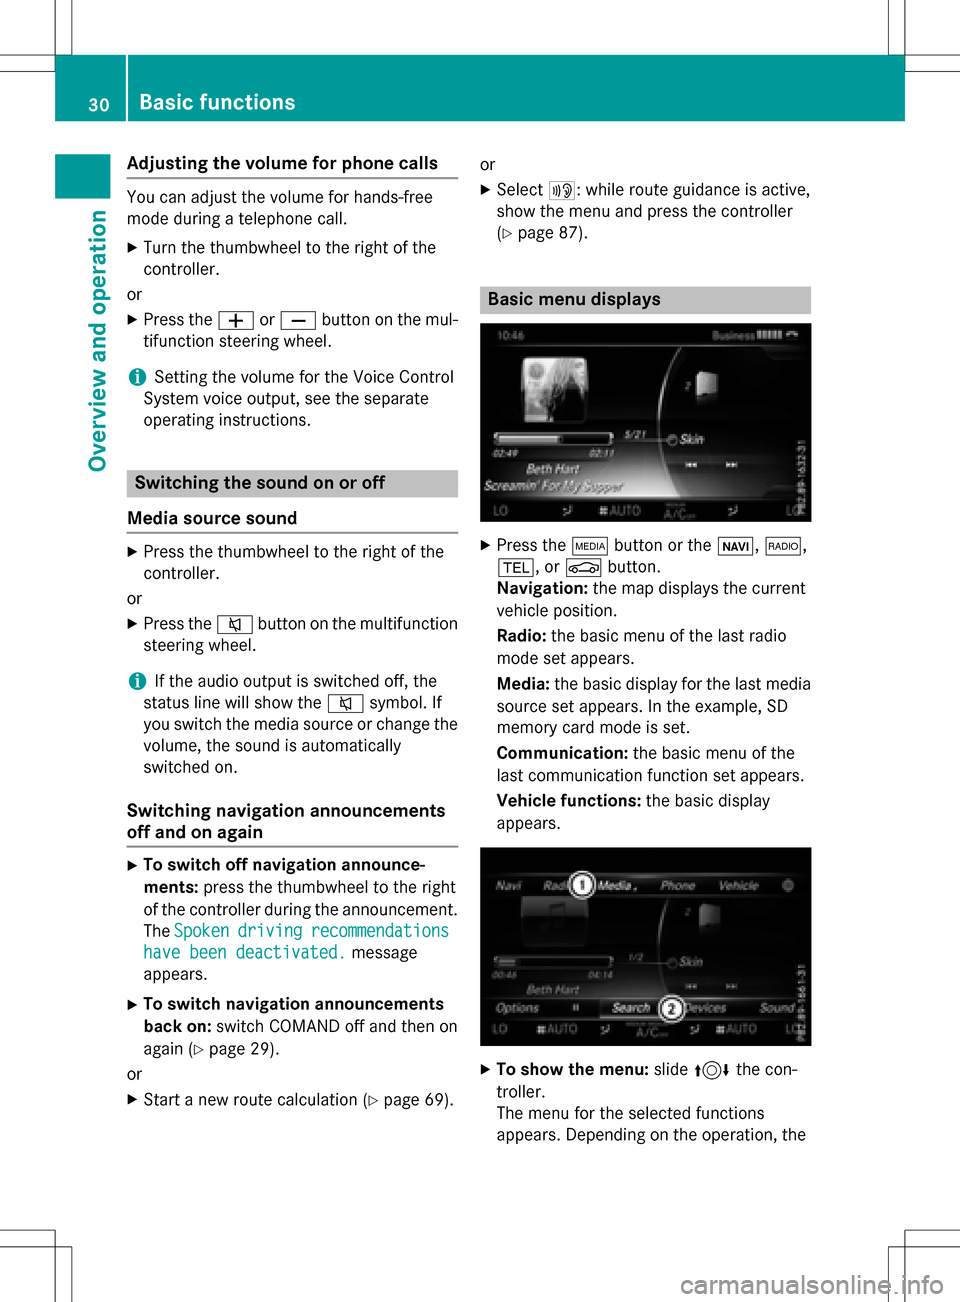
Changing the station/music track
Depending on the audio source that is cur-
rently activated, you can use this function to
select the next station or music track.
XCall up quick access (Ypage 25).
The current audio source is displayed.
XTo select the previous or next station or the
previous or next music track, swipe to the
left or right.
The selected station or music track is
played.
Sending DTMF tones
The function is not supported by all mobile
phones (see the manufacturer's operating
instructions).
XCall up quick access during a call
(
Ypage 25).
XTo select the required characters: swipe
your finger to the left or right and press.
Every character selected will be transmit-
ted immediately.
Basic functions
Switches COMAND on/off
XPress the ubutton on the center con-
sole to the right of the controller.
When you switch on COMAND, a warning
message will appear. COMAND calls up the
previously selected menu.
If you switch off COMAND, playback of the
current media source will also be switched off.
Adjusts the volume
Adjusting the volume for media sources
XTurn the thumbwheel to the right of the
controller.
or
XPress the WorX button on the mul-
tifunction steering wheel.
The volume of the media source currently
selected changes.
Adjusting the volume for traffic
announcements and navigation
announcements
During traffic or navigation announcements:
XTurn the thumbwheel to the right of the
controller.
or
XPress the WorX button on the mul-
tifunction steering wheel.
iYou can set the volume for navigation
announcements to be different from the
volume of the respective media source.
Basic functions29
Overview and operation
Page 32 of 222

Adjusting the volumefor phone calls
You can adjust thevolume for hands-free
mod eduring atelephon ecall .
XTurn th ethumbwheel to th eright of th e
controller .
or
XPress th eW orX buttonon th emul-
tifunction steering wheel.
iSetting th evolume for th eVoic eControl
Syste mvoice output ,see th eseparat e
operating instructions.
Switching the sound on oroff
Media source sound
XPress th ethumbwheel to th eright of th e
controller .
or
XPress th e8 buttonon th emultifunction
steering wheel.
iIf th eaudio output is switched off ,th e
status lin ewill sho wthe8 symbol. If
you switch th emedia source or chang eth e
volume, th esoun dis automatically
switched on .
Switching navigati onannouncements
off and onagain
XTo switch offnavigation announce-
ments :press th ethumbwheel to th eright
of th econtroller during th eannouncement.
The Spoken
drivin grecommendations
havebee ndeactivated.message
appears.
XTo switch navigation announcement s
back on: switch COMAND off and then on
again (
Ypage 29).
or
XStart ane wrout ecalculation (Ypage 69).or
XSelec
t+: while rout eguidance is active ,
sho wthemen uand pre ssthecontroller
(
Ypage 87) .
Basic menu displays
XPresstheÕ buttonor th eß, $,
%, orØ button.
Navigation: themap displays th ecurren t
vehicl eposition .
Radio :th ebasic men uof th elast radi o
mod e set appear s.
Media: thebasic display for th elast media
source set appears. In th eexample, SD
memory car dmod eis set.
Communication: thebasic men uof th e
last communication function set appears.
Vehicle functions: thebasic display
appear s.
XTo sho wthemenu: slide4 thecon-
troller .
The men ufor th eselected function s
appears. Dependin gon th eoperation ,th e
30Basic functions
Overview and operation
Page 33 of 222

marking is shown in main function bar:or
menu bar ;.
XTo select a menu item: turn and press the
controller.
Once you have selected a menu item in :,
the last menu set for the selected function
appears.
Menu bar ;offers options in the current
media mode.
Selecting the operating mode for a
main function
You can select the available operating modes
for the main functions, e.g. telephone.
In the telephone menu, you can:
Rswitch to telephone mode
Rcall up the address book
Rcall up the Digital Operator's Manual for the
telephone
XPress the %button.
If telephone mode was the last mode selec-
ted, the telephone menu appears.
XTo call up the menu: press the%but-
ton again.
or
XTo select Phone: slide5and press the
controller.
A menu appears. Phone
is at the front.
XTo selectAddressBook, for instance, turn
and press the controller.
Character entry (telephony)
Writing a text message is used as an example.
Further information on writing a text message (
Ypage 139).
XTo select a character: turn and press the
controller.
The character selected in character bar ;
is entered into telephone number input
line :.
XTo delete a character: switch to the bot-
tom line of the character bar by sliding 6
the controller.
XTo select F: turn and press the controller.
The character last entered is deleted.
XTo switch input line: switch to the bottom
line of the character bar by sliding 6the
controller.
XTo select 5, turn and press the controller.
or
XSlide 5the controller repeatedly until the
character bar disappears.
XTo select the input line for the text of
the text message: slide6and press the
controller.
The input line for the text of the text mes-
sage is selected. The character bar has
been adapted for entering text.
Character entry (telephony)31
Overview and operation
Page 37 of 222

Displaying andselecting favorites
XTo display th efavorites overview: press
th efavorites butto non th econtroller .
XTo callup favorites: turn and press th e
controller .
Adding favorites
Adding predefined favorites
XPress th efavorites butto non th econtroller .
XTo showthemen ubar ,slid e6 thecon-
troller.
XTo selec tReassign:turn and press th e
controller .
The categorie sfo rfavorites are displayed .
RNavigation
REntertainmen t
RPhone
RVehicle
RClimateContro l
R®
XTo selec t acategory: turn thecontroller
and press to confirm .
The available favorites are displayed .
XTo select afavorite: turn and press th e
controller .
XAddingafavorit eat th edesired posi-
tion: turn and press th econtroller .
If afavorit eis stored over another favorite,
th efavorit eunderneat his deleted.
Adding you rown favorites
You can stor ephone number sfrom th ephone
book, radio station sor destination sas favor -
ites.
A phone number from th ephone boo kis used
as an example.
XCall up th ephone boo k (Ypage 121).
XSearchfo rth econtact and display th e
phone number : (
Ypage 122).
XTo add atelephon enumber as afavorit e
at th edesired position: press and holdth
efavorites butto non th econtroller until
th efavorites are displayed .
XTurnand press th econtroller .
If afavorit eis stored over another favorite,
th efavorit eunderneat his deleted.
Renaming favorites
XPress th efavorites butto non th econtroller .
The favorites are displayed .
XTo selectth efavorit eto be renamed:
turn th econtroller .
XTo show th emenu bar: slide6 thecon-
troller.
XTo selec tRename:turn and press th econ-
troller.
XEnte rcharacters usin gth econtroller
(
Ypage 31) or th etouchpad (Ypage 27).
XTo finish th eentry :selec tOK.
The favorit ehas been renamed.
Moving favorites
XPress th efavorites butto non th econtroller .
The favorites are displayed .
XTo selectth efavorit eto be moved :turn
th econtroller .
XTo show th emenu bar: slide6 thecon-
troller.
Favorites35
Overview and operation
Page 44 of 222

Individualization
Using individualization, you can fine-tune the
Voice Control System to your own voice. This
will help improve voice recognition (see the
separate operating instructions).
WiFi
Overview
Condit ions:
To establish a WiFi connection between
COMAND and a WiFi-enabled device, such as
a tablet computer or smartphone:
RWiFi must beactivated at COMAND and at
the device to be connected.
If COMAND isto be used as a WiFi hotspot:
RCOMAND must beconnected to an Inter-
net-enabled mobile phone via Bluetooth®
or USB.
RThe Internet access data for the mobile
phone network provider must beselected
or set for COMAND.
RThere must beanInternet connection to
COMAND.
Activating WiFi
XTo select Vehiclefrom the main function
bar: turn and press the controller.
XTo swit ch to the menu bar: slide 6the
controller.
XSe lect System Settings.
The System Settings
menu isdisplayed.
XSe lect WiFi.
The WiFi menu appears.
XSe lect Activate.
XPress the controller.
Switch the connection on Oor off ª,
depending on the previo us setting.
Connecting the device
General notes
iThe exact WiFi connection procedure may
vary depe nding on the device to becon-
nected. Fo llowthe instructions that are
shown in the display. Further information;
see the manufacturer's operating instruc-
tions.
Connecting a device via WPS PIN
Prerequisite:
For th istype of connection, the device to be
connected must support "Connect using WPS
PIN ".
XTo select Vehiclefrom the main function
bar: turn and press the controller.
XTo switch to the menu bar: slide 6the
controller.
XSe lect System Settings.
The System Settings
menu is disp layed.
XSelect WiFi.
The WiFi menu appears.
XSe lect Connect via WPS PIN.
XSelect the vehicle from the device to be
connected and "Connect using WPS PIN ".
42WiFi
System settings
Page 46 of 222

XTo selectVehiclefrom the main function
bar: turn and press the controller.
XTo switch to the menu bar: slide 6the
controller.
XSelect System Settings.
The System Settings
menu appears.
XSelect WiFi.
The WiFi menu appears.
XSelect Generate Security Key.
XSelectRegenerate.
A new security key is generated.
XTo save the security key: turn the controller
and select Save
.
The WiFi menu appears. The new security
key will now be displayed and verified when
a connection is established via the security
key. The connection must be re-estab-
lished with the newly created security key.
iDevice connections established using the
previous security key will no longer work
after the security key is changed. You have
to reconnect these devices (
Ypage 42).
Changing the name of the SSID
XTo select Vehiclefrom the main function
bar: turn and press the controller.
XTo switch to the menu bar: slide 6the
controller.
XSelect System Settings.
The System Settings
menu is displayed.
XSelect WiFi.
The WiFi menu appears.
XSelect Change SSID.
A dialog for entering the SSID appears.
XEnter the new SSID.
XSelect ¬.
XPress the controller.
From now on, when establishing a connec-
tion, the vehicle will be shown with the new
SSID both on the device to be connected
and in the Connect
UsingSecurityKey
menu.
iDevice connections established using the
previous SSID will no longer work after the
SSID is changed. You have to reconnect
these devices (
Ypage 42).
Bluetooth®settings
General information about Blue-
tooth®
Bluetooth®-capable devices, e.g. mobile
phones, have to comply with a certain profile
in order to be connected to COMAND. Every
Bluetooth
®device has its own specific Blue-
tooth®name.
Bluetooth
®technology is a standard for
short-range wireless data transmissions up to
approximately 10 meters. You can use Blue-
tooth
®to connect your mobile phone to
COMAND to, for example:
Ruse the hands-free system
Restablish an Internet connection
Rlisten to music using Bluetooth®Audio
Rexchange vCards
Bluetooth
®is a registered trademark of Blue-
tooth Special Interest Group (SIG) Inc.
Activating/deactivating Bluetooth®
X
Press the Øbutton.
or
XPress Vehiclein the main function bar.
The vehicle menu is displayed.
44Bluetooth®settings
System settings
Page 48 of 222

Calling up the Favorites function via the
system menu:
XPress theØbutton.
or
XPress Vehiclein the main function bar.
The vehicle menu is displayed.
XTo select SystemSettings: slide6and
press the controller.
A menu appears.
XTo select Favorite Functions: press the
controller.
The favorites are displayed.
XTo select the desired function, e.g. Phone‐
book: turn and press the controller.
Calling up the Favorites function via the
controller or touchpad:
XPress the Favorites button on the controller
or touchpad.
The favorites are displayed.
XTo select the desired function, e.g. Phone‐
book: turn and press the controller.
The Favorites function can be exited at any
time. To exit the Favorites function:
XPress the Favorites button again
or
XPress the %button on the controller
or
XPress the %button on the touchpad
or
XTo select %in the display: turn and
press the controller.
Further information on favorites (
Ypage 34).
Importing/exporting data
General notes
!
Never remove the stick or card when writ-
ing data to the USB stick or the memory
card. You may otherwise lose data. Using this function, you can do the following
with your personal COMAND data:
Rtransfer from one system or vehicle to
another system or vehicle.
Rmake a backup copy (export data) and load
it again (import data).
Rprotect your data from unwanted export by
activating a PIN prompt (presetting: deac-
tivated
ª).
You can either use an SD memory card or a
USB storage device (e.g. a USB stick) as tem-
porary storage.
Activating/deactivating PIN protec-
tion
XPress the Øbutton.
or
XPress Vehiclein the main function bar.
The vehicle menu is displayed.
XTo select System Settings: slide6,
turn and press the controller.
A menu appears.
XTo select Data Import/Export: turn and
press the controller.
XSelect Activate PIN Protection.
Activate Oor deactivate ªPIN protec-
tion. When activating PIN protection, you
will be prompted to enter a PIN.
46Importing/exporting data
System settings