2016 MERCEDES-BENZ GLC-Class key
[x] Cancel search: keyPage 45 of 222

The vehicle is displayed with the SSIDMB
WLAN XXXXX.
The device to be connected generates a
PIN.
XThis PIN is also entered on COMAND.
Connecting the device by pressing a
button (push button)
Prerequisite:
For this type of connection, the device to be
connected must support "Connect via push
button".
XTo select Vehiclefrom the main function
bar: turn and press the controller.
XTo switch to the menu bar: slide 6the
controller.
XSelect System Settings.
The System Settings
menu is displayed.
XSelect WiFi.
The WiFi menu appears.
XSelect Connect via WPS PBC.
XSelect the vehicle from the device to be
connected and Connect via WPS PBC
.
The vehicle is displayed with the SSID MB
WLAN XXXXX.
XSelectContinuein COMAND.
Connecting the device via the security
key
XTo select Vehiclefrom the main function
bar: turn and press the controller.
XTo switch to the menu bar: slide 6the
controller.
XSelect System Settings.
The System Settings
menu is displayed.
XSelect WiFi.
The WiFi menu appears.
XSelect Connect Using Security Key.
XSelect the vehicle from the device to be
connected. The vehicle is displayed with
the SSID MB WLAN XXXXX
.
XEnter the security key that appears on the
COMAND display for the device to be con-
nected.
XConfirm the entry.
Generating a new security key
WiFi43
System settings
Z
Page 46 of 222

XTo selectVehiclefrom the main function
bar: turn and press the controller.
XTo switch to the menu bar: slide 6the
controller.
XSelect System Settings.
The System Settings
menu appears.
XSelect WiFi.
The WiFi menu appears.
XSelect Generate Security Key.
XSelectRegenerate.
A new security key is generated.
XTo save the security key: turn the controller
and select Save
.
The WiFi menu appears. The new security
key will now be displayed and verified when
a connection is established via the security
key. The connection must be re-estab-
lished with the newly created security key.
iDevice connections established using the
previous security key will no longer work
after the security key is changed. You have
to reconnect these devices (
Ypage 42).
Changing the name of the SSID
XTo select Vehiclefrom the main function
bar: turn and press the controller.
XTo switch to the menu bar: slide 6the
controller.
XSelect System Settings.
The System Settings
menu is displayed.
XSelect WiFi.
The WiFi menu appears.
XSelect Change SSID.
A dialog for entering the SSID appears.
XEnter the new SSID.
XSelect ¬.
XPress the controller.
From now on, when establishing a connec-
tion, the vehicle will be shown with the new
SSID both on the device to be connected
and in the Connect
UsingSecurityKey
menu.
iDevice connections established using the
previous SSID will no longer work after the
SSID is changed. You have to reconnect
these devices (
Ypage 42).
Bluetooth®settings
General information about Blue-
tooth®
Bluetooth®-capable devices, e.g. mobile
phones, have to comply with a certain profile
in order to be connected to COMAND. Every
Bluetooth
®device has its own specific Blue-
tooth®name.
Bluetooth
®technology is a standard for
short-range wireless data transmissions up to
approximately 10 meters. You can use Blue-
tooth
®to connect your mobile phone to
COMAND to, for example:
Ruse the hands-free system
Restablish an Internet connection
Rlisten to music using Bluetooth®Audio
Rexchange vCards
Bluetooth
®is a registered trademark of Blue-
tooth Special Interest Group (SIG) Inc.
Activating/deactivating Bluetooth®
X
Press the Øbutton.
or
XPress Vehiclein the main function bar.
The vehicle menu is displayed.
44Bluetooth®settings
System settings
Page 54 of 222
XCallupVehicle Settings(Ypage 50 ).
XTo select Automatic Locking: turn and
press the controller.
The function switches on or off, depending
on the previous setting.
You can find further information on the lock-
ing feature inthe vehicle Operator's Manual.
Setting the delayed switch-off time
Interior lighting delayed switch-off
The interior lighting isactivated for the dura-
tion of the delayed switch-off time when the
Sm artKey isremoved from the ignition lock.
XCall upVehicle Settings(Ypage 50 ).
XTo select Interior Lighting Delayed
Switch-off: turn and press the controller.
The setting element isactive.
XTo change the delayed switch-off time: turn
the controller.
You can find further information on the inte-
rior lighting inthe vehicle Operator's Manual.
Exterior lighting delayed switch-off
Ifyou switch on the Exterior Lighting
Delayed Switch-offfunction, the exterior
lighting is switched on for a short time after
the engine is switched off. The light switch
must beset to Ã(see the vehicle Opera-
tor's Manual).
The exterior lighting remains on for
60 seconds after the engine is switched off. If
you close all the doors and the tailgate, the
exterior lighting switches off after the set
time.
XCall upVehicle Settings(Ypage 50 ).
XTo select Exterior Lighting Delayed
Switch-off: turn and press the controller.
The setting element isactive.
XTo change the delayed switch-off time: turn
the controller.
360° camera
General notes
The 360° camera surveys the veh iclesur-
roundings and assists you, for example when
parking or at exit swit h reduced visibility.
The 360° camera isonly an aid. It isnot a
replacement for your attention to your imme-
diate surroundin gs. You are always responsi-
ble for safe maneuvering and parking. Make
sure that no persons or animals are inthe
maneuvering range.
For more information on the 360° camera see the veh icleOperator's Manual.
Displaying the 360° camera image
The 360° camera image can bedisplayed if:
Ryour vehicle isequipped with a 360° cam-
era
Rthe 360° Camerafunction isswitched on;
see the vehicle Operator's Manual.
XPress the Øbutton.
or
XPress Vehicleinthe main function bar.
The vehicle menu is displayed.
XTo select 360°Camera: turn and press the
controller.
The 360° camera image appears insplit-
screen mode.
You willsee the previo usview on the display
if, when the function isswitched on:
Ryou turn the SmartKey to position 1in the
ignit ion lock
Ryou select transmission position P
Rwhen you aredriving at moderate speeds
Switching the display off manually
XTo select &: slide 6and press the con-
troller.
52360° camera
Vehicle functions
Page 69 of 222
is possible, park the vehicle paying attention
to traffic conditions and operate the equip-
ment when the vehicle is stationary.
You must observe the legal requirements for
the country in which you are currently driving
when operating COMAND.
Destination entry may be blocked while driv-
ing, depending on the country specifications.
General notes
The various character entry options are
described for the controller. Alternatively you
can use the touchpad to enter characters and
select menus (
Ypage 24).
Using an address
Calling up the address entry menu
XTo switch to navigation mode: press the
Ø button.
XTo show the menu: slide6the control-
ler.
XTo select Destination: turn and press the
controller.
XSelect Address Entry.
Address entry options
Examples of how you can enter an address:
RCity/ZIP, street, house number
RCity/ZIP, street
RCity/ZIP, center
RCity/ZIP, street, intersection
RStreet, City/ZIP, house number
RStreet, City/ZIP, intersection
The address can be entered faster by entering the street before the city if the address has an
unusual street name.
While entering an address, you can also
switch to other destination entry options:
RKeyword search (Ypage 70)
RMap (Ypage 75)
RPOI (Ypage 72)
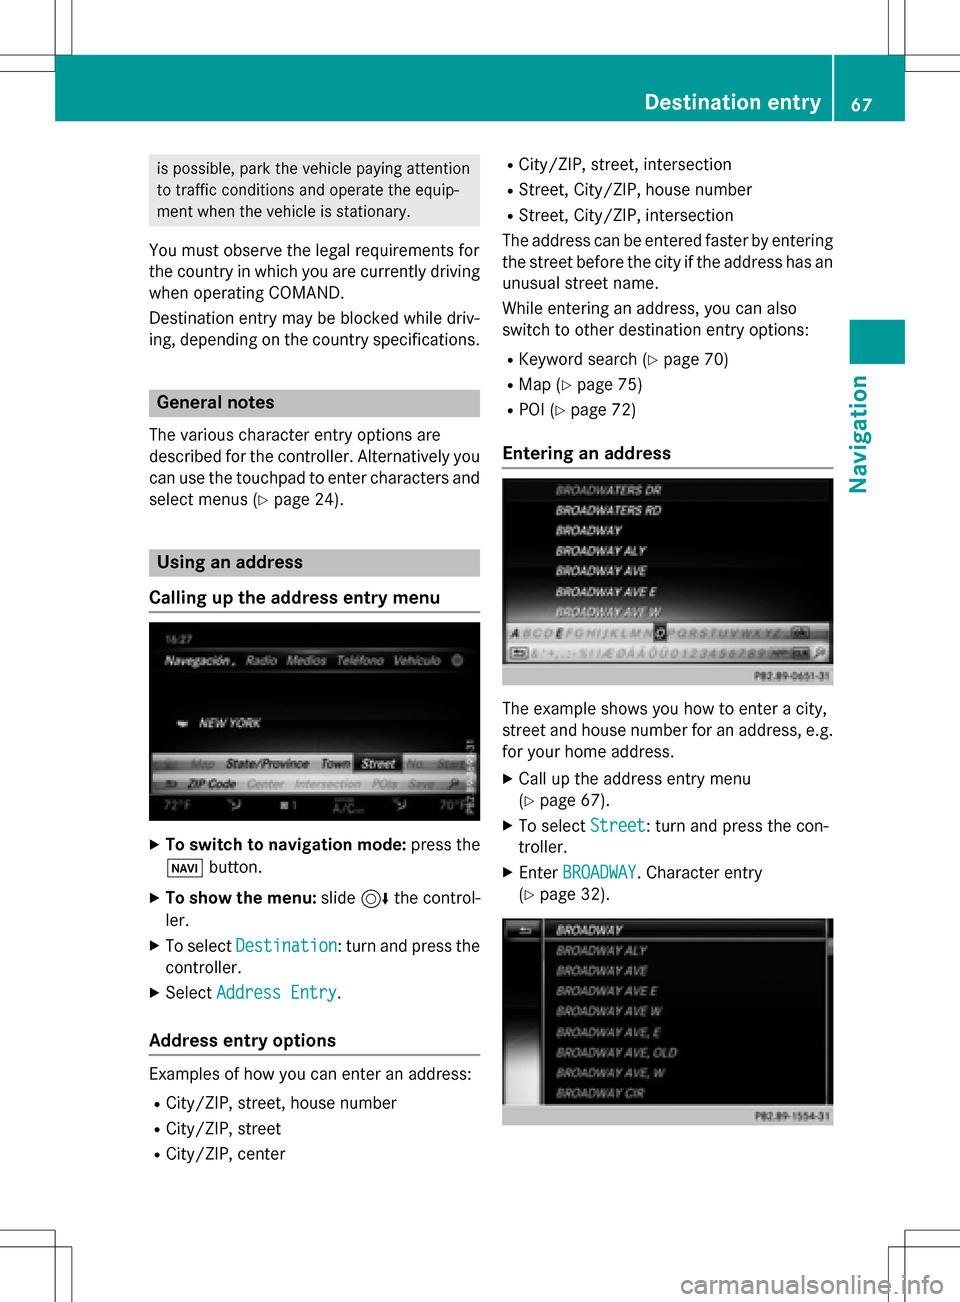
Entering an address
The example shows you how to enter a city,
street and house number for an address, e.g.
for your home address.
XCall up the address entry menu
(
Ypage 67).
XTo select Street: turn and press the con-
troller.
XEnter BROADWAY. Character entry
(
Ypage 32).
Destination entry67
Navigation
Z
Page 71 of 222
XAsthe home address: selectAs "My
Address".
COMAND stores your home address under
My Address
in the list of contacts.
XAs a contact: selectAs New Contact.
XSelect Not Classified,Homeor Work.
XEnter a surname and first name
(
Ypage 31).
XTo select OK: turn and press the controller.
The destination addressissaved inthe
addr ess book as a navigable contact.
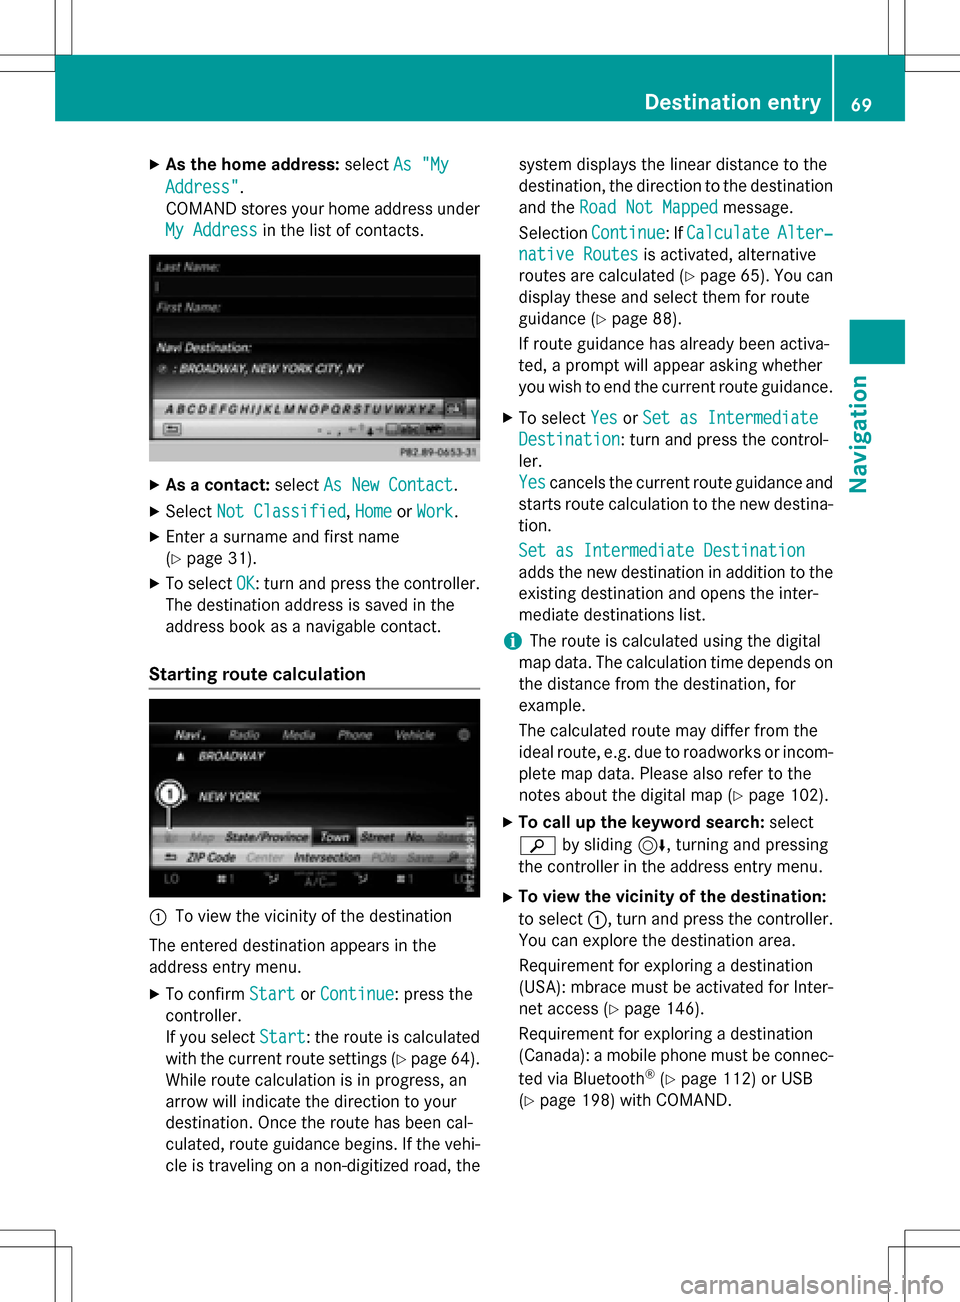
Starting route calculation
:To view the vicinity of the destination
The entered destination appears inthe
addr ess entry menu.
XTo confirm StartorContinue: press the
controller.
If you select Start
: the route is calculated
wit h the current route settings (
Ypage 64).
While route calculation is inprogress, an
arrow willindicate the direction to your
destination. Once the route has been cal-
culated, route guidance begins. Ifthe veh i-
cle istraveling on a non-digitized road, the system displays the linear
distance to the
destination, the direction to the destination
and the Road Not Mapped
message.
Se lection Continue
:If CalculateAlter‐
native Routesis act ivat ed, alternati ve
routes are calculated (
Ypage 65). You can
disp lay these and select them for route
guidance (
Ypage 88).
If route guidance has already been act iva-
te d, a prompt willappear asking whether
you wish to end the current route guidance.
XTo select YesorSet as Intermediate
Destination: turn and press the control-
ler.
Yes
cancels the current route guidance and
starts route calculation to the new destina-
tion.
Set as Intermediate Destination
adds the new destination inaddition to the
existing destination and opens the inter-
mediate destinations list.
iThe route iscalculated using the digital
map data. The calculation time depends on the distance from the destination, for
example.
The calculated route may differ from the
ideal route, e.g. due to roadworks or incom-
plet e map data. Please also refer to the
notes about the digital map (
Ypage 102).
XTo call up the keyword search: select
è bysliding 6, turning and pressing
the controller inthe address entry menu.
XTo view the vicinity of the destination:
to select :, turn and press the controller.
You can explor e the destination area.
Requir ement for explor ing a destination
(USA): mbrace must beact ivat ed for Inter-
net access (
Ypage 146).
Requirement for explor ing a destination
(Can ada): a mobile phone must beconnec-
ted via Bluetooth
®(Ypage 112) or USB
(
Ypage 198) with COMAND.
Destination entry69
Navigation
Z
Page 72 of 222
Keyword search
Entering key words
The keywor dsearch is used to help fin ddes-
tination susin gfragment sof words. The key-
wor dsearch is tolerant of errors .
It can be used for an address or a POI.For
example, you can search for th eEmpir eState
Buildin gin New York.
The keywor dsearch finds geographically tol-
eran thits. If ,for example, you are searching
for astree tlocate don th eedge of amajor
city, th esearch will also cover adjacent
smaller cities.
The keywor dsearch support slanguage s
usin gLatin characters .
XTo switch to navigation mode: press the
Ø button.
XTo sho wthemenu: slide6 thecontrol -
ler .
XTo select Destination:tur nand press th e
controller .
XSelectKeywor dSearch.
XEnte rth efirst few letters of th ecit yand
street, e.g. NEW
andEMP.
Whil eenterin gth einformation ,th enumber
of exact matches/all hit sis shown.
---/-- -
is displayed if fewer than three
characters hav ebeen entered .
999 +
is displayed if there are to oman yhits.
XSelec tth e¬ symbol.
The search result sare displayed
(
Ypage 70) .
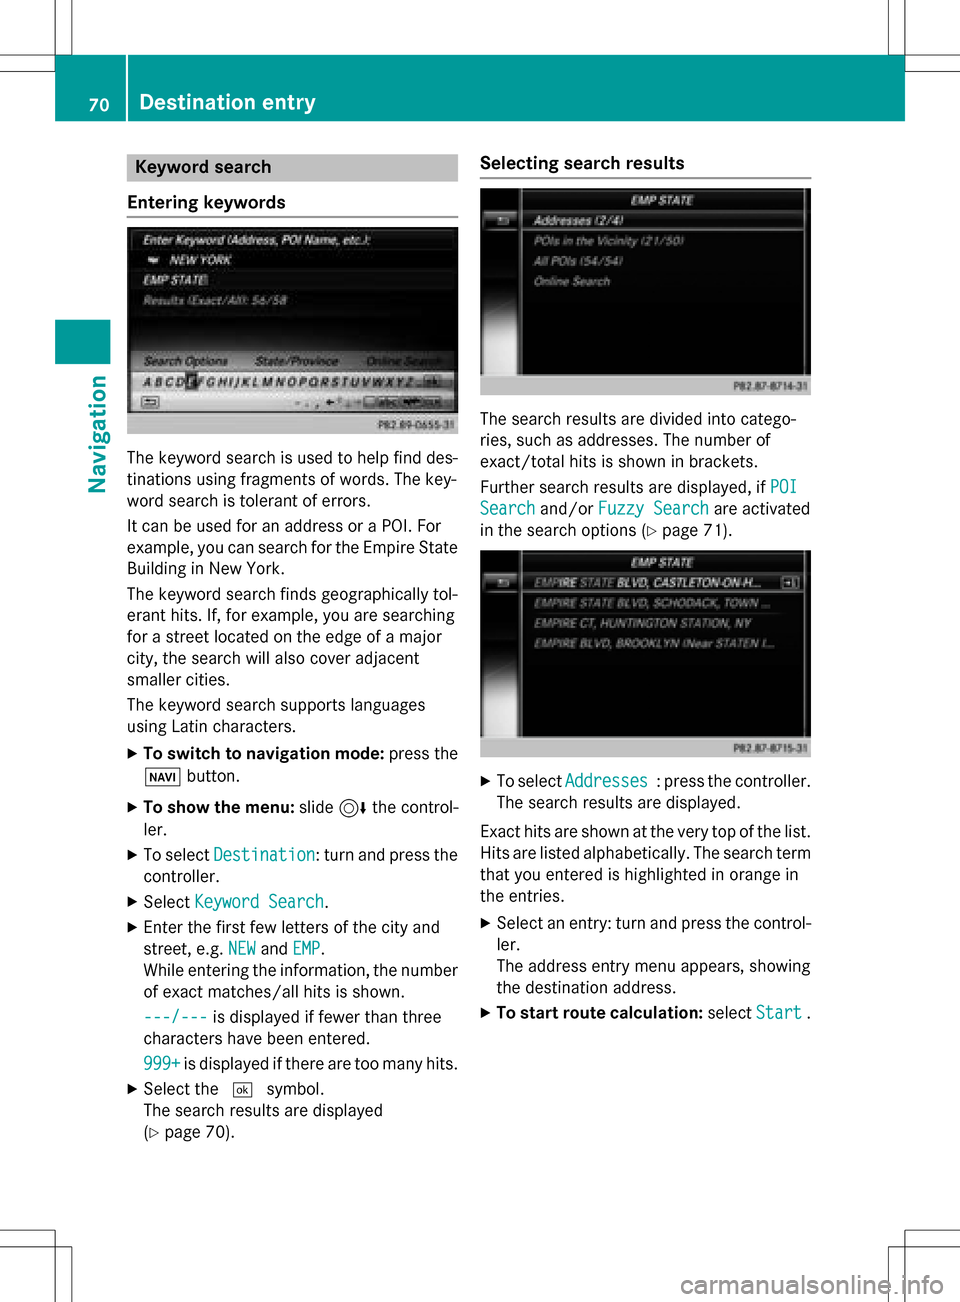
Selecting search results
The search result sare divided into catego -
ries, suc has addresses. The number of
exact/total hit sis shown in brackets .
Further search result sare displayed, if POI
Searchand/orFuzzy Searchare activated
in th esearch option s (
Ypage 71).
XTo selectAddresses:press th econtroller .
The search result sare displayed.
Exact hit sare shown at th ever yto pof th elist .
Hit sare listed alphabetically. The search term
that you entered is highlighte din orange in
th eentries.
XSelec tan entry: tur nand press th econtrol -
ler .
The address entr ymen uappears, showin g
th edestination address .
XTo startroute calculation: selectStart.
70Destination entry
Navigation
Page 73 of 222
XTo select a POI:selectPOIs in the
VicinityorAll POIsby turning and
pressing the controller.
A list appears. The search results are dis-
played according to the linear distance,
starting with those closest.
XSelect a POI.
The POI is shown.
XTo start route calculation: select Start.
XTo use online search:selectOnline
Searchby turning and pressing the con-
troller.
The search switches to the online func-
tions.
Online search requirement (USA): mbrace
must be activated for Internet access
(
Ypage 146).
Requirement for the online search (Can-
ada): a mobile phone must be connected
via Bluetooth
®(Ypage 112) or USB
(
Ypage 198) with COMAND.
Selecting search options
XTo switch to navigation mode: press the
Ø button.
XTo show the menu: slide6the control-
ler.
XTo select Destination: turn and press the
controller.
XSelect Keyword Search.
XTo select SearchOptions: slide5, turn
and press the controller.
XSelect Fuzzy SearchorPOI Search.
Switch the setting on Oor off ª.
The error-tolerant search is useful if parts
of the address are incomplete or the spell-
ing is unclear.
The POI search takes into account points of interest in the search.
Selecting a state/province
XTo switch to navigation mode: press the
Ø button.
XTo show the menu: slide6the control-
ler.
XTo select Destination: turn and press the
controller.
XSelect Keyword Search.
XTo select State/Province: slide5, turn
and press the controller.
States/provinces are sorted alphabeti-
cally.
XTo select a state/province: turn and press
the controller.
Searching via COMAND
Requirement (USA): mbrace must be activa-
ted for Internet access (
Ypage 146).
Requirement (Canada): a mobile phone must be connected via Bluetooth
®(Ypage 112) or
USB (
Ypage 198) with COMAND.
XTo switch to navigation mode: press the
Ø button.
XTo show the menu: slide6the control-
ler.
XTo select Destination: turn and press the
controller.
XSelect Keyword Search.
XTo select Online Search: slide5, turn
and press the controller.
The search switches to the online func-
tions.
Destination entry71
Navigation
Z
Page 79 of 222
XTo select a POI category orOther: turn and
press the controller.
After selecting one of the eight POI cate-
gories, available POIs are displayed:
Ralong the route
Rin the vicinity
COMAND first searches for destinations on
the route. The search for destinations is
then initiated in the area around the current
vehicle position.
XAfter selecting Other, select one of the
destination entry options.
SelectionStep
Address
Entry
XEnter a destination by
address (
Ypage 67).
Keyword
Search
XSelect a destination by
means of a keyword
search (
Ypage 70).
From Previ‐
ous Destina‐
tions
XSelect a destination
from the list of last des-
tinations (
Ypage 72).
From Con‐
tacts
XSelect a contact from
the address book as
the destination
(
Ypage 72).
From POIsXSelect a point of inter-
est (
Ypage 72).
Using MapXEnter a destination
using the map
(
Ypage 75).
From Memory
Card
XSelect a personal POI
(
Ypage 82).
From
Mercedes-
Benz Apps
XEnter a destination
from Mercedes-Benz
Apps (
Ypage 79).
Using Geo-
Coordinates
XEnter a destination
using the geo-coordi-
nates (
Ypage 79).
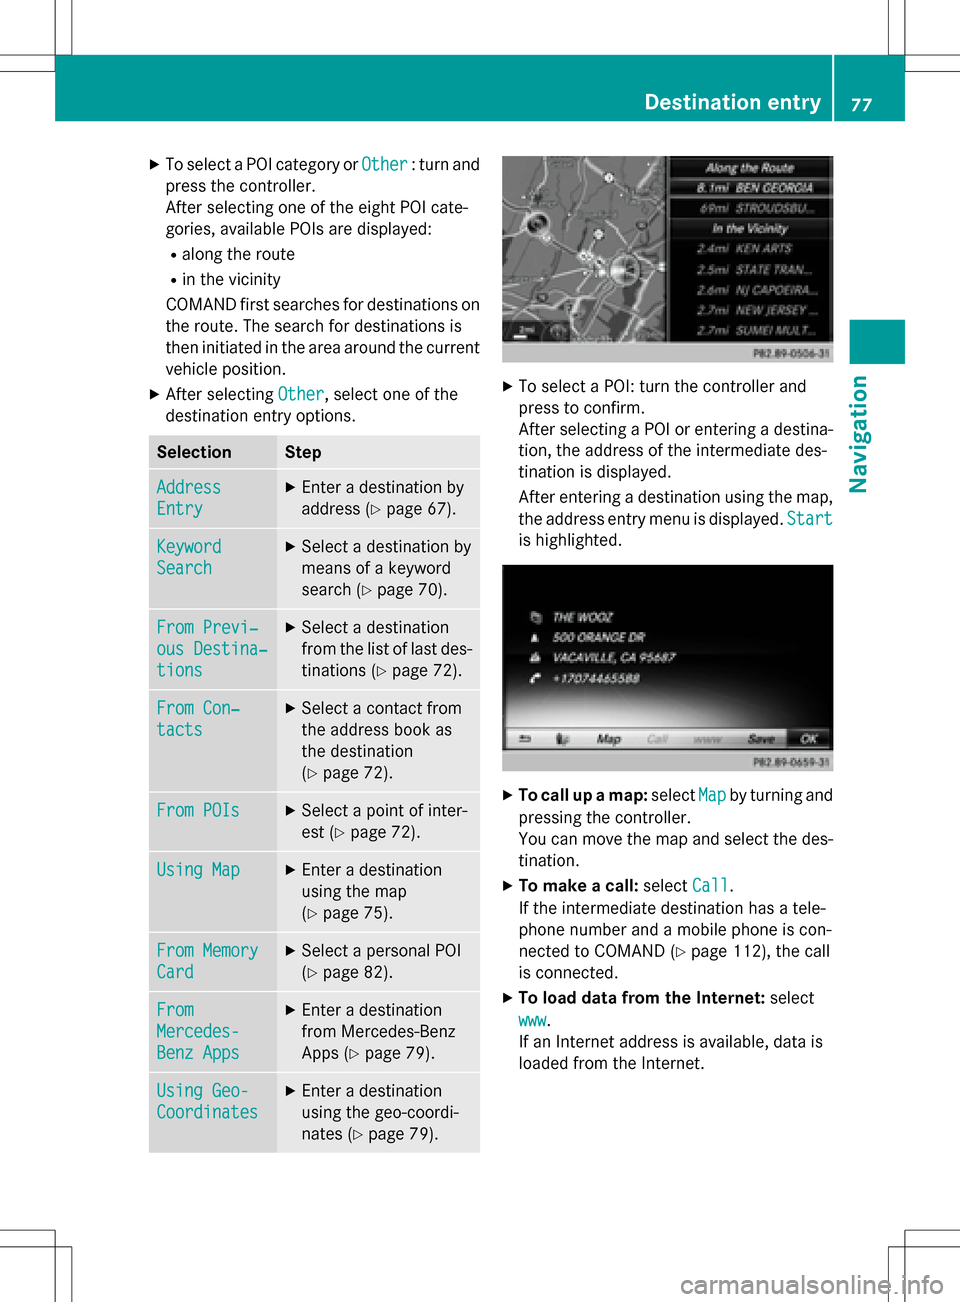
XTo select a POI: turn the controller and
press to confirm.
After selecting a POI or entering a destina-
tion, the address of the intermediate des-
tination is displayed.
After entering a destination using the map,
the address entry menu is displayed. Start
is highlighted.
XTo call up a map:selectMapby turning and
pressing the controller.
You can move the map and select the des-
tination.
XTo make a call: selectCall.
If the intermediate destination has a tele-
phone number and a mobile phone is con-
nected to COMAND (
Ypage 112), the call
is connected.
XTo load data from the Internet: select
www
.
If an Internet address is available, data is
loaded from the Internet.
Destination entry77
Navigation
Z