Page 137 of 462

users have been detected or the roads are
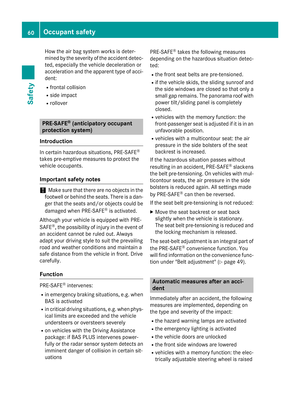
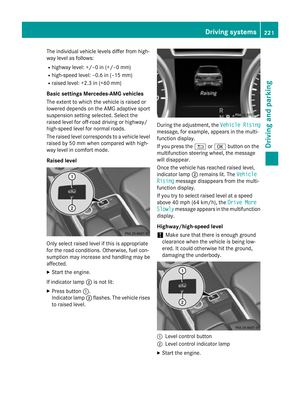
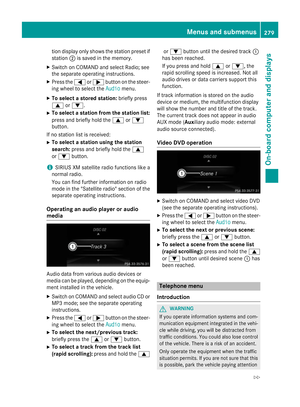
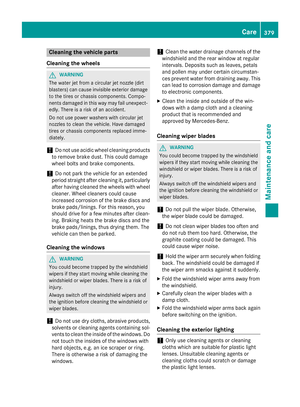
adequately lit:
The high-beam headlamps are switched off
automatically. TheKindicator lamp in
the instrument cluster goes out. The _
indicator lamp inthe multifunction display
remains lit.
XTo switch off: move the combination
swit ch back to its normal position or move
the light switch to another position.
The _ indicator lamp inthe multifunc-
tion display goes out.
Headlamps fogged up on the inside
Certain climatic and physical cond itions may
cause moisture to form inthe headlamp. This
moisture does not affect the functionalit y of
the headlamp.
Interior lighting
Overview of interior lighting
Overhead control panel
:
p Switches the left-hand front reading
lamp on/o ff
;cSwitches the front interior lighting
on
=v Switches the rear interior lighting on
or off
?| Switches the front interior lighting/
automat icinterior lighting control off
Ap Switches the right-hand front read-
ing lamp on/o ff
BSwitches the automat icinterior lighting
control on
Rear overhead control panel (secon drow of seats)
:
To switch the reading lamp on/o ff
Rear overhead control panel (thir drow of seats)
:
Readin g lamp
Interior lighting control
General notes
In order to prevent the vehicle's battery from
discharging, the interior lighting functions are
automatical lydeactivated after some time
unless the SmartKey is inposition 2in the
ignit ion lock.
The color and brightness of the ambient light-
ing can beadjusted using the on-board com-
puter (
Ypage 284).
Interior lighting135
Lights and windshield wipers
Z
Page 138 of 462

Automa tic interi orlighting control
XTo switch on: set theswitch to center
position B.
XTo switch off:set th eswitch to th e|
position .
The interior lighting automatically switches
on if you:
Runloc kth evehicl e
Ropenadoor
RRemove th eSmartKey from th eignition
lock.
The interior ligh tis activated for ashort while
when th eSmartKey is remove dfrom th eigni-
tion lock. You can activat ethis delayed
switch-off usin gth eon-board computer
(
Ypage 285).
Manual interi orlighting control
XTo switch th e front interior lighting on:
set th eswitch to th ec position .
XTo switch th e front interior lighting off:
set th eswitch to th e| position or (if th e
door is closed) to th ecenter position .
XTo switch therea rinterior lighting on or
off: press th eu button.
XTo switch th ereadin glamps on/of f:
press th ep button.
Crash-responsive eme rgency lighting
The interior lighting is activated automatically
if th evehicl eis involved in an accident.
XTo switch offthecrash-responsive
emergency lighting: press thehazard
warning lamp button.
or
XLoc kand then unloc kth evehicl eusin gth e
SmartKey.
Replacing bulbs
Import ant safety notes
GDANGER
Xenon bulbs carry ahigh voltage. You can get
an electric shock if you remove th ecover of
th eXenon bulb and touch th eelectrical con-
tacts .There is aris kof fatal injury.
Never touch th epart sor th eelectrical con-
tacts of th eXenon bulb. Always hav ewor kon
th eXenon bulbs carrie dout at aqualified spe-
cialist workshop .
If your vehicleis equipped wit hXenon bulbs ,
you can recogniz ethis by th efollowing: th e
cone of ligh tfrom th eXenon bulbs moves
from th eto pto th ebotto mand bac kagain
when you start theengine. Fo rthis to be
observed, th elights mus tbe switched on
before starting th eengine.
GWARNIN G
Bulbs, lamp sand connectors can get ver yhot
when operating .If you chang e abulb, you
could burn yourself on these components.
There is aris kof injury.
Allow these component sto cool down before
changing abulb.
Do no t use a bulb that has been dropped or if
it s glass tub ehas been scratched.
The bulb may explod eif:
Ryou touch it
Rit is hot
Ryou dro pit
Ryou scratch it
Only operate bulbs in enclosed lamp s
designed for that purpose . Only installspar e
bulbs of th e sametypeand th especifie dvolt-
age.
Marks on th eglass tub ereduce th e service
life of th ebulbs .Do no ttouch th eglass tub e
wit hyour bare hands. If necessary, clean th e
glass tub ewhen cold wit halcohol or spirit and
rub it off wit h alint-free cloth .
136Replacing bulbs
Lights and windshield wipers
Page 139 of 462

Protect bulbs from moisture during opera-
tion. Do not allow bulbs to come into contact
with liquids.
There are bulbs other than the Xenon bulbs
that you cannot change. Replace only the
bulbs listed (
Ypage 137). Have the bulbs that
you cannot replace yourself changed at a
qualified specialist workshop.
If you require assistance changing bulbs, con-
sult a qualified specialist workshop.
If the new bulb still does not light up, consult
a qualified specialist workshop.
Bulbs and lamps are an important aspect of
vehicle safety. You must therefore make sure
that these function correctly at all times.
Have the headlamp setting checked regularly.
Overview: changing bulbs/bulb types
You can replace the following bulbs. The bulb
type can be found in the legend.
Halogen headlamps
:
Low-beam headlamp: H7 55 W
;High-beam headlamp: H7 55 W
=Parking lamp/standing lamp: W 5 W BV
?Side marker lamp: WY 5 W
Tail lamps
:
Brake lamp: P 21 W-L
Changing the front bulbs
Removing and installing the cover in the
front wheel housing
You must remove the cover from the front
wheel housing before you can change the
front bulbs.
XTo remove: switch off the lights.
XTurn the front wheels inwards.
XRemove securing pin ;using a suitable
tool.
XSlide cover :up and remove it.
XTo install: insert cover :again and slide it
down until it engages.
XInsert securing pin ;.
Replacing bulbs137
Lights and windshield wipers
Z
Page 140 of 462
Low-beam headlamps (halogen head-
lamps)
XRemove the cover in the front wheel hous-
ing (
Ypage 137).
XTurn housing cover:counter-clockwise
and remove it.
XTurn bulb holder ;counter-clockwise and
pull out.
XPull the bulb out of bulb holder ;.
XInsert the new bulb into bulb holder ;.
XInsert bulb holder;and turn it clockwise.
XPress on housing cover :and turn it to the
right.
XReplace the cover in the front wheel hous-
ing (
Ypage 137).
High-beam headlamps (halogen head-
lamps)
XSwitch off the lights.
XOpen the hood.
XTurn housing cover :counter-clockwise
and remove it.
XPull lever =upwards and remove bulb
holder ;.
XPull the bulb out of bulb holder ;.
XInsert the new bulb into bulb holder ;.
XSimultaneously press on bulb holder ;
and pull lever =downwards.
XPress on housing cover :and turn it clock-
wise.
Changing the rear bulbs
Opening and closing the service flap
Left-hand service flap
Right-hand service flap
138Replacing bulbs
Lights and windshield wipers
Page 141 of 462

You must open the service flap in the cargo
compartment before you can change the
bulbs in the brake lamp.
XTo open:release service flap :at the top,
e.g. with a screwdriver, and swing it down- ward in the direction of the arrow.
XRight side: remove the first-aid kit before-
hand and pull the parcel net down.
XTo close: reinsert service flap :.
Brake lamp
XSwitch off the lights.
XOpen the cargo compartment.
XOpen the service flap (Ypage 138).
XTurn bulb holder:counter-clockwise and
remove it.
XTake bulb out of bulb holder :.
XInsert the new bulb into bulb holder :.
XInsert bulb holder:into the lamp and turn
it clockwise.
XClose the service flap (Ypage 138).
Windshield wipers
Switching the windshield wipers
on/off
!
Do not operate the windshield wipers
when the windshield is dry, as this could
damage the wiper blades. Moreover, dust
that has collected on the windshield can
scratch the glass if wiping takes place when
the windshield is dry. If it is necessary to switch on the windshield
wipers in dry weather conditions, always
use washer fluid when operating the wind-
shield wipers.
!If the windshield wipers leave smears on
the windshield after the vehicle has been
washed in an automatic car wash, wax or
other residues may be the reason for this.
Clean the windshield using washer fluid
after washing the vehicle in an automatic
car wash.
!Intermittent wiping with rain sensor: due
to optical influences and the windshield
becoming dirty in dry weather conditions,
the windshield wipers may be activated
inadvertently. This could then damage the
windshield wiper blades or scratch the
windshield.
For this reason, you should always switch
off the windshield wipers in dry weather.
Combination switch
1
$ Windshield wiper off
2ÄIntermittent wipe, low (rain sensor
set to low sensitivity)
3Å Intermittent wipe, high (rain sensor
set to high sensitivity)
4° Continuous wipe, slow
5¯Continuous wipe, fast
BíSingle wipe
CîTo wipe with washer fluid
XSwitch on the ignition.
XTurn the combination switch to the corre-
sponding position.
Windshield wipers139
Lights and windshield wipers
Z
Page 142 of 462

In theÄorÅ position, the appropriate
wiping frequency is set automatically accord-
ing to the intensity of the rain. In the Å
position, the rain sensor is more sensitive
than in the Äposition, causing the wind-
shield wiper to wipe more frequently.
If the wiper blades are worn, the windshield
will no longer be wiped properly. This could
prevent you from observing the traffic condi-
tions.
Switching the rear window wiper on/
off
Combination switch
:
è Rear window wiper switch
2bWipes with washer fluid
3ISwitches on intermittent wiping
40 Switches off intermittent wiping
5ô Wipes with washer fluid
XTurn the SmartKey to position 1or 2in the
ignition lock (
Ypage 165).
XTurn switch :on the combination switch
to the corresponding position.
When the rear window wiper is switched on,
the icon appears in the instrument cluster.
Replacing the wiper blades
Important safety notes
GWARNING
If the windshield wipers begin to move while
you are changing the wiper blades, you could
be trapped by the wiper arm. There is a risk of
injury.
Always switch off the windshield wipers and
ignition before changing the wiper blades.
!To avoid damaging the wiper blades,
make sure that you touch only the wiper
arm of the wiper.
!Never open the hood/tailgate if a wiper
arm has been folded away from the wind-
shield/rear window.
Never fold a windshield wiper arm without a
wiper blade back onto the windshield/rear
window.
Hold the windshield wiper arm firmly when
you change the wiper blade. If you release
the wiper arm without a wiper blade and it
falls onto the windshield/rear window, the
windshield/rear window may be damaged
by the force of the impact.
Mercedes-Benz recommends that you have
the wiper blades changed at a qualified
specialist workshop.
Changing the windshield wiper blades
Removing the wiper blades
XRemove the SmartKey from the ignition
lock.
XFold the wiper arm away from the wind-
shield.
XFirmly press release knob :and pull wiper
blade ;upwards from the wiper arm in the
direction of the arrow.
140Windshield wipers
Lights and windshield wipers
Page 143 of 462
Installing the wiper blades
XPosition new wiper blade:in the retainer
on the wiper arm and slide it into place in
the direction of the arrow.
The wiper blade audibly engages.
XMake sure that the wiper blade is seated
correctly.
XFold the wiper arm back onto the wind-
shield.
Replacing the rear window wiper blade
Removing a wiper blade
XRemove the SmartKey from the ignition
lock.
XFold wiper arm :away from the rear win-
dow until it engages.
XPosition wiper blade ;at a right angle to
wiper arm :.
XHold wiper arm :and press wiper
blade ;in the direction of the arrow until
it releases.
XRemove wiper blade ;. Installing a wiper blade
XPlace new wiper blade
;onto wiper
arm :.
XHold wiper arm :and press wiper
blade ;in the opposite direction to the
arrow until it engages.
XMake sure that wiper blade ;is seated
correctly.
XPosition wiper blade ;parallel to wiper
arm :.
XFold wiper arm :back onto the rear win-
dow.
Windshield wipers141
Lights and windshield wipers
Z
Page 144 of 462
Problems with the windshield wipers
ProblemPossible causes/consequences andMSolutions
The windshield wipers
are jammed.Leaves or snow, for example, may be obstructing the windshield
wiper movement. The wiper motor has been deactivated.
XFor safety reasons, you should remove the SmartKey from the
ignition lock.
or
XSwitch off the engine using the Start/Stop button and open the driver's door.
XRemove the cause of the obstruction.
XSwitch the windshield wipers back on.
The windshield wipers
fail completely.The windshield wiper drive is malfunctioning.
XSelect another wiper speed on the combination switch.
XHave the windshield wipers checked at a qualified specialist
workshop.
142Windshield wipers
Lights and windshield wipers