2016 MERCEDES-BENZ G-CLASS SUV set clock
[x] Cancel search: set clockPage 67 of 261

X
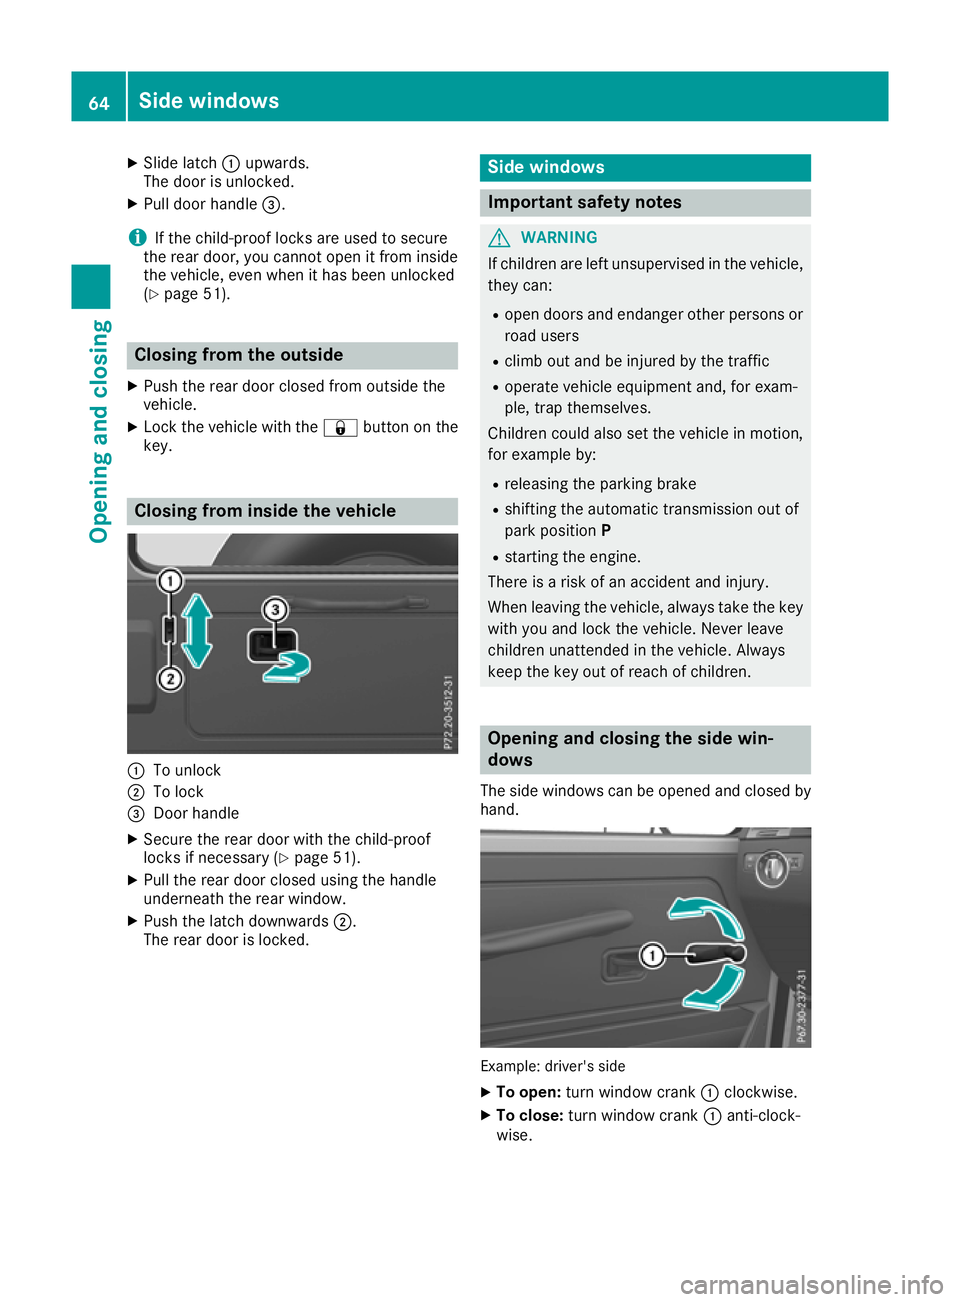
Slide latch :upwards.
The doo risunlocked.
X Pull doo rhandle =.
i If the child-proof locks are used to secure
the rea rdoor, yo ucanno topenitf rom inside
the vehicle, eve nwhenith asbee nunlocked
(Y page 51). Closin
gfromt heoutside
X Push th erear door closed from outside the
vehicle.
X Loc kthe vehicle wit hthe & buttonont he
key. Closing from insid
ethe vehicle :
To unlock
; To lock
= Door handle
X Secure the rear door with the child-proof
lock sifn ecessary (Y page 51).
X Pull the rear door closed using the handle
underneath the rear window.
X Push the latch downwards ;.
The rear door is locked. Side windows
Important safety notes
G
WARNING
If children are left unsupervised in the vehicle, they can:
R open doors and endanger other persons or
road users
R climb out and be injured by the traffic
R operate vehicle equipment and, for exam-
ple, trap themselves.
Children could also set the vehicle in motion, for examp leby:
R releasing the parking brake
R shifting the automatic transmission out of
park position P
R starting the engine.
There is arisk of an accident and injury.
When leaving the vehicle, alwayst ake the key
with you and lock the vehicle. Never leave
children unattended in the vehicle. Always
keep the key out of reach of children. Opening and closing the side win-
dows
The side windows can be opened and closed by hand. Example: driver's side
X To open: turn windo wcrank :clockwise.
X To close: turnw indo wc rank :anti-clock-
wise. 64
Side windowsOpeninga
nd closing
Page 90 of 261

Settings
X
Turn the key to position 2(Ypage 96) in
the ignition lock.
X Press the _button repeatedly until the
desired symbol appears in the display. Setting the airflow
X Turn the key to position 2(Ypage 96) in
the ignition lock.
X To increase: press theKbutton.
X To reduce: press theIbutton.
i The airflow from the rear-compartment
ventsa nd the centre ventsist he same.Switching the ZONE function on/off
X To switch on: press theábutton.
The indicator lamp in the ábutton lights
up.
The temperature settingf or the driver's side
is not adopted for the front-passenger side
and the rear compartment. The temperature
for the front-passenger side and the rear com-
partment is set separately.
X To switch off: press theábutton.
The indicator lamp in the ábutton goes
out.
The temperature settingf or the driver's side
is adopted for the front-passenger side and
the rear compartment. Demisti
ng thewindscreen
General notes You can use this function to defrost the wind-
screen or to demis
tthe inside of the windscreen
and the side windows.
Switch off the "Windscreen demisting" function as soon as the windscreen is clear again. Switching on/off X
Turn the key to position 2(Ypage 96) in
the ignitio nlock.
X To switch on: press the¬button.
The indicator lamp in the ¬button lights
up.
The climate control system switches to the
following functions:
R cooling with air dehumidification
R high airflow
R high temperature
R air distribution to the windscreen and front
side windows
R air-recirculation mode off
X To switch off: press the¬button.
The indicator lamp in the ¬button goes
out. The previous settings are reactivated.
The cooling with air dehumidification function remains on. Air-recirculation mode remains
deactivated.
or
X Press the Ãbutton.
The indicator lamp in the ¬button goes
out. Airflow and air distribution are set to
automatic mode.
or
X Turn control :orB clockwise or anti-clock-
wise (Y page 84).
or
X Press the KorI button. Demisting the windo
ws
Windows misted up on th einside X
Activate the Ácoolin gwitha irdehumidi-
ficatio nfunction.
X Activate the Ãautomatic mode.
X If the windows continue to mis tup,activate
the "Windscreen demisting "fun ction
(Y page 87).
i Yo
us houl donlys elect thi ssetting unti lthe
windscree nisc lear again. Operatin
gthe climat econtrol system
87Climatecont rol
Page 116 of 261

removed when it has been only partially emp-
tied.
X Turn disposable hose ;on the filler neck of
the vehicl eanti-clockwise and remove it.
X Turn disposable hose ;on the opening of
AdBlue ®
refil lcanister :anti-clockwise and
remove it.
X Reseal AdBlue ®
refil lcanister :with the cap.
AdBlue ®
refil lcanisters are available at many
filling stations or at aqualified specialist work-
shop. AdBlue ®
refil lcanisters are often sold with
af iller hose. Afiller hose that does not exactly fit
the vehicle's AdBlue ®
tank offers no overfil lpro-
tection. AdBlue ®
may leako ut asaresul tof
overfilling. Mercedes-Benz offers aspecia ldis-
posable hose with overfil lprotection. You can
obtai nthis from any Mercedes-Benz Service
Centre. AdBlue ®
is available in avariety of con-
tainers and receptacles. Use the disposable
hose only with the Mercedes-Benz AdBlue ®
refill
canisters.
AdBlue ®
refill bottle !
Only screw on the AdBlue ®
refill bottle so
that it is hand-tight. Otherwise, the thread of
the AdBlue ®
refill bottle could be damaged
and AdBlue ®
could leak out. X
Unscrew the protective cap from AdBlue ®
refill bottle :.
X Set AdBlue ®
refill bottle :as shown on the
filler neck and screw it clockwis euntil it is
hand-tight.
X Press AdBlue ®
refill bottle :towards the
filler neck.
The AdBlue ®
tank is filled. This could take up
to one minute.
When AdBlue ®
refill bottle is no longer
pressed down, filling stops. The bottle can be removed when it has been only partially emp-
tied.
X Release AdBlue ®
refill bottle :.
X Turn AdBlue ®
refill bottle :anti-clockwise
and remove it.
X Screw the protective cap onto AdBlue ®
refill
bottle :again.
AdBlue ®
refill bottles are available at many fill-
ing stations or at aqualified specialist work-
shop. Refill bottles withou tathreade dseal offer
no overfil lprotection. AdBlue ®
may leako ut as a
resul tofo verfilling. Mercedes-Benz offers spe-
cial refil lbottles with athreade dcap. These are
available at any Mercedes-Benz Service Centre. Parking
Im
portant safety notes G
WARNING
Flammable material such as leaves ,grass or
twigs may ignite if they come into contact with hot parts of the exhaust system or exhaust
gas flow .There is arisk of fire.
Park the vehicl esothat no flammable mate-
rial can come into contact with hot vehicle
components. In particular, do not park on dry grassland or harvested grai nfields. G
WARNING
If you leave children unattended in the vehi-
cle, they may be abletos et the vehiclein
motion if, for example, they:
R release the parking brake
R shift the automatic transmission out of park
position P
R start the engine
In addition, they may operate vehicl eequip-
ment and become trapped. There is arisk of
an accident and injury.
When leaving the vehicle, alwayst ake the key
with you and lock the vehicle. Never leave
children unattended in the vehicle. Parking
113Drivingand parking Z
Page 134 of 261

Important safety notes
G
WARNING
Operating th eintegrated information systems
and communications equipment in the vehicle
while driving willd istract you from traffic con-
ditions. You coul dthen lose control of the
vehicle. There is arisk of an accident.
Only operate these devices if road traffic con-
ditions permit. If you are unsure about the
surrounding conditions, pullo ver toasafe
location and make entries only while the vehi-
cle is stationary.
You must observe the lega lrequirements for the
country in which you are currently driving when operating the on-board computer. G
WARNING
If the instrument cluster has failed or mal-
functioned, you may not recognise function
restrictions relevant to safety .The operating
safety of yourv ehiclemay be impaired .There
is ar isk of an accident.
Drive on carefully.H ave the vehiclechecked
at aq ualified specialist worksho pimmedi-
ately.
If the operating safety of yourv ehicleis
impaired ,park the vehicl esafel yass oon as pos-
sible. Contact aqualified specialist workshop.
! If
ab lackout lighting setting has been selec-
ted, the instrument cluster lighting is
switched off.
The instrument cluster and the display do not show any information.
The on-board computer show sonly display mes-
sage sorw arnings from certain systems on the
multifunction display.Y ou should therefore
make sure yourv ehicleiso perating safel yatall
times.
For an overview, see the instrument cluster illus-
tration (Y page26). Displays and operation
Instrument cluste
rlighting
The brightness control knob is locate donthe
botto mleftoft heinstrumen tcluster
(Y page 26).
X Turn th ebrightness control knob clockwise or
anti-clockwise.
i The ligh
tsensor on th einstrumen tcluster
automatically control sthe brightness of the
multifunction display.
In daylight, th edisplays in th einstrument
cluste rare no tlit. Re
vc ounter
! Do not drive in the overrevving range. Doing
so will damag ethe engine.
The red band in the rev counter indicates the
engine's overrevving range.
The fue lsuppl yisi nterrupted to protect the
engine when the red band is reached. Outside temperature display
You should pay specia lattention to road condi-
tion swhen temperatures are around freezing
point.
Bear in mind that the outside temperature dis-
play indicates the measured air temperature
and not the road surface temperature.
The outside temperature display is in the multi-
function display (Y page 133).
Changes in the outside temperature are dis-
played after ashort delay. Coolant temperatur
edisplay G
WARNING
If yo uopen the bonnet while the engine is
overheating or while there is afire in the
engine compartment, you coul dcome into
contact with hot gase sorother leaking ser-
vice products. There is adange rofinjury.
Allow an overheating engine to cool down
before opening the bonnet. If there is afire in Displays and operation
131On-boardcomputer and displays
Z
Page 229 of 261

Battery aci
discaustic.
Avoid contact with the skin, eyes and clothing. Wea
reye protection. Keep children at
asafe distance. Observe this Owner's Manual.
For safety reasons, Mercedes-Benz recom-
mends that you use only batteries that have
been tested and approved for your vehicle by
Mercedes-Benz. These batteries provide
increased impact protection to prevent the vehi-
cle occupants from suffering acid burns should
the battery be damaged in the event of an acci- dent.
In order for the battery to achieve the maximumpossible service life, it should always be suffi-
ciently charged.
Like other batteries, the vehicle battery may
discharge over time if you do not use the vehicle.
In such cases, have the battery disconnected at aq uali fied specialist workshop .However, you
can also charge the battery with acharger rec-
ommended by Mercedes-Benz. For more infor-
mation, please contact aquali fied specialist
workshop.
Have the battery charge checked more fre-
quently if yo uuse the vehicle mainly for short
trips or if yo uleave it standing idl efor an exten-
ded period .Consul taq ualified specialist work-
shop if yo uwishtol eave your vehicle parked up
for along period of time.
Whe nyou park the vehicle, remove the key if you
do not require any electrica lconsumers. The
vehicle will then use very little energy, thus con- serving battery power.
i If the power supply has bee
ninterrupted,
e.g. du etoad ischarged battery, yo uwillh ave
to set the clock . Chargin
gthe battery
! Only use battery chargers wit
hamaximum
chargin gvoltage of 14.8 V. G
WARNING
During charging an djump-starting, explosive
gase scan escap efrom the battery .There is a
risk of an explosion.
Particularl yavoi dfire, naked flames, creating
sparks and smoking. Ensure there is sufficient
ventilation while charging and jump-starting.
Do not leano verabattery. G
WARNING
Battery acid is caustic. There is arisk of injury.
Avoid contact with the skin, eyesorc lothing.
Do not breathe in any battery gases. Do not
leano ver the battery .Keep the batterie sout
of the reach of children. Immediately rinse off
battery acid thoroughly with plenty of clean
water and seek medical attention at once. G
WARNING
Ad ischarged battery can freeze at tempera-
tures below freezing point. When jump-start-
ing the vehicl eorcharging the battery ,gases
can escap efrom the battery .There is arisk of
an explosion.
Allow the frozen battery to thaw out before
charging it or jump-starting.
! Only charge the battery using the jump-start
connection point.
The jump-starting connection point is in the
engine compartment (Y page227).
X Open the bonnet.
X Connect the battery charge rtothe positive
terminal and earth point in the same order as when connecting the donor battery in the
jump-starting procedure (Y page227).
Keep awayf rom fire and naked flames. Do not
leano ver the battery .Never charge the battery
if it is still fitted to the vehicle, unless you are
using abattery charge rthat has been tested and
approved by Mercedes-Benz. Abattery charger
unit speciallya dapted for Mercedes-Benz vehi-
cles and tested and approved by Mercedes-
Benz is available as an accessory. This device 226
Battery (vehicle)Breakdown assistance