2016 MERCEDES-BENZ G-CLASS SUV brakes
[x] Cancel search: brakesPage 220 of 261
Do not touch the surfaces or protective films
with hard objects ,e.g.ar ingori ce scraper.
Yo uc ould otherwis escratch or damage the
surfaces and protective film.
! Do not park up your vehicl
efor alon gp eriod
of time immediatel yafter cleaning, particu-
larly after cleaning the whee lrim with wheel
cleaner. Whee lcleane rmaylead to increased
corrosion of the brake discs and pads .You
shoul dtherefore drive for afew minute safter
cleaning. By heating up the brakes ,the brake
discs and pads dry .The vehicl ecan the nbe
parked up for alon gp eriodoft ime. H
Environmental note
Dispose of empty packaging an dcleaning
cloths in an environmentally responsible man- ner.
Regular car eofyour vehicle is acondition for
retainin gqualit yint helongterm.
Use car eproduct sand cleaning agents recom-
mended and approved by Mercedes-Benz. Washin
gthe vehiclea nd cleaning the
paintwork
Automatic car wash G
WARNING
Braking efficiency is reduced after the vehicle has been washed. There is arisk of an acci-
dent.
After washing the vehicle, brake carefully
while paying attention to the traffic conditions in order to restore full braking efficiency.
! When the HOLD function is activated, the
vehicl ebrakes automatically in certain situa-
tions.
To avoi ddamage to the vehicle, deactivate
the HOLD function in the following or similar
situations:
R when towing away
R in ac ar wash
! Make sure that the automatic car washis
suitable for the size of the vehicle. Fold in the exterior mirrors before the vehicl eiswashed.
The exterior mirrors coul dotherwise be dam-
aged. !
Make sure that the automatic transmission
is in position Nwhen washing your vehicle in
at ow-through car wash. The vehicle could be
damagedift he transmission is in another
position.
! Make sure:
R the side windows and sliding sunroof are
closed completely.
R the blower is switched off
R the windscreen wiper switch is at position
0
The vehicle could otherwise be damaged.
You can wash the vehicle in an automatic car
wash from the very start.
If the vehicle is very dirty, wash off excess dirt
before cleaning the vehicle in an automatic car
wash.
After using an automatic car wash, wipe off the
wax from the windscreen and the windscreen
wiper blades. This will prevent smears and
reduce wiping noises caused by residue on the
windscreen.
Washing by hand In some countries, washing by hand is only
allowed at specially equipped washing bays.
Observe the legal requirements for each indi-
vidual country.
When using the vehicle in winter, remove all
traces of road salt deposits carefully and as
soon as possible.
When washing the underside of the vehicle, also
clean the insides of the wheels.
X Do not use hot water and do not wash the
vehicle in direct sunlight.
X Use asoft sponge to clean.
X Use amild cleaning agent, such as acar
shampo oapproved by Mercedes-Benz.
X Thoroughly hose down the vehicle with agen-
tle jet of water.
X Do not point the water jet directly towards the
air inlet.
X Use plenty of water and rinse out the sponge
frequently.
X Rinse the vehicle with clean water and dry
thoroughl ywithachamois.
X Do not let the cleaning agent dry on the paint-
work. Ca
re
217Maintenance an dcare Z
Page 221 of 261
High-pressure cleaner
G
WARNING
The wate rjet of circular-jet nozzles (dirt grind-
ers) can caus edamage not visible from the
outside to tyres or chassi scomponents. Com-
ponents damaged in this way can unexpect-
edlyf ail.There is arisk of an accident.
Do not use high-pressure cleaners with circu-
lar-jet nozzles to clea nthe vehicle. Have dam-
agedt yres or chassi scomponents replaced
immediately.
! Always maintai
nadistance of at least 30 cm
between the vehicl eand the high-pressure
cleaner nozzle. Information about the correct
distance is available from the equipment
manufacturer.
Move the high-pressure cleaner nozzle
around when cleaning yourv ehicle.
Do not aim directly at any of the following:
R tyres
R door gaps, roof gaps, joints etc.
R electrica lcomponents
R battery
R plugc onnectors
R lamps
R seals
R trim elements
R ventilation slots
Damag etosealsore lectrica lcomponents
can leadtol eaks or failures.
! Vehicles with decorative film: parts of your
vehicl eare covered with adecorative film.
Maintain adistance of at least 70 cm between
the parts of the vehicl ecovered with the film
and the nozzle of the high pressure cleaner.
Information about the correct distance is
available from the equipment manufacturer.
Move the high-pressure cleaner nozzle
around whilst cleaning.
Cleaning the paintwork !
Do not affix:
R stickers
R films
R magneti cplates or similari tems to painted surfaces. You could oth
erwise
damage the paintwork.
Scratches, corrosive deposits, area saffecte dby
corrosion and damage cause dbyinadequate
car ecannot always be completel yrepaired .In
such cases ,visit aquali fied specialis tworkshop.
X Remov eimpuri ties immediately, where pos-
sible, whilst avoiding rubbing too hard.
X Soa kinsect remains with insect remove rand
rinse off the treated area safterwards.
X Soa kbirdd ropping swithw ater and rinse off
the treated area safterwards.
X Remov ecoolant, brake fluid ,tree resins ,oils,
fuel sand greases by rubbing gently with a
cloth soaked in petroleu mether or lighter
fluid.
X Use tar remove rtoremove tar stains.
X Use silicone remove rtoremove wax. Cleanin
gvehicle parts
Cleaning th ewheels G
WARNING
Th ew ater jet of circular-jet nozzles (dirt grind-
ers) can caus edamage not visible from the
outside to tyres or chassi scomponents. Com-
ponents damaged in this way can unexpect-
edlyf ail.There is arisk of an accident.
Do not use high-pressure cleaners with circu-
lar-jet nozzles to clea nthe vehicle. Have dam-
agedt yres or chassi scomponents replaced
immediately.
! Do not use acidic whee
lcleaning products
to remove brake dust. This coul ddamage
whee lbolts and brake components.
! Do not park up yourv
ehiclefor along period
of time immediatel yafter cleaning, particu-
larl yafter cleaning the whee lrim with wheel
cleaner. Whee lcleaner may leadtoi ncreased
corrosio nofthe brake discs and pads. You
should therefore drive for afew minutes after
cleaning. By heating up the brakes ,the brake
discs and padsd ry. The vehiclecan then be
parked up for along period of time. 218
CareMaintenanc
eand care
Page 238 of 261
Important safety notes
G
WARNING
If wheels an dtyres of the wrong size are used,
the whee lbrakes or suspension components
may be damaged. There is arisk of an acci-
dent.
Always replace wheels and tyres with those
that fulfi lthe specifications of the original
part.
When replacing wheels, make sure to fit the
correct:
R designation
R type
When replacing tyres, make sure to fit the
correct:
R designation
R manufacturer
R type G
Warning
Af lat tyre severely impairs the driving, steer-
ing and braking characteristics of the vehicle.
There is arisk of an accident.
Do not drive with aflat tyre. Immediately
replace the flat tyre with yours parew heel, or
consult aqualified specialist workshop.
Accessorie sthat are not approved for yourv ehi-
cle by Mercedes-Benz or are not being used cor- rectly can impair the operating safety.
Before purchasing and using non-approved
accessories, visit aqualified specialist work-
shop and enquire about:
R suitability
R lega lstipulations
R factory recommendations
Further information regarding wheels and tyres
can be found under "Wheel/tyre combinations"
(Y page2 46).
You can ask for information regarding permitted
wheel/tyre combinations at aMercedes-Benz
Service Centre. Information on tyre pressure can be found:
R on the tyre pressure table in the fuel fille rflap
(Y page 109)
R under "Tyre pressure" (Y page 238)
Modification work on the brake system and
wheelsisn ot permitted, nor is the use of spacer
plates or brake dust shields. This invalidates the general operating permit for the vehicle.
i Further information on wheelsa
nd tyres can
be obtained at any qualifieds pecialist work-
shop. Operation
Info
rmatio nondriving
When th evehicl eish eavily laden ,check thet yre
pressures and adjust them prio rtoatrip.
While driving ,pay attention to vibrations, noises
and unusual handlin gcharacteristics ,e.g.p ull-
ing to on eside .This may indicat ethatthe
wheels or tyres are damaged. If you suspec tthat
at yreisd efective, reduce your spee dimmedi-
ately. Stop th evehicl eass oonasp ossible to
chec kthe wheels and tyres for damage. Hidden
tyr ed amag ecould also be causing th eunusual
handlin gcharacteristics .Ifyou fin dnos ignsof
damage, hav ethe tyres and wheels checke data
qualified specialist workshop.
When parking your vehicle, mak esuren otto
squas hthe tyre. If you canno tavoi dd riving over
obstacles, e.g. kerbs ,dososlowly and at an
obtuse angle only. You could otherwise damage
th ew hee lrim sa nd tyres. Regular checking of wheels an
dtyres G
WARNING
Damaged tyres can caus etyre inflation pres-
sure loss. As aresult, you coul dlose control of
yourv ehicle. There is arisk of accident.
Check the tyres regularl yfor signs of damage
and replace any damaged tyres immediately.
Check wheels and tyres for damage at least
once amonth. Check wheels and tyres after
driving off-road or on roug hroads. Damaged
wheels can caus ealoss of tyre pressure. Operation
235Wheels and tyres Z
Page 246 of 261
Brazil
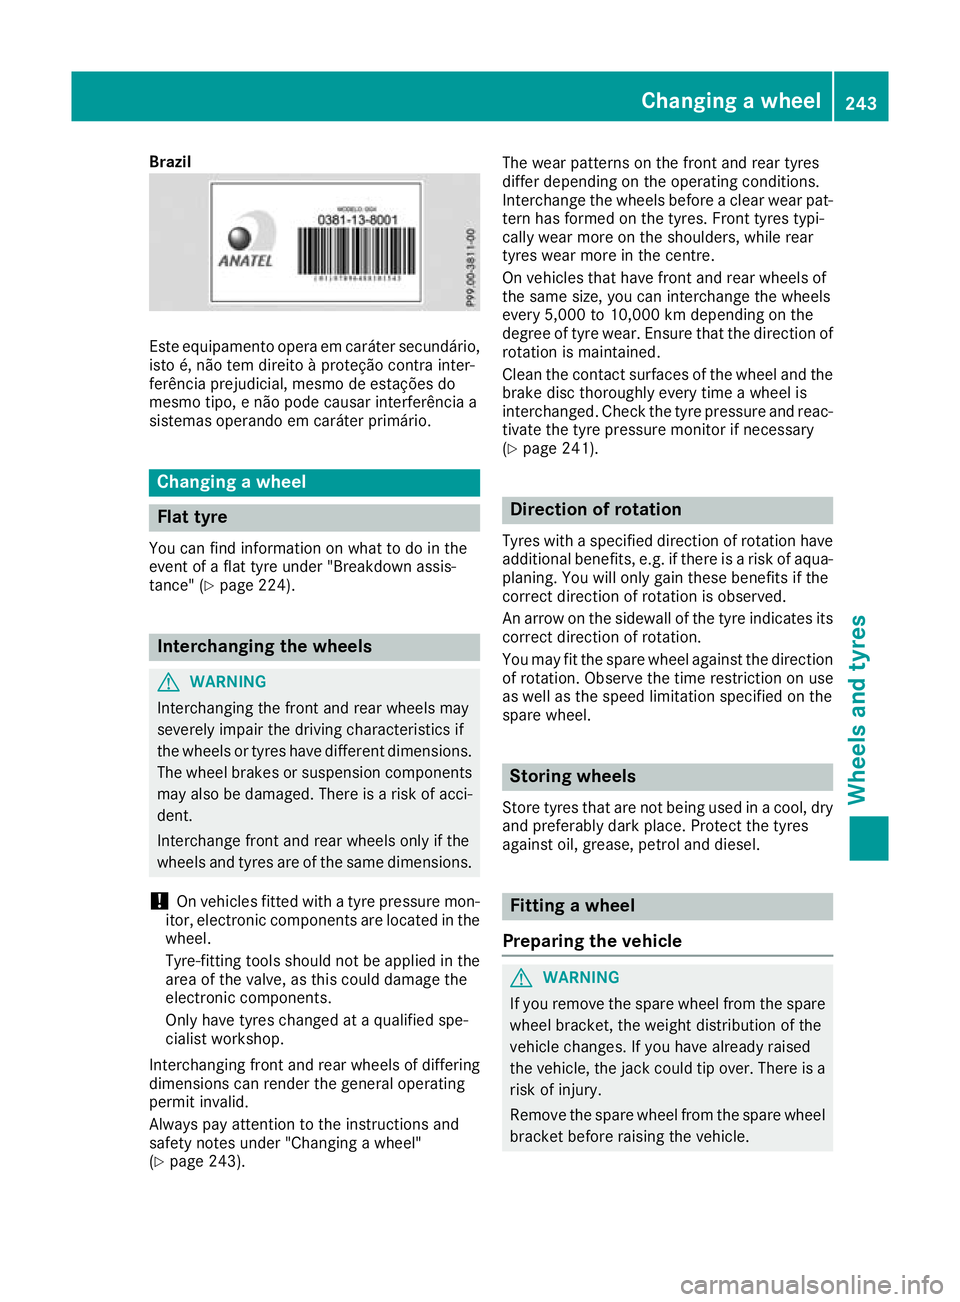
Este equipamento opera em caráte
rsecundário,
isto é, não tem direito àproteçã ocontra inter-
ferênci aprejudicial ,mesmo de estaçõe sdo
mesmo tipo, enão pode causa rinterferência a
sistemas operando em caráte rprimário. Changin
gawheel Flat tyre
You can fin dinformation on what to do in the
event of aflat tyr eunder "Breakdown assis-
tance" (Y page 224). Interchanging th
ewheels G
WARNING
Interchangin gthe front and rear wheels may
severely impair the driving characteristics if
the wheels or tyres have different dimensions. The whee lbrakes or suspension components
may alsobed amaged. There is arisk of acci-
dent.
Interchange front and rear wheels only if the
wheels and tyres are of the same dimensions.
! On vehicles fitted with
atyre pressure mon-
itor, electronic components are located in the wheel.
Tyre-fitting tools should not be appliedint he
area of the valve ,asthis coul ddamage the
electronic components.
Only have tyres changed at aqualified spe-
cialist workshop.
Interchanging front and rear wheels of differing
dimensions can render the genera loperating
permi tinvalid.
Always pay attention to the instructions and
safety notes under "Changing awheel"
(Y page2 43). The wear patterns on the front and rear tyres
diffe
rdepending on the operating conditions.
Interchange the wheels before aclear wear pat-
tern has formed on the tyres. Frontt yres typi-
cally wear more on the shoulders, while rear
tyres wear more in the centre.
On vehicles that have front and rear wheels of
the same size, you can interchange the wheels
every 5,000 to 10,00 0kmd epending on the
degree of tyre wear. Ensure that the direction of
rotation is maintained.
Clean the contact surfaces of the wheel and the
brake disc thoroughly every time awheel is
interchanged. Check the tyre pressure and reac-
tivate the tyre pressure monitor if necessary
(Y page 241). Direction of rotation
Tyres with aspecifie ddirection of rotation have
additional benefits, e.g. if there is ariskofa qua-
planing. You will only gain these benefit sifthe
correc tdirection of rotation is observed.
An arrow on th esidewall of th etyrei nd icates its
correc tdirection of rotation.
You may fit th espar ewhee lagainst th edirection
of rotation .Observ ethe time restriction on use
as well as th espeed limitation specifie donthe
spar ewheel. Storin
gwheels
Storet yres that are not being used in acool, dry
and preferably dark place. Protect the tyres
against oil, grease, petrol and diesel. Fitting
awheel
Preparing th evehicle G
WARNING
If yo uremove the spar ewhee lfrom the spare
whee lbracket, the weight distributio nofthe
vehicl echanges .Ifyou have already raised
the vehicle, the jack coul dtip over. There is a
risk of injury.
Remove the spar ewhee lfrom the spar ewheel
bracket before raising the vehicle. Changing
awheel
243Wheels an dtyres Z
Page 256 of 261
i
If the engine oils listed on the table are not
available, you may top up with the following
engine oils until the next oil change:
R MB-Freigabe or MB-Approval 229.3, 229.5
or ACEA C3
It may be used only once and the topping-up
quantity must not exceed 1.0 l.
Fillin gcapaciti es Th
ef ollowing values refer to an oil change,
including the oil filter. Model Replacement
amount G3
50dPROFESSIONAL 12.5 l
Ad
diti ves !
Do not use any additives wit
hthe engine oil.
This could damage the engine. Brake fluid
G
WARNING
The brake fluid continuously absorbs mois-
ture from the air. This results in the boiling
point of the brake fluid lowering. If the boiling
point of the brake fluid is too low, vapour
pockets may form when the brakes are sub-
jected to aheavy load. This would impair brak-
ing efficiency. There is arisk of an accident.
Have the brake flui drenewe datthe prescri-
bed intervals.
Comply with the important safety notes for ser- vice products when handling brake fluid
(Y page2 50).
Only use brake flui dapproved by Mercedes-
Benz according to MB-Freigabe or MB-Approval
331.0.
Information about approved brake flui dcan be
obtained at any qualified specialist worksho por
on the Internet at
http://bevo.mercedes-benz.com.
i Have the brake flui
dregularl yreplaced at a
qualified specialist worksho pinaccordance
with the replacement interval sand the
replacement confirmed in the service report. Coolant
Im portant safety notes G
WARNING
If antifreeze come sinto contact with hot com-
ponents in the engine compartment, it may
ignite. There is arisk of fire and injury.
Let the engine cool downb efore you top up
the antifreeze .Make sure that antifreeze is
not spilled next to the filler neck. Thoroughly
clea nthe antifreeze from components before
starting the engine.
! Only add coolant that has been premixed
with the desired antifreeze protection. You
coul dotherwise damage the engine.
Further information on coolants can be found in the Mercedes-Benz Specifications for Ser-
vice Products, MB Specifications for Service
Products 310.1, e.g. on the Internet at
http://bevo.mercedes-benz.com .Orcontact
aq ualified specialist workshop.
! Always use
asuitable coolant mixture, even
in countries where high temperatures prevail.
Otherwise, the engine cooling system is not
sufficiently protected from corrosio nand
overheating.
i Have the coolant regularl
yreplaced at a
qualified specialist worksho pand the replace-
ment confirmed in the service report.
Comply with the important safety notes for ser- vice products when handling coolant
(Y page2 50).
The coolant is amixture of water and anti-
freeze/anti-corrosion additive. It is responsible
for the following:
R anti-corrosion protection
R antifreeze protection
R raising the boiling point
If antifreeze/corrosio ninhibitor is present in the
correct concentration, the boiling point of the
coolant willbea round 130 †. Service products and capacities
253Technical data Z
Page 259 of 261

Carefully depress th
eaccelerato rpedal and
mak esure that th ewheel sdon otspin when
driving on steep terrain.
i If th
eload on th efront axle is reduced when
pullin gaway on asteep uphill slope, th efront
wheel shave atendenc ytos pin .4ETSr ecog-
nises this and brakes th ewheel saccordingly.
The rear wheel torque is increased and it is
easie rtop ull away.
Further informatio nonthemaximum gradient
climbin gabilit y(Ypage 122). Trailer to
whitch Permissible trailer load, braked (at a
minimu mgradient-climbing capabil-
ity of 12% from astandstill) Model
G3
50dPROFES-
SIONAL 3200 kg
Permissible trailer load, unbraked
Model
G3
50dPROFES-
SIONAL 750 kg
Maximum drawbar load
! Use
adrawbar noseweight as close as pos-
sibl etot he maximu mpermissible nose-
weight. Do not use anoseweight of less than
50kg, otherwise the trailer may come loose.
Note that the payloada nd the rear axle load
are reduced by the actua lpayload.
The drawbar loadr educes the permissible over-
all loa dand rear axle load.
The drawbar loada cts from above onto the ball
hea dont he trailer tow hitch.
The drawbar loa disnot included in the trailer
load. Model Permissiblen
ose-
weight G3
50dPROFES-
SIONAL 140 kg You can secure carrier systems, e.g
.bicycle
rack sorl oad-bearing devices, to the ball cou-
pling. The maximum payload of 75 kg applies
when carrier systems are attached to the ball
coupling. Permissible rear axle load during
trailer towing
Model Permissibl
eaxle
load G3
50dPROFES-
SIONAL 1900 kg256
Trailer tow hitchTechnical data