2016 MERCEDES-BENZ G-CLASS SUV battery
[x] Cancel search: batteryPage 96 of 261
X
Insert new battery =with the lettering facing
upwards. X
Slide battery cover :onto the remote con-
trol in the opposite direction to the arrow until it engages.
X Use the remote control to check the vehicle's
auxiliary heating functions.
Problems with the auxiliary heating/ventilation Problem
Possible causes/con
sequences andM
MSolutions FAIL
¨ The signal transmission between the transmitter and the vehicle is
faulty.
X
Change your position in relation to the vehicle, moving closer if
necessary. FAIL The auxiliary heating or auxiliary ventilation cannot be switched on or
has switched itself off.
The starter battery is not sufficiently charged.
X Charge the starter battery. The fuel level has dropped into the reserve range.
X Refuel at the nearest filling station. The auxiliary heating or auxiliary ventilation is faulty.
X Have the auxiliary heating or auxiliary ventilation checked at a
qualified specialist workshop. The auxiliary heating or auxiliary ventilation was started more than
twice when the engine was switched off.
X Switch on the engine and let it run for more than 10 seconds. The battery symbol on
the left of the remote
control display is shown
as empty. The remote control battery is discharged.
X Replace the remote control battery (Y page 92).Air ven
ts Important safety notes
G
WARNING
Very ho torvery cold air can flow from the air
vents. This coul dresult in burns or frostbite in
the immediate vicinity of the air vents. There
is ar isk of injury.
Make sure that all vehicl eoccupants always
maintai nasufficient distance to the air out-
lets. If necessary, redirect the airflow to
another area of the vehicl einterior. In order to ensure the direct flow of fresh air
through the air vents into the vehicle interior,
please observe the following notes:
R keep the air inlet betwee nthe windscree nand
the bonnet free of blockages, such as ice,
snow or leaves
R never cover the vents or ventilation grilles in
the vehicle interior
i For virtually draught-free ventilation, adjust
the sliders of the air vents to the centre posi- tion.
i If the automatic climate control regularly
deviates from the selected temperature or is Airv
ents
93Climatecont rol Z
Page 101 of 261
Deactivating/activating th
eECO start/
stop function X
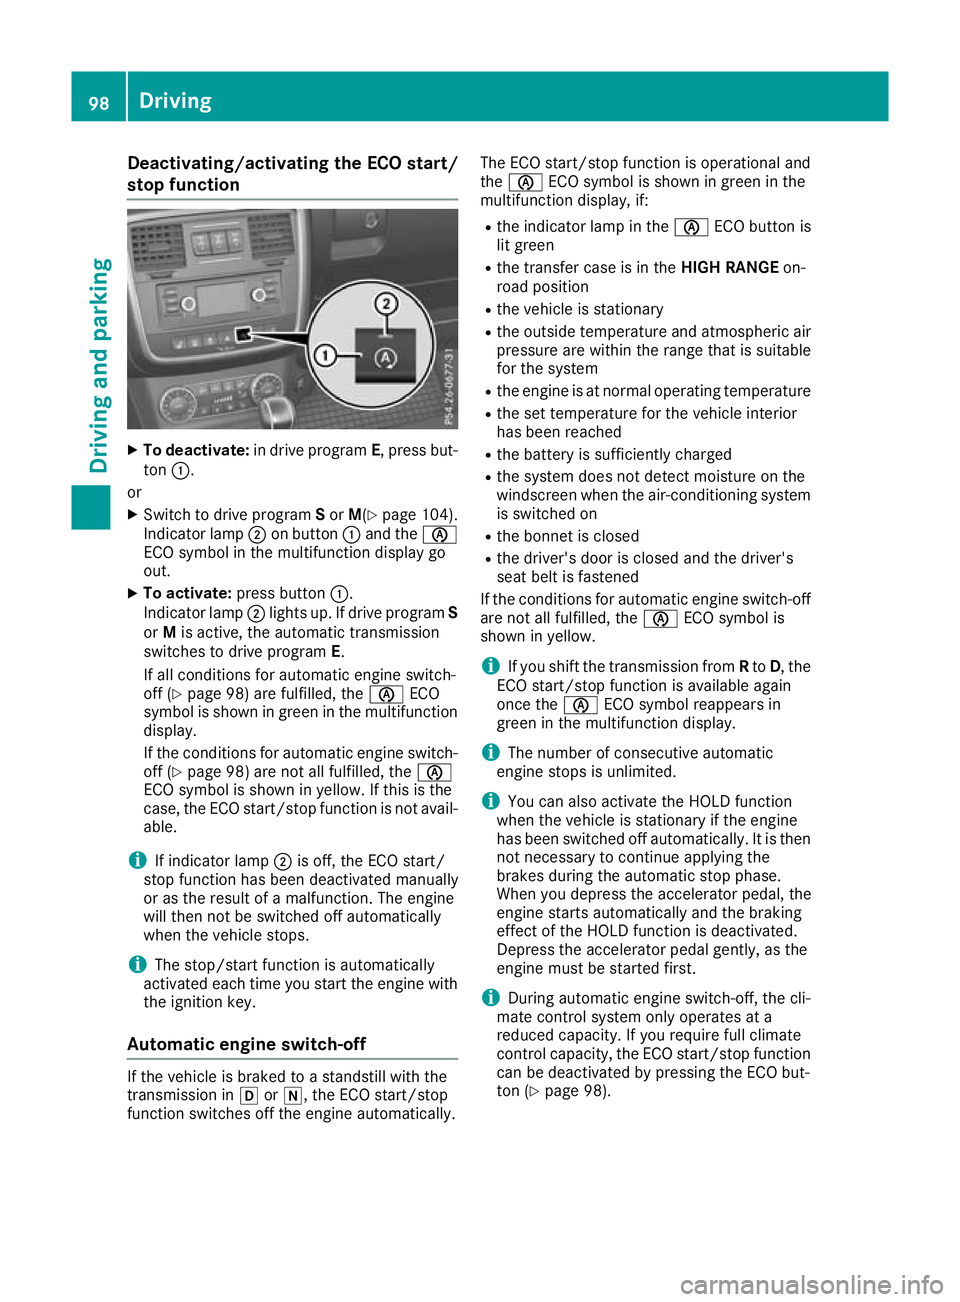
To deactivate: in drive program E,press but-
ton :.
or
X Switch to drive program Sor M(Y page 104).
Indicato rlamp ;on button :and the è
ECO symbo linthe multifunctio ndisplay go
out.
X To activate: press button :.
Indicato rlamp ;lights up .Ifdrive program S
or Mis active, the automatic transmission
switches to drive program E.
If al lconditions for automatic engine switch-
off (Y page 98) are fulfilled, the èECO
symbo lisshown in green in the multifunction
display.
If the conditions for automatic engine switch-
off (Y page 98 )are not al lfulfilled, the è
ECO symbo lisshown in yellow .Ifthisist he
case, the ECO start/sto pfunctio nisn ot avail-
able.
i If indicator lamp
;is off, the ECO start/
stop functio nhasbeen deactivate dmanually
or as the resul tofamalfunction. The engine
will then not be switched off automatically
when the vehicl estops.
i The stop/start functio
nisa utomatically
activate deacht ime yo ustart the engine with
the ignition key.
Automati cengin eswitch-off If the vehicle is braked to
astandstill with the
transmission in hori,t he ECO start/stop
function switches off the engine automatically. The ECO start/stop function is operational and
the
è ECO symbol is shown in green in the
multifunction display, if:
R the indicator lamp in the èECO button is
lit green
R the transfer case is in the HIGH RANGEon-
road position
R the vehicle is stationary
R the outside temperature and atmospheric air
pressure are within the range that is suitable
for the system
R the engine is at normal operating temperature
R the set temperature for the vehicle interior
has been reached
R the battery is sufficiently charged
R the system does not detect moisture on the
windscreen when the air-conditioning system
is switched on
R the bonnet is closed
R the driver's door is closed and the driver's
seat belt is fastened
If the conditions for automatic engine switch-off are not all fulfilled, the èECO symbol is
shown in yellow.
i If you shift the transmission from
Rto D,t he
ECO start/stopf unction is availabl eagain
once the èECO symbol reappears in
green in the multifunction display.
i The number of consecutive automatic
engine stops is unlimited.
i You can also activate the HOLD function
when the vehicle is stationary if the engine
has been switched off automatically. It is then
not necessary to continue applying the
brakes during the automatic stop phase.
When you depress the accelerator pedal, the
engine start sautomatically and the braking
effect of the HOLD function is deactivated.
Depress the accelerator pedal gently, as the
engine must be started first.
i During automatic engine switch-off, the cli-
mate control system only operates at a
reduced capacity. If you require full climate
control capacity, the ECO start/stopf unction
can be deactivated by pressing the ECO but-
ton (Y page 98). 98
DrivingDriving and parking
Page 102 of 261
Automati
cengin estart Th
ee ngine is started automatically if:
R general:
- you switch off the ECO start/stopf unction
by pressing the ECO button
- you release the brakes when in transmis-
sion position hori,w hen the HOLD
function is inactive
R driver-induced:
- you release the brakes when in transmis-
sion position hori
- you depress the accelerator pedal
- you engage reverse gear k
- you move the transmission out of position
j
- you switch to drive program Sor M
- you unfasten your seat belt or open the
driver's door
R system-induced:
- the vehicle start storoll
- the brake system requires this
- the temperature in the vehicle interior devi-
ates from the set range
- the system detect smoisture on the wind-
screen when the air-conditioning system is
switched on
- the battery's charge status is too low i
Shifting the transmission to position
j
does not start the eng ine. Driving
99Drivingand park ing Z
Page 103 of 261
Problems with the engine
Problem
Possible causes/consequences and
M
MSolutions The engine does not
start. The starter motor
can be heard. R
The engine electronics are malfunctioning.
R The fuel supply is malfunctioning.
X Turn the key back to position gin the ignition lock before attempt-
ing to start the engine again.
X Restart the engine (Y page 96). Avoid excessively long and frequent
attemptstos tart the engine, as this (Y page 96) will drain the bat-
tery.
If the engine does not start after several attempts:
X Consult aqualified specialist workshop. The engine does not
start
.The starter motor
can be heard. The yellow reserve fuel warning
lamp is lit and the needle
of the fuel gauge shows
0. The fuel tank is empty.
X Refuel the vehicle.
X Bleed the fuel system (Y page 110).The engine does not
start
.You cannot hear
the starter motor. The on-board voltage is too low because the battery is too weak or
discharged.
X Jump-start the vehicle (Y page 227).
If the engine does not start despite attempt stojump-start it:
X Consult aqualified specialist workshop. The starter motor was exposed to excessively high thermal load.
X Allow the starter motor to cool down for approximately two minutes.
X Try to start the engine again.
If the engine still does not start:
X Consult aqualified specialist workshop. The coolant temperature
display is showing more
than 120 †. Adisplay
message may also
appear in the multifunc-
tion display and awarn-
ing tonem ay sound. The coolant level is too low. The coolant is too hot and the engine is not
being cooled sufficiently.
X Stop as soon as possible and allow the engine and the coolant to
cool down.
X Check the coolant level (Y page 215). Observe the warning notes
as you do so and top up the coolant if necessary. If the coolan
tlevel is correct, the radiator fan may be faulty. The cool-
ant is too hot and the engine is not being cooled sufficiently.
X If the coolant temperature is below1 20 †, you can continue driving
to the nearest qualifieds pecialist workshop.
X Avoid heavy loadsont he engine as you do so, e.g. driving in moun-
tainous terrain and stop-start traffic. 100
DrivingDriving and parking
Page 118 of 261

X
To apply: pull parking brake lever ;up
firmly.
Whe nthe ignition is switched on, the red J
indicator lamp in the instrument cluster lights up.
X To release: pull parking brake lever ;
slightly.
X Press release button :and guid eparking
brake ;down to the stop.
The J indicator lamp in the instrument
cluster goe sout.
The vehicl ecan also be braked during an emer-
genc ybyu sing the parking brake.
X To brake in an emergency: press and hold
release button :and carefull ypullp arking
brake lever ;upwards.
If yo udrive on we troads or dirt-covered surfa-
ces, roa dsalta nd/or dirt could get into the
parking brake.
In order to prevent corrosion and areduction in
the braking powe rofthe parking brake, observe
the following:
R pull the parking brake upwards with release
button :depresse dfrom time to time before
beginning ajourney
R drive for approximatel y100 ma tamaximum
speed of 20 km/h Parkin
gupthe vehicle
If you leave the vehicle parked up for longer than
four weeks, the battery may be damaged by
exhaustive discharging.
If you leave the vehicle parked up for longer than
six weeks, it may suffer from lack of use.
X Contact aqualified specialist workshop and
seek advice.
i You can obtain information on trickle charg-
ers from aqualified specialist workshop. Driving tips
General drivin
gtips
Important safety notes G
WARNING
If you switch off the ignition while driving,
safety-relevant functions are only available wit
hlimitations, or not at all. This could affect,
for example, th epower steerin gand th ebrake
boosting effect .You will requir econsiderably
mor eeffort to steer and brake. Ther eisarisk
of an accident.
Do not switch off th eignitio nwhile driving.
Drive sensibly –savef uel Observe the following tips to save fuel:
X The tyre sshould always be inflated to the rec-
ommended tyre pressure.
X Remove unnecessary loads.
X Remove roof carriers when they are not nee-
ded.
X Warm up the engine at low engine speeds.
X Avoid frequent acceleration or braking.
X Have all service and maintenance work car-
ried out at the specified intervals.
Fuel consumption also increases when driving in
cold weather, in stop-start traffic, on short jour- neys and in hilly terrain. Short journeys
! Vehicles with
adiesel particle filter: if the
vehicle is mostly driven for short distances, it
is possible that malfunction smay occur dur-
ing the automatic cleaning of the diesel par-
ticle filter. This may lead to fuel collecting in
the engine oil and cause engine failure. There- fore, if you frequently drive short distances,
you should take a20minute trip on amotor-
way or rural road at least every 500km. Brakes
Imp ortant safety notes G
WARNING
If you shift dow nonaslippery road surface in
an attempt to increas ethe engine's braking
effect, the drive wheels coul dlose their grip.
This increases the risk of skidding and having
an accident.
Do not shift downf or additionalengine brak-
ing on aslippery road surface. Drivingt
ips
115Driving an dparking Z
Page 126 of 261
Important safety notes
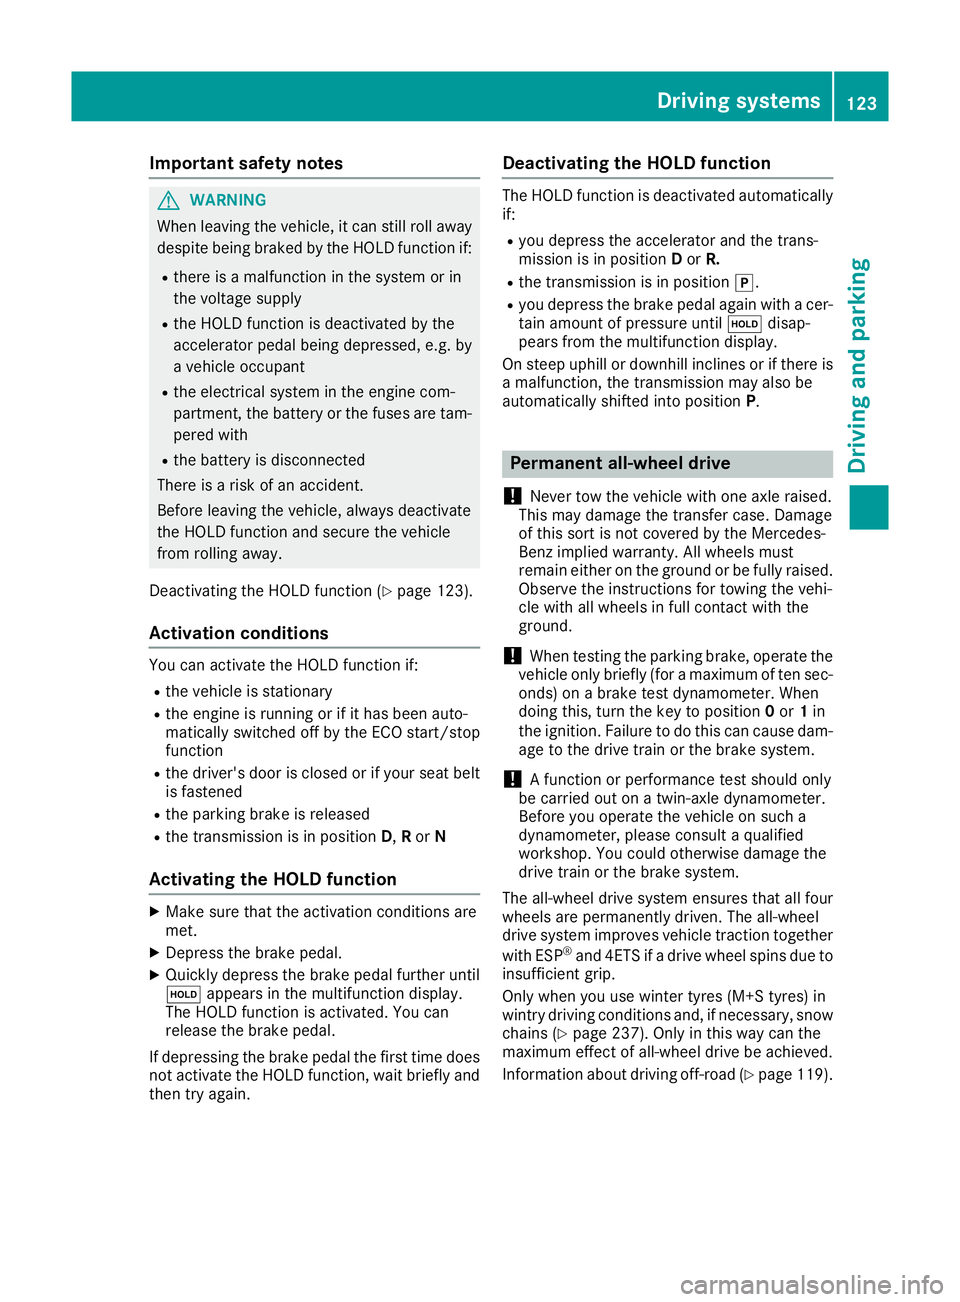
G
WARNING
When leavin gthe vehicle, it can still roll away
despite being braked by the HOLD function if:
R there is amalfunction in the system or in
the voltag esupply
R the HOLD function is deactivated by the
accelerator peda lbeing depressed, e.g. by
av ehicl eoccupant
R the electrica lsystem in the engine com-
partment, the battery or the fuses are tam-
pered with
R the battery is disconnected
There is arisk of an accident.
Before leaving the vehicle, alwaysd eactivate
the HOLD function and secure the vehicle
from rolling away.
Deactivating the HOLD function (Y page123).
Activation conditions You can activate the HOLD fun
ction if:
R the vehicle is stationary
R the engin eisrunning or if it has been auto-
matically switched off by the ECO start/stop
function
R the driver's door is close dorifyour seat belt
is fastened
R the parking brak eisreleased
R the transmission is in position D,Ror N
Activating th eHOLD function X
Make sure that the activation condition sare
met.
X Depress the brake pedal.
X Quickly depress the brake pedal further until
ë appears in the multifunction display.
The HOLD function is activated. You can
release the brake pedal.
If depressing the brake pedal the first time does not activate the HOLD function, wait briefly and
then try again. Deactivating the HOLD function The HOLD function is deactivated automatically
if:
R you depress the accelerator and the trans-
mission is in position Dor R.
R the transmission is in position j.
R you depress the brake pedal again with acer-
tain amount of pressure until ëdisap-
pears from the multifunction display.
On steep uphill or downhill inclines or if there is
am alfunction, the transmission may also be
automatically shifted into position P. Permanent all-wheel drive
! Never tow the vehicle with one axle raised.
This may damage the transfer case. Damage
of this sort is not covered by the Mercedes-
Benz implied warranty. All wheels must
remain either on the ground or be fully raised.
Observe the instructions for towing the vehi-
cle with all wheels in full contact with the
ground.
! When testin
gthe parking brake, operate the
vehicle only briefly (for amaximum of ten sec-
onds) on abrake test dynamometer. When
doing this, turn the key to position 0or 1in
the ignition. Failure to do this can cause dam- age to the drive train or the brake system.
! Af
unction or performanc etest should only
be carried out on atwin-axle dynamometer.
Before you operate the vehicle on such a
dynamometer, please consult aqualified
workshop. You could otherwise damage the
drive train or the brake system.
The all-wheel drive system ensures that all four
wheels are permanently driven. The all-wheel
drive system improves vehicle traction together with ESP ®
and 4ETS if adrive wheel spins due to
insufficient grip.
Only when you use winter tyres (M+S tyres) in
wintry driving condition sand, if necessary, snow
chains (Y page 237). Only in this way can the
maximum effect of all-wheel drive be achieved.
Information about driving off-road (Y page 119). Driving systems
123Driving and parking Z
Page 132 of 261

also applies in countries in whic
hthe maximum
permissible spee dfor car/trailer combinations
is greate rtha n1 00 km/h.
When towing atrailer, your vehicle's handling
characteristics will be differen ttowhen driving
without atrailer and th evehicle will consume
mor efuel.
Driving tips R
Maintain agreater distance to the vehicle in
front than when driving without atrailer.
R Avoid braking abruptly. If possible, brake gen-
tly at first to allow the trailer to run on. Then,
increase the braking force rapidly.
R The values given for gradient-climbing capa-
bilities from astandstill refer to sea level.
When driving in mountainous areas, note that
the power output of the engine, and conse-
quently the vehicle's gradient-climbing capa-
bility from astandstill, decrease with increas-
ing altitude.
If the trailer swings from side to side:
X Do not accelerate under any circumstances.
X Do not countersteer.
X Brake, if necessary. Coupling up
atrailer
! Do no
tconnect th etrailer brak esystem (if
th et railer is fitte dwitho ne)d irectly to the
towing vehicle's hydraulic brak esystem,
since this is equipped wit hananti-lock brak-
ing system. Otherwise, neither th ebrakes on
th et ow ing vehicle no rthe brakes on the
trailer will work.
Observ ethe maximum permissible trailer
dimension s(widt hand length).
X Apply th evehicle's parking brake.
X Mak esure that th eautomatic transmission is
in transmission position P.
X Positio nthe trailer on aleve lsurface behind
th ev ehicle.
X Couple up th etrailer.
X Establish th eelectrical connection between
th ev ehicle and th etrailer.
X Chec kthatthe trailer lighting system is work-
ing.
X Push th ecombinatio nswitch upward sand
downwards and check whether th ecorre- sponding tur
nsignal indicator on the trailer is
flashing.
Ac onnected trailer is only detected when the
electrical connection is established correctly
and when the lighting system is working prop-
erly. The function of other systems, such as
ESP ®
also depends on this. Uncoupling
atrailer G
WARNING
If you uncouple atrailer with an engaged over-
run brake, you coul dtrap yourh and between
the vehicl eand the trailer drawbar. This poses
ar isk of injury.
Do not uncouple atrailer with an engaged
overru nbrake.
! Do not disconnect
atrailer with an engaged
overru nbrake. Otherwise, yourv ehiclecould
be damaged by the rebounding of the overrun brake.
X Apply the parking brake.
X Make sure that the automatic transmission is
in transmission position P.
X Secure the vehicl eand trailer against rolling
away.
X Close all doors, including the rear door.
X Remove the trailer cable.
X Uncoupl ethe trailer. Traile
rpower supply
! Yo
uc an connect accessories with amaxi-
mu mp ower consumption of 180 Wtothe
permanent powe rsupply.
Yo um ustn ot charge atrailer battery using the
powe rsupply.
The trailer socket of your vehicl eisequippe dat
the factory with apermanent powe rsupply.
The permanent powe rsuppl yiss upplie dvia
trailer socket pi n9.
Yo uc an find mor einformatio nabout installing
the trailer electrics at aquali fied specialis twork-
shop. Towin
gatrailer
129Driving an dparking Z
Page 143 of 261
When the auxiliary heating is switched on,
make sure that:
R no flammable materials come into contact
with hot vehicle components
R the exhaust gas can escape from the
exhaust pipe unhindered
R the exhaust gas does not come into contact
with flammable materials.
! Operatin
gthe auxiliary heating/ventilation
draws on the vehicle battery. After you have
heated or ventilated the vehicle amaximum of
two times, drive for alonger distance.
Only vehicles with auxiliary heating have this
function (Y page 89).
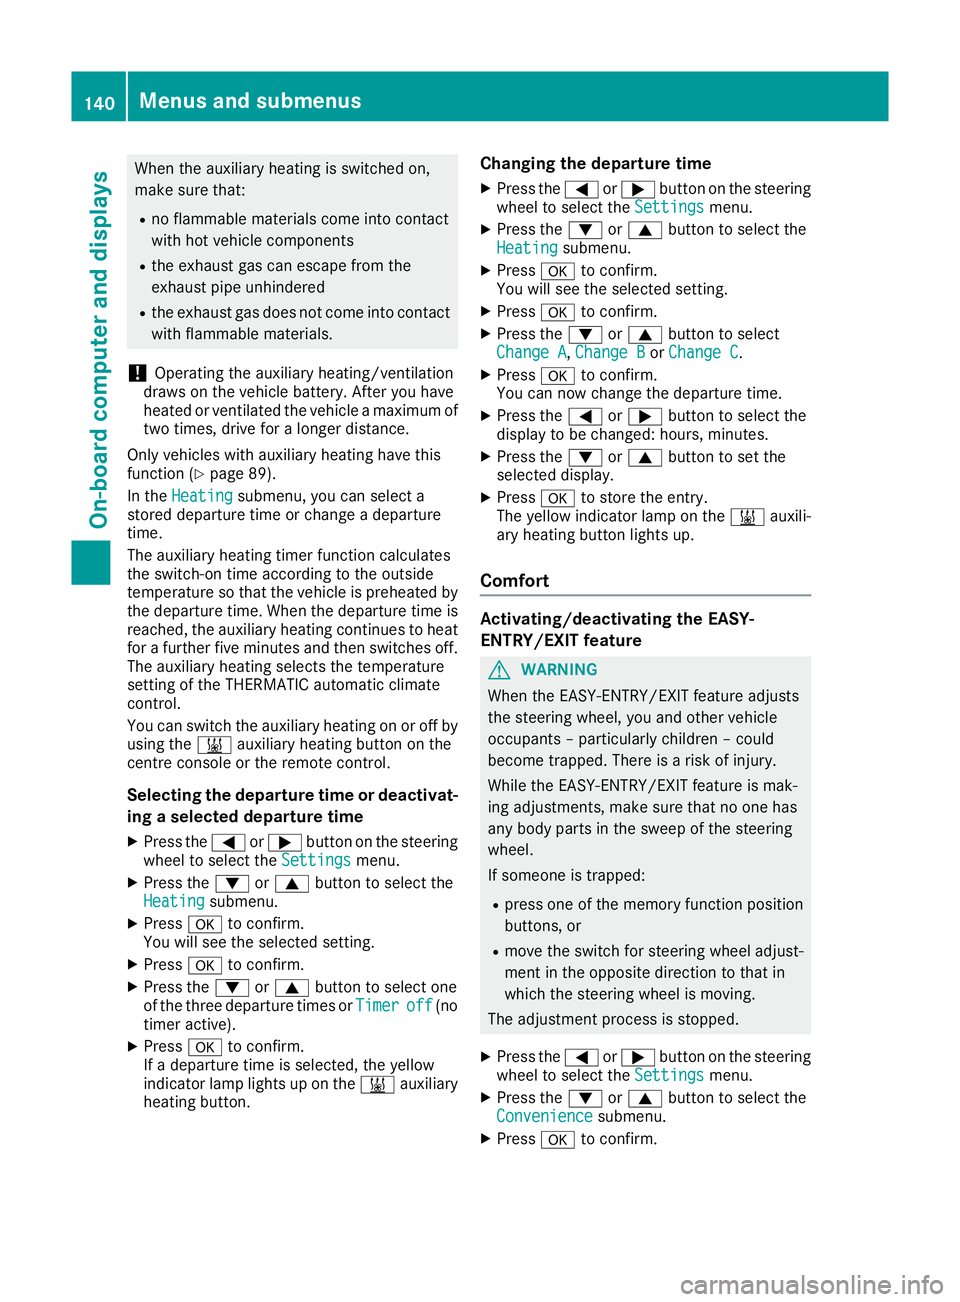
In the Heating Heating submenu, you can select a
stored departure time or change adeparture
time.
The auxiliary heating timer function calculates
the switch-on time accordin gtothe outside
temperature so that the vehicle is preheated by the departure time. When the departure time isreached, the auxiliary heating continues to heat for afurther five minutes and then switches off.
The auxiliary heating selects the temperature
setting of the THERMATIC automatic climate
control.
You can switch the auxiliary heating on or off by
using the &auxiliary heating button on the
centre console or the remot econtrol.
Selecting the departure time or deactivat- ing aselected departure time
X Press the =or; button on the steering
wheel to select the Settings Settingsmenu.
X Press the :or9 button to select the
Heating
Heating submenu.
X Press ato confirm.
You will see the selected setting.
X Press ato confirm.
X Press the :or9 button to select one
of the three departur etimes or Timer
Timeroff
off(no
timer active).
X Press ato confirm.
If ad eparture time is selected, the yellow
indicator lamp lights up on the &auxiliary
heating button. Changing the departure time
X
Press the =or; buttonont hesteering
wheel to selec tthe Settings Settings menu.
X Pres sthe : or9 button to selec tthe
Heating
Heating submenu.
X Press ato confirm.
Yo uw ill see the selected setting.
X Press ato confirm.
X Press the :or9 button to select
Change A Change A, Change B
Change BorChange C
Change C.
X Press ato confirm.
You can now change the departure time.
X Press the =or; button to select the
displaytobec hanged: hours, minutes.
X Press the :or9 button to set the
selected display.
X Press ato store the entry.
The yellow indicator lamp on the &auxili-
ary heating button lights up.
Comfort Activating/deactivating the EASY-
ENTRY/EXIT feature
G
WARNING
When the EASY-ENTRY/EXI Tfeature adjusts
the steering wheel, you and other vehicle
occupants –particularl ychildren –could
become trapped. There is arisk of injury.
Whil ethe EASY-ENTRY/EXIT feature is mak-
ing adjustments, make sure that no one has
any body parts in the swee pofthe steering
wheel.
If someone is trapped:
R press one of the memory function position
buttons, or
R move the switch for steering whee ladjust-
ment in the opposite direction to that in
which the steering whee lismoving.
The adjustment process is stopped.
X Press the =or; button on the steering
whee ltoselect the Settings Settings menu.
X Press the :or9 button to select the
Convenience
Convenience submenu.
X Press ato confirm. 140
Menu
sand submenusOn-boar dcomputer and displays