Page 148 of 261

Display messages
Possible causes/consequence
sand M
MSolutions 6
Rear left malfunc‐ Rear left malfunc‐
tion Consult work‐ tion Consult work‐
shop shop
orRear right
Rear right
malfunction
malfunction Consult
Consult
workshop
workshop The rear left-hand or right-hand restraint system has malfunctioned.
The 6 warning lamp also lights up in the instrument cluster.
G WARNING
The airbags or belt tensioners may either be triggered unintentionally or, in the event of an accident, may not be triggered.
This poses an increased risk of injury.
X Consult aqualified specialist workshop. 6
Rear Rear
centre
centre malfunc‐
malfunc‐
tion Consult work‐
tion Consult work‐
shop shop The rear centre restraint system has malfunctioned. The
6warning
lamp also lights up in the instrument cluster.
G WARNING
The airbags or belt tensioners may either be triggered unintentionally or, in the event of an accident ,may not be triggered.
This poses an increased risk of injury.
X Consult aqualified specialist workshop. Lights
Display messages
Possible causes/consequence
sand M
MSolutions b
Left dipped beam Left dipped beam
(example) The bulb in question is faulty.
X Consult aqualified specialist workshop.
or X Check whether you are permitted to replace the bulb yourself
(Y page 78).
i LED light bulbs: the display message for the corresponding lamp
appears only when all the LEDsint he lamp have failed.b
Malfunction Malfunction
See
SeeOwn‐
Own‐
er's Manual
er's Manual The exterior lighting is faulty.
X Consult aqualified specialist workshop. b
AUTO lights inoper‐ AUTO lights inoper‐
ative ative The light sensor is faulty.
X
Consult aqualified specialist workshop. b
Remove key Remove key You have inserted the key into the ignition lock.
X Remove the key from the ignition lock. b
Switch off lights Switch off lights The lights are still switched on when you leave the vehicle.
Awarning
tonea lso sounds.
X Turn the light switch to the Ãposition. Display me
ssages
145On-board compute rand displays Z
Page 164 of 261

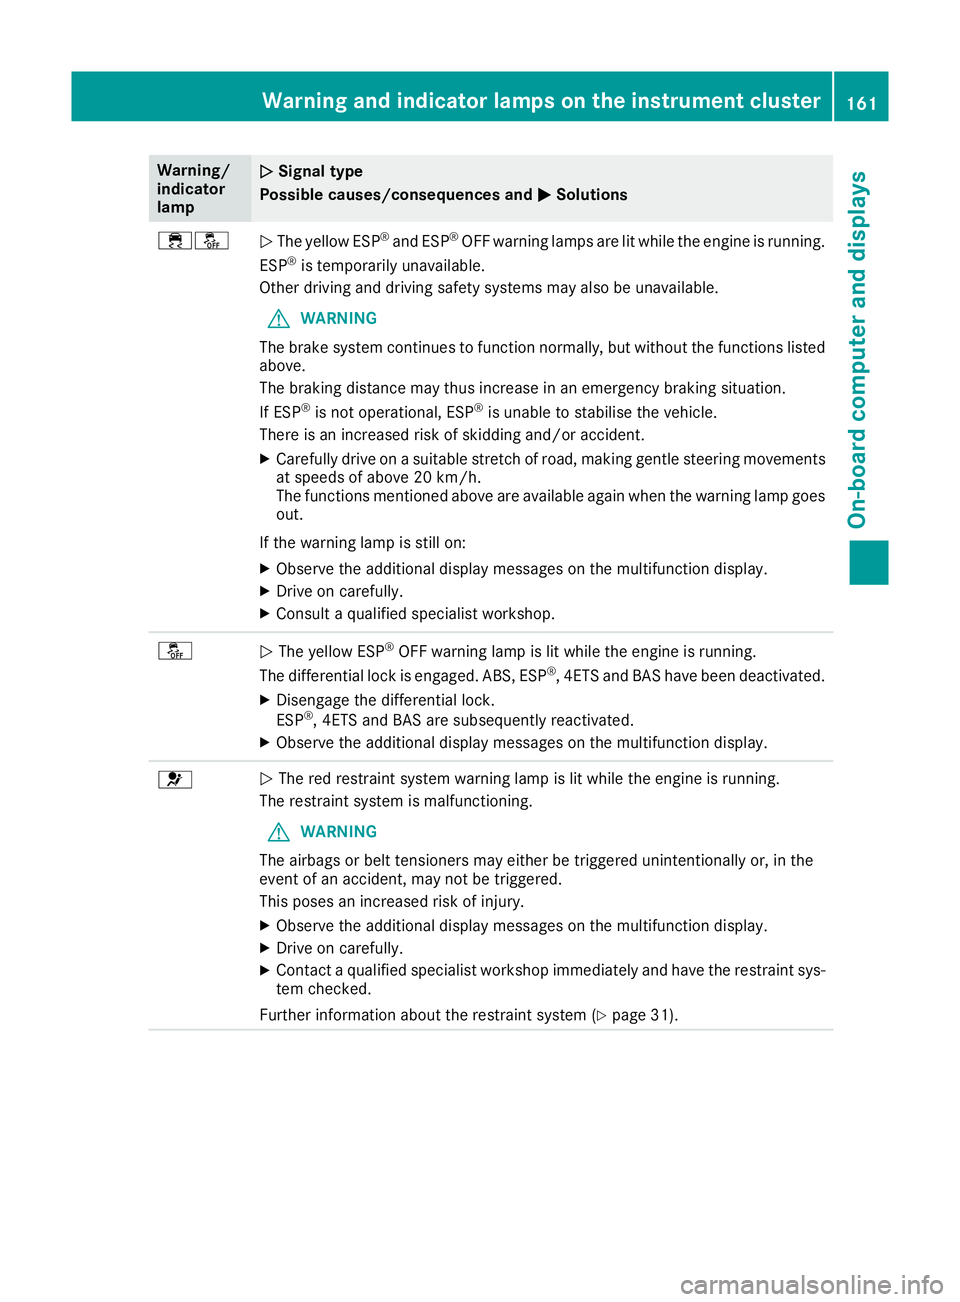
Warning/
indicator
lamp
N N
Signa ltype
Possible causes/consequences and M
MSolutions ֌
N
The yellow ESP ®
and ESP ®
OFF warning lamps are lit while the engine is running.
ESP ®
is temporarily unavailable.
Other driving and driving safety systems may also be unavailable.
G WARNING
The brake system continues to function normally, but without the functions listed above.
The braking distance may thus increase in an emergency braking situation.
If ESP ®
is not operational, ESP ®
is unable to stabilise the vehicle.
There is an increased risk of skidding and/or accident.
X Carefully drive on asuitable stretch of road, making gentle steerin gmovements
at speeds of above 20 km/h.
The functions mentioned above are available again when the warning lamp goes
out.
If the warning lamp is still on: X Observe the additional display messages on the multifunction display.
X Drive on carefully.
X Consult aqualified specialist workshop. å
N
The yellow ESP ®
OFF warning lamp is lit while the engine is running.
The differential lock is engaged. ABS,E SP®
,4 ETS and BAS have been deactivated.
X Disengage the differential lock.
ESP ®
,4 ETS and BAS are subsequently reactivated.
X Observe the additional display messages on the multifunction display. 6
N
The red restraint system warning lamp is lit while the engine is running.
The restraint system is malfunctioning.
G WARNING
The airbags or belt tensioners may either be triggered unintentionally or, in the
event of an accident ,may not be triggered.
This poses an increased risk of injury.
X Observe the additional display messages on the multifunction display.
X Drive on carefully.
X Contact aqualified specialist workshop immediately and have the restraint sys-
tem checked.
Further information about the restraint system (Y page 31).Warning and indicato
rlamps on the instrument cluster
161On-boardcomputer and displays Z
Page 223 of 261

Cleaning th
etrailer tow hitch !
Do not clean the bal
lcoupling with ahigh-
pressure cleaner. Do not use solvents.
! Please note the care instructionsint
he
trailer coupling manufacturer's operating
instructions. H
Environmental note
Dispose of oilya nd greasycloths in an envi-
ronmentally-responsible manner.
The ball coupling must be cleaned if it becomes dirt yorc orroded.
X Remov erust ,e.g.w ith aw ire brush.
X After cleaning ,lightly oil or greas ethe ball
coupling.
X Chec kthatthe vehicle' strailer to whitch is
working properly.
You can also have th emaintenanc ework on the
ball coupling and th etrailer to whitch carried out
by aq ualifie dspecialist workshop. Interior care
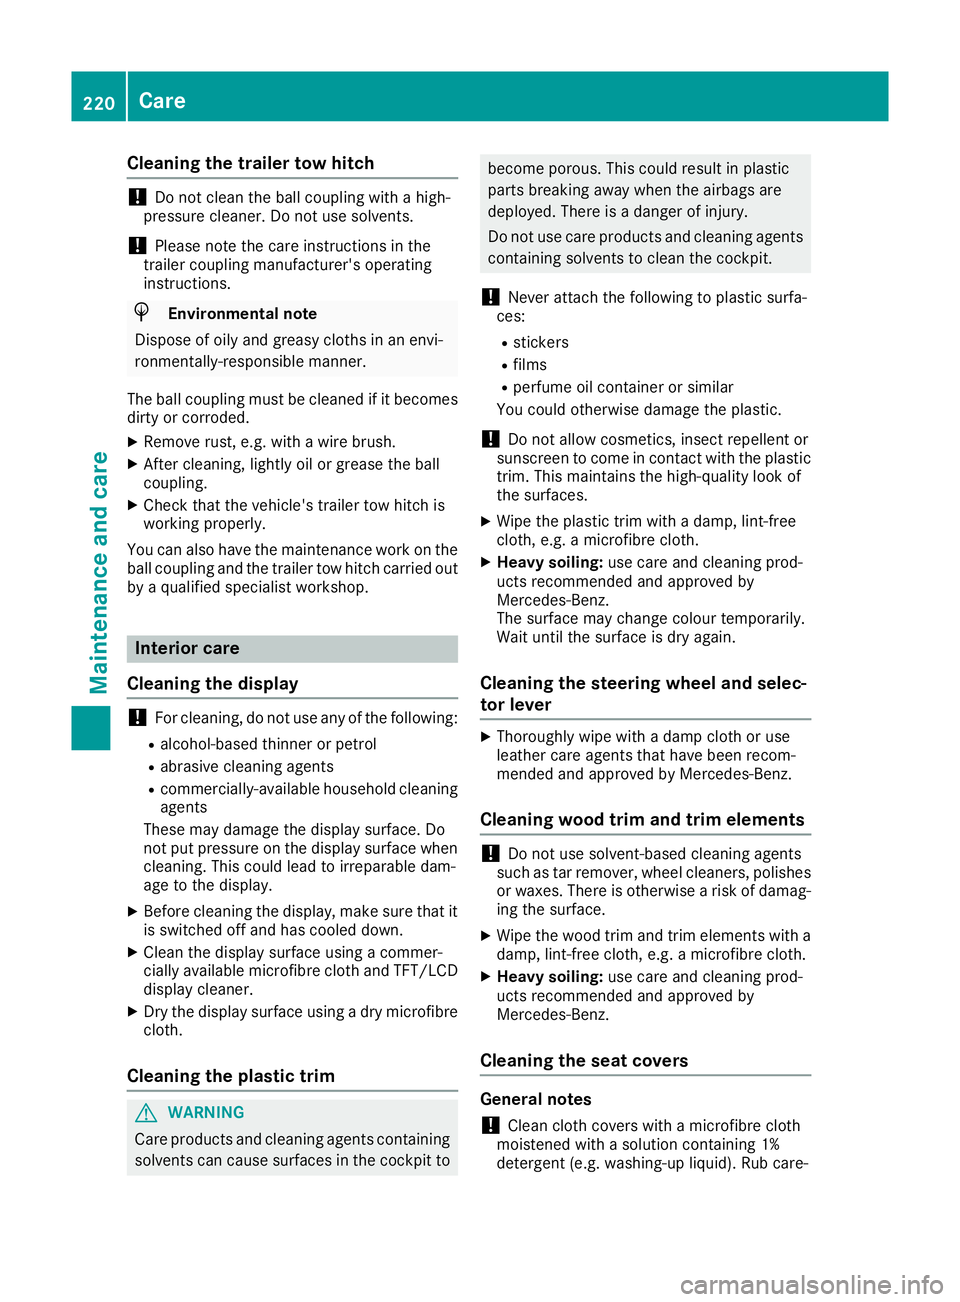
Cleaning th edisplay !
For cleaning, do not use any of the following:
R alcohol-based thinne rorpetrol
R abrasive cleaning agents
R commercially-available householdc leaning
agents
These may damage the displays urface. Do
not put pressure on the displays urface when
cleaning. This could lead to irreparable dam-
age to the display.
X Before cleaning the display, make sure that it
is switched off and has cooled down.
X Cleant he displays urface using acommer-
cially available microfibre cloth and TFT/LCD
displayc leaner.
X Dry the displays urface usingadry microfibre
cloth.
Cleaning the plastic trim G
WARNING
Care products and cleaning agents containing solvents can cause surfaces in the cockpit to become porous.T
his could result in plastic
parts breakin gaway when the airbags are
deployed. There is adanger of injury.
Do not use care product sand cleanin gagents
containin gsolvents to clean the cockpit.
! Never attac
hthe following to plastic surfa-
ces:
R stickers
R films
R perfume oil container or similar
You could otherwise damage the plastic.
! Do not allow cosmetics
,insec trepellent or
sunscreen to come in contact with the plastic trim .This maintains the high-quality look of
the surfaces.
X Wipe the plastic trim with adamp, lint-free
cloth, e.g. amicrofibre cloth.
X Heavy soiling: use care and cleanin gprod-
ucts recommended and approved by
Mercedes-Benz.
The surface may chang ecolour temporarily.
Wait until the surface is dry again.
Cleaning the steering wheel and selec-
tor lever X
Thoroughly wipe with adamp cloth or use
leather care agents that have been recom-
mended and approved by Mercedes-Benz.
Cleaning wood trim and trim elements !
Do not use solvent-based cleaning agents
such as tar remover, wheel cleaners, polishes
or waxes. There is otherwise arisk of damag-
ing the surface.
X Wipe the wood trim and trim elements with a
damp, lint-free cloth, e.g. amicrofibre cloth.
X Heavy soiling: use care and cleaning prod-
ucts recommended and approved by
Mercedes-Benz.
Cleaning the seat covers General notes
! Clean cloth covers with
amicrofibre cloth
moistened with asolution containing 1%
detergent (e.g. washing-up liquid). Rubc are-220
CareMaintenanc
eand care
Page:
< prev 1-8 9-16 17-24