2016 MERCEDES-BENZ G-CLASS SUV differential
[x] Cancel search: differentialPage 10 of 261

Setting the airflow ........................... 87
Setting the temperature .................. 86
Switching air-recirculation mode
on/of
f.............................................. 89
Switching on/of f.............................. 85
Switching residua lheato n/of f........ 89
Switching the rea rwindow heat-
ing on/of f........................................ 88
Switching the ZONE function
on/of f.............................................. 87
THERMATI Cautomatic climate
control (2-zone) ............................... 84
Cloc k(on-board computer) ............... 138
Cockpit
Overview .......................................... 25
COMAND display
Cleaning ......................................... 220
Combination switch ............................ 76
Constant headlamp mode
see Daytime driving lights
Consumptio nstatistics (on-board
computer) .......................................... 134
Coolant (engine)
Checking the level ......................... 215
Displa ymessage ............................ 146
Note s............................................. 253
Temperature gaug e........................ 131
Warning lamp ................................. 162
Cooling
see Climate control
Copyright ............................................. 24
Correc tuse ........................................ 165
Cup holder
Important safety notes .................. 206 D
Data seeT echnica ldata
Dat e(on-board computer) ................ 138
Daytime drivin glights
Displa ymessage ............................ 145
Switchin gon/of f(on-boar dcom-
puter) ............................................ .138
Switching on/off (switch) ................ 74
Declaration of conformity (multi-
media system) ................................... 165
Declarations of conformity ................. 22Delaye
dswitch-off
Exterio rlighting (on-boar dcom-
puter) ............................................ .138
Interior lighting .............................. 139
Destination
Entering ......................................... 182
Entering by address ....................... 182
Entering from destination mem-
ory ................................................. 183
Entering from the last destina-
tions .............................................. 183
Entering using the map .................. 184
Route guidance .............................. 187
Saving ............................................ 187
Selecting from points of interest ... 183
Diagnostic sconnection ..................... .23
Diesel .................................................. 251
Diesel particle filter .......................... 115
Differential lock
Disengaging .................................. .127
Front axle ...................................... 126
General notes ................................ 125
Rea raxle ........................................ 126
Transfe rcase ................................. 126
Differential locks ............................... 125
Engaging ........................................ 126
Terrain .......................................... .125
Digital speedometer ......................... 134
Dipped-beam headlamp
Switching on/off .............................. 74
Dipped-beam headlamps
Display message ............................ 145
Setting for driving abroad (sym-
metrical) .......................................... 74
Display message
ASSYST service interva ldispla y..... 215
Driving systems ............................ .149
Display messages
Calling up (on-board computer) ..... 141
Engine ............................................ 146
General information ....................... 141
Hiding (on-board computer) ........... 141
Key ................................................ 155
Lights ............................................. 145
Safety systems .............................. 142
Tyres .............................................. 150
Vehicle .......................................... .153 Index
7
Page 15 of 261
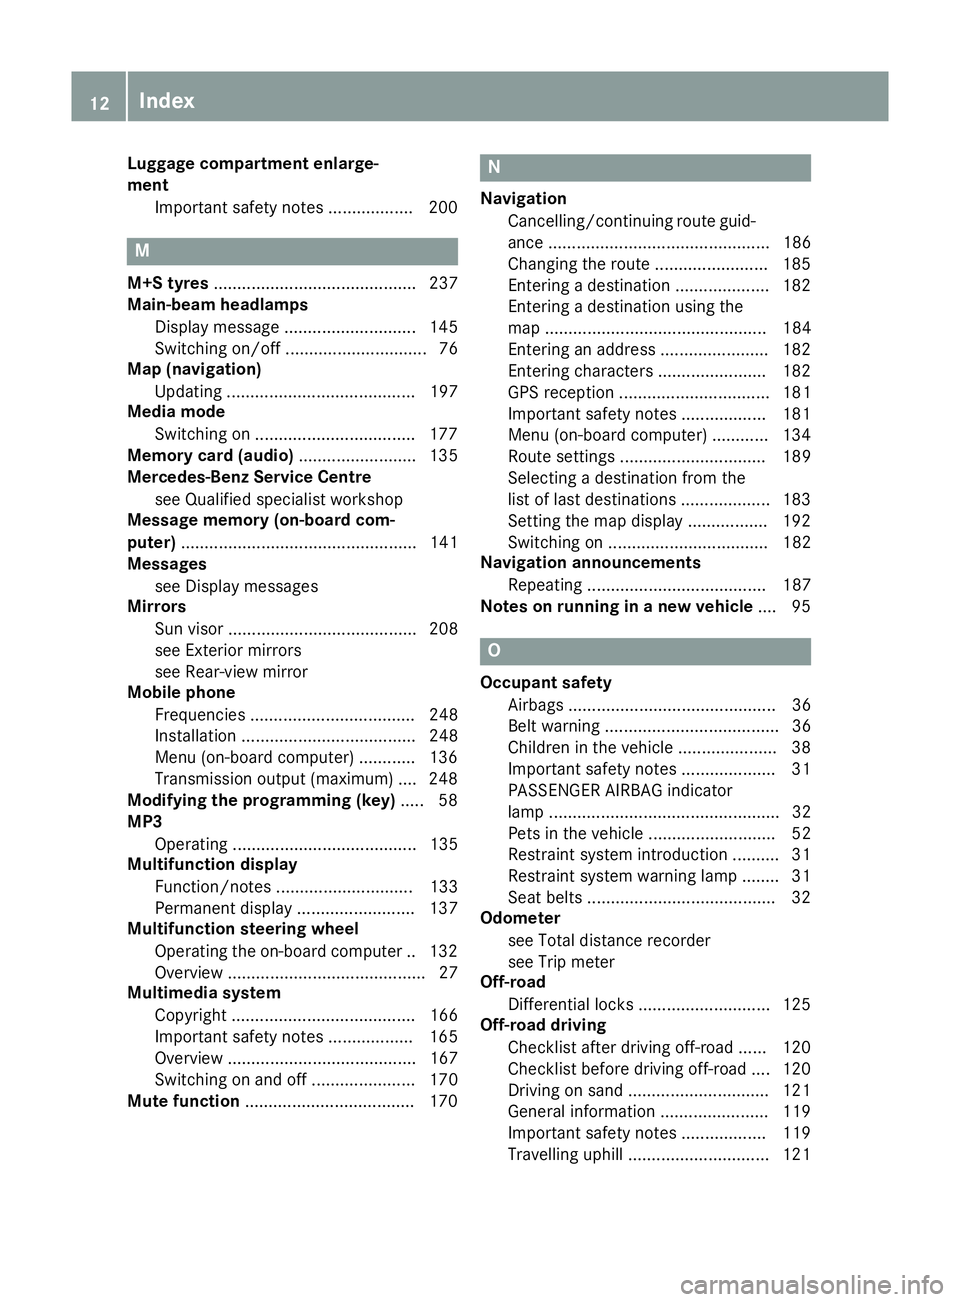
Luggage compartment enlarge-
ment
Important safet ynotes .................. 200 M
M+S tyres ........................................... 237
Main-beam headlamps
Display message ............................ 145
Switching on/off .............................. 76
Map (navigation)
Updating ........................................ 197
Media mode
Switching on ..................................1 77
Memory card (audio) ......................... 135
Mercedes-Ben zServic eCentre
see Qualified specialist workshop
Message memory (on-board com-
puter) .................................................. 141
Messages
see Display messages
Mirrors
Sun visor ........................................ 208
see Exterior mirrors
see Rear-view mirror
Mobile phone
Frequencies ................................... 248
Installation ..................................... 248
Menu (on-board computer) ............ 136
Transmission outpu t(maximum) .... 248
Modifying the programming (key) ..... 58
MP3
Operating ....................................... 135
Multifunction display
Function/notes ............................. 133
Permanent display ......................... 137
Multifunction steering wheel
Operating the on-board computer .. 132
Overvie w.......................................... 27
Multimedia system
Copyright ....................................... 166
Important safety notes .................. 165
Overvie w........................................ 167
Switching on and off ...................... 170
Mute function ................................... .170 N
Navigation Cancelling/continuing route guid-
ance ............................................... 186
Changing the route ........................ 185
Enterin gadestination .................... 182
Entering adestination using the
ma p............................................... 184
Entering an address ....................... 182
Entering characters ....................... 182
GP Sreception ................................ 181
Important safety note s.................. 181
Menu (on-board computer) ............ 134
Route settings ............................... 189
Selecting adestination from the
list of last destinations ................... 183
Setting the map display ................. 192
Switching on .................................. 182
Navigation announcements
Repeating ...................................... 187
Note sonr unnin ginan ewvehicle .... 95 O
Occupant safety Airbag s............................................ 36
Belt warning .....................................36
Children in th evehicle .................... .38
Important safety notes .................... 31
PASSENGER AIRBAG indicator
lamp .................................................32
Pets in the vehicle ........................... 52
Restraint system introduction ..........31
Restrain tsystem warnin glamp ........ 31
Seat belt s....................................... .32
Odometer
see Total distanc erecorder
see Tri pmeter
Off-road
Differential locks ............................ 125
Off-road driving
Checklist after drivin goff-road ...... 120
Checklist before drivin goff-road .... 120
Drivin gons and. ............................ .121
General information ...................... .119
Important safety notes .................. 119
Travelling uphill .............................. 121 12
Index
Page 57 of 261
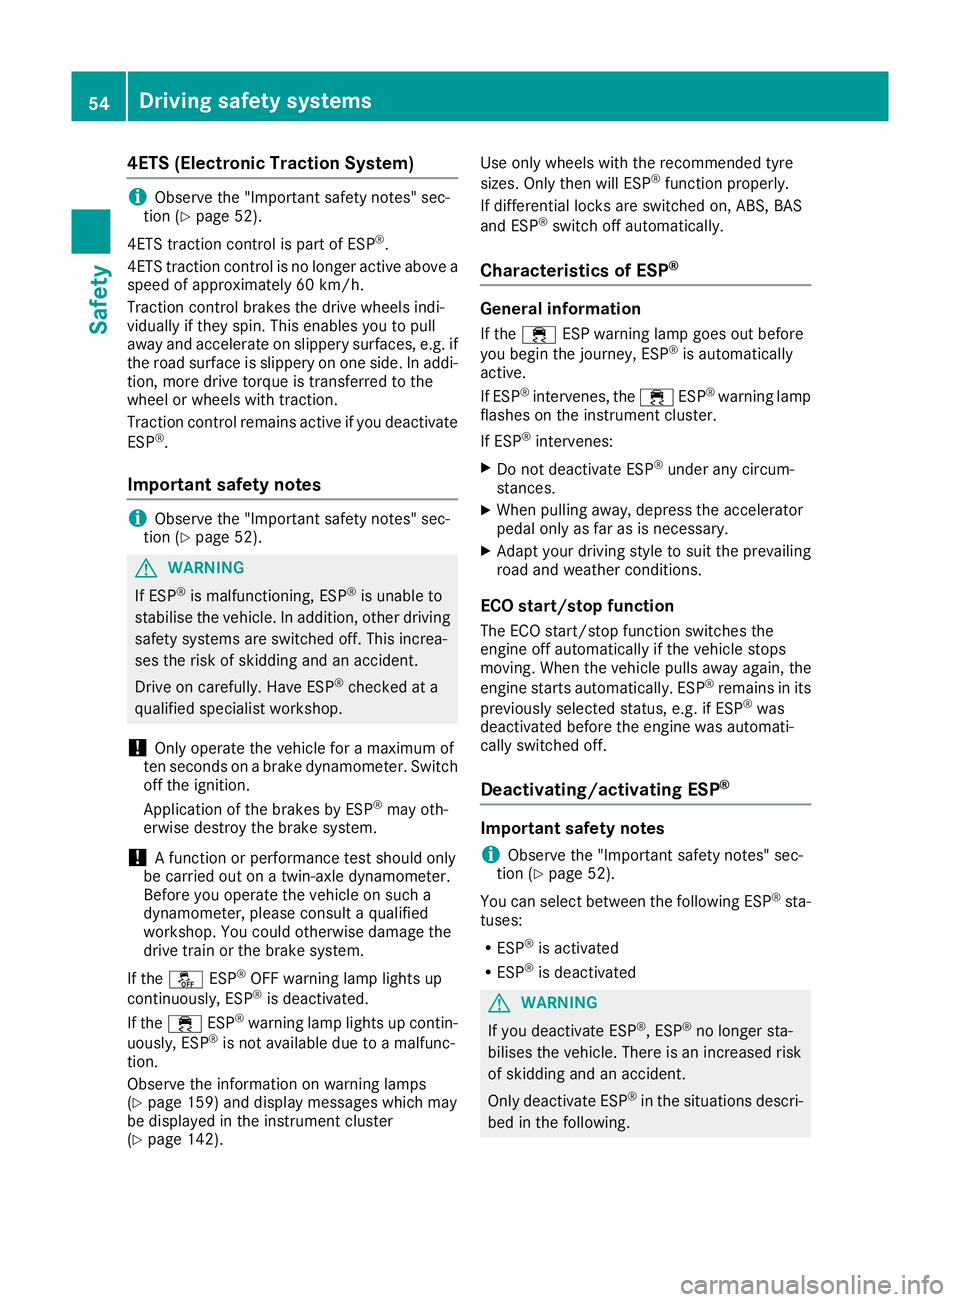
4ETS (Electronic Traction System)
i
Observ
ethe "Important safety notes" sec-
tion (Y page 52).
4ETS traction control is part of ESP ®
.
4ETS traction control is no longer active above a
speed of approximately 60 km/h.
Traction control brakes the drive wheels indi-
vidually if they spin. This enables you to pull
awaya nd accelerate on slippery surfaces, e.g. if
the road surface is slippery on one side. In addi-
tion, more drive torque is transferred to the
wheel or wheels with traction.
Traction control remains active if you deactivate
ESP ®
.
Important safety notes i
Observe the "Important safety notes" sec-
tion (Y page 52). G
WARNING
If ESP ®
is malfunctioning, ESP ®
is unable to
stabilise the vehicle. In addition, other driving
safety systems are switched off. This increa-
ses the risk of skidding and an accident.
Drive on carefully.H ave ESP®
checked at a
qualified specialist workshop.
! Only operate the vehicl
efor am aximu mof
ten seconds on abrake dynamometer. Switch
off the ignition.
Application of the brakes by ESP ®
may oth-
erwise destroy the brake system.
! Af
unction or performance test should only
be carrie dout on atwin-axle dynamometer.
Before you operate the vehicl eonsuch a
dynamometer, please consult aqualified
workshop. You coul dotherwise damage the
drive train or the brake system.
If the å ESP®
OFF warning lamp lights up
continuously,E SP®
is deactivated.
If the ÷ ESP®
warning lamp lights up contin-
uously,E SP®
is not available due to amalfunc-
tion.
Observe the information on warning lamps
(Y page1 59) and display messages which may
be displayed in the instrument cluster
(Y page1 42). Use only wheels with the recommended tyre
sizes. Only then will ESP ®
functio nproperly.
If differential locks are switched on, ABS,B AS
and ESP ®
switch off automatically.
Characteristics of ESP ® General information
If the ÷ ESP warning lamp goes out before
you begin the journey, ESP ®
is automatically
active.
If ESP ®
intervenes,t he÷ ESP®
warning lamp
flashes on the instrument cluster.
If ESP ®
intervenes:
X Do not deactivate ESP ®
under any circum-
stances.
X When pulling away, depress the accelerator
pedalo nly as far as is necessary.
X Adapt yourd riving style to suit the prevailing
road and weather conditions.
ECO start/stop function
The ECO start/stop function switches the
engine off automaticall yifthe vehicle stops
moving. When the vehicle pulls awaya gain, the
engine starts automatically. ESP ®
remains in its
previously selected status, e.g. if ESP ®
was
deactivated before the engine was automati-
callys witched off.
Deactivating/activating ESP ® Im
portant safety notes
i Observ
ethe "Importan tsafety notes" sec-
tio n(Ypage 52).
You can select between th efollowin gESP®
sta-
tuses:
R ESP ®
is activated
R ESP ®
is deactivated G
WARNING
If yo udeactivate ESP ®
,E SP ®
no longer sta-
bilises the vehicle. There is an increased risk
of skidding and an accident.
Only deactivate ESP ®
in the situations descri-
bed in the following. 54
Driving safety systemsSafety
Page 120 of 261
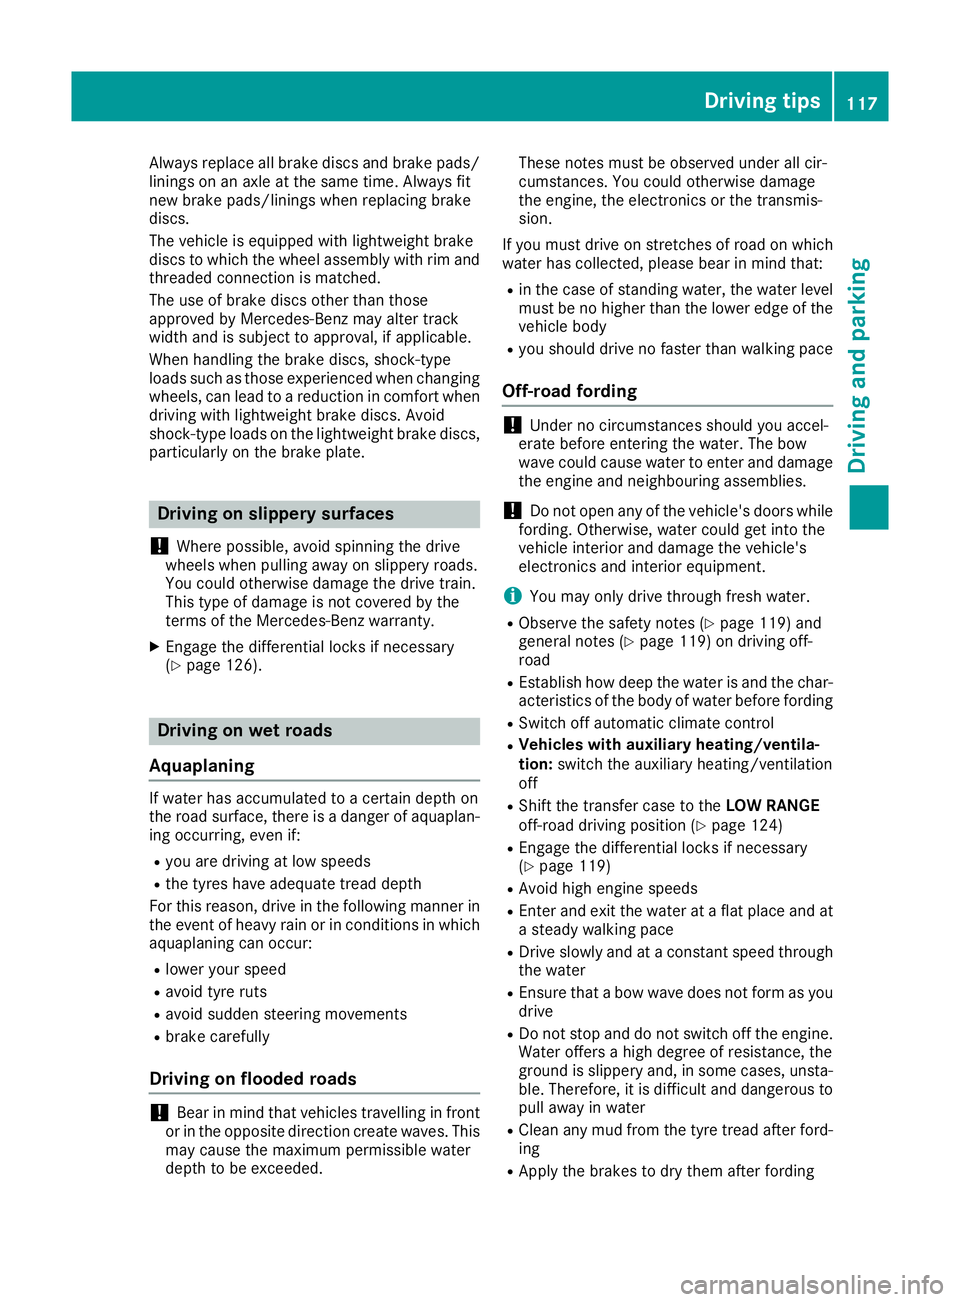
Alway
sreplace al lbrake discs and brake pads/
lining sonana xleatt he same time .Alway sfit
new brake pads/lining swhenr eplacing brake
discs.
The vehicl eisequippe dwithl ightweight brake
discs to which the whee lassembl ywithr im and
threaded connectio nism atched.
The us eofbrake discs othe rtha nt hose
approved by Mercedes-Benz ma yalter track
width and is subject to approval, if applicable.
Whe nhandling the brake discs, shock-type
load ssuchast hoseexperience dwhenc hanging
wheels ,can lead to areduction in comfort when
driving with lightweight brake discs. Avoid
shock-typ eloads on the lightweight brake discs,
particularly on the brake plate. Driving on slippe
rysurfaces
! Where possible, avoid spinnin
gthe drive
wheels when pulling away on slipper yroads.
You could otherwise damage th edrive train.
Thi stypeofd amage is no tcovered by the
term soft heMercedes-Ben zwarranty.
X Engage th edifferential locks if necessary
(Y page 126). Drivin
gonw et roads
Aquaplaning If wate
rhas accumulated to acertain depth on
the road surface, there is adanger of aquaplan-
ing occurring, even if:
R you are driving at low speeds
R the tyres have adequate tread depth
For this reason, drive in the following manner in the event of heavy rain or in conditions in which
aquaplaning can occur:
R lowery ours peed
R avoid tyre ruts
R avoid sudden steering movements
R brake carefully
Drivin gonflooded roads !
Bear in mind that vehicles travelling in front
or in the opposite direction create waves. This may cause the maximum permissibl ewater
depth to be exceeded. These notes must be observed under all cir-
cumstances. You could otherwise damage
the engine, the electronics or the transmis-
sion.
If you must drive on stretches of road on which
water has collected, please bear in mind that:
R in the case of standing water, the water level
must be no higher than the lower edge of the
vehicle body
R you should drive no faster than walking pace
Off-road fording !
Under no circumstances should you accel-
erate before entering the water. The bow
wave could cause water to enter and damage
the engine and neighbouring assemblies.
! Do not open any of the vehicle's doors while
fording. Otherwise, water could get into the
vehicle interior and damage the vehicle's
electronics and interior equipment.
i You may only drive through fresh water.
R Observe the safety notes (Y page 119) and
general notes (Y page 119) on driving off-
road
R Establish how deep the water is and the char-
acteristics of the body of water before fording
R Switch off automatic climate control
R Vehicles with auxiliary heating/ventila-
tion: switch the auxiliary heating/ventilation
off
R Shift the transfer case to the LOW RANGE
off-road driving position (Y page 124)
R Engage the differential locks if necessary
(Y page 119)
R Avoid high engine speeds
R Enter and exit the water at aflat place and at
as teady walking pace
R Drive slowly and at aconstant speed through
the water
R Ensure that abow wave does not form as you
drive
R Do not stop and do not switch off the engine.
Water offers ahigh degree of resistance, the
ground is slippery and, in some cases, unsta- ble. Therefore, it is difficult and dangerous to pull awayinw ater
R Cleana ny mud from the tyre tread after ford-
ing
R Apply the brakes to dry them after fording Driving tips
117Driving and parking Z
Page 122 of 261
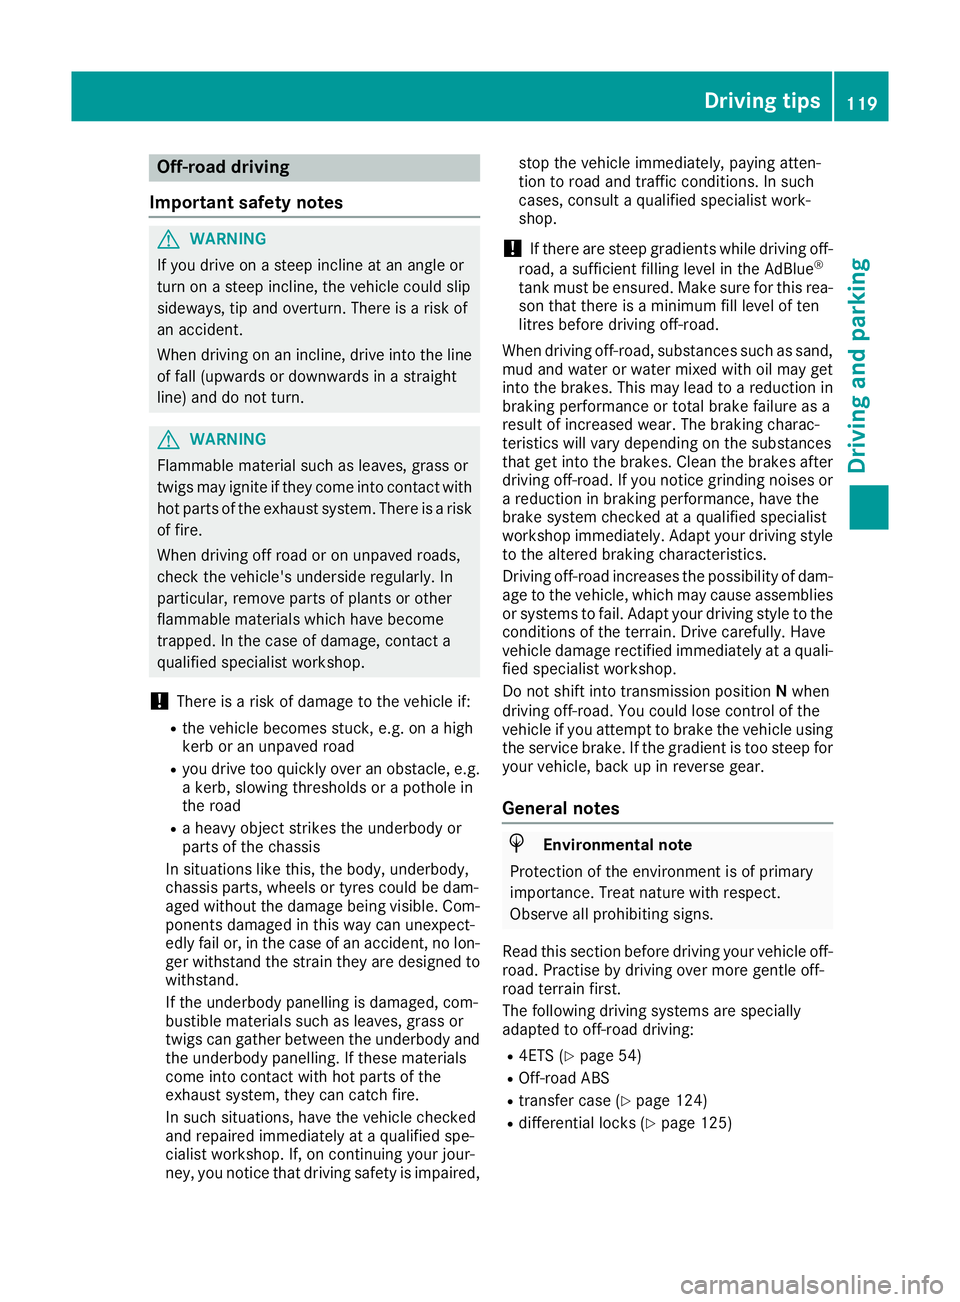
Off-road driving
Important safet ynotes G
WARNING
If you driv eonas teep incline at an angle or
turn on asteep incline, the vehicl ecoulds lip
sideways, tip and overturn. There is arisk of
an accident.
When driving on an incline, drive into the line of fall (upwards or downward sinastraight
line) and do not turn. G
WARNING
Flammable materia lsuch as leaves, grass or
twigs may ignite if they come into contact with hot parts of the exhaust system. There is arisk
of fire.
When driving off road or on unpaved roads,
check the vehicle's underside regularly. In
particular, remove parts of plants or other
flammable materials which have become
trapped. In the case of damage, contact a
qualified specialist workshop.
! There is
arisk of damage to the vehicl eif:
R the vehicl ebecome sstuck, e.g. on ahigh
kerb or an unpaved road
R you drive too quickly over an obstacle, e.g.
ak erb, slowing thresholds or apothol ein
the road
R ah eavy object strikes the underbody or
parts of the chassis
In situations like this, the body ,underbody,
chassi sparts, wheels or tyres coul dbedam-
agedw ithout the damage being visible. Com-
ponents damaged in this way can unexpect-
edlyf ail or, in the case of an accident, no lon-
ger withstand the strain they are designed to withstand.
If the underbody panelling is damaged, com-
bustible materials such as leaves, grass or
twigs can gather between the underbody and
the underbody panelling. If these materials
come into contact with hot parts of the
exhaust system, they can catch fire.
In such situations, have the vehicl echecked
and repaired immediatel yataqualified spe-
cialist workshop. If, on continuing yourj our-
ney, you notice that driving safety is impaired, stop the vehicle immediately
,paying atten-
tion to road and traffic conditions. In such
cases, consult aqualified specialist work-
shop.
! If there are steep gradients while driving off-
road, asufficient filling level in the AdBlue ®
tank must be ensured. Make sure for this rea- son that there is aminimum fill level of ten
litres before driving off-road.
When driving off-road, substances such as sand,
mud and water or water mixed with oil may get
into the brakes. This may lead to areduction in
braking performance or total brake failure as a
result of increased wear. The braking charac-
teristics will vary depending on the substances
that get into the brakes. Cleant he brakes after
driving off-road. If you notice grinding noises or ar eduction in braking performance, have the
brake system checked at aqualified specialist
workshop immediately.A dapt your driving style
to the altered braking characteristics.
Driving off-road increases the possibility of dam- age to the vehicle, which may cause assemblies
or systems to fail. Adapt your driving style to the
conditions of the terrain. Drive carefully.H ave
vehicle damage rectified immediately at aquali-
fied specialist workshop.
Do not shift into transmission position Nwhen
driving off-road. You could lose control of the
vehicle if you attempt to brake the vehicle using
the service brake. If the gradient is too steep for your vehicle, back up in reverse gear.
General notes H
Envi
ronmenta lnote
Protection of th eenvironmen tisofprimary
importance. Treat nature with respect.
Observe all prohibiting signs.
Read this sectio nbefore driving your vehicle off-
road. Practis ebydriving over mor egentle off-
road terrain first.
The following driving systems are specially
adapted to off-road driving:
R 4ETS (Y page 54)
R Off-road ABS
R transfer case (Y page 124)
R differential lock s(Ypage 125) Driving tips
119Driving and parking Z
Page 123 of 261
Observe the following notes:
R stop the vehicle before you drive off-road and,
if necessary, shift the transfer case to the
LOW RANGE off-road driving position
(Y page 124)
R engage the differential locks if necessary
(Y page 126)
i ABS,4
ETS, ESP ®
and BAS are deactivated
while the differential locks are engaged. This
allowst he front wheels to lock briefly, so that
they can dig into aloose surface. However,
please note that locked wheels skid and can
no longer steer.
R Make sure that items of luggage and loads are
stowed safely and are well secured
(Y page 203).
R To avoid damaging the vehicle, make sure
there is always sufficient ground clearance.
R Alwaysk eep the engine running and in gear
when driving on adownhill gradient.
R Alwaysk eep the engine running and in gear
when driving on aslope.
R Drive slowly and evenly, if necessary at walk-
ing pace.
R Ensure that the wheels are in contact with the
ground at all times.
R Drive with extreme care on unknown off-road
routes where visibility is poor. For safety rea- sons, get out of the vehicle first and survey
the off-road route.
R Check the depth of water before fording rivers
and streams.
R Watch out for obstacles.
R Alwaysk eep the doors, the rear door, the side
windows and the sliding sunroof closed while
the vehicle is in motion.
R Do not deviate from marked routes.
R Match your speed to the terrain. The rougher,
steeper or more ruts on the terrain, the slower your speed should be.
R Do not jump with the vehicle. This will inter-
rupt the vehicle's propulsion.
R Avoid high engine speeds. Drive at appropri-
ate engine speeds.
R Alwaysc heck the vehicle for damage after off-
road driving.
Do not use the HOLD function when driving off- road, on steep uphillord ownhill gradients or on
slippery or loose surfaces. The HOLD function
cannot hold the vehicle on such surfaces. You can obtain further information aboutr
etro-
fittin gspecial all-terrain tyres from aqualified
specialis tworkshop.
Checklist before off-roa ddriving X
Engine oil level: check the engine oil and top
it up if necessary.
When driving on steep gradients, the oil level must be sufficiently high to ensure acorrect
oil supply in th evehicle.
X Hav ethe AdBlue ®
level checked at aqualified
specialist workshop (Y page 111).
X Tyre-change tool kit: check that thejackis
working and mak esure that th ewheel
wrench, arobus ttow cable and afolding
spade are in th evehicle.
X Wheels and tyres: check thetyret read
dept hand tyr epressure.
X Chec kfor damage and remove any foreign
objects, e.g .small stones, fro mthewheels/
tyres.
X Replace any missing valv ecaps.
X Replace dented or damage dwheels .Also
check th espare wheel.
X Wheels: dented or ben twheels can lead to a
loss of tyr epressure and damage to th etyre
bead. Before driving off-road, check the
wheels and replac ethemifn ecessary.
Checklist after off-roa ddriving !
If you detect damage to the vehicl
eafter
driving off-road, have the vehicle checked
immediately at aqualified specialist work-
shop.
Driving over rough terrain places greater
demands on your vehicle than driving on normal
roads. After driving off-road, check the vehicle.
This allowsy ou to detect damage promptly and
reduce the risk of an accident to yourselfa nd
other road users.
X Shift the transfer case to the on-road position
HIGH RANGE (Ypage 124).
X Disengage the differential locks
(Y page 127).
X Cleant he headlamps and rear lights and
check for damage.
X Cleant he front and rear licence plates.
X Cleant he wheels and tyres with awater jet
and remove any foreign objects. 120
Drivingt
ipsDriving and parking
Page 125 of 261
When driving on an incline, drive into the line
of fall (upwards or downwards in astraight
line) and do not turn.
Always observe the approach/departure angle
values (Y page 255).
R Observe the safety notes (Y page 119) and
general notes (Y page 119) on driving off-
road.
R Follow the line of fall when driving on slopes
and steep inclines.
R Befor edriving on extreme uphill and extreme
downhill gradients ,set the transfer case to
the LOW RANGE off-road driving position
(Y page 124).
R Engage the differential locks if necessary
(Y page 126).
R Drive slowly.
R Accelerate gently and make sure that the
wheels are gripping.
R Avoid high engine speeds, except when driv-
ing on sandy and muddy routes with high driv-
ing resistance.
R Use the braking power of the engine when
driving down aslope. Observe the engine
speed; do not overrev the engine.
R Shift the automatic transmission to alow gear
appropriate for tackling an uphill gradient or a long, steep downhill gradient.
The HOLD function assists you when pulling
away and manoeuvrin gonaslope or hillside
(Y page 122).
Maximum gradient-climbing capability Alwayso
bserve the maximu mgradient climbing
ability values (Y page 255).
Hilltops When drivin
gupanu phill gradient, slightly
reduce pressure on the accelerator immediately
before reaching the brow of the hill. Make use of the vehicle's own impetus to travel over the
brow.
This style of driving prevents:
R the vehicle from lifting off the ground on the
brow of ahill
R loss of traction
R the vehicle from travelling too quickly down
the other side Driving downhill R
Drive slowly.
R Do no tdrive at an angle down stee pinclines.
Stee rinto the line of fall and drive with the
front wheels aligned straight forwards .Oth-
erwise, the vehicl ecould slip sideways ,tip
and overturn.
R Before tackling stee pdownhil lgradients ,shift
the automatic transmission to alow gear.
By doing so, yo uwillu se the braking effect of
the engine to reduce the speed. If thi sisnot
sufficient, brake gently .Whend oing so, make
sure tha tthe vehicl eisfacing in the direction
of the line of fall.
R Observe the note sondrivinginm ountainous
terrai n(Ypage 122).
R Check tha tthe servic ebrake is workin gnor-
mall yafter alon gd ownhil lstretch.
When drivin gatspeeds below60km/h ,off-road
ABS is activated and the front wheels lock cycli- cally durin gbraking .The digging-i neffect ach-
ieved in the proces sreduce sthe stopping dis-
tance durin goff-roa ddriving. Thi slim its steering
capability. Driving systems
HOLD function
General notes Th
eH OLD function can assist the driver in the
following situations:
R when pulling away,e specially on steep slopes
R when manoeuvring on steep slopes
R when waiting in traffic
The vehicle is kept stationary without the driver having to depress the brake pedal.
The braking effect is cancelled and the HOLD
function deactivated when you depress the
accelerator pedal to pull away.
Do not use the HOLD function when driving off-
road, on steep uphill or downhill gradients or on
slippery or loose surfaces. The HOLD function
cannot hold the vehicle on such surfaces. 122
Driving systemsDriving and parking
Page 128 of 261
R
the automatic transmission is in selector
lever position i
R youa renot drivin gfastert ha n7 0km/h
Yo uc ould otherwis edamag ethe transfer
case.
X Press button ;.
Once the shiftin gprocedur ehasbeen com-
pleted, the HIGH
HIGH RANGE RANGE transfe rcasep osit ion
is shown in the multifunctio ndisplay.
Indicato rlamp :goes out.
If the shiftin gprocedur eisunsuccessful, the
multifunctio ndisplay mayshowt he following
messages:
R TC shift condition snot fulfilled
TC shift condition snot fulfilled
One or mor eshift conditions ha snot been
met.
R TC neutra lon
TC neutra lon
The transfe rcaseh ascancelle dthe shifting
procedur eand is in position N.
R TC shift cancelled
TC shift cancelled
The transfe rcaseh ascancelle dthe gear
change process.
X Repeat the gear change process.
Make sure al lconditions for gear changing are
met.
R TC malfunction Visit workshop
TC malfunction Visit workshop
The transfe rcaseisf aulty.
X Do not shift the transfe rcase.
X Hav ethe vehicl echecked as soo naspossible
at aq uali fied specialis tworkshop.
Shifting to neutral G
WARNING
If you do not wai tfor the transfer case gear
change process to complete, the transfer
case coul dremai ninthe neutral position. The
power transmission to the drive nwheels is
then interrupted. There is adange rofthe
vehicl erolling awayu nintentionally.T here is a
risk of an accident.
Waitu ntil the transfer case shift process is
completed.
X Turn the key to position 2in the ignitio nlock.
X Apply the parking brake.
X Depress the brake pedal. X
Shift the automatic transmissio ntoposition
N.
X Press and hol dLOW RANG Ebutton ;for
approximately ten seconds.
Whe nthe shift procedure is complete, the
multifunction display shows the TC TCNeutral
Neutral
on
on message for five seconds.
If the shifting procedur eisunsuccessful, the
multifunction displaym ay show the following
messages (Y page 149).
If the transfer case is in Neutral,the key is in the
ignition lock and you open the driver's door, the
TC Neutral on
TC Neutral on message appears in the multi-
function display. If you then release the parking
brake, awarning tone will sound. Differentia
llocks
General notes G
WARNING
When th edifferential locks are engaged, ABS,
4ETS, ESP ®
and BAS are deactivated. This
coul dcauset he wheels to lock and increases
the braking distance. There is arisk of an
accident.
Disengage the differential locks immediately
on firm surfaces with good grip.
! To prevent damage to the transfer case, you
may only operate the vehicl eonaroller dyna-
mometer (single-axle roller dynamometer) if:
R the axle that is not being drive nisraised.
or
R the corresponding propellers haft is dis-
connected and the transfer case differen-
tial lock is engaged.
Otherwise, the transfer case can be damaged.
Differentia llocks improv ethe traction of the
vehicle.
Yourv ehicleise quipped with adifferential lock
each for:
R the transfer case: this controls the balance
between the front and rear axles
R the rear axle :this controls the balance
between the wheels on the rear axle
R the front axle :this controls the balance
between the wheels on the front axle Off-roa
ddriving systems
125Driving and parking Z