2016 MERCEDES-BENZ G-Class phone
[x] Cancel search: phonePage 174 of 302

Operating the on-board computer
Overview
:Multifunction display
;Switches on the Voice Control System (see
the separate operating instructions)
=Right control panel
?Left control panel
ABack button
XTo activate the on-board computer: turn
the SmartKey to position 1in the ignition lock
(
Ypage 112).
You can control the multifunction display and
the settings in the on-board computer using the
buttons on the multifunction steering wheel.
Left control panel
=
;RCalls up the menu and menu bar
9
:Press briefly:
RScrolls in lists
RSelects a submenu or function
RIn the Audiomenu: selects a
stored station, an audio track or a
video scene
RIn the Tel(telephone) menu:
switches to the phone book and
selects a name or telephone num-
ber
9
:Press and hold:
RIn the Audiomenu: selects the
previous/next station or selects
an audio track or a video scene
using rapid scrolling
RIn the Tel(telephone) menu:
starts rapid scrolling if the phone
book is open
aRConfirms a selection/display mes-
sage
RIn the Tel(telephone) menu:
switches to the telephone book
and starts dialing the selected
number
RIn the Audiomenu: stops the sta-
tion search function at the desired
station
Right control panel
~RRejects or ends a call
RExits phone book/redial memory
6RMakes or accepts a call
RSwitches to the redial memory
W
XRAdjusts the volume
8RMute
Back button
%Press briefly:
RBack
RSwitches off the Voice Control
System (see the separate operat-
ing instructions)
RHides display messages/calls up
the last Tripmenu function used
RExits the telephone book/redial
memory
%Press and hold:
RCalls up the standard display in the
Tripmenu
172Displays and operation
On-board computer and displays
Page 175 of 302

Multifunction display
:Transmission position (Ypage 121)
;Drive program (Ypage 122)
=Text field
?Menu bar
AOutside temperature or speed
(Ypage 179)
BTime
CTransfer case position (Ypage 162)
XTo show menu bar?:press the =
or ; button on the steering wheel.
Menu bar ?disappears after a few seconds.
Text field =shows the selected menu or sub-
menu as well as display messages.
For further information on displaying the trans-
mission position, see (
Ypage 119).
iYou can set the time using COMAND (see
the separate operating instructions).
The following messages may appear in the mul-
tifunction display:
Z Shift recommendation (
Ypage 124)
¯ Cruise control (
Ypage 141)
LIM
SPEEDTRONIC (Ypage 145)
è ECO start/stop function
(
Ypage 114)
LOW
RANGELOW RANGE off-road gear
(Ypage 162)
ë HOLD function (
Ypage 157)
Menus and submenus
Menu overview
Press the=or; button on the steering
wheel to call up the menu bar and select a menu.
Operating the on-board computer (
Ypage 172).
Depending on the equipment installed in the
vehicle, you can call up the following menus:
RTripmenu (Ypage 173)
RNavimenu (navigation instructions)
(Ypage 174)
RAudiomenu (Ypage 176)
RTelmenu (telephone) (Ypage 177)
RDriveAssistmenu (assistance)
(Ypage 178)
RServmenu (Ypage 178)
RSettmenu (settings) (Ypage 178)
RAMGmenu in AMG vehicles (Ypage 182)
Trip menu
Standard display
XPress and hold the %button on the steer-
ing wheel until the Tripmenu with trip odom-
eter :and odometer ;is shown.
Trip computer "From start" or "From
reset"
Example: trip computer "From Start"
:
Distance
;Time
Menus and submenus173
On-board computer and displays
Z
Page 179 of 302

XTo select the next/previous scene:briefly
press the 9or: button.
XTo select a scene from the scene list
(rapid scrolling): press and hold the 9
or : button until desired scene ;has
been reached.
Telephone menu
Introduction
GWARNING
If you operate information systems and com-
munication equipment integrated in the vehi-
cle while driving, you will be distracted from
traffic conditions. You could also lose control
of the vehicle. There is a risk of an accident.
Only operate the equipment when the traffic
situation permits. If you are not sure that this
is possible, park the vehicle paying attention
to traffic conditions and operate the equip-
ment when the vehicle is stationary.
When telephoning, you must observe the legal
requirements for the country in which you are
currently driving.
XSwitch on the mobile phone (see the separate
operating instructions).
XSwitch on COMAND (see the separate oper-
ating instructions).
XEstablish a Bluetooth®connection to
COMAND, see the separate operating instruc-
tions.
XPress the =or; button on the steering
wheel to select the Telmenu.
You will see one of the following display mes-
sages in the multifunction display:
RPhone READYor the name of the network
provider: the mobile phone has found a net-
work and is ready to receive.
RPhone No Service: there is no network
available or the mobile phone is searching for a network.
Accepting a call
Example: incoming call
If someone calls you when you are in the Telmenu, a display message appears in the multi-
function display.
XPress the6button on the steering wheel
to accept an incoming call.
You can accept a call even if you are not in the
Tel
menu.
Rejecting or ending a call
XPress the ~button on the steering wheel.
You can end or reject a call even if you are not in
the Tel
menu.
Dialing a number from the phone book
XPress the =or; button on the steering
wheel to select the Telmenu.
XPress the9,:ora button to
switch to the phone book.
XPress the 9or: button to select the
desired name.
or
XTo begin rapid scrolling: press and hold the
9 or: button for longer than one sec-
ond.
Rapid scrolling stops when you release the
button or reach the end of the list.
XIf only one telephone number is stored for
a name: press the 6ora button to
start dialing.
or
XIf there is more than one number for a
particular name: press the6ora
button to display the numbers.
XPress the 9or: button to select the
number you want to dial.
XPress the 6ora button to start dialing.
Menus and submenus177
On-board computer and displays
Z
Page 180 of 302

or
XTo exit the telephone book:press the~
or % button.
Redialing
The on-board computer saves the last names or
numbers dialed in the redial memory.
XPress the =or; button on the steering
wheel to select the Telmenu.
XPress the6button to switch to the redial
memory.
XPress the 9or: button to select the
desired name or number.
XPress the 6ora button to start dialing.
or
XTo exit the redial memory: press the~
or % button.
Assistance menu
Introduction
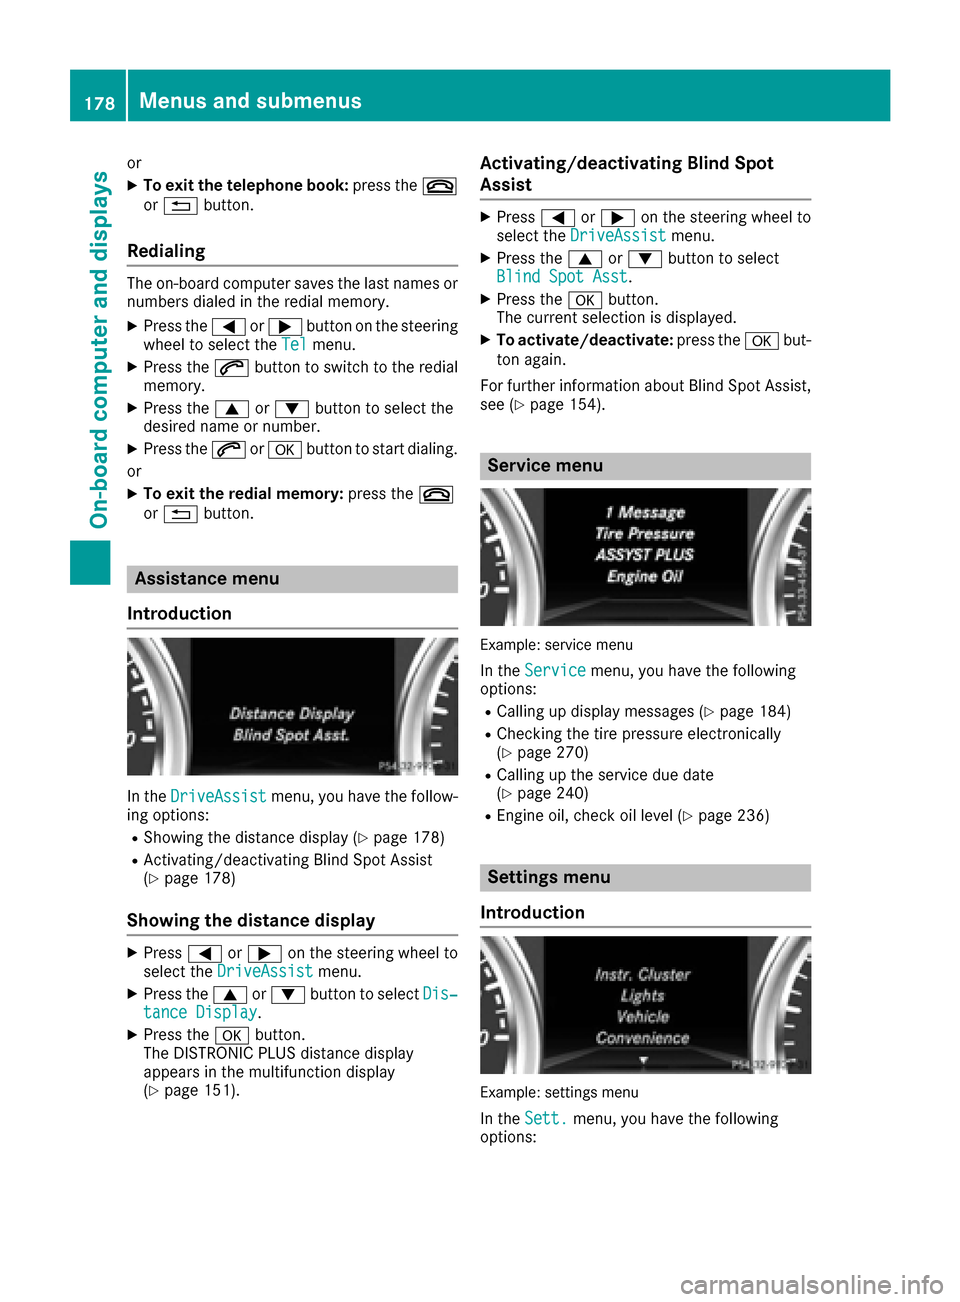
In the DriveAssistmenu, you have the follow-
ing options:
RShowing the distance display (Ypage 178)
RActivating/deactivating Blind Spot Assist
(Ypage 178)
Showing the distance display
XPress =or; on the steering wheel to
select the DriveAssistmenu.
XPress the9or: button to select Dis‐tance Display.
XPress theabutton.
The DISTRONIC PLUS distance display
appears in the multifunction display
(
Ypage 151).
Activating/deactivating Blind Spot
Assist
XPress =or; on the steering wheel to
select the DriveAssistmenu.
XPress the9or: button to select
Blind Spot Asst.
XPress the abutton.
The current selection is displayed.
XTo activate/deactivate: press theabut-
ton again.
For further information about Blind Spot Assist,
see (
Ypage 154).
Service menu
Example: service menu
In the Servicemenu, you have the following
options:
RCalling up display messages (Ypage 184)
RChecking the tire pressure electronically
(Ypage 270)
RCalling up the service due date
(Ypage 240)
REngine oil, check oil level (Ypage 236)
Settings menu
Introduction
Example: settings menu
In the Sett.menu, you have the following
options:
178Menus and submenus
On-board computer and displays
Page 204 of 302

Display messagesPossible causes/consequences andMSolutions
D
Power Steering Mal‐function. See Oper‐ator's Manual
The powersteering is malfunctioning .
A warning tone also sounds.
GWARNIN G
You will need to use mor eforce to steer .
There is aris kof an accident.
XChec kwhether you are able to apply th eextr aforce required.
XIf you ar eabl eto steer safely: carefully drive on to aqualified
specialist workshop .
XIf you areunable to steer safely: do notdrive on .Contac tth e
neares tqualified specialist workshop .
TelephoneNoServiceYour vehicl eis outside th enetwork provider' stransmitter/receiver
range.
XWait until th emobile phone operational readiness symbol appear s
in th emultifunction display.
¥
Check Washer Fluid
The washer flui dlevel in th ewasher flui dreservoir has dropped belo w
th eminimum .
XAddwasher flui d (Ypage 239).
SmartKey
Display messagesPossible causes/consequences and MSolutions
Â
KeyDoesNotBelongto Vehicl e
You haveput th ewrong SmartKey in th eignition lock.
XUse th ecorrec tSmartKey.
Â
Tak eYou rKey fro mIgnition
The SmartKey is in th eignition lock.
XRemove th eSmartKey.
Â
Obtain aNew Key
The SmartKey needs to be replaced.
XVisit aqualified specialist workshop .
Warning and indicat orlamps in the
instrume nt cluster
Overview ofwarning and indicat or
lamps
L Low-beam headlamp s (Ypage 84)
#
! Turn signal
(
Ypage 88) K
High-beam headlamp s (
Ypage 88)
R Rear fog lamp (
Ypage 86)
ü Seat belts (
Ypage 204)
$
(USA) Brake
s (
Ypage 205)
J
(Can -
ada) Brake
s(yellow) (
Ypage 205)
202Warning and indicator lamps in the instrument cluster
On-board computer and displays
Page 218 of 302

XTo lock:insert the mechanical key into the
lock (Ypage 61) and turn it 90° clockwise to
position 2.
XTo unlock: insert the mechanical key into the
lock (Ypage 61) and turn it 90° counter-
clockwise to position 1.
iThe glove box can only be locked and
unlocked using the mechanical key.
Door stowage compartment
There is an additional compartment located on
the driver's door paneling, which can be used to
store a mini tablet PC, for example.
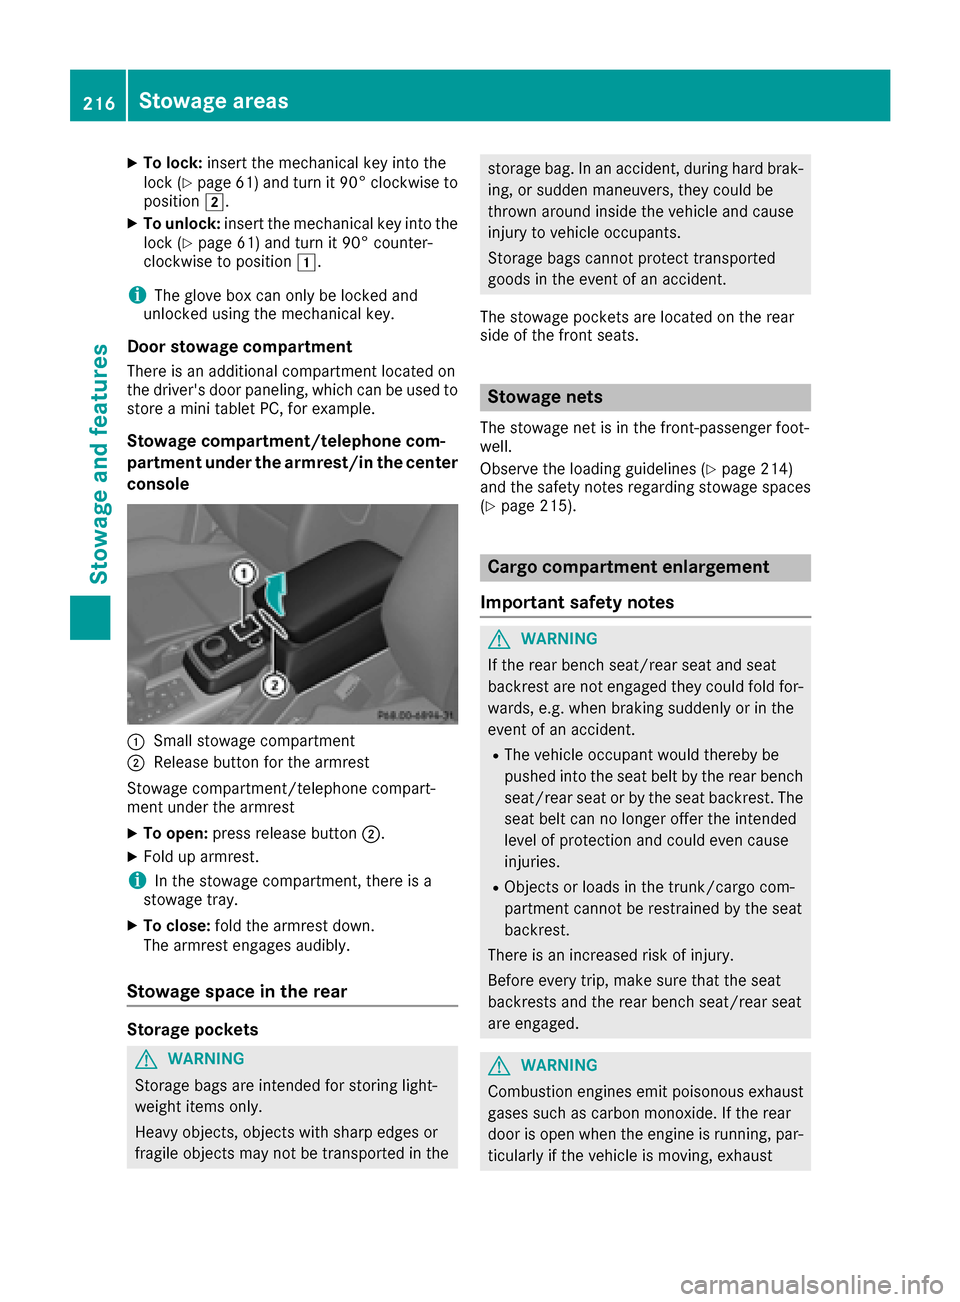
Stowage compartment/telephone com-
partment under the armrest/in the center
console
:Small stowage compartment
;Release button for the armrest
Stowage compartment/telephone compart-
ment under the armrest
XTo open: press release button ;.
XFold up armrest.
iIn the stowage compartment, there is a
stowage tray.
XTo close: fold the armrest down.
The armrest engages audibly.
Stowage space in the rear
Storage pockets
GWARNING
Storage bags are intended for storing light-
weight items only.
Heavy objects, objects with sharp edges or
fragile objects may not be transported in the
storage bag. In an accident, during hard brak-
ing, or sudden maneuvers, they could be
thrown around inside the vehicle and cause
injury to vehicle occupants.
Storage bags cannot protect transported
goods in the event of an accident.
The stowage pockets are located on the rear
side of the front seats.
Stowage nets
The stowage net is in the front-passenger foot-
well.
Observe the loading guidelines (
Ypage 214)
and the safety notes regarding stowage spaces
(
Ypage 215).
Cargo compartment enlargement
Important safety notes
GWARNING
If the rear bench seat/rear seat and seat
backrest are not engaged they could fold for-
wards, e.g. when braking suddenly or in the
event of an accident.
RThe vehicle occupant would thereby be
pushed into the seat belt by the rear bench
seat/rear seat or by the seat backrest. The
seat belt can no longer offer the intended
level of protection and could even cause
injuries.
RObjects or loads in the trunk/cargo com-
partment cannot be restrained by the seat
backrest.
There is an increased risk of injury.
Before every trip, make sure that the seat
backrests and the rear bench seat/rear seat
are engaged.
GWARNING
Combustion engines emit poisonous exhaust
gases such as carbon monoxide. If the rear
door is open when the engine is running, par-
ticularly if the vehicle is moving, exhaust
216Stowage areas
Stowag ean d features
Page 222 of 302

XPush down the right-hand and left-hand sides
of cargo compartment cover;until it
engages.
XSlide catches :in the direction of the side
trim.
Roof carrier
GWARNING
When you load the roof, the center of gravity
of the vehicle rises and the driving character-
istics change. If you exceed the maximum roof
load, the driving characteristics, as well as
steering and braking, will be greatly impaired.
There is a risk of an accident.
Never exceed the maximum roof load and
adjust your driving style.
The roof is not suited for transporting loads. Do
not use the roof rails or other accessories which
are mounted on the roof.
Features
Cup holder
Important safety notes
GWARNING
If you transport objects in the vehicle interior
and these are not adequately secured, they
could slip or be flung around and thereby
strike vehicle occupants. In addition, cup
holders, open stowage spaces and mobile
phone brackets may not always be able to
hold the objects placed in them in the event of
an accident. There is a risk of injury, particu-
larly in the event of sharp braking or sudden
changes of direction.
RAlways stow objects in such a way that they cannot be tossed about in these or similar
situations.
RAlways make sure that objects do not pro-
trude out of the stowage spaces, luggage
nets or stowage nets.
REnsure that closable stowage spaces are
shut before beginning your journey.
RAlways stow and secure heavy, hard, poin-
ted, sharp-edged, fragile or large objects in
the cargo compartment.
!Only use the cup holders for containers of
the right size and which have lids. The drinks could otherwise spill.
Observe the loading guidelines (
Ypage 214).
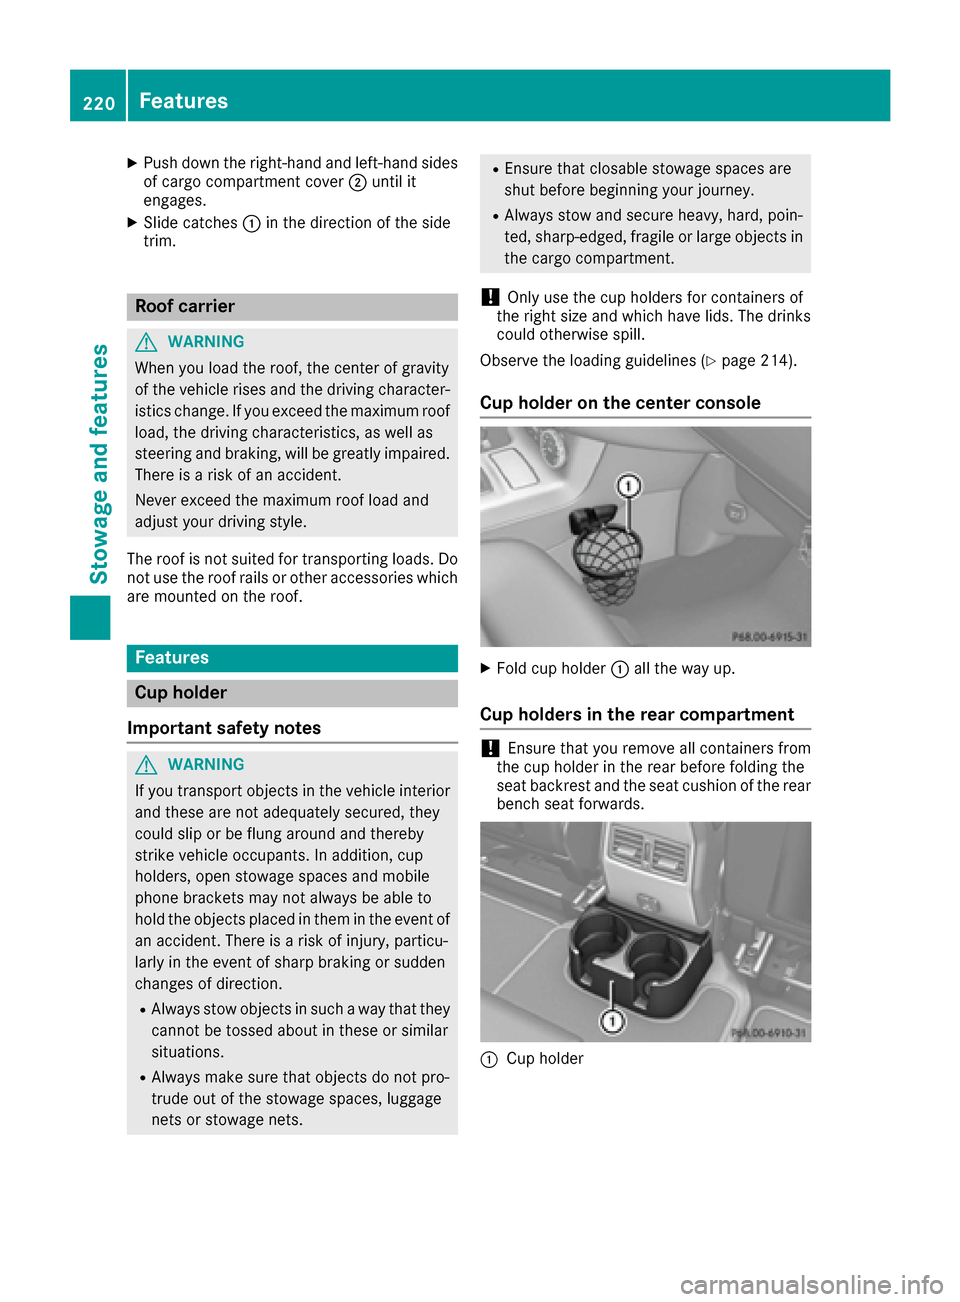
Cup holder on the center console
XFold cup holder :all the way up.
Cup holders in the rear compartment
!Ensure that you remove all containers from
the cup holder in the rear before folding the
seat backrest and the seat cushion of the rear
bench seat forwards.
:Cup holder
220Features
Stowage and features
Page 225 of 302

XPress in cigarette lighter:.
Cigarette lighter :will pop out automatically
when the heating element is red-hot.
12 V sockets
General notes
!If you are simultaneously using all three
sockets in the vehicle, make sure that you do
not exceed the maximum current draw of
45 A. Otherwise, you will overload the fuses.
The sockets can be used for accessories with a
maximum current draw of 180 W (15 A) each,
e.g. bulbs or chargers for mobile phones.
If you use the sockets for long periods when the
engine is switched off, the battery may dis-
charge.
XTurn the SmartKey to position 2in the ignition
lock.
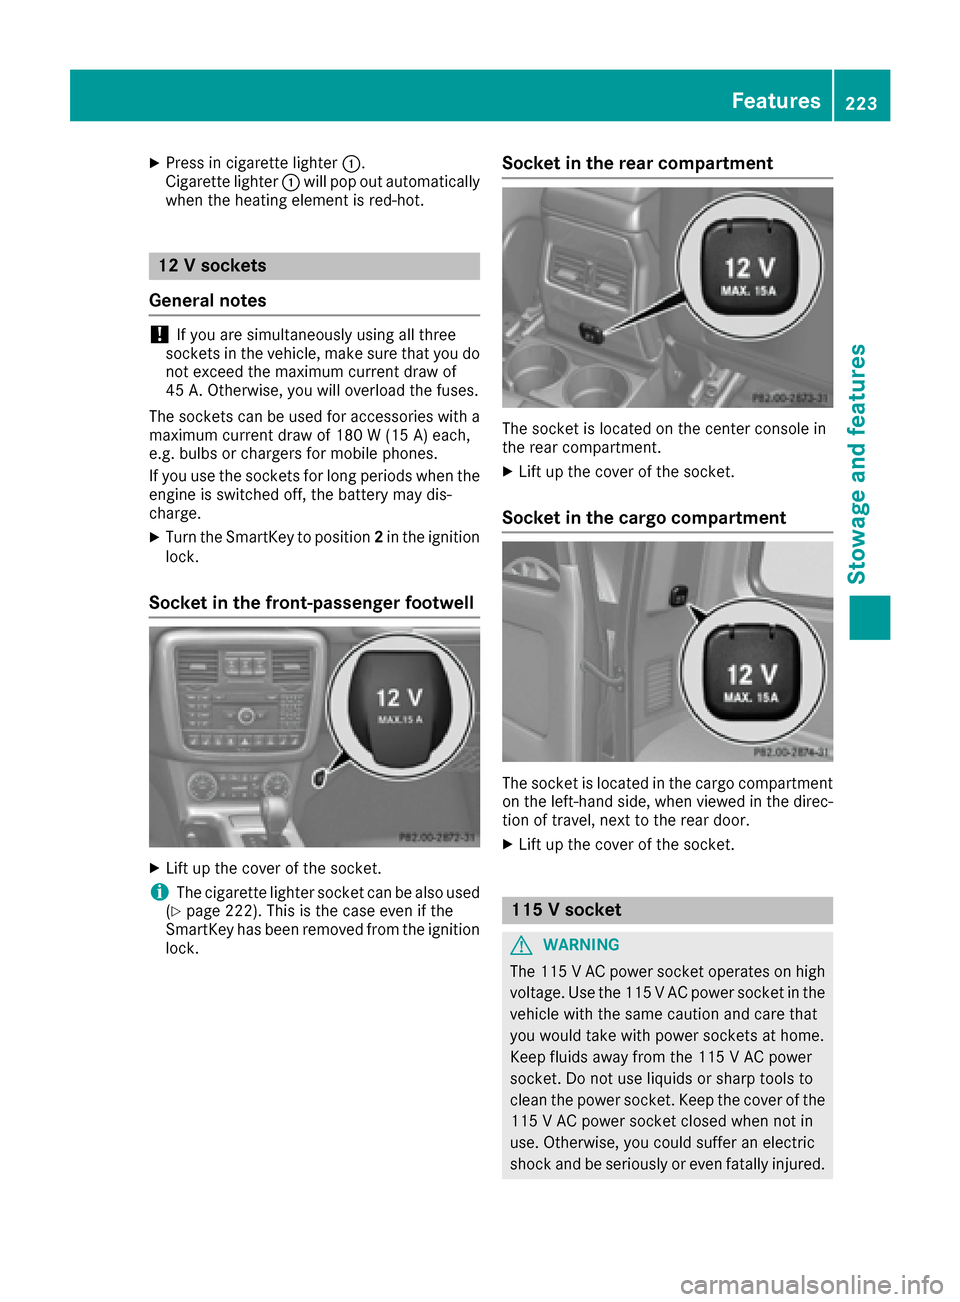
Socket in the front-passenger footwell
XLift up the cover of the socket.
iThe cigarette lighter socket can be also used
(Ypage 222). This is the case even if the
SmartKey has been removed from the ignition
lock.
Socket in the rear compartment
The socket is located on the center console in
the rear compartment.
XLift up the cover of the socket.
Socket in the cargo compartment
The socket is located in the cargo compartment
on the left-hand side, when viewed in the direc-
tion of travel, next to the rear door.
XLift up the cover of the socket.
115 V socket
GWARNING
The 115 VAC power socket operates on high
voltage. Use the 115 V AC power socket in the
vehicle with the same caution and care that
you would take with power sockets at home.
Keep fluids away from the 115 V AC power
socket. Do not use liquids or sharp tools to
clean the power socket. Keep the cover of the
115 V AC power socket closed when not in
use. Otherwise, you could suffer an electric
shock and beseriously or even fat allyinjured.
Features223
Stowage and features
Z