2016 MERCEDES-BENZ E-CLASS ESTATE stop start
[x] Cancel search: stop startPage 10 of 565
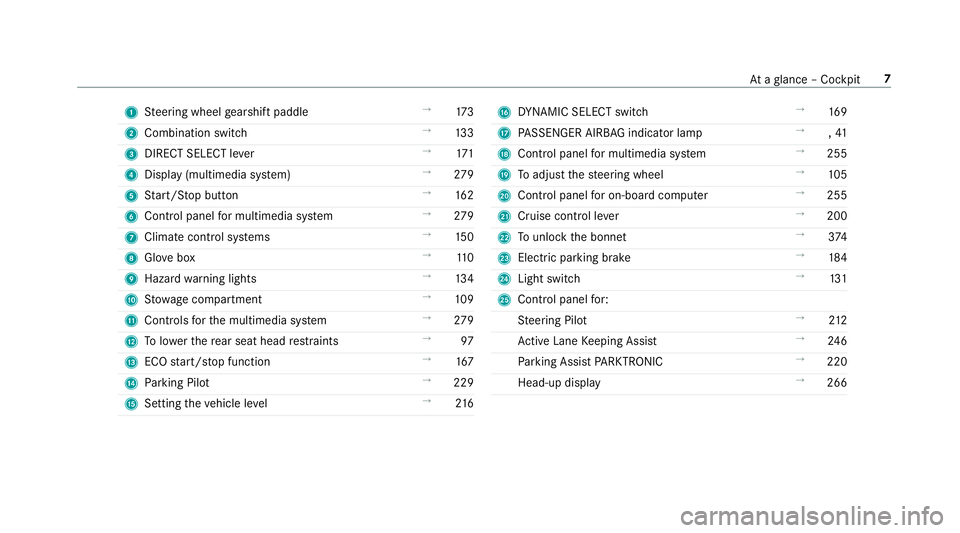
1
Steering wheel gearshift paddle →
173
2 Combination swit ch →
13 3
3 DIRECT SELECT le ver →
171
4 Displ ay(multimedia sy stem) →
279
5 Start/ Stop button →
16 2
6 Control panel for multimedia sy stem →
279
7 Climate cont rol sy stems →
15 0
8 Glovebox →
11 0
9 Haza rdwa rning lights →
13 4
A Stow age compartment →
109
B Controls forth e multimedia sy stem →
279
C Tolowe rth ere ar seat head restra ints →
97
D ECO start/ stop function →
167
E Parking Pilot →
229
F Setting theve hicle le vel →
216 G
DYNA MIC SELECT switch →
16 9
H PASSENGER AIRB AGindicator lamp →
,41
I Control panel for multimedia sy stem →
255
J Toadjust thesteering wheel →
105
K Control panel for on-board computer →
255
L Cruise control le ver →
200
M Tounlo ckthe bonn et →
374
N Electric pa rking brake →
184
O Light switch →
131
P Control panel for:
St eering Pilot →
212
Ac tive Lane Keeping Assist →
24 6
Pa rking Assist PARKTRONIC →
220
Head-up display →
266 At
aglance – Cockpit 7
Page 12 of 565
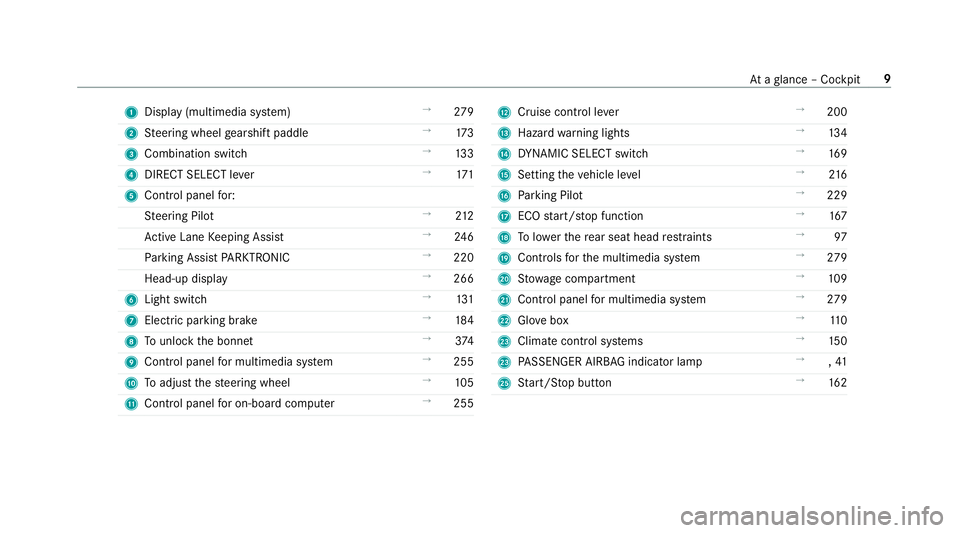
1
Displ ay(multimedia sy stem) →
279
2 Steering wheel gearshift paddle →
173
3 Combination swit ch →
13 3
4 DIRECT SELECT le ver →
171
5 Control panel for:
St eering Pilot →
212
Ac tive Lane Keeping Assist →
24 6
Pa rking Assist PARKTRONIC →
220
Head-up display →
266
6 Light swit ch →
131
7 Electric pa rking brake →
184
8 Tounlo ckthe bonn et →
374
9 Control panel for multimedia sy stem →
255
A Toadjust thesteering wheel →
105
B Control panel for on-board computer →
255 C
Cruise control le ver →
200
D Hazard warning lights →
13 4
E DYNA MIC SELECT switch →
16 9
F Setting theve hicle le vel →
216
G Parking Pilot →
229
H ECO start/ stop function →
167
I Tolowe rth ere ar seat head restra ints →
97
J Controls forth e multimedia sy stem →
279
K Stow age compartment →
109
L Control panel for multimedia sy stem →
279
M Glovebox →
11 0
N Climate cont rol sy stems →
15 0
N PASSENGER AIRB AGindicator lamp →
,41
P Start/ Stop button →
16 2 At
aglance – Cockpit 9
Page 68 of 565
R
Anti-theft pr otection is reactivated.
Do not keep theke yto get her with electronic
devices or me tal objects. This can af fect the
ke y's functionalit y.
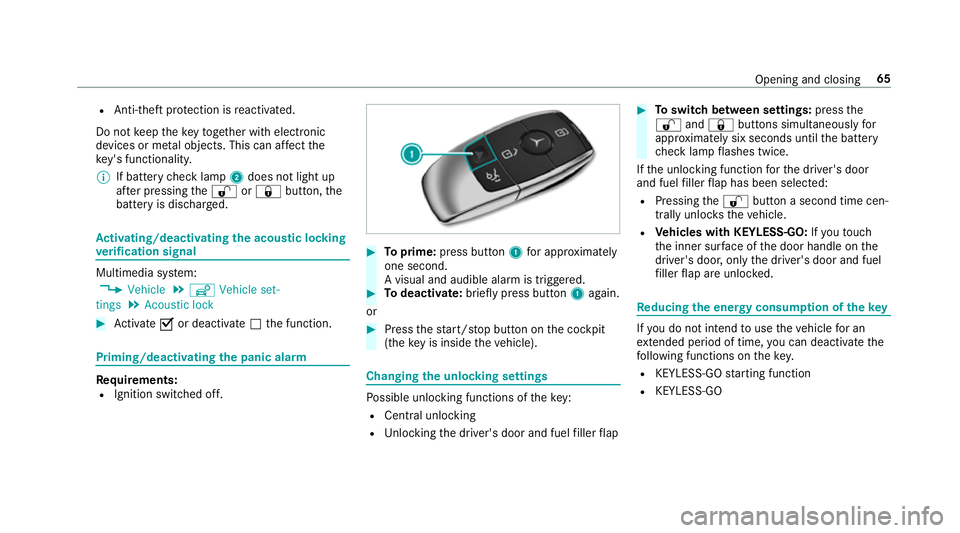
% If battery check lamp 2does not light up
af te r pressing the% or& button, the
battery is dischar ged. Ac
tivating/deactivating the acoustic lo cking
ve rification signal Multimedia sy
stem:
, Vehicle .
î Vehicle set-
tings .
Acoustic lock #
Activate Oor deacti vate ª the function. Priming/deactivating
the panic ala rm Re
quirements:
R Ignition switched off. #
Toprime: press button 1for appro ximately
one second.
A visu al and audible alarm is triggered. #
Todeactivate: briefly press but ton1 again.
or #
Press thest art/ stop button on the cockpit
(the key is inside theve hicle). Changing
the unlocking settings Po
ssible unlocking functions of theke y:
R Central unlocking
R Unlocking the driver's door and fuel filler flap #
Toswitch between settings: pressthe
% and& buttons simultaneously for
appr oximately six seconds until the battery
ch eck lamp flashes twice.
If th e unlocking function forth e driver's door
and fuel filler flap has been selec ted:
R Pressing the% button a second time cen‐
trally unloc kstheve hicle.
R Vehicles with KEYLESS-GO: Ifyo uto uch
th e inner sur face of the door handle on the
driver's door, only the driver's door and fuel
fi ller flap are unlo cked. Re
ducing the energy consu mption of the key If
yo u do not intend touse theve hicle for an
ex tended pe riod of time, you can deactivate the
fo llowing functions on thekey.
R KEYLESS-GO starting function
R KEYLESS-GO Opening and closing
65
Page 88 of 565
&
WARNING Risk of entrapment even wi th
th ere ve rsing feature active
The reve rsing function does not react:
R tosoft, light and thin objects, e.g. small
fi ngers
R during the last 4 mm of the closing path
R during resetting
R when closing the sliding sunroof again
manually immediately af ter auto matic
re ve rsing
This means that there ve rsing feature cannot
pr eve nt someone being trapped in these sit‐
uations. #
When closing, make sure that no body
parts are in the closing area. #
Release the switch immediately if
somebody becomes trapped.
or #
Press the switch in any direction during
th e automatic closing process.
The closing process is stopped. Au
tomatic reve rsing function of thero ller
sunblind
If th ere is an object obstructing thero ller sun‐
blind during the closing process, thero ller sun‐
blind opens again automaticall y.The automatic
re ve rsing function is only an aid and is not a sub‐
st itute foryo ur attentiveness. #
When opening or closing thero ller sunblind,
make sure that no body parts are in the
sweep. &
WARNING Risk of becoming trapped
despi tethere ve rsing function being
active
In particular, there ve rsing function does not
re act tosoft, light and thin objects, e.g. small
fi ngers.
This means that there ve rsing function can‐
not pr event entrapment in these situations. #
When opening or closing thero ller sun‐
blind, make sure that no body parts are
in the sweep. #
Release the button immediately if
somebody becomes trapped. or
#
Press the button in any direction during
th e automatic closing process.
The closing process is stopped. Au
tomatic features of the sliding sunroof %
The term "sliding sun roof" also refers to the
panoramic sliding sunroof.
By pushing or pulling the3 button you can
inter rupt the automatic functions: "Rain closing
function when driving " and "Automatic lo wering
fe ature".
Au tomatic closing when the vehicle is sta‐
tionary
R If it starts torain (de tected bythera in sensor
on the windscreen)
R Atextreme outside temp eratures
R After six hours
R Ifth ere is a malfunction in the po wer supply
The rear of the sliding sunroof is then raised. Opening and closing
85
Page 102 of 565
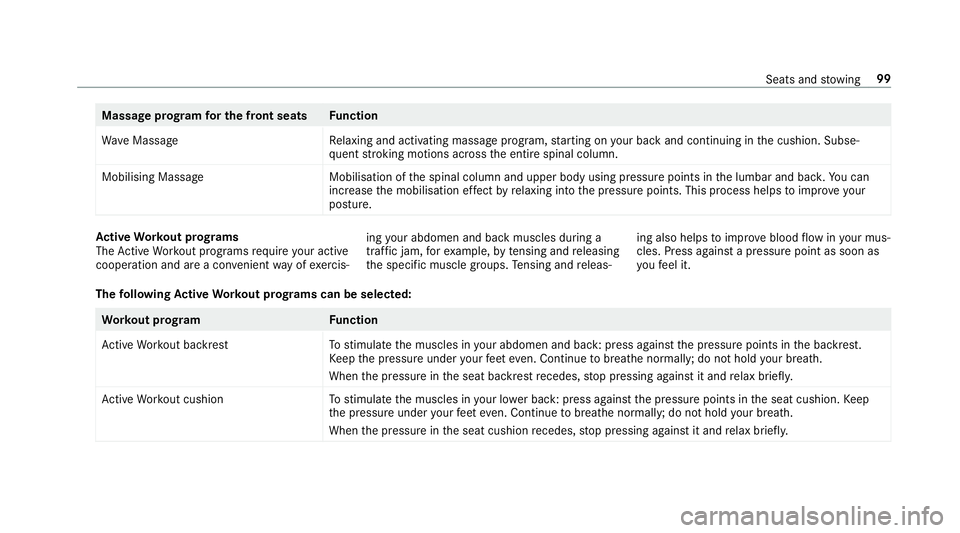
Massage prog
ram for the front seats Function
Wa veMassag eR elaxing and activating massage program, starting on your back and continuing in the cushion. Subse‐
qu ent stro king motions across the entire spinal column.
Mobilising Massag eM obilisation ofthe spinal column and upper body using pressure points in the lumbar and bac k.You can
inc rease the mobilisation ef fect by relaxing into the pressure points. This process helps toimpr oveyour
posture. Ac
tive Workout prog rams
The Active Workout programs requ ire your active
cooperation and are a co nvenient way of exercis‐ ing
your abdomen and back muscles during a
traf fic jam, forex ample, bytensing and releasing
th e specific muscle groups. Tensing and releas‐ ing also helps
toimpr oveblood flow inyour mus‐
cles. Press against a pressure point as soon as
yo ufe el it.
The following Active Workout prog rams can be selected: Wo
rkout prog ramF unction
Ac tive Workout backres tT ostimulate the muscles in your abdomen and back: press against the pressure points in the backrest.
Ke ep the pressure under your feet eve n. Continue tobreathe normally; do not hold your breath.
When the pressure in the seat backrest recedes, stop pressing against it and relax briefly.
Ac tive Workout cushion Tostimulate the muscles in your lo wer back: press against the pressure points in the seat cushion. Keep
th e pressure under your feet even. Continue tobreathe normall y;do not hold your breath.
When the pressure in the seat cushion recedes, stop pressing against it and relax briefly. Seats and
stowing 99
Page 166 of 565
%
You can check the suitability of your mobile
phone byentering the phone number at
http://www.mercedes.me.
Information about suitable mobile phones
can be obtained from your Mercedes-Benz
service centre or at http://www.mercedes-
benz.com/connect.
% The function is on lyavailable in combination
with Mercedes me connect and on lyin cer‐
ta in countries.
% Protective cases around the mobile phone
can impair the functionality.
St arting theve hicle for the firs t time af ter
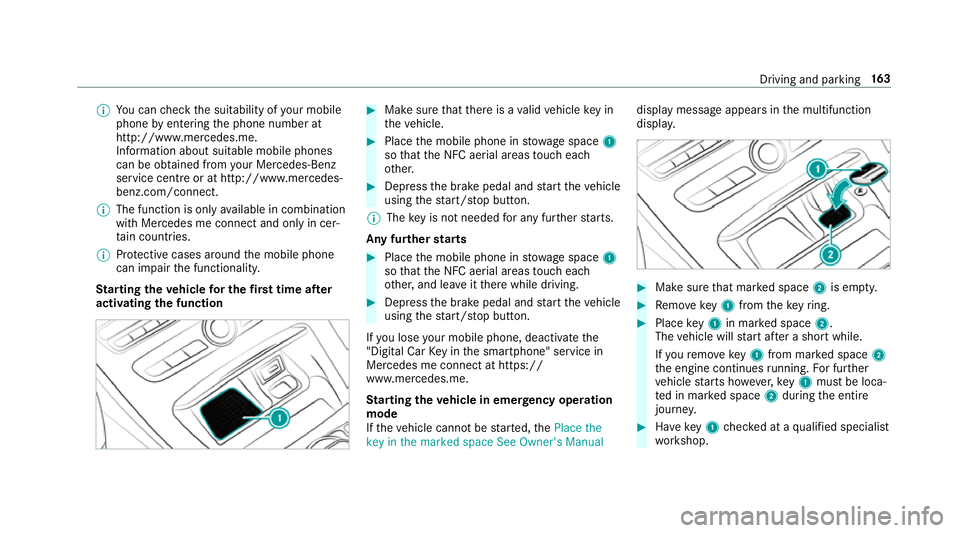
activating the function #
Make sure that there is a valid vehicle key in
th eve hicle. #
Place the mobile phone in stowage space 1
so that the NFC aerial areas touch each
ot her. #
Depress the brake pedal and start theve hicle
using thest art/ stop button.
% The key is not needed for any fur ther starts.
Any fu rther starts #
Place the mobile phone in stowage space 1
so that the NFC aerial areas touch each
ot her, and lea veitth ere while driving. #
Depress the brake pedal and start theve hicle
using thest art/ stop button.
If yo u lose your mobile phone, deactivate the
"Digital Car Key in the smartphone" service in
Mercedes me connect at https://
www.mercedes.me.
St arting theve hicle in emer gency operation
mode
If th eve hicle cannot be star ted, thePlace the
key in the marked space See Owner's Manual display message appears in
the multifunction
displa y. #
Make sure that mar ked space 2is em pty. #
Remo vekey1 from theke yring. #
Place key1 in mar ked space 2.
The vehicle will start af ter a short while.
If yo ure mo vekey1 from mar ked space 2
th e engine continues running. For fur ther
ve hicle starts ho wever,ke y1 must be loca‐
te d in mar ked space 2during the entire
journe y. #
Have key1 checked at a qualified specialist
wo rkshop. Driving and parking
16 3
Page 167 of 565
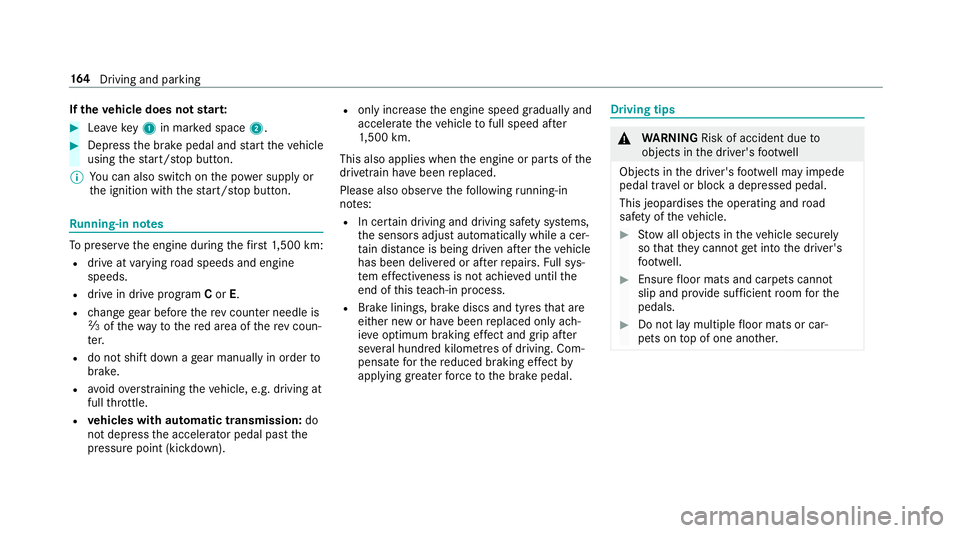
If
th eve hicle does not star t: #
Lea vekey1 in mar ked space 2. #
Depress the brake pedal and start theve hicle
using thest art/ stop button.
% You can also swit chon the po wer supp lyor
th e ignition with thest art/ stop button. Ru
nning-in no tes To
preser vethe engine during thefirs t1, 500 km:
R drive at varying road speeds and engine
speeds.
R drive in drive program Cor E.
R change gear before there v counter needle is
Ô ofthewa yto there d area of there v coun‐
te r.
R do not shift down a gear manually in order to
brake.
R avoidoverstra ining theve hicle, e.g. driving at
full thro ttle.
R vehicles with automatic transmission: do
not depress the accelera tor pedal past the
pressure point (kickdown). R
only increase the engine speed gradually and
accelera tetheve hicle tofull speed af ter
1, 500 km.
This also applies when the engine or parts of the
driv etra in ha vebeen replaced.
Please also obser vethefo llowing running-in
no tes:
R In cer tain driving and driving saf ety sy stems,
th e sensors adjust automatically while a cer‐
ta in dis tance is being driven af terth eve hicle
has been delivered or af terre pairs. Full sys‐
te m ef fectiveness is not achie ved until the
end of this teach-in process.
R Brake linings, brake discs and tyres that are
either new or ha vebeen replaced only ach‐
ie ve optimum braking ef fect and grip af ter
se veral hundred kilom etre s of driving. Com‐
pensate forth ere duced braking ef fect by
applying greaterfo rc eto the brake pedal. Driving tips
&
WARNING Risk of accident due to
objects in the driver's foot we ll
Objects in the driver's foot we ll may impede
pedal tr avel or block a depressed pedal.
This jeopardises the operating and road
saf ety of theve hicle. #
Stow all objects in theve hicle securely
so that they cannot getinto the driver's
fo ot we ll. #
Ensure floor mats and carpets cannot
slip and pr ovide suf ficient room forthe
pedals. #
Do not lay multiple floor mats or car‐
pets on top of one ano ther. 16 4
Driving and pa rking
Page 169 of 565
#
Never use the brake pedal as a foot re st. #
Do not depress the brake pedal and the
accelerator pedal at the same time
while driving. *
NO
TECausing wearto the brake linings
by permanently depressing the brake
pedal #
Do not permanently depress the brake
pedal while driving. #
Touse braking ef fect of the engine,
shift toa lo werge ar in good time. *
NO
TEDama getothe driv etra in and
engine when pulling away #
Do not warm upthe engine when sta‐
tionar y.Pull away immediatel y. #
Avoid high engine speeds and full thro t‐
tle until the engine has reached its
operating temp erature. #
Do not allow the wheels tospin. *
NO
TEDama getothe catalytic con verter
due tonon-combu sted fuel The engine is not
running smo othly and is
misfiring.
Non-combus ted fuel may get into the cata‐
lytic con verter. #
Only depress the accelera tor pedal
slightl y. #
Have the cause rectified immediately at
a qu alified specialist workshop. Limited braking ef
fect on salt-trea tedro ads:
R due tosalt build-up on the brake discs and
brake lining, the braking dis tance can
increase conside rably or result in braking
only on one side.
R maintain a much greater dis tance totheve hi‐
cle in front.
To preve nt salt build-up:
R brake occasionally while paying attention to
th e tra ffic conditions. R
carefully depress the brake pedal at the end
of the journey and when starting the next
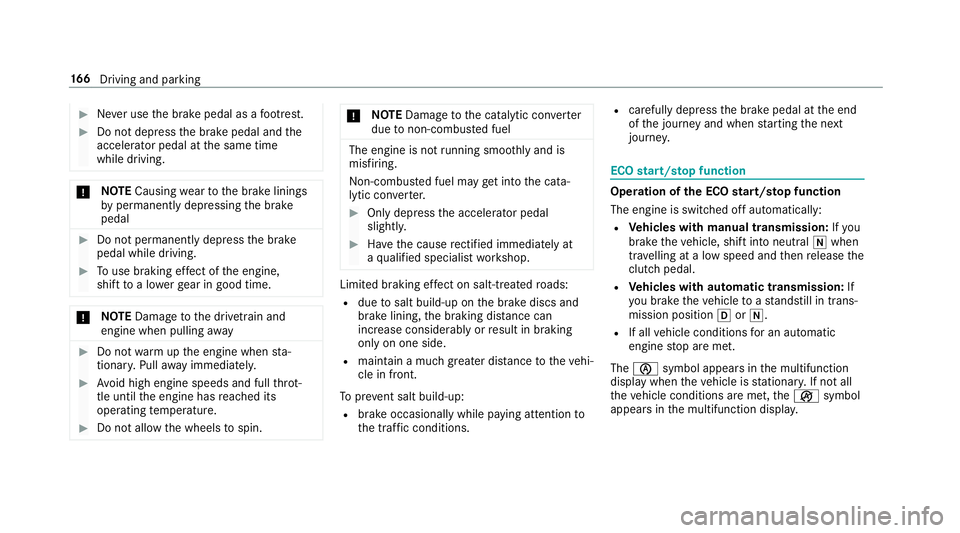
journe y. ECO
start/s top function Ope
ration of the ECO start/s top function
The engine is switched off au tomatical ly:
R Vehicles with manual transmission: Ifyou
brake theve hicle, shift into neutral iwhen
tr ave lling at a low speed and then release the
clutch pedal.
R Vehicles with automatic transmission: If
yo u brake theve hicle toast andstill in trans‐
mission position hori.
R If all vehicle conditions for an auto matic
engine stop are met.
The è symbol appears in the multifunction
display when theve hicle is stationar y.If not all
th eve hicle conditions are met, theç symbol
appears in the multifunction displa y.16 6
Driving and pa rking