2016 MERCEDES-BENZ AMG GT ROADSTER service interval reset
[x] Cancel search: service interval resetPage 8 of 289

Hiding a service message .............. 237
Resetting the service interval dis-
play ................................................ 237
Service message ............................ 236
Special service requirements ......... 237
ATA (Anti-Theft Alarm system)
Activating/deactivating ................... 60
Function ........................................... 60
Switching off the alarm .................... 60
ATTENTION ASSIST
Activating/deactivating ................. 165
Display messag e............................ 185
Function/note s............................. 147
Authorised workshop
see Qualified specialist workshop
AUTO lights
Display message ............................ 182
see Lights
Automatic engine start (ECO start/
stop function) .................................... 106
Automatic engine switch-off (ECO
start/stop function) .......................... 105
Automatic front-passenger front
airbag deactivation system
Operation ......................................... 42
Problems ......................................... 45
System self-test ............................... 44
Automatic headlamp mode ................ 88
Automatic transmission
Accelerator pedal position ............. 112
Automatic drive program ............... 114
Changing gear ............................... 112
Display message ............................ 190
Double-clutch function .................. 112
Drive program display .................... 111
Driving tips .................................... 112
Emergency running mode .............. 117
Gliding mod e................................. 112
Kickdown ....................................... 112
Manual drive progra m.................... 114
Manual mod e................................. 115
Oil temperature (on-board com-
puter) ............................................. 167
Overview ........................................ 109
Problem (fault) ............................... 117
Pulling away ................................... 104
Rocking the vehicle free ................ 112
Starting the engine ........................ 104 Steering wheel gearshift paddle
s... 113
Transmission position display ........ 111
Transmission positions .................. 111
Automatic transmission emer-
gency running mode ......................... 117 B
Back button ....................................... 206
BAS (Brake Assist System) ................. 54
Battery (key)
Checking .......................................... 66
Important safety notes .................... 66
Replacing ......................................... 66
Battery (vehicle)
Charging ........................................ 252
Display message ............................ 184
Important safety notes .................. 250
Jump starting ................................. 253
Belt
see Seat belts
Belt tensioner
Activation ......................................... 46
Blind Spot Assist
Activating/deactivating (on-
board computer) ............................ 165
Display message ............................ 186
Notes/function .............................. 151
Bluetooth ®
Connecting a different mobile
phone ............................................ 212
Searching for a mobile phone ........ 211
See also Digital Owner's Manua l... 205
Telephony ...................................... 211
Bonnet
Closing ........................................... 233
Display message ............................ 192
Important safety notes .................. 232
Opening ......................................... 232
Boot load (maximum) ........................ 281
Boot separator ................................... 218
Brake
EBD .................................................. 60
Brake Assist
see BAS (Brake Assist System)
Brake fluid
Display message ............................ 176
Notes ............................................. 279 Index
5
Page 169 of 289

X
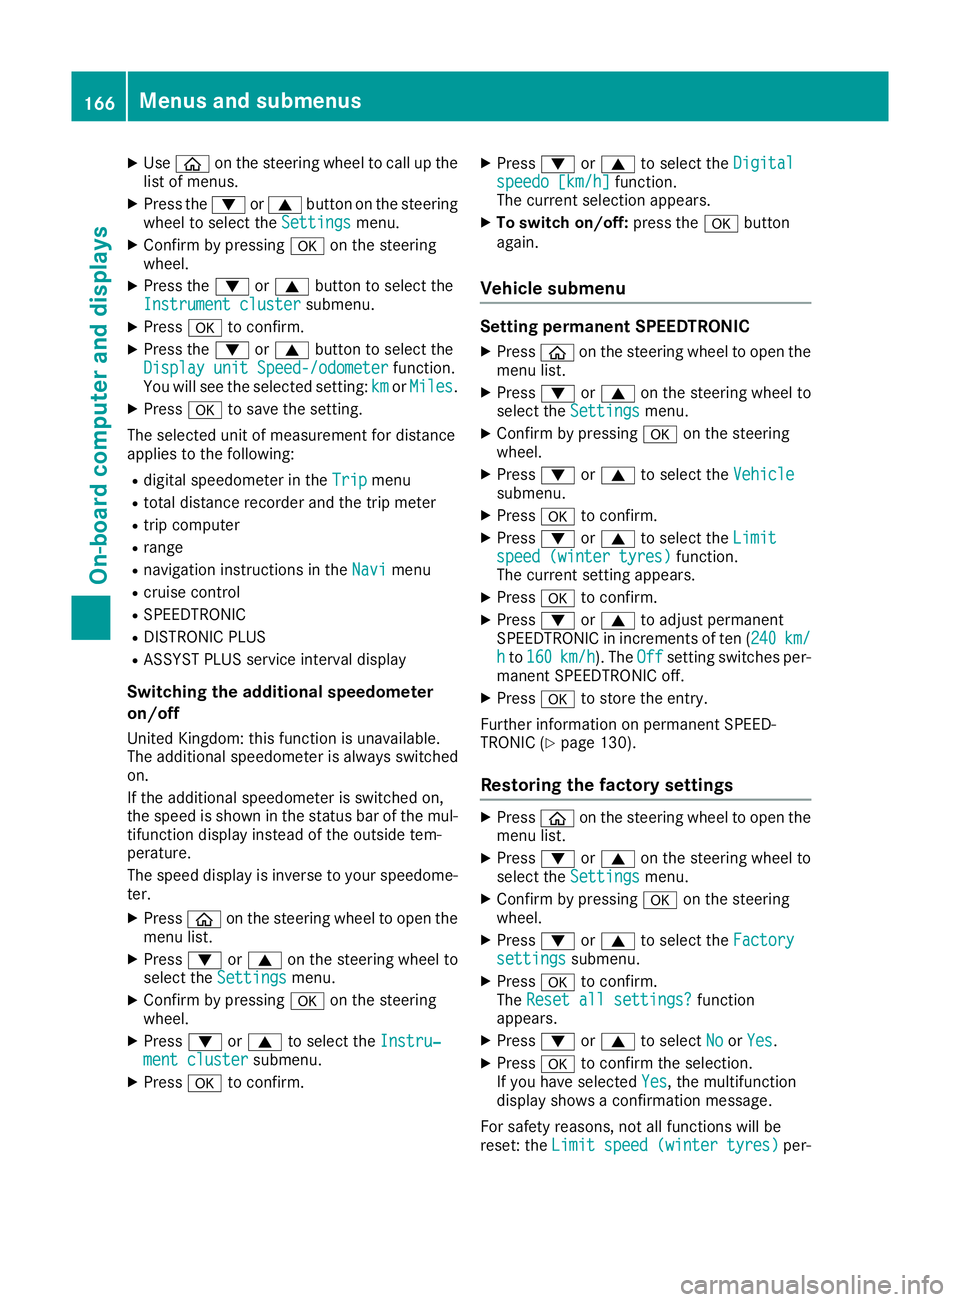
Use ò on the steering wheel to call up the
list of menus.
X Press the :or9 button on the steering
wheel to select the Settings
Settings menu.
X Confirm by pressing aon the steering
wheel.
X Press the :or9 button to select the
Instrument cluster
Instrument cluster submenu.
X Press ato confirm.
X Press the :or9 button to select the
Display unit Speed-/odometer
Display unit Speed-/odometer function.
You will see the selected setting: km
kmorMiles
Miles.
X Press ato save the setting.
The selected unit of measurement for distance
applies to the following:
R digital speedometer in the Trip
Trip menu
R total distance recorder and the trip meter
R trip computer
R range
R navigation instructions in the Navi
Navi menu
R cruise control
R SPEEDTRONIC
R DISTRONIC PLUS
R ASSYST PLUS service interval display
Switching the additional speedometer
on/off
United Kingdom: this function is unavailable.
The additional speedometer is always switched
on.
If the additional speedometer is switched on,
the speed is shown in the status bar of the mul-
tifunction display instead of the outside tem-
perature.
The speed display is inverse to your speedome- ter.
X Press òon the steering wheel to open the
menu list.
X Press :or9 on the steering wheel to
select the Settings
Settings menu.
X Confirm by pressing aon the steering
wheel.
X Press :or9 to select the Instru‐ Instru‐
ment cluster
ment cluster submenu.
X Press ato confirm. X
Press :or9 to select the Digital
Digital
speedo [km/h]
speedo [km/h] function.
The current selection appears.
X To switch on/off: press theabutton
again.
Vehicle submenu Setting permanent SPEEDTRONIC
X Press òon the steering wheel to open the
menu list.
X Press :or9 on the steering wheel to
select the Settings
Settings menu.
X Confirm by pressing aon the steering
wheel.
X Press :or9 to select the Vehicle
Vehicle
submenu.
X Press ato confirm.
X Press :or9 to select the Limit
Limit
speed (winter tyres)
speed (winter tyres) function.
The current setting appears.
X Press ato confirm.
X Press :or9 to adjust permanent
SPEEDTRONIC in increments of ten ( 240
240km/
km/
h
h to 160
160 km/h
km/h). The Off
Offsetting switches per-
manent SPEEDTRONIC off.
X Press ato store the entry.
Further information on permanent SPEED-
TRONIC (Y page 130).
Restoring the factory settings X
Press òon the steering wheel to open the
menu list.
X Press :or9 on the steering wheel to
select the Settings
Settings menu.
X Confirm by pressing aon the steering
wheel.
X Press :or9 to select the Factory Factory
settings
settings submenu.
X Press ato confirm.
The Reset all settings?
Reset all settings? function
appears.
X Press :or9 to select No
NoorYes
Yes.
X Press ato confirm the selection.
If you have selected Yes
Yes, the multifunction
display shows a confirmation message.
For safety reasons, not all functions will be
reset: the Limit speed (winter tyres) Limit speed (winter tyres) per-166
Menus and submenusOn-board computer and displays
Page 240 of 289

i
The ASSYST PLUS service interval display
does not show any information on the engine oil level. Observe the notes on the engine oil
level (Y page 233).
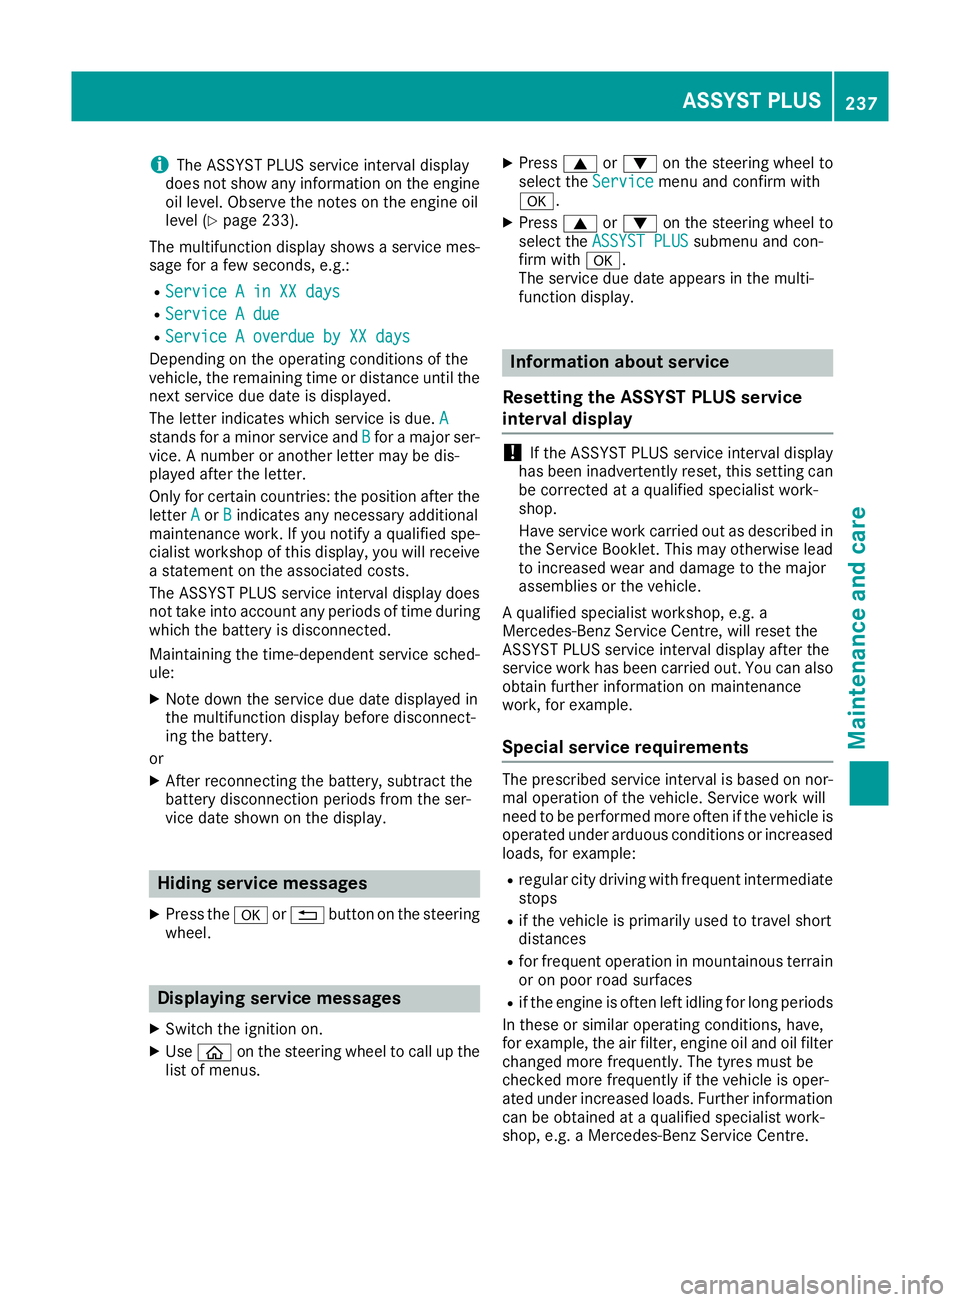
The multifunction display shows a service mes-
sage for a few seconds, e.g.:
R Service A in XX days
Service A in XX days
R Service A due
Service A due
R Service A overdue by XX days
Service A overdue by XX days
Depending on the operating conditions of the
vehicle, the remaining time or distance until the
next service due date is displayed.
The letter indicates which service is due. A
A
stands for a minor service and B Bfor a major ser-
vice. A number or another letter may be dis-
played after the letter.
Only for certain countries: the position after the
letter A
A or B Bindicates any necessary additional
maintenance work. If you notify a qualified spe-
cialist workshop of this display, you will receive
a statement on the associated costs.
The ASSYST PLUS service interval display does
not take into account any periods of time during which the battery is disconnected.
Maintaining the time-dependent service sched-
ule:
X Note down the service due date displayed in
the multifunction display before disconnect-
ing the battery.
or
X After reconnecting the battery, subtract the
battery disconnection periods from the ser-
vice date shown on the display. Hiding service messages
X Press the aor% button on the steering
wheel. Displaying service messages
X Switch the ignition on.
X Use ò on the steering wheel to call up the
list of menus. X
Press 9or: on the steering wheel to
select the Service Servicemenu and confirm with
a.
X Press 9or: on the steering wheel to
select the ASSYST PLUS ASSYST PLUS submenu and con-
firm with a.
The service due date appears in the multi-
function display. Information about service
Resetting the ASSYST PLUS service
interval display !
If the ASSYST PLUS service interval display
has been inadvertently reset, this setting can
be corrected at a qualified specialist work-
shop.
Have service work carried out as described in the Service Booklet. This may otherwise lead
to increased wear and damage to the major
assemblies or the vehicle.
A qualified specialist workshop, e.g. a
Mercedes-Benz Service Centre, will reset the
ASSYST PLUS service interval display after the
service work has been carried out. You can also
obtain further information on maintenance
work, for example.
Special service requirements The prescribed service interval is based on nor-
mal operation of the vehicle. Service work will
need to be performed more often if the vehicle is
operated under arduous conditions or increased loads, for example:
R regular city driving with frequent intermediate
stops
R if the vehicle is primarily used to travel short
distances
R for frequent operation in mountainous terrain
or on poor road surfaces
R if the engine is often left idling for long periods
In these or similar operating conditions, have,
for example, the air filter, engine oil and oil filter changed more frequently. The tyres must be
checked more frequently if the vehicle is oper-
ated under increased loads. Further informationcan be obtained at a qualified specialist work-
shop, e.g. a Mercedes-Benz Service Centre. ASSYST PLUS
237Maintenance and care Z