2016 JEEP WRANGLER transmission
[x] Cancel search: transmissionPage 5 of 156

When it comes to service, remember that your authorized dealer knows your vehicle
best, has factory-trained technicians and genuine MOPAR®parts, and cares about
your satisfaction.
VEHICLES SOLD IN CANADA
With respect to any vehicles sold in Canada, the name FCA US LLC shall be deemed
to be deleted and the name FCA Canada Inc. used in substitution (excluding legal
lines).
WARNING!
• Pedals that cannot move freely can cause loss of vehicle control and increase the risk of serious personal injury.
• Always make sure that objects cannot fall into the driver foot well while the
vehicle is moving. Objects can become trapped under the brake pedal and
accelerator pedal causing a loss of vehicle control.
• Failure to properly follow floor mat installation or mounting can cause inter-
ference with the brake pedal and accelerator pedal operation causing loss of
control of the vehicle.
• Never leave children alone in a vehicle, or with access to an unlocked vehicle.
Allowing children to be in a vehicle unattended is dangerous for a number of
reasons. A child or others could be seriously or fatally injured. Children should
be warned not to touch the parking brake, brake pedal or the transmission gear
selector.
• Do not leave the key fob in or near the vehicle, or in a location accessible to
children. A child could operate power windows, other controls, or move the
vehicle.
• Never use the ‘PARK’ position as a substitute for the parking brake. Always
apply the parking brake fully when parked to guard against vehicle movement
and possible injury or damage.
• Refer to your Owner's Manual on the DVD for further details.
INTRODUCTION/WELCOME
3
Page 12 of 156

KEY FOB
Locking And Unlocking The
Doors/Swing Gate
• Push the LOCK button once to lock allthe doors and swing gate. Push the
UNLOCK button once to unlock the
driver’s door only and twice within five
seconds to unlock all the doors and
swing gate.
• All doors can be programmed to un- lock on the first push of the UNLOCK
button. Refer to “Programmable Fea-
tures” in “Electronics” for further
information.
Panic Alarm
• Push the PANIC button once to turnthe panic alarm on.
• Wait approximately three seconds and push the PANIC button a second time
to turn the panic alarm off.
WARNING!
• Never leave children alone in a vehicle, or with access to an unlocked vehicle.
Allowing children to be in a vehicle unattended is dangerous for a number of
reasons. A child or others could be severely injured or killed. Children should
be warned not to touch the parking brake, brake pedal, or the transmission gear
selector. Do not leave the Key Fob in or near the vehicle, or in a location
accessible to children, A child could start the vehicle, operate power windows,
other controls, or move the vehicle.
• Do not leave children or animals inside parked vehicles in hot weather. Interior
heat build-up may cause them to be severely injured or killed.
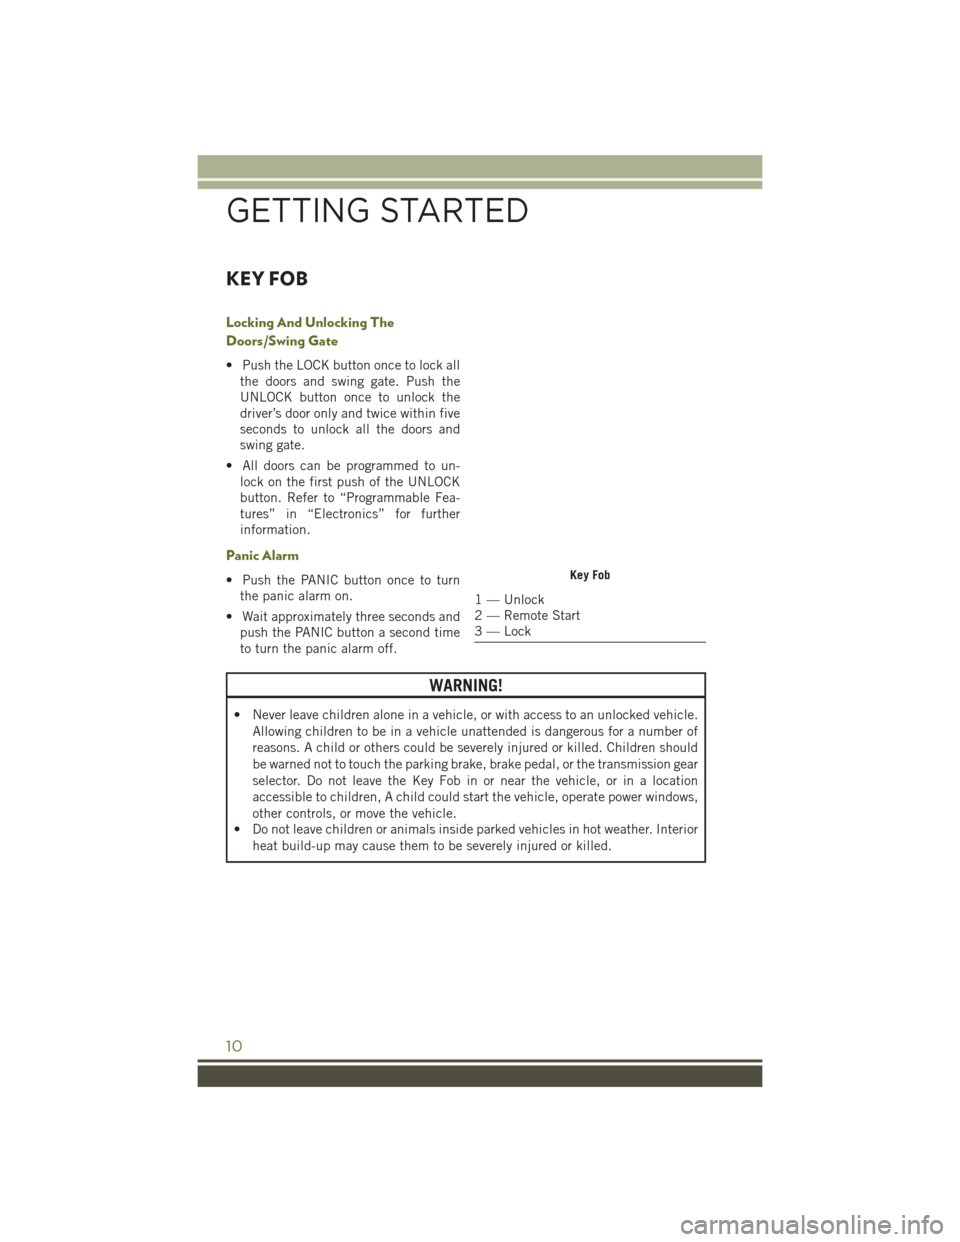
Key Fob
1 — Unlock
2 — Remote Start
3 — Lock
GETTING STARTED
10
Page 30 of 156

ENGINE BREAK-IN RECOMMENDATIONS
A long break-in period is not required for the engine and drivetrain (transmission and
axle) in your vehicle.
Drive moderately during the first 300 miles (500 km). After the initial 60 miles
(100 km), speeds up to 50 or 55 mph (80 or 90 km/h) are desirable.
While cruising, brief full-throttle acceleration within the limits of local traffic laws
contributes to a good break-in. Wide-open throttle acceleration in low gear can be
detrimental and should be avoided.
The engine oil installed in the engine at the factory is a high-quality energy
conserving type lubricant. Oil changes should be consistent with anticipated climate
conditions under which vehicle operations will occur. Refer to “Maintaining Your
Vehicle,” for the recommended viscosity and quality grades.
NOTE:
A new engine may consume some oil during its first few thousand miles (kilometers)
of operation. This should be considered a normal part of the break-in and not
interpreted as an indication of an engine problem or malfunction.
CAUTION!
Never use Non-Detergent Oil or Straight Mineral Oil in the engine or damage may
result.
TURN SIGNAL/LIGHTS LEVER
Headlights And Parking Lights
Turn the end of the multifunction lever to
the first detent for parking light opera-
tion. Turn to the second detent for head-
light operation.
Instrument Panel Dimmer
• Rotate the center portion of the leverto the extreme bottom position to fully
dim the instrument panel lights and
prevent the interior lights from illumi-
nating when a door is opened.
• Rotate the center portion of the lever up to increase the brightness of the
instrument panel lights when the park-
ing lights or headlights are on.
Multifunction Lever
OPERATING YOUR VEHICLE
28
Page 36 of 156

To Decrease Speed
When the Electronic Speed Control is set, you can decrease speed by pushing the
SET (-) button.
The drivers preferred units can be selected through the instrument panel settings if
equipped. Refer to “Understanding Your Instrument Panel” in the Owner’s Manual
on the DVD for more information. The speed decrement shown is dependant on the
chosen speed unit of U.S. (mph) or Metric (km/h):
U.S. Speed (mph)
• Pushing the SET (-) button once will result in a 1 mph decrease in set speed. Eachsubsequent tap of the button results in a decrease of 1 mph.
• If the button is continually pushed, the set speed will continue to decrease until the button is released, then the new set speed will be established.
Metric Speed (km/h)
• Pushing the SET (-) button once will result in a 1 km/h decrease in set speed. Each subsequent tap of the button results in a decrease of 1 km/h.
• If the button is continually pushed, the set speed will continue to decrease until the button is released, then the new set speed will be established.
To Accelerate For Passing
Press the accelerator as you would normally. When the pedal is released, the vehicle
will return to the set speed.
Using Electronic Speed Control On Hills
The transmission may downshift on hills to maintain the vehicle set speed.
NOTE:
The Electronic Speed Control system maintains speed up and down hills. A slight
speed change on moderate hills is normal.
On steep hills, a greater speed loss or gain may occur so it may be preferable to drive
without Electronic Speed Control.
WARNING!
Electronic Speed Control can be dangerous where the system cannot maintain a
constant speed. Your vehicle could go too fast for the conditions, and you could
lose control and have an accident. Do not use Electronic Speed Control in heavy
traffic or on roads that are winding, icy, snow-covered or slippery.
OPERATING YOUR VEHICLE
34
Page 89 of 156

EVIC Main Menu
To step to each main menu feature, push the MENU button once for each step. A step
from the last item in the list will cause the first item in the feature list to be displayed.
The following features are in the Main Menu:
• Compass, Outside Temperature, and ECO display
• Digital Speedometer
• Average Fuel Economy
• Distance to Empty
• Elapsed Time
• Vehicle Information• Coolant Temp
• Oil Pressure
• Transmission Temp
• Oil Life Remaining (Automatic Oil Change Indicator)
• EVIC Units Selection
• System Status
• Personal Settings
• Tire PSI
Compass Calibration
This compass is self-calibrating, which eliminates the need to set the compass
manually. When the vehicle is new, the compass may appear erratic, and the EVIC
will display “CAL” until the compass is calibrated.
You may also calibrate the compass by completing one or more 360 degree turns (in
an area free from large metal or metallic objects) until the “CAL” message displayed
in the EVIC turns off. The compass will now function normally.
ECO
The ECO message will appear in your EVIC display whenever you are driving in a fuel
efficient manner.
This feature allows you to monitor when you are driving in a fuel efficient manner, and
it can be used to modify driving habits in order to increase fuel economy.
ELECTRONICS
87
Page 94 of 156

COMMAND-TRAC/ROCK-TRAC
The transfer case provides four mode
positions: 2H (Two-wheel drive high
range), 4H (Four-wheel drive high range),
N (Neutral), and 4L (Four-wheel drive low
range).
The transfer case is intended to be driven
in the 2H position for normal street and
highway conditions such as hard-
surfaced roads.
Shifting Between 2H And 4H
Shifting between 2H and 4H can be
made with the vehicle stopped or in mo-
tion. Shift the transfer case lever firmly to
4H at any speed up to 50 mph (80 km/h).
Shifting Between 4H And 4L (Automatic Transmission)
Shifting between 4H and 4L should be made with the vehicle rolling at 2 to 3 mph
(3 to 5 km/h). Shift the automatic transmission into NEUTRAL then shift the transfer
case lever firmly to 4L (do not pause with the transfer case in NEUTRAL). Once the
shift is completed, place the automatic transmission into DRIVE.
Shifting Between 4H And 4L (Manual Transmission)
Shifting between 4H and 4L should be made with the vehicle rolling at 2 to 3 mph
(3 to 5 km/h). Fully depress the clutch pedal and shift the transfer case lever firmly
to 4L (do not pause with the transfer case in NEUTRAL). Once the shift is completed,
release the clutch pedal.
NOTE:
To enhance off-road performance in 4L mode, manual transmission vehicles will start
regardless of whether or not the clutch pedal is depressed.
Transfer Case Lever
OFF-ROAD CAPABILITIES (4WD OPERATION)
92
Page 96 of 156

TRAILER TOWINGTrailer Towing Weights (Maximum Trailer Weight Ratings)
Engine/
Transmission Axle Model GCWR (Gross Com-
bined Wt. Rating) Frontal AreaMax. GTW (Gross
Trailer Wt.) Max. Trailer
Tongue Wt.(See Note)
3.6L/Manual 3.21 Two–Door Sport
Model (4WD) 6,900 lbs
(3 130 kg) 25 sq ft
(2.32 sq m) 2,000 lbs
(907 kg) 200 lbs (91 kg)
3.6L/Manual 3.73 Two–Door Sport
Model (4WD) 8,400 lbs
(3 810 kg) 25 sq ft
(2.32 sq m) 3,500 lbs
(1 588 kg) 350 lbs
(1 598 kg)
3.6L/Automatic 3.21 Two–Door Sport
Model (4WD) 6,900 lbs
(3 130 kg) 25 sq ft
(2.32 sq m) 2,000 lbs
(907 kg) 200 lbs (91 kg)
3.6L/Automatic 3.73 Two–Door Sport
Model (4WD) 8,400 lbs
(3 810 kg) 25 sq ft
(2.32 sq m) 3,500 lbs
(1 588 kg) 350 lbs
(1 598 kg)
3.6L/Manual 3.21 Two–Door Sahara
Model (4WD) 7,000 lbs
(3 175 kg) 25 sq ft
(2.32 sq m) 2,000 lbs
(907 kg) 200 lbs (91 kg)
3.6L/Manual 3.73 Two–Door Sahara
Model (4WD) 8,500 lbs
(3 856 kg) 25 sq ft
(2.32 sq m) 3,500 lbs
(1 588 kg) 350 lbs
(1 598 kg)
3.6L/Automatic 3.21 Two–Door Sahara
Model (4WD) 7,000 lbs
(3 175 kg) 25 sq ft
(2.32 sq m) 2,000 lbs
(907 kg) 200 lbs (91 kg)
3.6L/Automatic 3.73 Two–Door Sahara
Model (4WD) 8,500 lbs
(3 856 kg) 25 sq ft
(2.32 sq m) 3,500 lbs
(1 588 kg) 350 lbs
(1 598 kg)
3.6L/Manual 4.10 Two–Door Rubi-
con Model (4WD) 8,600 lbs
(3 900 kg) 25 sq ft
(2.32 sq m) 3,500
lbs
(1 588 kg) 350 lbs
(1 598 kg)
3.6L/Automatic 3.73 Two–Door Rubi-
con Model (4WD) 8,600 lbs
(3 900 kg) 25 sq ft
(2.32 sq m) 3,500 lbs
(1 588 kg) 350 lbs
(1 598 kg)
3.6L/Automatic 4.10 Two–Door Rubi-
con Model (4WD) 8,600 lbs
(3 900 kg) 25 sq ft
(2.32 sq m) 3,500 lbs
(1 588 kg) 350 lbs
(1 598 kg)
UTILITY
94
Page 97 of 156

Engine/
Transmission Axle Model GCWR (Gross Com-
bined Wt. Rating) Frontal AreaMax. GTW (Gross
Trailer Wt.) Max. Trailer
Tongue Wt.(See Note)
3.6L/Manual 3.21 Four–Door Sport
Model (4WD) 7,400 lbs
(3 357 kg) 32 sq ft
(2.97 sq m) 2,000 lbs
(907 kg) 200 lbs (91 kg)
3.6L/Manual 3.73 Four–Door Sport
Model (4WD) 8,900 lbs
(4 037 kg) 32 sq ft
(2.97 sq m) 3,500 lbs
(1 587 kg) 350 lbs (159 kg)
3.6L/Automatic 3.21 Four–Door Sport
Model (4WD) 7,400 lbs
(3 357 kg) 32 sq ft
(2.97 sq m) 2,000 lbs
(907 kg) 200 lbs (91 kg)
3.6L/Automatic 3.73 Four–Door Sport
Model (4WD) 8,900 lbs
(4 037 kg) 32 sq ft
(2.97 sq m) 3,500 lbs
(1 587 kg) 350 lbs (159 kg)
3.6L/Manual 3.21 Four–Door Sahara
Model (4WD) 7,500 lbs
(3 402 kg) 32 sq ft
(2.97 sq m) 2,000 lbs
(907 kg) 200 lbs (91 kg)
3.6L/Manual 3.73 Four–Door Sahara
Model (4WD) 9,000 lbs
(4 082 kg) 32 sq ft
(2.97 sq m) 3,500 lbs
(1 587 kg) 350 lbs (159 kg)
3.6L/Automatic 3.21 Four–Door Sahara
Model (4WD) 7,500 lbs
(3 402 kg) 32 sq ft
(2.97 sq m) 2,000 lbs
(907 kg) 200 lbs (91 kg)
3.6L/Automatic 3.73 Four–Door Sahara
Model (4WD) 9,000 lbs
(4 082 kg) 32 sq ft
(2.97 sq m) 3,500 lbs
(1 587 kg) 350 lbs (159 kg)
3.6L/Manual 4.10 Four–Door Rubi-
con Model (4WD) 9,200 lbs
(4 173 kg) 32 sq ft
(2.97 sq m) 3,500 lbs
(1 587 kg) 350 lbs (159 kg)
UTILITY
95