2016 JEEP WRANGLER Driving mode
[x] Cancel search: Driving modePage 19 of 156

NOTE:
EDR data are recorded by your vehicle only if a non-trivial crash situation occurs; no
data are recorded by the EDR under normal driving conditions and no personal data
(e.g., name, gender, age, and crash location) are recorded. However, other parties,
such as law enforcement, could combine the EDR data with the type of personally
identifying data routinely acquired during a crash investigation.
To read data recorded by an EDR, special equipment is required, and access to the
vehicle or the EDR is needed. In addition to the vehicle manufacturer, other parties,
such as law enforcement, that have the special equipment, can read the information
if they have access to the vehicle or the EDR.
CHILD RESTRAINTS
Children 12 years or younger should ride properly buckled up in a rear seat, if
available. According to crash statistics, children are safer when properly restrained in
the rear seats rather than in the front.
Every state in the United States and all Canadian provinces require that small
children ride in proper restraint systems. This is the law, and you can be prosecuted
for ignoring it.
NOTE:
• For additional information, refer to www.Seatcheck.org or call 1-866-SEATCHECK (1-866-732-8243 ).
• Canadian residents should refer to Transport Canada’s website for additional information:
http://www.tc.gc.ca/eng/motorvehiclesafety/safedrivers-childsafety-index-53.htm
LATCH – Lower Anchors And Tethers For CHildren (Four Door Models)
• Your vehicle is equipped with the child restraint anchorage system called LATCH,which stands for Lower Anchors and Tethers for CHildren.
• The rear outboard seating positions have lower anchors and top tether anchors. The rear center seating position has a top tether anchor only.
GETTING STARTED
17
Page 58 of 156

UCONNECT 130
NOTE:
• Your radio has many features that add to the comfort and convenience for you andyour passengers.
• Some of these radio features should not be used when driving because they take your eyes from the road or your attention from driving.
Clock Setting
1. Push and hold the TIME button until the hours blink.
2. Turn the TUNE/SCROLL control knob to set the hours.
3. Push the TUNE/SCROLL control knob until the minutes begin to blink.
4. Turn the TUNE/SCROLL control knob to set the minutes.
Uconnect 130
1 — CD Eject Button
2 — Seek Down Button
3 — Seek Up Button
4 — AM/FM Button
5 — Disc Mode Button
6 — AUX Mode Button
7 — Rewind Button
8 — Fast Forward Button9 — Set Clock Button
10 — Audio Settings/Rotate To Tune
11 — Radio Sales Code
12 — Audio Jack
13 — Set Preset/CD Random Play
14 — Station Presets Buttons
15 — ON/OFF/Rotate For
Volume
ELECTRONICS
56
Page 60 of 156
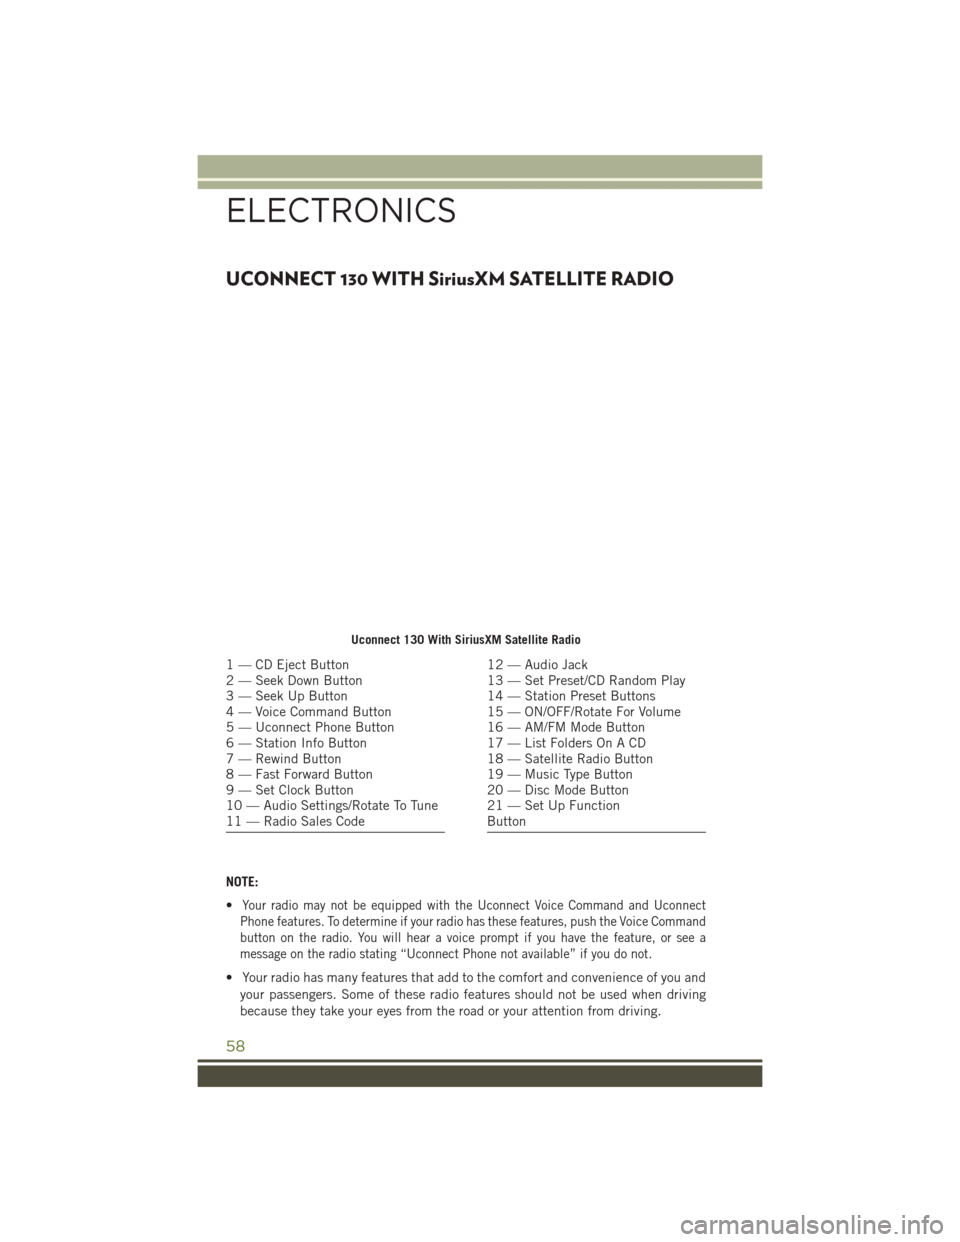
UCONNECT 130 WITH SiriusXM SATELLITE RADIO
NOTE:
•
Your radio may not be equipped with the Uconnect Voice Command and Uconnect
Phone features. To determine if your radio has these features, push the Voice Command
button on the radio. You will hear a voice prompt if you have the feature, or see a
message on the radio stating “Uconnect Phone not available” if you do not.
• Your radio has many features that add to the comfort and convenience of you and
your passengers. Some of these radio features should not be used when driving
because they take your eyes from the road or your attention from driving.
Uconnect 130 With SiriusXM Satellite Radio
1 — CD Eject Button
2 — Seek Down Button
3 — Seek Up Button
4 — Voice Command Button
5 — Uconnect Phone Button
6 — Station Info Button
7 — Rewind Button
8 — Fast Forward Button
9 — Set Clock Button
10 — Audio Settings/Rotate To Tune
11 — Radio Sales Code12 — Audio Jack
13 — Set Preset/CD Random Play
14 — Station Preset Buttons
15 — ON/OFF/Rotate For Volume
16 — AM/FM Mode Button
17 — List Folders On A CD
18 — Satellite Radio Button
19 — Music Type Button
20 — Disc Mode Button
21 — Set Up Function
Button
ELECTRONICS
58
Page 63 of 156
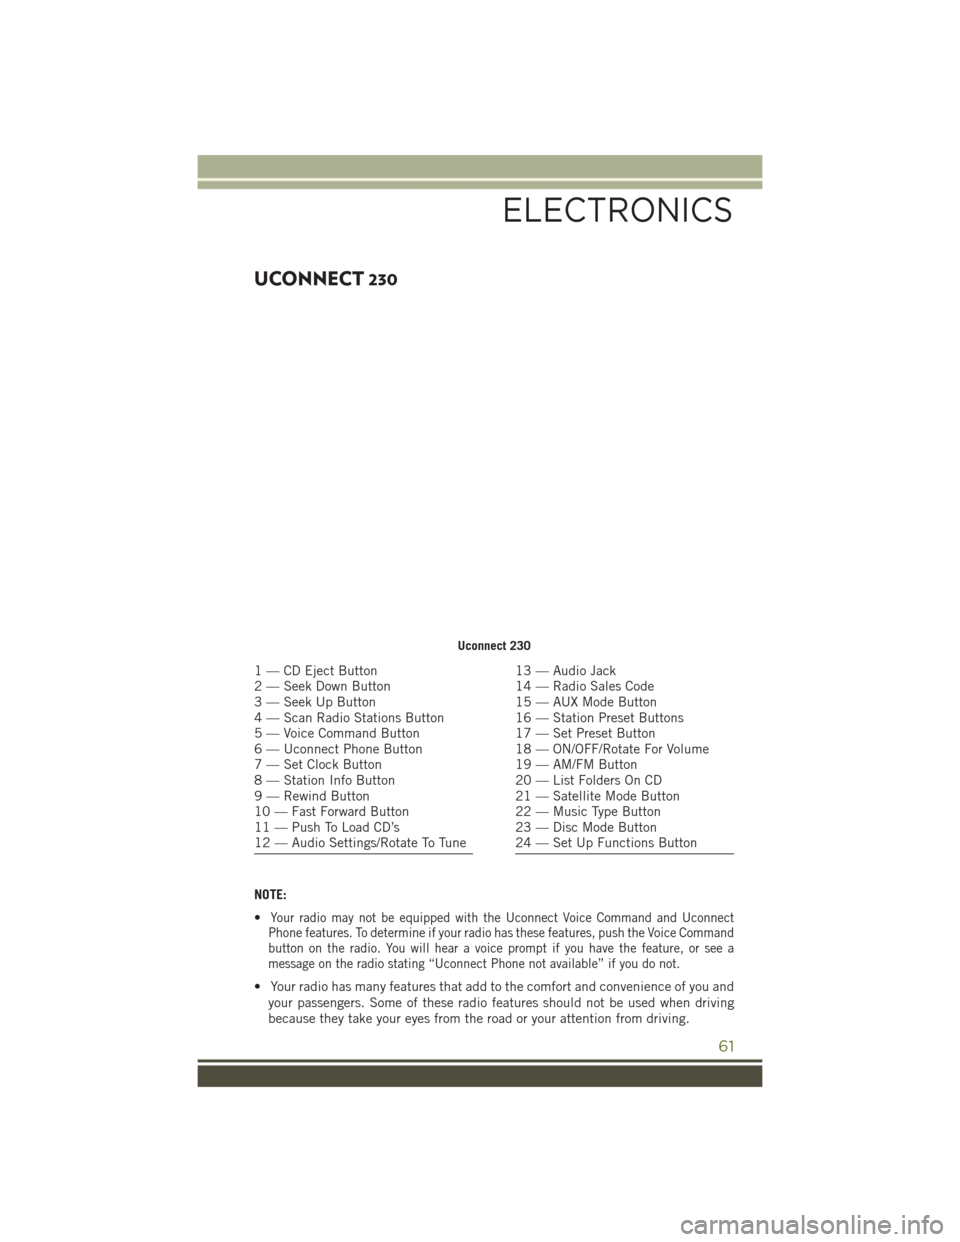
UCONNECT 230
NOTE:
•
Your radio may not be equipped with the Uconnect Voice Command and Uconnect
Phone features. To determine if your radio has these features, push the Voice Command
button on the radio. You will hear a voice prompt if you have the feature, or see a
message on the radio stating “Uconnect Phone not available” if you do not.
• Your radio has many features that add to the comfort and convenience of you and
your passengers. Some of these radio features should not be used when driving
because they take your eyes from the road or your attention from driving.
Uconnect 230
1 — CD Eject Button
2 — Seek Down Button
3 — Seek Up Button
4 — Scan Radio Stations Button
5 — Voice Command Button
6 — Uconnect Phone Button
7 — Set Clock Button
8 — Station Info Button
9 — Rewind Button
10 — Fast Forward Button
11 — Push To Load CD’s
12 — Audio Settings/Rotate To Tune13 — Audio Jack
14 — Radio Sales Code
15 — AUX Mode Button
16 — Station Preset Buttons
17 — Set Preset Button
18 — ON/OFF/Rotate For Volume
19 — AM/FM Button
20 — List Folders On CD
21 — Satellite Mode Button
22 — Music Type Button
23 — Disc Mode Button
24 — Set Up Functions Button
ELECTRONICS
61
Page 67 of 156
NOTE:
• Your radio may not be equipped with the Uconnect Voice Command and UconnectPhone features. To determine if your radio has these features, push the Voice
Command button on the radio. You will hear a voice prompt if you have the feature,
or see a message on the radio stating “Uconnect Phone not available” if you do
not.
• Your radio has many features that add to the comfort and convenience of you and your passengers. Some of these radio features should not be used when driving
because they take your eyes from the road or your attention from driving.
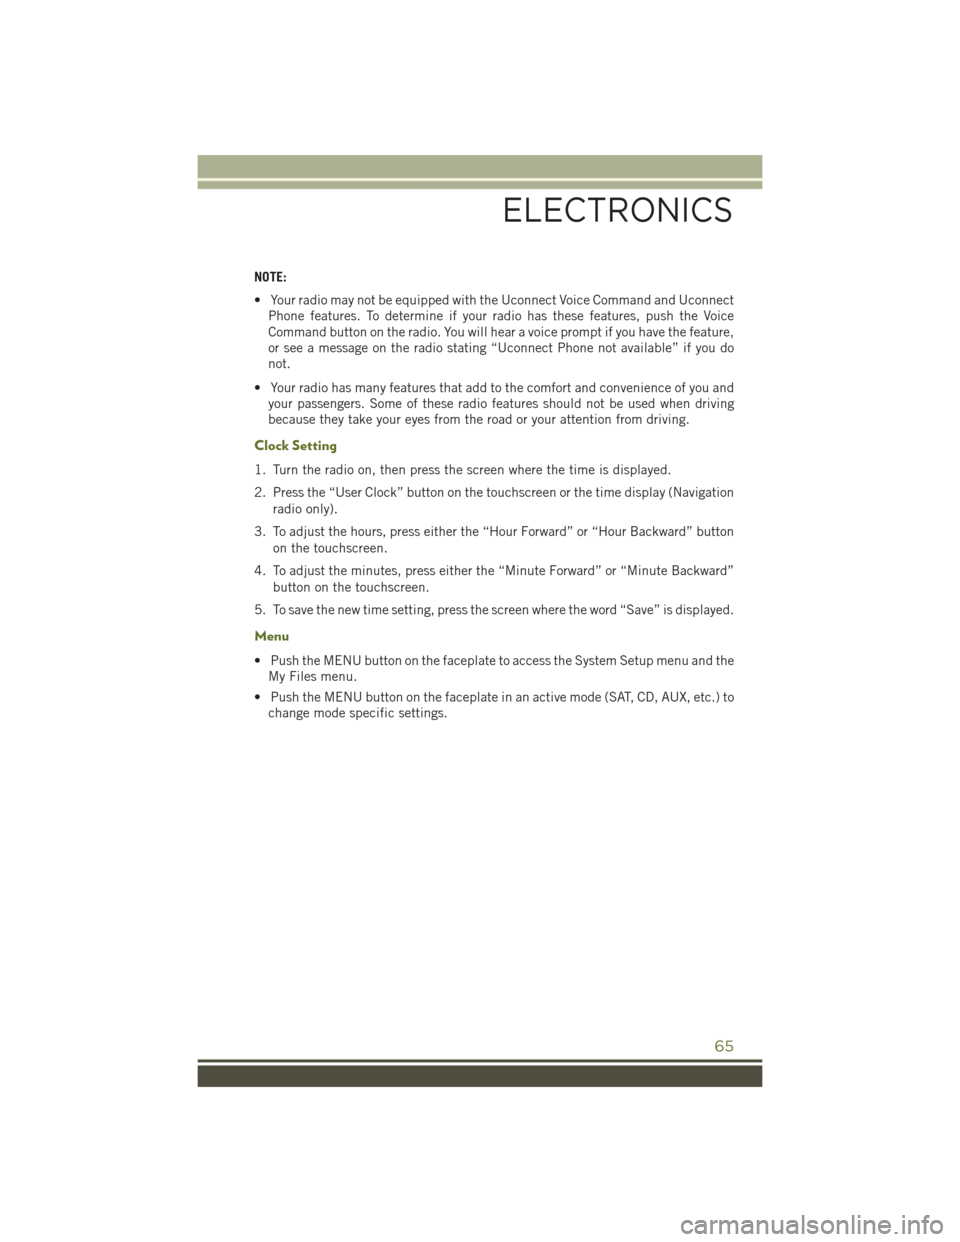
Clock Setting
1. Turn the radio on, then press the screen where the time is displayed.
2. Press the “User Clock” button on the touchscreen or the time display (Navigation
radio only).
3. To adjust the hours, press either the “Hour Forward” or “Hour Backward” button on the touchscreen.
4. To adjust the minutes, press either the “Minute Forward” or “Minute Backward” button on the touchscreen.
5. To save the new time setting, press the screen where the word “Save” is displayed.
Menu
• Push the MENU button on the faceplate to access the System Setup menu and the My Files menu.
• Push the MENU button on the faceplate in an active mode (SAT, CD, AUX, etc.) to change mode specific settings.
ELECTRONICS
65
Page 85 of 156
Transfer Ongoing Call Between Handset And Vehicle
• During a call, push the “Voice Command” button.
• After the BEEP, say “transfer call.”
Changing The Volume
• Start a dialogue by pushing the “Phone” button, then adjust the volume
during a normal call.
• Use the radio ON/OFF VOLUME rotary knob to adjust the volume to a comfortable level while the Uconnect system is speaking. Please note the volume setting for
Uconnect is different than the audio system.
WARNING!
• Any voice commanded system should be used only in safe driving conditions following applicable laws regarding phone use. Your attention should be
focused on safely operating the vehicle. Failure to do so may result in a
collision causing you and others to be severely injured or killed.
• In an emergency, to use Uconnect Phone, your mobile phone must be:
• turned on
• paired to Uconnect Phone
• have network coverage
UCONNECT VOICE COMMAND
Voice Command Operation
The Uconnect Voice Command system allows you to control your AM, FM radio,
satellite radio, disc player, HDD, Uconnect Phone, a memo recorder, and supported
portable media devices.
• When you push the “Voice Command” button
located on the radio faceplate
or steering wheel, you will hear a beep. The beep is your signal to give a command.
If you do not say a command within a few seconds, the system will present you with
a list of options. If you ever want to interrupt the system while it lists options, push
the “Voice Command” button
, listen for the BEEP, and say your command.
NOTE:
U.S. residents visit driveuconnect.com for more info on which voice command
features apply to your vehicle. Canadian residents visit driveuconnect.ca for more
info on which voice command features apply to your vehicle.
• Start a dialogue by pushing the “Voice Command” button
, you will hear a
beep. The beep is your signal to give a command. Below are a list of voice
commands for each of the different modes:
ELECTRONICS
83
Page 87 of 156
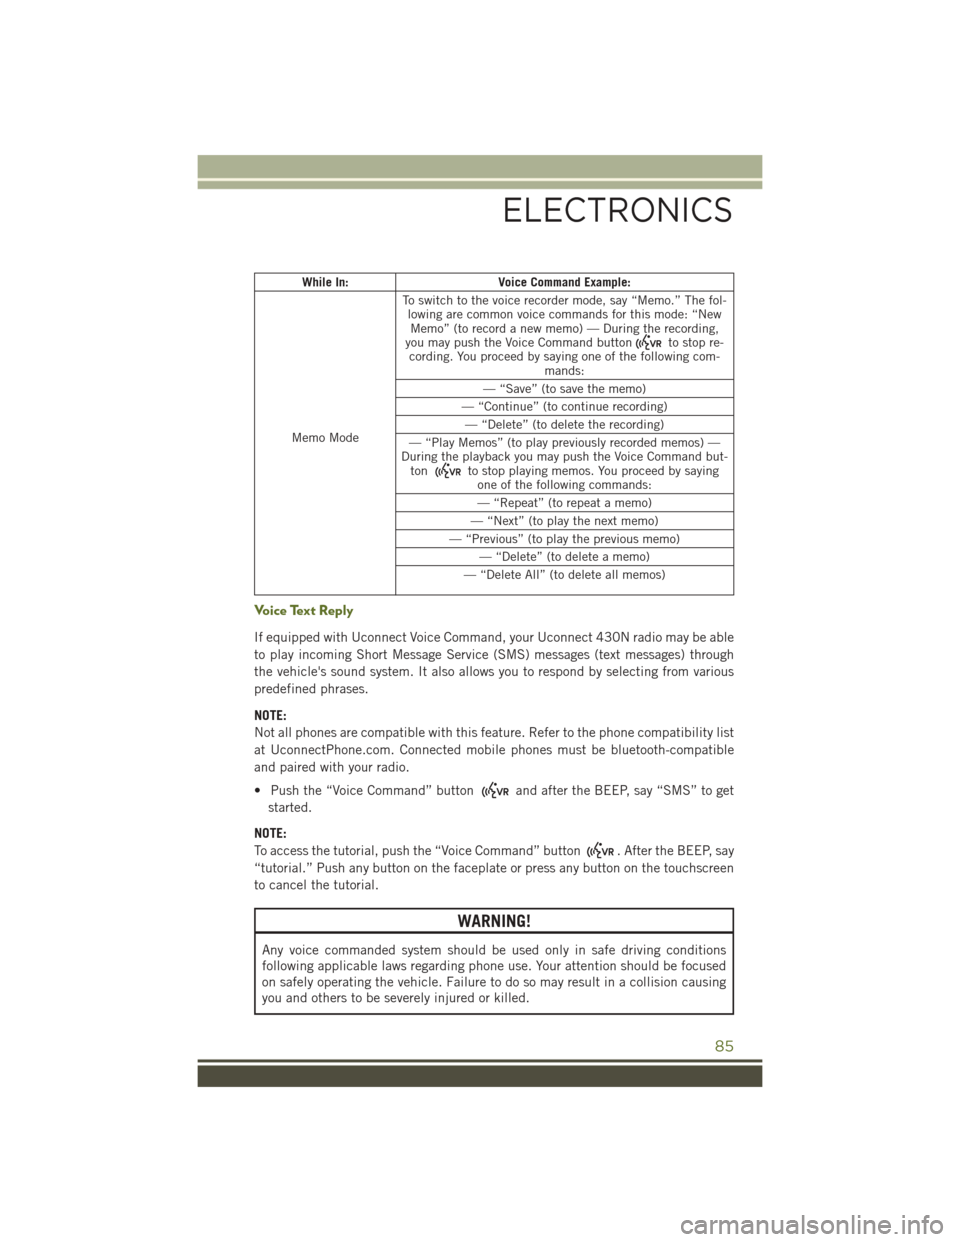
While In:Voice Command Example:
Memo Mode To switch to the voice recorder mode, say “Memo.” The fol-
lowing are common voice commands for this mode: “NewMemo” (to record a new memo) — During the recording,
you may push the Voice Command button
to stop re-
cording. You proceed by saying one of the following com- mands:
— “Save” (to save the memo)
— “Continue” (to continue recording) — “Delete” (to delete the recording)
— “Play Memos” (to play previously recorded memos) —
During the playback you may push the Voice Command but- ton
to stop playing memos. You proceed by saying one of the following commands:
— “Repeat” (to repeat a memo)
— “Next” (to play the next memo)
— “Previous” (to play the previous memo) — “Delete” (to delete a memo)
— “Delete All” (to delete all memos)
Voice Text Reply
If equipped with Uconnect Voice Command, your Uconnect 430N radio may be able
to play incoming Short Message Service (SMS) messages (text messages) through
the vehicle's sound system. It also allows you to respond by selecting from various
predefined phrases.
NOTE:
Not all phones are compatible with this feature. Refer to the phone compatibility list
at UconnectPhone.com. Connected mobile phones must be bluetooth-compatible
and paired with your radio.
• Push the “Voice Command” button
and after the BEEP, say “SMS” to get
started.
NOTE:
To access the tutorial, push the “Voice Command” button
. After the BEEP, say
“tutorial.” Push any button on the faceplate or press any button on the touchscreen
to cancel the tutorial.
WARNING!
Any voice commanded system should be used only in safe driving conditions
following applicable laws regarding phone use. Your attention should be focused
on safely operating the vehicle. Failure to do so may result in a collision causing
you and others to be severely injured or killed.
ELECTRONICS
85
Page 95 of 156

AXLE LOCK (TRU-LOK) RUBICON ONLY
The AXLE LOCK switch is located on the instrument panel (to the left of the steering
column).
This feature will only activate when the following conditions are met:
• Key in Run Position, vehicle in 4L (Low) range.
• Vehicle speed at 10 mph (16 km/h) or less.
Push the bottom of the AXLE LOCK switch once to lock the rear axle only and a
second time to lock the front axle (the rear and front axle lock indicator lights will
illuminate).
After the rear axle lock is engaged, pushing the bottom of the locker switch will cycle
the front axle lock on and off. To disengage any of the axle locks, push the top of the
axle lock switch.
The indicator light will flash until the axles are fully locked or unlocked.
ELECTRONIC SWAY BAR DISCONNECT – RUBICON
ONLY
Off-Road
This feature will only activate when the following conditions are met:
• Key in Run position, vehicle in 4L (Low) or 4H (High) range.
• Vehicle speed under 18 mph (29 km/h).
• Push the SWAY BAR switch, located on the instrument panel (to the left of thesteering column), once to disconnect the Sway Bar.
• The Sway Bar indicator light will illuminate in the instrument cluster.
On-Road
Push the SWAY BAR switch a second time to reconnect the Sway Bar.
The Sway Bar should remain in on-road mode during normal driving conditions.
OFF-ROAD CAPABILITIES (4WD OPERATION)
93