Page 163 of 498
483
Features of your vehicle
Daytime running lights (DRL)
(if equipped)
Ty p e A
The Daytime Running Lights (DRL)
can make it easier for others to see
the front of your vehicle during the
day, especially after dawn and before
sunset.
The DRL system will turn the dedi-
cated lamp OFF when:
1. The parklight switch is in the ON
position.
2. The engine is turned off.
Ty p e B
The Daytime Running Lights (DRL)
can make it easier for others to see
the front of your vehicle during the
day, especially after dawn and before
sunset.
The DRL system will turn the dedi-
cated lamp OFF when:
1. The headlights or front fog lights
are in the ON position.
2. The engine is turned off.
Interior lightsCAUTION
If the driver gets out of the vehi-
cle through other doors (except
the driver's door), the battery
saver function does not operate
and the headlight delay function
does not turn off automatically.
Therefore, It causes the battery
to be discharged. In this case,
make sure to turn the light
switch off before getting out of
the vehicle.CAUTION
Do not use the interior lights for
extended periods when the
engine is turned off or the bat-
tery will discharge.
WARNING
Do not use the interior lights
when driving in the dark. The
interior lights may obscure your
view and cause an accident.
Page 173 of 498
493
Features of your vehicle
MANUAL CLIMATE CONTROL SYSTEM (IF EQUIPPED
1. Front windscreen defrost button
2. Mode selection buttons
3. Rear window defroster button
4. A/C (Air conditioning) button (if equipped)
5. Air intake control button
6. Fan speed control knob
7. Temperature control knob
OMD044100
CAUTION
Operating the blower when the
ignition switch is in the ON posi-
tion could cause the battery to
discharge. Operate the blower
when the engine is running.
Page 183 of 498
4103
Features of your vehicle
AUTOMATIC CLIMATE CONTROL SYSTEM (IF EQUIPPED)
1. Passenger’s temperature control button
2. Front windscreen defrost button
3. Air intake control button
4. LCD display
5. AUTO (automatic control) button
6. OFF button
7. Fan speed control knob
8. Mode selection button
9. Dual temperature control selection button
10. Driver’s temperature control button
11. Rear window defrost button
12. A/C (Air conditioning) button
OMD044109
CAUTION
Operating the blower when the
ignition switch is in the ON posi-
tion could cause the battery to
discharge. Operate the blower
when the engine is running.
Page 188 of 498
Features of your vehicle
108 4
Adjusting the driver and passenger
side temperature equally
1. Press the DUAL button again to
deactivate DUAL mode. The pas-
senger side temperature will be
set to the same temperature as
the driver side temperature.
2. Press the driver side temperature
control button. The driver and pas-
senger side temperature will be
adjusted equally.
Temperature conversion
If the battery has been discharged or
disconnected, the temperature mode
display will reset to Centigrade.
This is a normal condition. You can
switch the temperature mode between
Centigrade and Fahrenheit as follows:
Whilst pressing the OFF button,
press the AUTO button for 3 seconds
or more. The display will change from
Centigrade to Fahrenheit, or from
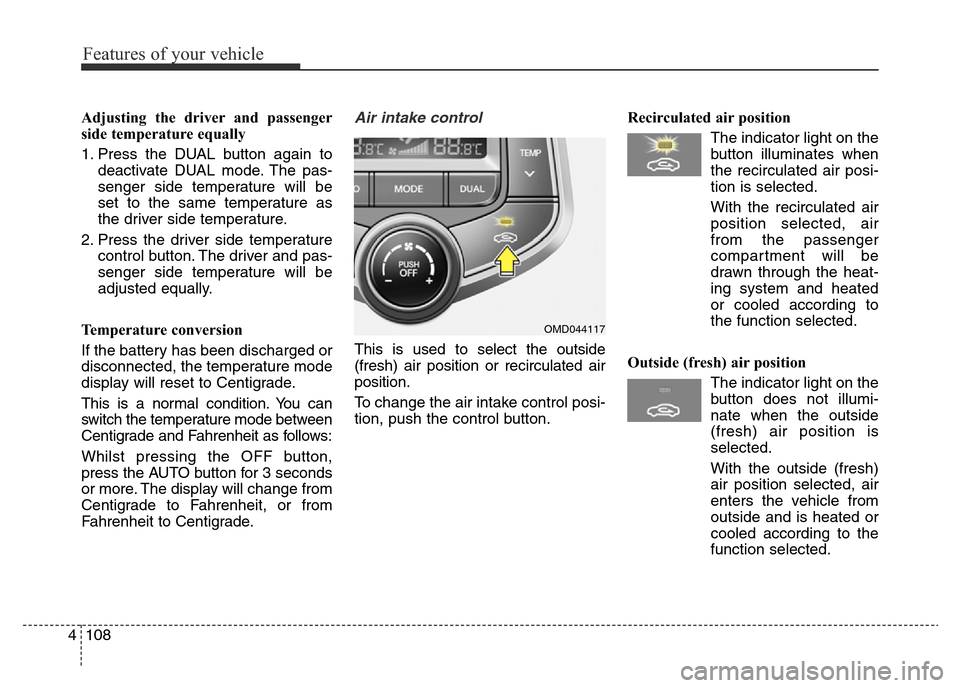
Fahrenheit to Centigrade.Air intake control
This is used to select the outside
(fresh) air position or recirculated air
position.
To change the air intake control posi-
tion, push the control button.Recirculated air position
The indicator light on the
button illuminates when
the recirculated air posi-
tion is selected.
With the recirculated air
position selected, air
from the passenger
compartment will be
drawn through the heat-
ing system and heated
or cooled according to
the function selected.
Outside (fresh) air position
The indicator light on the
button does not illumi-
nate when the outside
(fresh) air position is
selected.
With the outside (fresh)
air position selected, air
enters the vehicle from
outside and is heated or
cooled according to the
function selected.
OMD044117
Page 194 of 498
Features of your vehicle
114 4
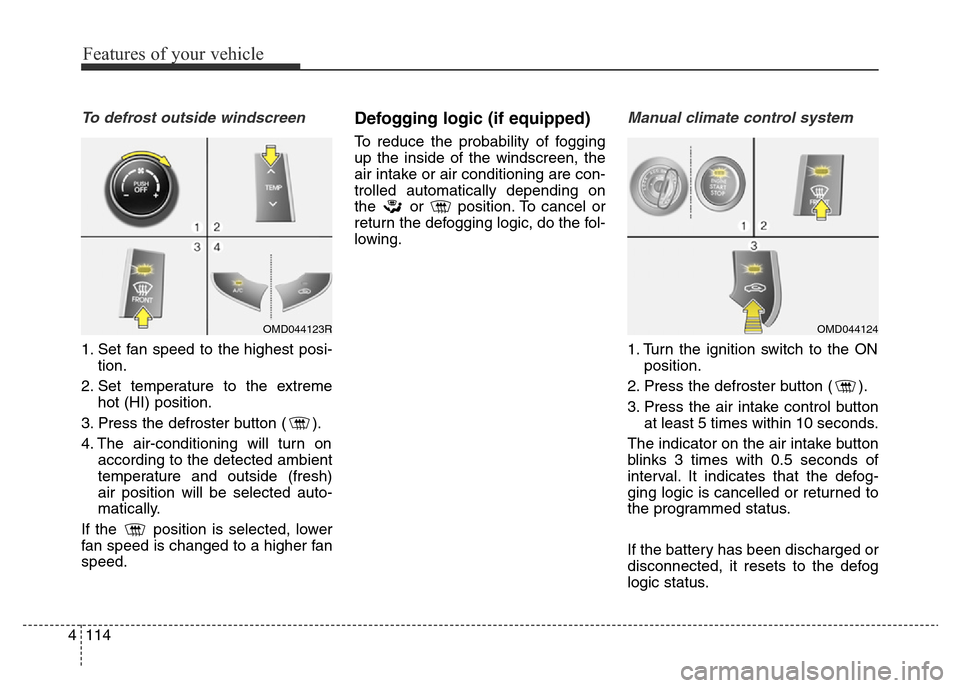
To defrost outside windscreen
1. Set fan speed to the highest posi-
tion.
2. Set temperature to the extreme
hot (HI) position.
3. Press the defroster button ( ).
4. The air-conditioning will turn on
according to the detected ambient
temperature and outside (fresh)
air position will be selected auto-
matically.
If the position is selected, lower
fan speed is changed to a higher fan
speed.
Defogging logic (if equipped)
To reduce the probability of fogging
up the inside of the windscreen, the
air intake or air conditioning are con-
trolled automatically depending on
the or position. To cancel or
return the defogging logic, do the fol-
lowing.
Manual climate control system
1. Turn the ignition switch to the ON
position.
2. Press the defroster button ( ).
3. Press the air intake control button
at least 5 times within 10 seconds.
The indicator on the air intake button
blinks 3 times with 0.5 seconds of
interval. It indicates that the defog-
ging logic is cancelled or returned to
the programmed status.
If the battery has been discharged or
disconnected, it resets to the defog
logic status.
OMD044123ROMD044124
Page 195 of 498
4115
Features of your vehicle
Automatic climate control system
1. Turn the ignition switch to the ON
position.
2. Press the defroster button ( ).
3. Whilst pressing the air condition-
ing button (A/C), press the air
intake control button at least 5
times within 3 seconds.
The indicator on the air intake button
blinks 3 times with 0.5 seconds of
interval. It indicates that the defog-
ging logic is cancelled or returned to
the programmed status.If the battery has been discharged or
disconnected, it resets to the defog
logic status.
Auto defogging system
(only for automatic climate
control system, if equipped)
Auto defogging reduces the possibil-
ity of fogging up the inside of the
windscreen by automatically sensing
the moisture on the inside of the
windscreen.
The auto defogging system operates
when the heater or air conditioning is
on.
OMD044125
OMD040126
Page 196 of 498
Features of your vehicle
116 4
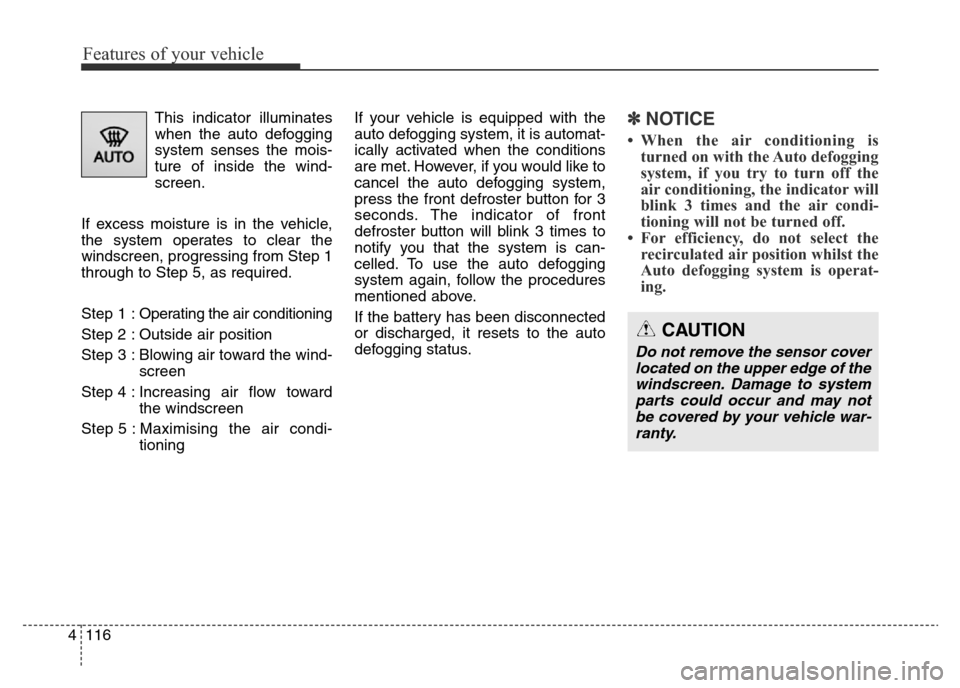
This indicator illuminates
when the auto defogging
system senses the mois-
ture of inside the wind-
screen.
If excess moisture is in the vehicle,
the system operates to clear the
windscreen, progressing from Step 1
through to Step 5, as required.
Step 1 :Operating the air conditioning
Step 2 : Outside air position
Step 3 : Blowing air toward the wind-
screen
Step 4 : Increasing air flow toward
the windscreen
Step 5 : Maximising the air condi-
tioningIf your vehicle is equipped with the
auto defogging system, it is automat-
ically activated when the conditions
are met. However, if you would like to
cancel the auto defogging system,
press the front defroster button for 3
seconds. The indicator of front
defroster button will blink 3 times to
notify you that the system is can-
celled. To use the auto defogging
system again, follow the procedures
mentioned above.
If the battery has been disconnected
or discharged, it resets to the auto
defogging status.✽NOTICE
• When the air conditioning is
turned on with the Auto defogging
system, if you try to turn off the
air conditioning, the indicator will
blink 3 times and the air condi-
tioning will not be turned off.
• For efficiency, do not select the
recirculated air position whilst the
Auto defogging system is operat-
ing.
CAUTION
Do not remove the sensor cover
located on the upper edge of the
windscreen. Damage to system
parts could occur and may not
be covered by your vehicle war-
ranty.
Page 201 of 498
4121
Features of your vehicle
INTERIOR FEATURES
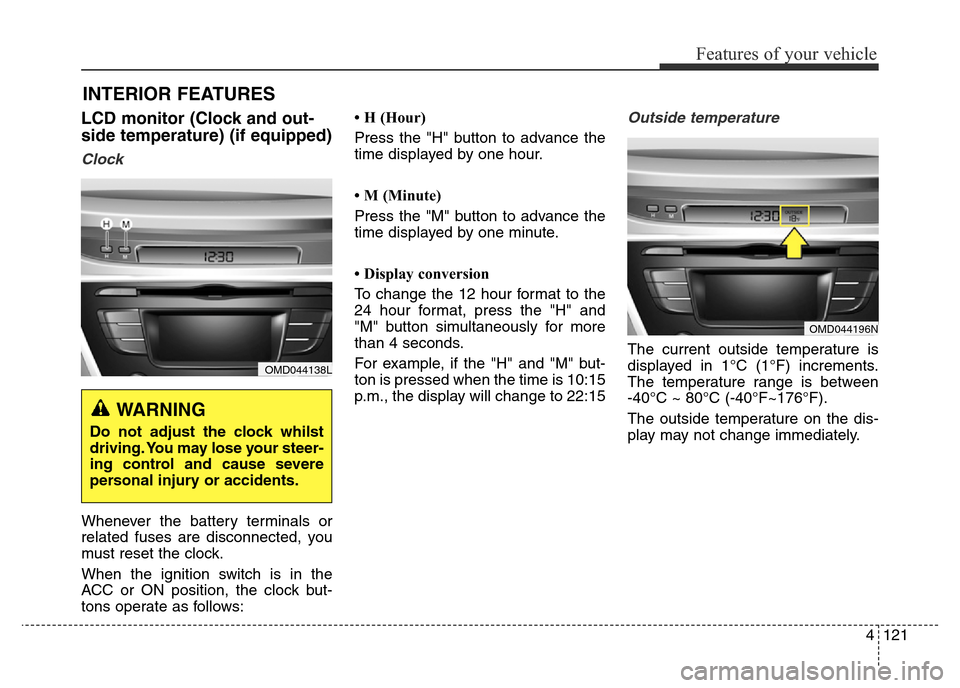
LCD monitor (Clock and out-
side temperature) (if equipped)
Clock
Whenever the battery terminals or
related fuses are disconnected, you
must reset the clock.
When the ignition switch is in the
ACC or ON position, the clock but-
tons operate as follows:• H (Hour)
Press the "H" button to advance the
time displayed by one hour.
• M (Minute)
Press the "M" button to advance the
time displayed by one minute.
• Display conversion
To change the 12 hour format to the
24 hour format, press the "H" and
"M" button simultaneously for more
than 4 seconds.
For example, if the "H" and "M" but-
ton is pressed when the time is 10:15
p.m., the display will change to 22:15
Outside temperature
The current outside temperature is
displayed in 1°C (1°F) increments.
The temperature range is between
-40°C ~ 80°C (-40°F~176°F).
The outside temperature on the dis-
play may not change immediately.
OMD044138L
WARNING
Do not adjust the clock whilst
driving. You may lose your steer-
ing control and cause severe
personal injury or accidents.
OMD044196N