2016 FORD F450 SUPER DUTY headlamp
[x] Cancel search: headlampPage 7 of 507

Reporting Safety Defects (U.S.Only)..............................................................221
Reporting Safety Defects (CanadaOnly).............................................................222
Fuses
Fuse Specification Chart...........................223
Changing a Fuse............................................231
Maintenance
General Information....................................232
Opening and Closing the Hood..............232
Under Hood Overview - 6.2L...................233
Under Hood Overview - 6.8L..................234
Engine Oil Dipstick......................................235
Engine Oil Check..........................................235
Oil Change Indicator Reset......................236
Engine Coolant Check...............................236
Automatic Transmission FluidCheck...........................................................240
Transfer Case Fluid Check........................243
Brake Fluid Check........................................244
Power Steering Fluid Check....................244
Washer Fluid Check....................................244
Fuel Filter........................................................244
Changing the 12V Battery.........................245
Checking the Wiper Blades......................247
Changing the Wiper Blades.....................247
Adjusting the Headlamps.........................247
Removing a Headlamp.............................249
Changing a Bulb..........................................249
Bulb Specification Chart...........................252
Changing the Engine Air Filter................254
Vehicle Care
General Information...................................256
Cleaning Products.......................................256
Cleaning the Exterior..................................256
Waxing..............................................................257
Cleaning the Engine....................................257
Cleaning the Windows and WiperBlades..........................................................258
Cleaning the Interior...................................258
Cleaning the Instrument Panel andInstrument Cluster Lens.......................259
Cleaning Leather Seats.............................259
Repairing Minor Paint Damage...............261
Cleaning the Alloy Wheels........................261
Vehicle Storage.............................................261
Wheels and Tires
General Information...................................264
Tire Care..........................................................267
Using Snow Chains.....................................284
Tire Pressure Monitoring System..........284
Changing a Road Wheel...........................290
Technical Specifications............................301
Capacities and Specific-ations
Engine Specifications................................303
Motorcraft Parts..........................................304
Vehicle Identification Number...............305
Vehicle Certification Label......................306
Transmission Code Designation...........306
Capacities and Specifications - 6.2LV8..................................................................307
Capacities and Specifications - 6.8LTriton-30V - V10........................................311
Audio System
General Information.....................................317
Audio Unit - Vehicles With: AM/FM.......318
Audio Unit - Vehicles With: AM/FM/CD/SYNC.............................................................319
Audio Unit - Vehicles With: AM/FM/CD/Touchscreen Display..............................322
Digital Radio..................................................323
Satellite Radio..............................................325
USB Port.........................................................328
Media Hub......................................................328
4
Super Duty (TFA) Canada/United States of America, enUSA, First Printing
Table of Contents
Page 74 of 507
GENERAL INFORMATION
Condensation in Lamp Assemblies
Exterior lamps have vents toaccommodate normal changes in airpressure.
Condensation can be a natural by-productof this design. When moist air enters thelamp assembly through the vents, there isa possibility that condensation can occurwhen the temperature is cold. Whennormal condensation occurs, a fine mistcan form on the interior of the lens. Thefine mist eventually clears and exitsthrough the vents during normal operation.
Clearing time may take as long as 48 hoursunder dry weather conditions.
Examples of acceptable condensation are:
•The presence of a fine mist (no streaks,drip marks or large droplets).
•A fine mist covers less than 50% of thelens.
Examples of unacceptable condensationare:
•A water puddle inside the lamp.
•Streaks, drip marks or large dropletspresent on the interior of the lens.
If you see any unacceptable condensation,have your vehicle checked by an authorizeddealer.
LIGHTING CONTROL
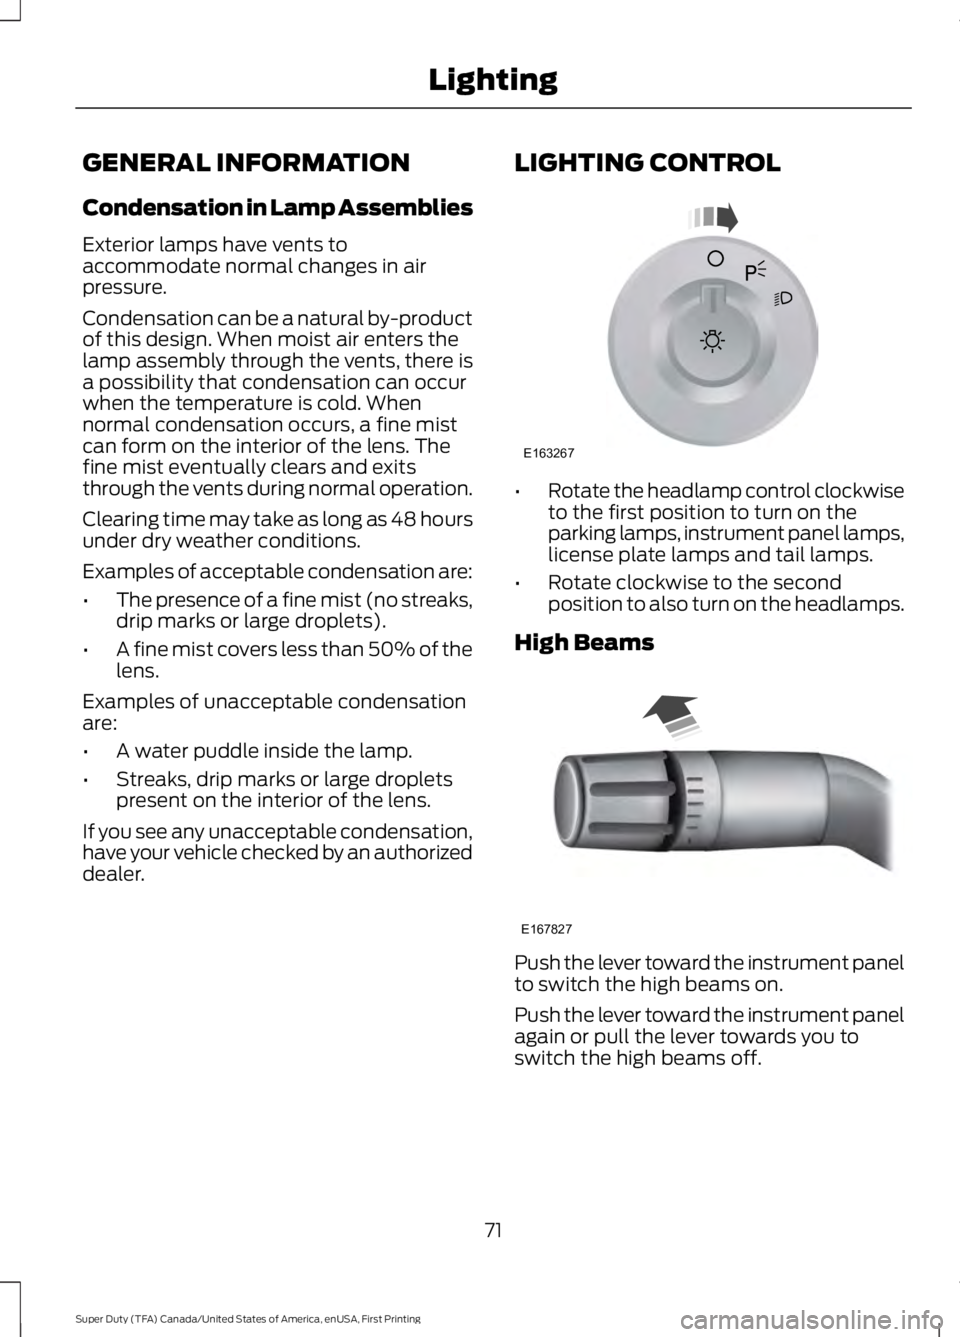
•Rotate the headlamp control clockwiseto the first position to turn on theparking lamps, instrument panel lamps,license plate lamps and tail lamps.
•Rotate clockwise to the secondposition to also turn on the headlamps.
High Beams
Push the lever toward the instrument panelto switch the high beams on.
Push the lever toward the instrument panelagain or pull the lever towards you toswitch the high beams off.
71
Super Duty (TFA) Canada/United States of America, enUSA, First Printing
LightingE163267 E167827
Page 75 of 507
Headlamp Flasher
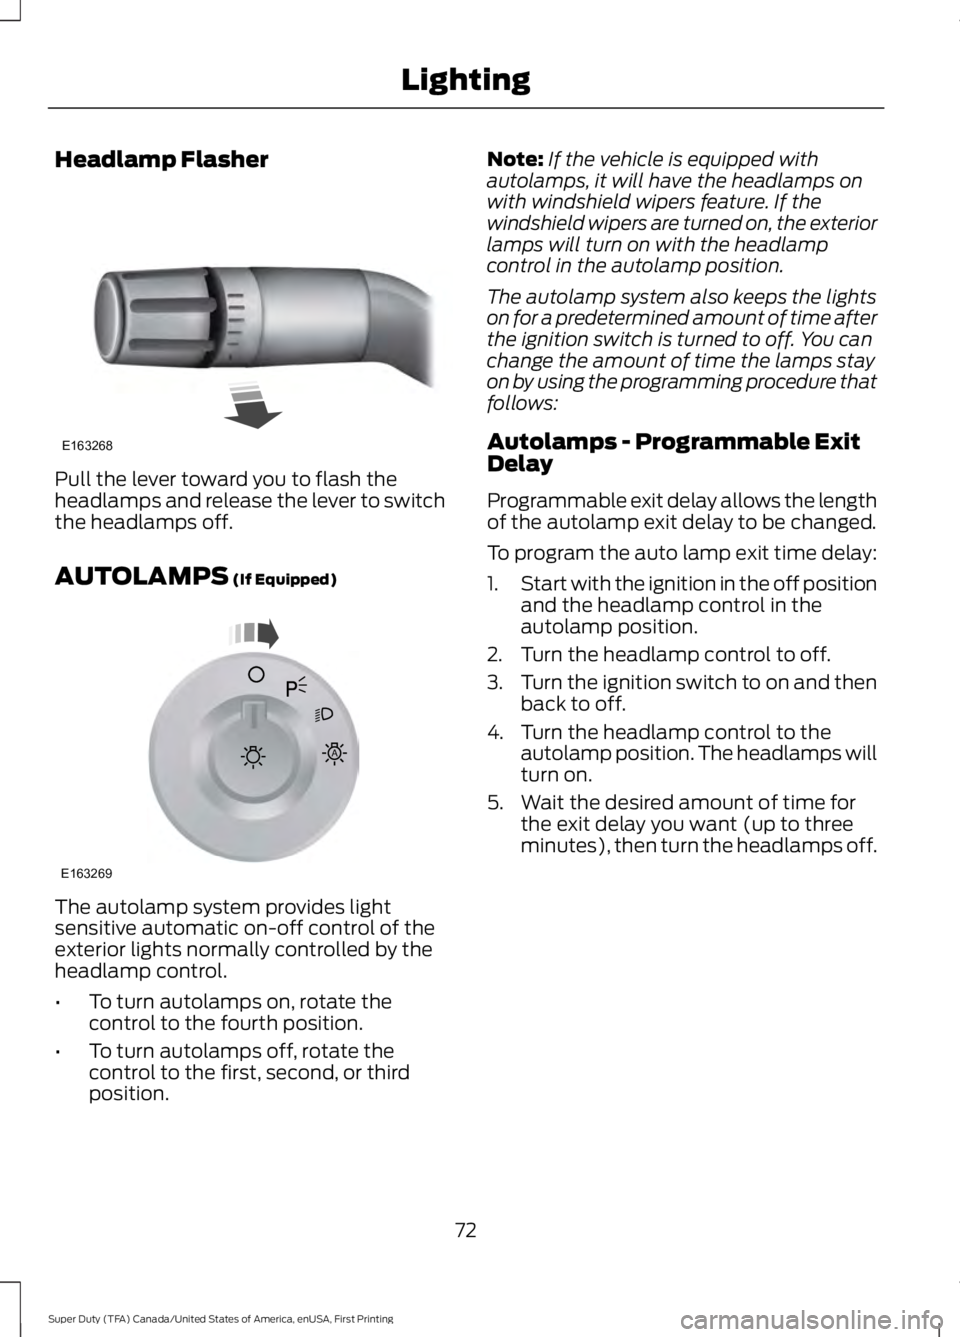
Pull the lever toward you to flash theheadlamps and release the lever to switchthe headlamps off.
AUTOLAMPS (If Equipped)
The autolamp system provides lightsensitive automatic on-off control of theexterior lights normally controlled by theheadlamp control.
•To turn autolamps on, rotate thecontrol to the fourth position.
•To turn autolamps off, rotate thecontrol to the first, second, or thirdposition.
Note:If the vehicle is equipped withautolamps, it will have the headlamps onwith windshield wipers feature. If thewindshield wipers are turned on, the exteriorlamps will turn on with the headlampcontrol in the autolamp position.
The autolamp system also keeps the lightson for a predetermined amount of time afterthe ignition switch is turned to off. You canchange the amount of time the lamps stayon by using the programming procedure thatfollows:
Autolamps - Programmable ExitDelay
Programmable exit delay allows the lengthof the autolamp exit delay to be changed.
To program the auto lamp exit time delay:
1.Start with the ignition in the off positionand the headlamp control in theautolamp position.
2. Turn the headlamp control to off.
3.Turn the ignition switch to on and thenback to off.
4. Turn the headlamp control to theautolamp position. The headlamps willturn on.
5. Wait the desired amount of time forthe exit delay you want (up to threeminutes), then turn the headlamps off.
72
Super Duty (TFA) Canada/United States of America, enUSA, First Printing
LightingE163268 E163269
A
Page 76 of 507
INSTRUMENT LIGHTING
DIMMER
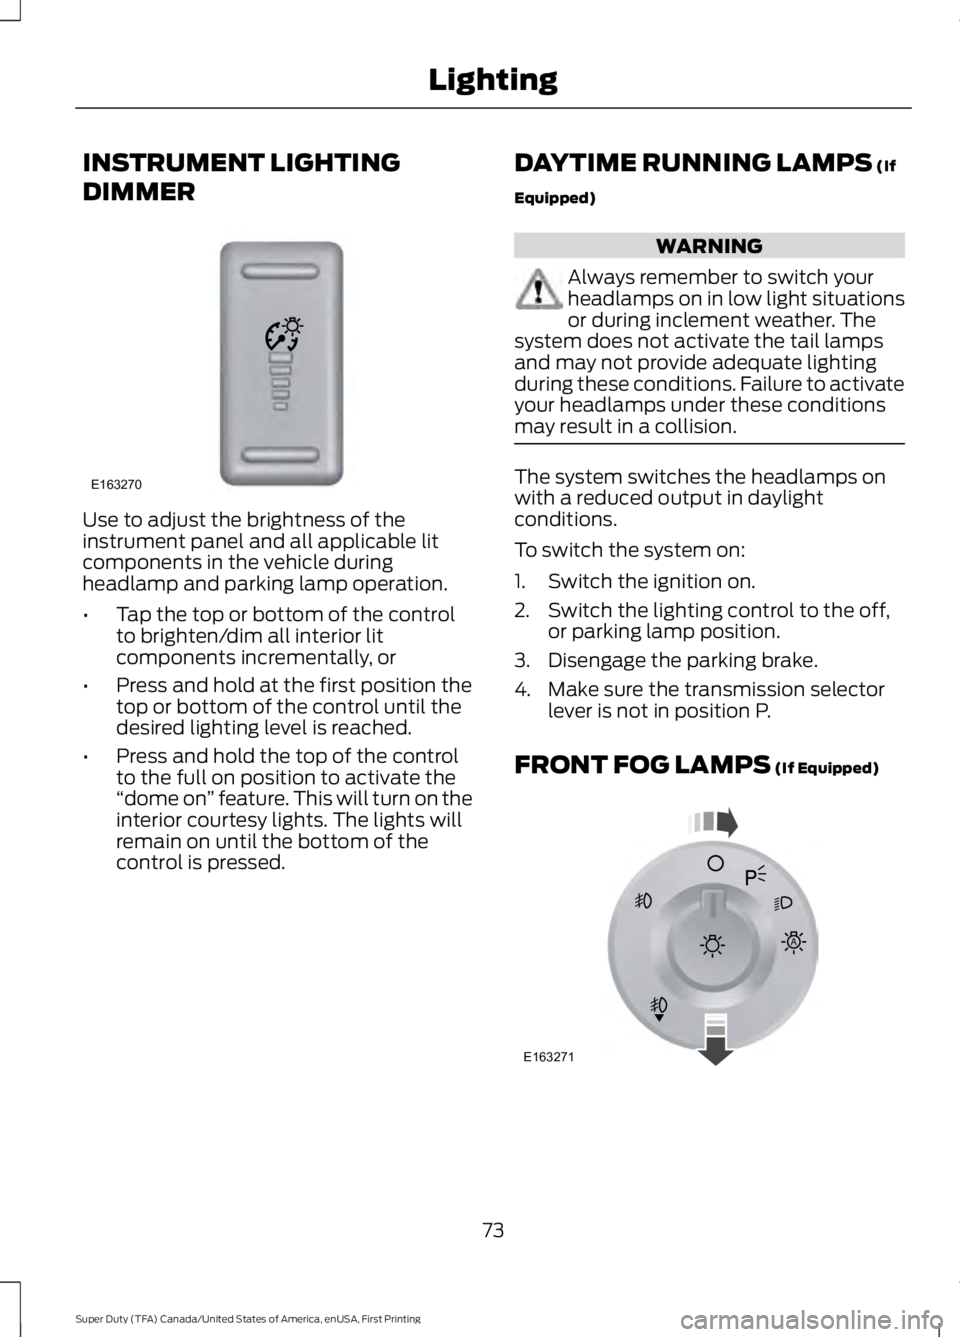
Use to adjust the brightness of theinstrument panel and all applicable litcomponents in the vehicle duringheadlamp and parking lamp operation.
•Tap the top or bottom of the controlto brighten/dim all interior litcomponents incrementally, or
•Press and hold at the first position thetop or bottom of the control until thedesired lighting level is reached.
•Press and hold the top of the controlto the full on position to activate the“dome on” feature. This will turn on theinterior courtesy lights. The lights willremain on until the bottom of thecontrol is pressed.
DAYTIME RUNNING LAMPS (If
Equipped)
WARNING
Always remember to switch yourheadlamps on in low light situationsor during inclement weather. Thesystem does not activate the tail lampsand may not provide adequate lightingduring these conditions. Failure to activateyour headlamps under these conditionsmay result in a collision.
The system switches the headlamps onwith a reduced output in daylightconditions.
To switch the system on:
1. Switch the ignition on.
2. Switch the lighting control to the off,or parking lamp position.
3. Disengage the parking brake.
4. Make sure the transmission selectorlever is not in position P.
FRONT FOG LAMPS (If Equipped)
73
Super Duty (TFA) Canada/United States of America, enUSA, First Printing
LightingE163270 E163271
A
Page 77 of 507
The headlamp control also operates thefog lamps. The fog lamps can be turnedon only when the headlamp control is inthe parking lamp (second) position,headlamps on (third) position, or autolamp(fourth) position, and the high beams arenot turned on.
Pull headlamp control towards you to turnfog lamps on. The fog lamp indicator lightwill illuminate.
DIRECTION INDICATORS
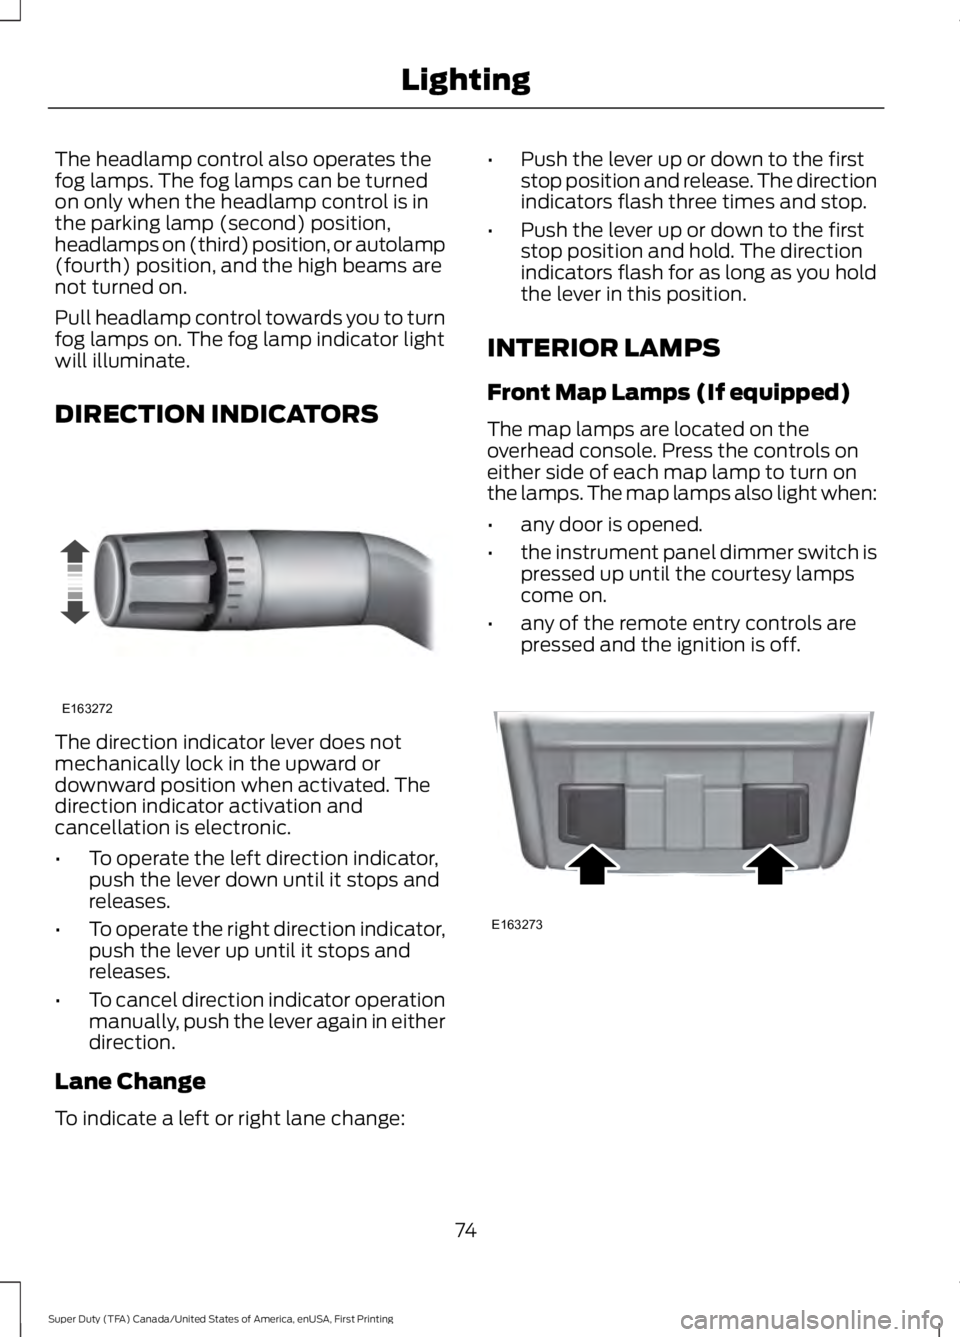
The direction indicator lever does notmechanically lock in the upward ordownward position when activated. Thedirection indicator activation andcancellation is electronic.
•To operate the left direction indicator,push the lever down until it stops andreleases.
•To operate the right direction indicator,push the lever up until it stops andreleases.
•To cancel direction indicator operationmanually, push the lever again in eitherdirection.
Lane Change
To indicate a left or right lane change:
•Push the lever up or down to the firststop position and release. The directionindicators flash three times and stop.
•Push the lever up or down to the firststop position and hold. The directionindicators flash for as long as you holdthe lever in this position.
INTERIOR LAMPS
Front Map Lamps (If equipped)
The map lamps are located on theoverhead console. Press the controls oneither side of each map lamp to turn onthe lamps. The map lamps also light when:
•any door is opened.
•the instrument panel dimmer switch ispressed up until the courtesy lampscome on.
•any of the remote entry controls arepressed and the ignition is off.
74
Super Duty (TFA) Canada/United States of America, enUSA, First Printing
LightingE163272 E163273
Page 81 of 507
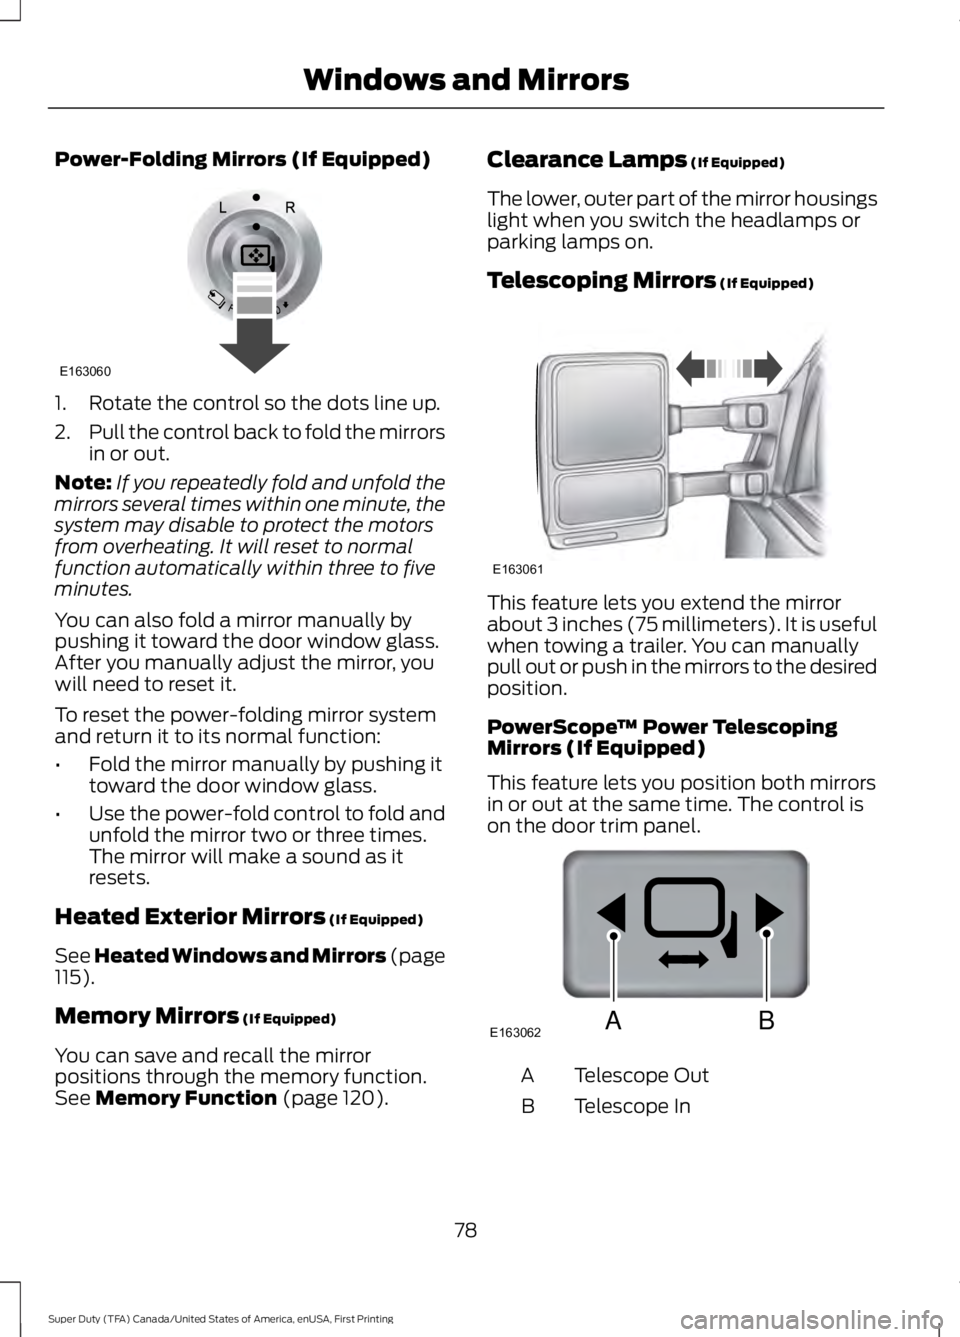
Power-Folding Mirrors (If Equipped)
1. Rotate the control so the dots line up.
2.Pull the control back to fold the mirrorsin or out.
Note:If you repeatedly fold and unfold themirrors several times within one minute, thesystem may disable to protect the motorsfrom overheating. It will reset to normalfunction automatically within three to fiveminutes.
You can also fold a mirror manually bypushing it toward the door window glass.After you manually adjust the mirror, youwill need to reset it.
To reset the power-folding mirror systemand return it to its normal function:
•Fold the mirror manually by pushing ittoward the door window glass.
•Use the power-fold control to fold andunfold the mirror two or three times.The mirror will make a sound as itresets.
Heated Exterior Mirrors (If Equipped)
See Heated Windows and Mirrors (page115).
Memory Mirrors (If Equipped)
You can save and recall the mirrorpositions through the memory function.See Memory Function (page 120).
Clearance Lamps (If Equipped)
The lower, outer part of the mirror housingslight when you switch the headlamps orparking lamps on.
Telescoping Mirrors (If Equipped)
This feature lets you extend the mirrorabout 3 inches (75 millimeters). It is usefulwhen towing a trailer. You can manuallypull out or push in the mirrors to the desiredposition.
PowerScope™ Power TelescopingMirrors (If Equipped)
This feature lets you position both mirrorsin or out at the same time. The control ison the door trim panel.
Telescope OutA
Telescope InB
78
Super Duty (TFA) Canada/United States of America, enUSA, First Printing
Windows and MirrorsE163060 E163061 E163062BA
Page 88 of 507

WARNING
Driving your vehicle with the warninglamp on is dangerous. A significantdecrease in braking performancemay occur. It will take you longer to stopyour vehicle. Have your vehicle checked byyour authorized dealer immediately. Drivingextended distances with the parking brakeengaged can cause brake failure and therisk of personal injury.
Check Fuel Cap (If Equipped)
Illuminates when the fuel capmay not be properly installed.Continued driving with this lighton may cause the Service engine soonwarning indicator to come on.
Cruise Control (If Equipped)
Illuminates when you switch thisfeature on. See Using CruiseControl (page 183).
Direction Indicator
Illuminates when the left or rightturn signal or the hazard warningflasher is turned on. If theindicators stay on or flash faster, check fora burned out bulb.
Door Ajar
Displays when the ignition is onand any door is not completelyclosed.
Electronic Locking Differential
Illuminates when using theelectronic locking differential.
Engine Coolant Temperature
Illuminates when the enginecoolant temperature is high.Stop the vehicle as soon aspossible, switch off the engine and let cool.
Engine Oil
If it illuminates with the enginerunning or when you are driving,this indicates a malfunction.Stop your vehicle as soon as it is safe todo so and switch the engine off. Check theengine oil level. See Engine Oil Check(page 235).
Note:Do not resume your journey if itilluminates despite the level being correct.Have the system checked by your authorizeddealer immediately.
Fasten Safety Belt
It will illuminate and a chime willsound to remind you to fastenyour safety belt.
Front Airbag
If it fails to illuminate when youstart your vehicle, continues toflash or remains on, it indicatesa malfunction. Have the system checkedby your authorized dealer.
High Beam
Illuminates when you switch thehigh beam headlamps on. It willflash when you use theheadlamp flasher.
Hill Descent (If Equipped)
Illuminates when hill descent isswitched on.
85
Super Duty (TFA) Canada/United States of America, enUSA, First Printing
Instrument Cluster E71340 E163170 E163171
Page 90 of 507
Stability Control Off
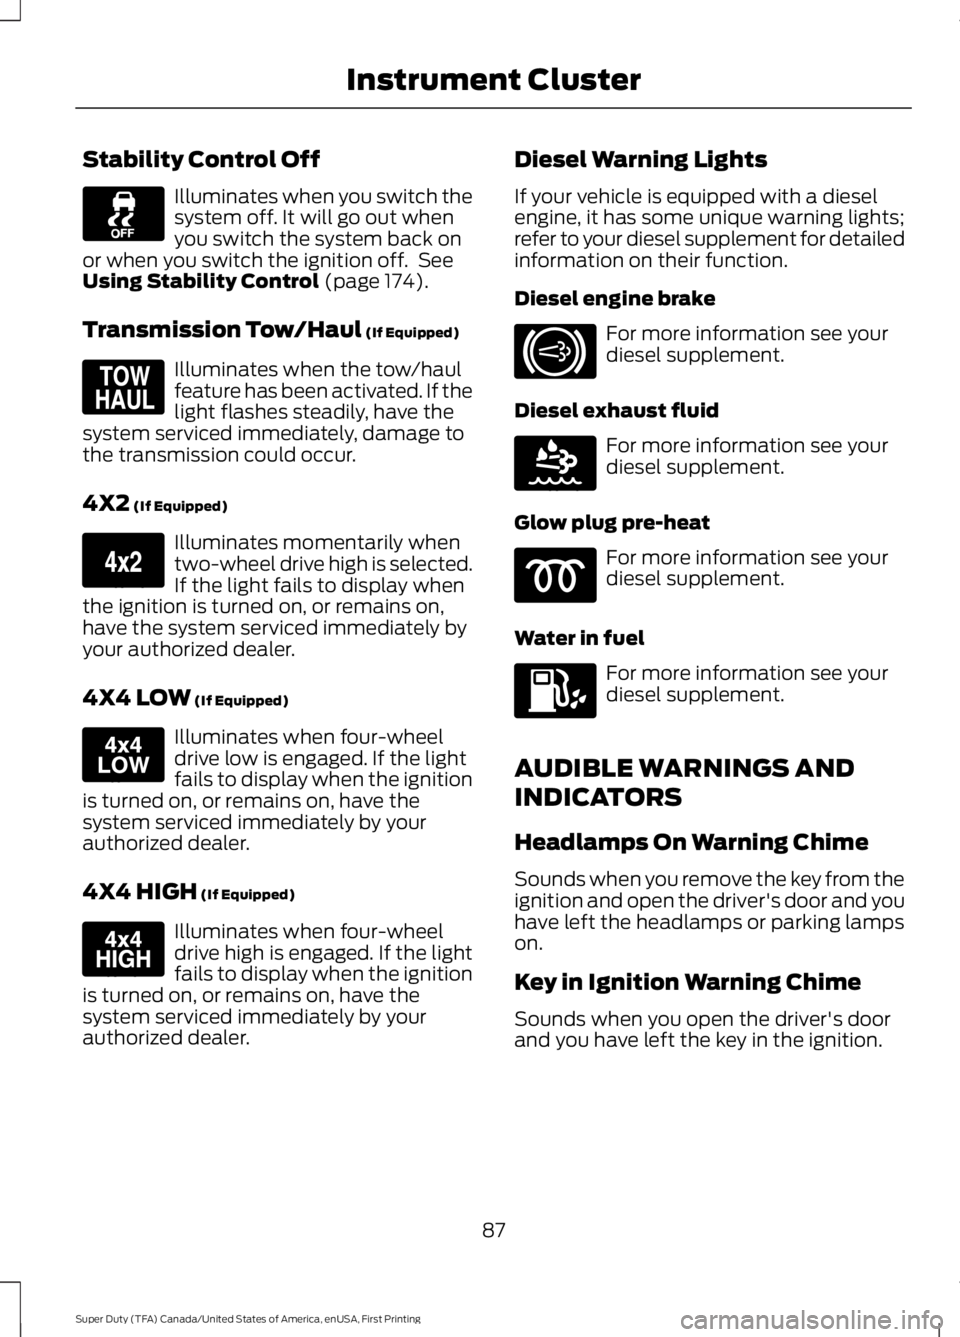
Illuminates when you switch thesystem off. It will go out whenyou switch the system back onor when you switch the ignition off. SeeUsing Stability Control (page 174).
Transmission Tow/Haul (If Equipped)
Illuminates when the tow/haulfeature has been activated. If thelight flashes steadily, have thesystem serviced immediately, damage tothe transmission could occur.
4X2 (If Equipped)
Illuminates momentarily whentwo-wheel drive high is selected.If the light fails to display whenthe ignition is turned on, or remains on,have the system serviced immediately byyour authorized dealer.
4X4 LOW (If Equipped)
Illuminates when four-wheeldrive low is engaged. If the lightfails to display when the ignitionis turned on, or remains on, have thesystem serviced immediately by yourauthorized dealer.
4X4 HIGH (If Equipped)
Illuminates when four-wheeldrive high is engaged. If the lightfails to display when the ignitionis turned on, or remains on, have thesystem serviced immediately by yourauthorized dealer.
Diesel Warning Lights
If your vehicle is equipped with a dieselengine, it has some unique warning lights;refer to your diesel supplement for detailedinformation on their function.
Diesel engine brake
For more information see yourdiesel supplement.
Diesel exhaust fluid
For more information see yourdiesel supplement.
Glow plug pre-heat
For more information see yourdiesel supplement.
Water in fuel
For more information see yourdiesel supplement.
AUDIBLE WARNINGS AND
INDICATORS
Headlamps On Warning Chime
Sounds when you remove the key from theignition and open the driver's door and youhave left the headlamps or parking lampson.
Key in Ignition Warning Chime
Sounds when you open the driver's doorand you have left the key in the ignition.
87
Super Duty (TFA) Canada/United States of America, enUSA, First Printing
Instrument Cluster E161509 E163173 E163174 E163175 E171217 E163176