2016 FORD F250 SUPER DUTY light
[x] Cancel search: lightPage 168 of 507
If your vehicle has anti-lock brakes, applythe brakes steadily. Do not pump thebrakes.
Driving on Snow and Ice
WARNING
If you are driving in slipperyconditions that require tire chains orcables, then it is critical that you drivecautiously. Keep speeds down, allow forlonger stopping distances and avoidaggressive steering to reduce the chancesof a loss of vehicle control which can leadto serious injury or death. If the rear end ofyour vehicle slides while cornering, steer inthe direction of the slide until you regaincontrol of your vehicle.
Note:Excessive tire slippage can causetransmission damage.
Four-wheel drive vehicles have advantagesover two-wheel drive vehicles in snow andice but can skid like any other vehicle.Should you start to slide while driving onsnowy or icy roads, turn the steering wheelin the direction of the slide until you regaincontrol.
Avoid sudden applications of power andquick changes of direction on snow andice. Apply the accelerator slowly andsteadily when starting from a full stop.
Avoid sudden braking. Although afour-wheel drive vehicle may acceleratebetter than a two-wheel drive vehicle insnow and ice, it will not stop any faster asbraking occurs at all four wheels. Do notbecome overconfident as to roadconditions.
Make sure you allow sufficient distancebetween you and other vehicles forstopping. Drive slower than usual andconsider using one of the lower gears. Inemergency stopping situations, apply thebrake steadily. Do not pump the brakepedal. See Hints on Driving WithAnti-Lock Brakes (page 169).
If Your Vehicle Gets Stuck In Mud orSnow
WARNING
Do not spin the wheels at over35 mph (56 km/h). The tires may failand injure a passenger or bystander.
If your vehicle gets stuck in mud or snow,it may be rocked out by shifting betweenforward and reverse gears, stoppingbetween shifts in a steady pattern. Presslightly on the accelerator in each gear.
Note:Do not rock your vehicle if the engineis not at normal operating temperature,damage to the transmission may occur.
Note:Do not rock your vehicle for morethan a minute, damage to the transmissionand tires may occur or the engine mayoverheat.
Parking
WARNINGS
If the parking brake is fully released,but the brake warning lamp remainsilluminated, the brakes may not beworking properly. See your authorizeddealer.
Always set the parking brake fullyand make sure the gearshift islatched in P (Park). Turn the ignitionto the off position and remove the keywhenever you leave your vehicle.
165
Super Duty (TFA) Canada/United States of America, enUSA, First Printing
Four-Wheel Drive (If Equipped)
Page 170 of 507
LIMITED SLIP DIFFERENTIAL
This axle provides added traction onslippery surfaces, particularly when onewheel is on a poor traction surface. Undernormal conditions, the limited-slip axlefunctions like a standard rear axle. The axlemay exhibit a slight noise or vibrationduring tight turns with low vehicle speed.This is normal behavior and indicates theaxle is working.
ELECTRONIC LOCKING
DIFFERENTIAL (If Equipped)
Note:The electronic locking differential isfor off-road use only and is not for use ondry pavement. Using the electronic lockingdifferential on dry pavement will result inincreased tire wear, noise and vibration.
The electronic locking differential is adevice housed in the rear axle that allowsboth rear wheels to turn at the samespeed. The electronic locking differentialcan provide additional traction should yourvehicle become stuck. You can activatethe differential electronically and shift iton the fly within the differential operatingspeed range. The differential is for use inmud, rocks, sand, or any off-road conditionwhere you need maximum traction. It isnot for use on dry pavement.
The following conditions will affect theelectronic locking differential:
•On 2WD vehicles and 4WD vehicles in2H (4X2) or 4H (4X4 High), the ELDwill not engage if the vehicle speed isabove 20 mph (32 km/h).
•On 2WD vehicles and 4WD vehicles in2H (4X2) or 4H (4X4 High), the ELDwill automatically disengage at speedsabove 25 mph (40 km/h) and willautomatically reengage at speedsbelow 20 mph (32 km/h).
•On 4WD vehicles in 4L (4X4 Low), theELD can be engaged at any speed andwill not automatically disengage.
Activating the Electronic LockingDifferential
Note:Do not use electronic lockingdifferential on dry, hard surfaced roads.Doing so will produce excessive noise,vibration and increase tire wear.
Note:If the electronic locking differentialhas difficulty disengaging, release theaccelerator pedal and turn the steeringwheel in the opposite direction while rolling.
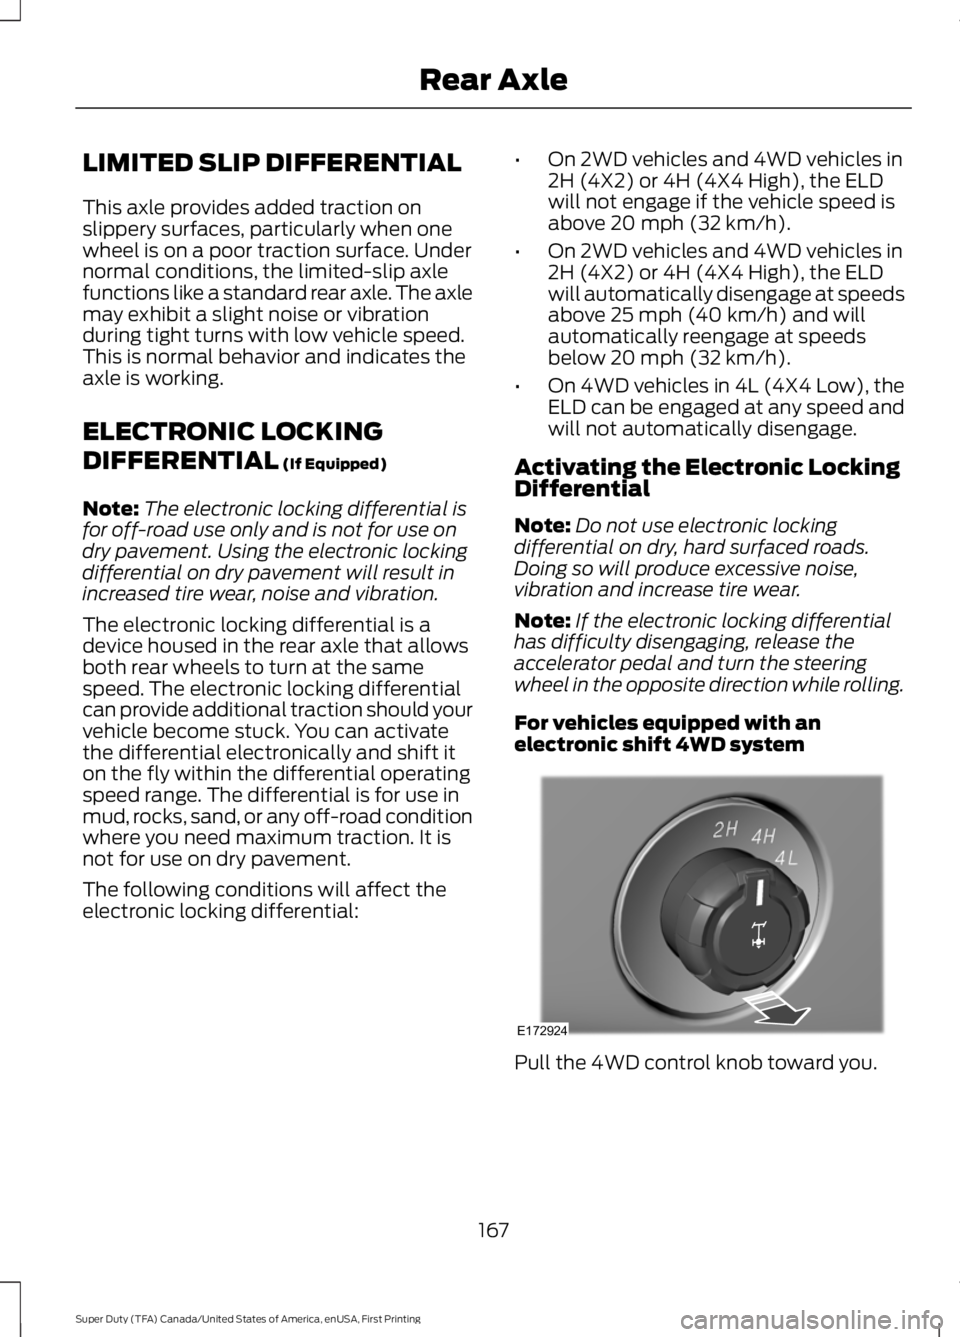
For vehicles equipped with anelectronic shift 4WD system
Pull the 4WD control knob toward you.
167
Super Duty (TFA) Canada/United States of America, enUSA, First Printing
Rear AxleE172924
Page 171 of 507

For 2WD vehicles and vehiclesequipped with a manual shift 4WDsystem
Turn the control to ON.
Once the indicator lightilluminates in the informationdisplay, both rear wheel axleshafts will be locked together providingadded traction.
If the indicator does not come on, or theindicator turns off while driving, one of thefollowing has occurred:
•The vehicle speed is too high.
•The left and right rear wheel speeddifference is too high during anengagement attempt.
•The system has malfunctioned and isaccompanied by CHECK LOCKINGDIFFERENTIAL in the informationdisplay. See your authorized Forddealer for assistance.
168
Super Duty (TFA) Canada/United States of America, enUSA, First Printing
Rear AxleE163191 E163170
Page 172 of 507
GENERAL INFORMATION
Note:Occasional brake noise is normal. Ifa metal-to-metal, continuous grinding orcontinuous squeal sound is present, thebrake linings may be worn-out. Have thesystem checked by an authorized dealer. Ifyour vehicle has continuous vibration orshudder in the steering wheel while braking,have it checked by an authorized dealer.
Note:Brake dust may accumulate on thewheels, even under normal drivingconditions. Some dust is inevitable as thebrakes wear and does not contribute tobrake noise. See Cleaning the AlloyWheels (page 261).
See Warning Lamps andIndicators (page 84).
Wet brakes result in reduced brakingefficiency. Gently press the brake pedal afew times when driving from a car wash orstanding water to dry the brakes.
Brake Over Accelerator
In the event the accelerator pedalbecomes stuck or entrapped, apply steadyand firm pressure to the brake pedal toslow the vehicle and reduce engine power.If you experience this condition, apply thebrakes and bring your vehicle to a safestop. Move the transmission to park (P),switch the engine off and apply the parkingbrake. Inspect the accelerator pedal forany interference. If none are found and thecondition persists, have your vehicle towedto the nearest authorized dealer.
Brake Assist
Brake assist detects when you brakerapidly by measuring the rate at which youpress the brake pedal. It providesmaximum braking efficiency as long as youpress the pedal, and can reduce stoppingdistances in critical situations.
Anti-lock Brake System
This system helps you maintain steeringcontrol during emergency stops by keepingthe brakes from locking.
This lamp momentarilyilluminates when you turn theignition on. If the light does notilluminate during start up, remains on orflashes, the system may be disabled. Havethe system checked by an authorizeddealer. If the anti-lock brake system isdisabled, normal braking is still effective.
If the brake warning lampilluminates when you release theparking brake, have the systemchecked by an authorized dealer.
HINTS ON DRIVING WITH
ANTI-LOCK BRAKES
Note:When the system is operating, thebrake pedal will pulse and may travelfurther. Maintain pressure on the brakepedal. You may also hear a noise from thesystem. This is normal.
The anti-lock braking system will noteliminate the risks when:
•You drive too closely to the vehicle infront of you.
•Your vehicle is hydroplaning.
•You take corners too fast.
•The road surface is poor.
169
Super Duty (TFA) Canada/United States of America, enUSA, First Printing
BrakesE144522 E144522
Page 173 of 507
PARKING BRAKE
WARNING
Always set the parking brake fullyand make sure the transmission isplaced in park (P). Failure to set theparking brake and engage park could resultin vehicle roll-away, property damage orbodily injury. Turn the ignition to the lockposition and remove the key whenever youleave your vehicle.
Apply the parking brake whenever yourvehicle is parked. Press the pedaldownward to set the parking brake. Thebrake warning lamp in the instrumentcluster will illuminate and remainsilluminated until the parking brake isreleased.
To release, pull the brake release leverlocated at the lower left side of theinstrument panel.
If you are parking your vehicle on a gradeor with a trailer, press and hold the brakepedal down, then set the parking brake.There may be a little vehicle movement asthe parking brake sets to hold the vehicle'sweight. This is normal and should be noreason for concern. If needed, press andhold the service brake pedal down, thentry reapplying the parking brake. Chock thewheels if required. If the parking brakecannot hold the weight of the vehicle, theparking brake may need to be serviced orthe vehicle may be overloaded.
HILL START ASSIST
WARNINGS
The system does not replace theparking brake. When you leave yourvehicle, always apply the parkingbrake. Failure to leave your vehicle securelyparked may lead to a crash or injury. SeeParking Brake (page 170).
WARNINGS
You must remain in your vehiclewhen the system turns on. At alltimes, you are responsible forcontrolling your vehicle, supervising thesystem and intervening, if required. Failureto take care may result in the loss ofcontrol of your vehicle, serious personalinjury or death.
The system will turn off if amalfunction is apparent or if you revthe engine excessively. Failure totake care may result in the loss of controlof your vehicle, serious personal injury ordeath.
The system makes it easier to pull awaywhen your vehicle is on a slope without theneed to use the parking brake.
When the system is active, your vehicleremains stationary on the slope for two tothree seconds after you release the brakepedal. This allows time to move your footfrom the brake to the accelerator pedal.The system releases the brakesautomatically once the engine hasdeveloped sufficient drive to prevent yourvehicle from rolling down the slope. Thisis an advantage when pulling away on aslope, for example from a car park ramp,traffic lights or when reversing uphill intoa parking space.
Note:The system only functions when youbring your vehicle to a complete standstillin an uphill gear (for example, drive whenfacing uphill or reverse when facingdownhill).
Note:There is no warning light to indicatethe system is either on or off.
Using Hill Start Assist
1. Press the brake pedal to bring yourvehicle to a complete standstill. Keepthe brake pedal pressed.
170
Super Duty (TFA) Canada/United States of America, enUSA, First Printing
Brakes
Page 176 of 507
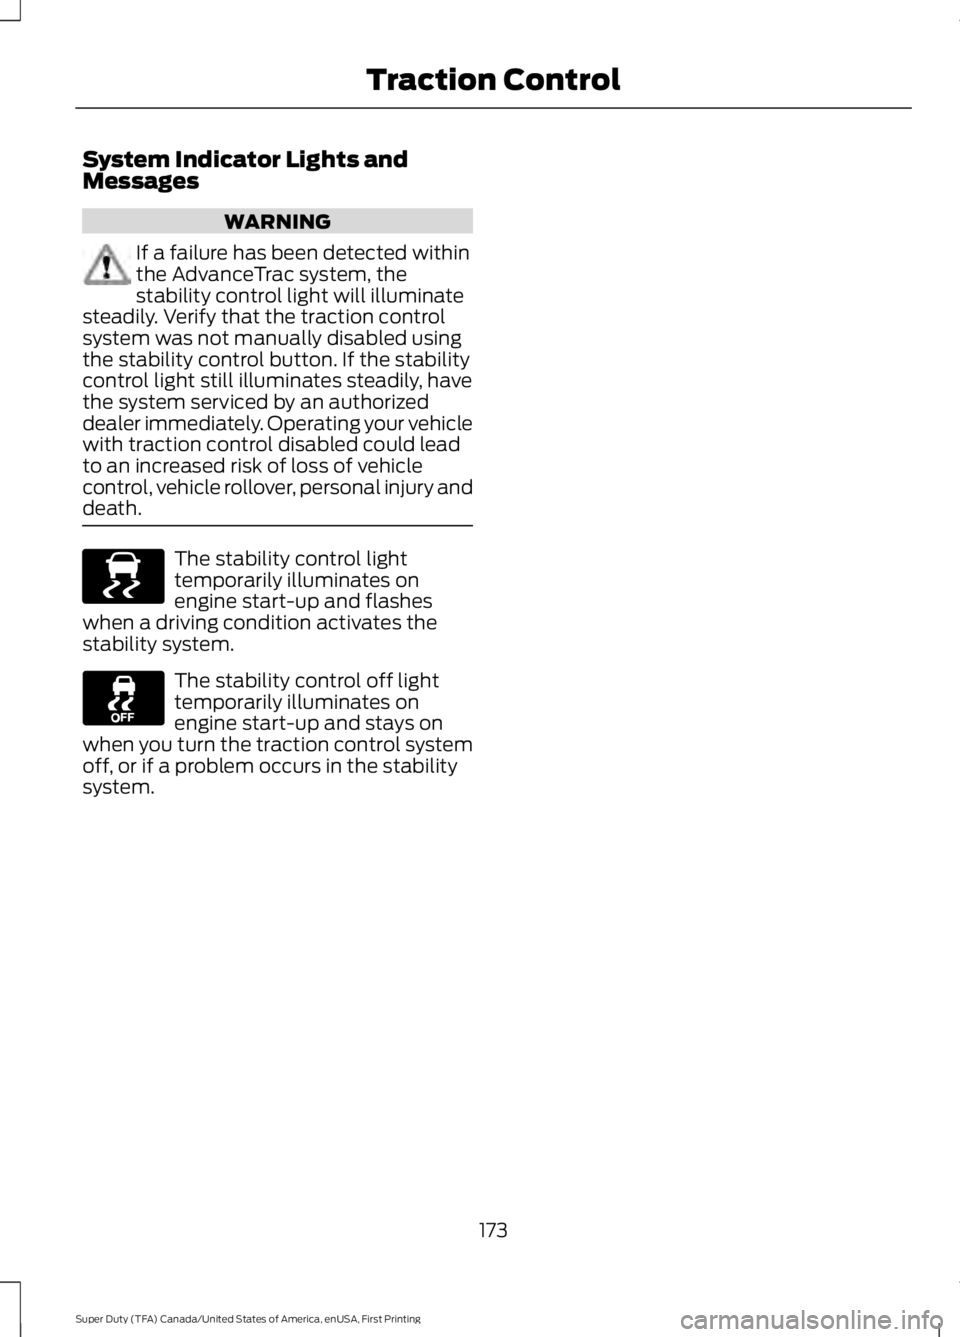
System Indicator Lights andMessages
WARNING
If a failure has been detected withinthe AdvanceTrac system, thestability control light will illuminatesteadily. Verify that the traction controlsystem was not manually disabled usingthe stability control button. If the stabilitycontrol light still illuminates steadily, havethe system serviced by an authorizeddealer immediately. Operating your vehiclewith traction control disabled could leadto an increased risk of loss of vehiclecontrol, vehicle rollover, personal injury anddeath.
The stability control lighttemporarily illuminates onengine start-up and flasheswhen a driving condition activates thestability system.
The stability control off lighttemporarily illuminates onengine start-up and stays onwhen you turn the traction control systemoff, or if a problem occurs in the stabilitysystem.
173
Super Duty (TFA) Canada/United States of America, enUSA, First Printing
Traction ControlE138639
Page 178 of 507

The system automatically activates whenyou start your engine. The electronicstability control and roll stability controlportions of the system can be turned offbelow 35 mph (56 km/h) and are disabledwhen the transmission is in position R. See
Using Traction Control (page 172).
You can turn off the tractioncontrol portion of the systemindependently. Press the stabilitycontrol button located on the instrumentpanel.
AdvanceTrac with RSC Features(Single rear wheels only)
Tractioncontrol systemElectronicstabilitycontrol
Roll stabilitycontrolStabilitycontrol lightButton func-tions
EnabledEnabledEnabledIlluminatedduring bulbcheck
Default at start-up
DisabledEnabled1EnabledIlluminatedsolidButton pressedmomentarily
DisabledDisabledDisabledFlashes thenilluminated
solid2
Button pressedand held formore than 5seconds atvehicle speedunder 35 mph(56 km/h)
DisabledEnabled 1EnabledIlluminatedsolidVehicle speedexceeds 35 mph(56 km/h) afterbutton ispressed andheld for morethan 5 seconds
175
Super Duty (TFA) Canada/United States of America, enUSA, First Printing
Stability Control
Page 179 of 507

AdvanceTrac with RSC Features(Single rear wheels only)
EnabledEnabledEnabledNot illuminatedButton pressedagain afterdeactivation
DisabledDisabledDisabledIlluminatedTransfer caseswitched to
4WD Low 3
1Electronic stability control has reduced sensitivity compared to fully active system.2Lamp light starts blinking for four seconds after entering the press and hold state.3Engaging 4WD Low locked automatically disables roll stability control, electronic stabilitycontrol and the traction control system.
176
Super Duty (TFA) Canada/United States of America, enUSA, First Printing
Stability Control