Page 96 of 587
The timing of the headlights is adjustable between 0, 30,
60 and 90 seconds. Refer to “Uconnect Settings” in
“Multimedia” for further information.
NOTE:The engine must be running before the headlights
will come on in the automatic mode.
Daytime Running Lights (DRL) — If Equipped
The Daytime Running Lights (DRLs) will turn on when
the engine is started and remain on unless the headlights
are turned on or the engine is shut off.
The DRLs will be disabled during turn signal operation
and resume operation when the turn signal operation has
ended.
Front Fog Lights — If Equipped
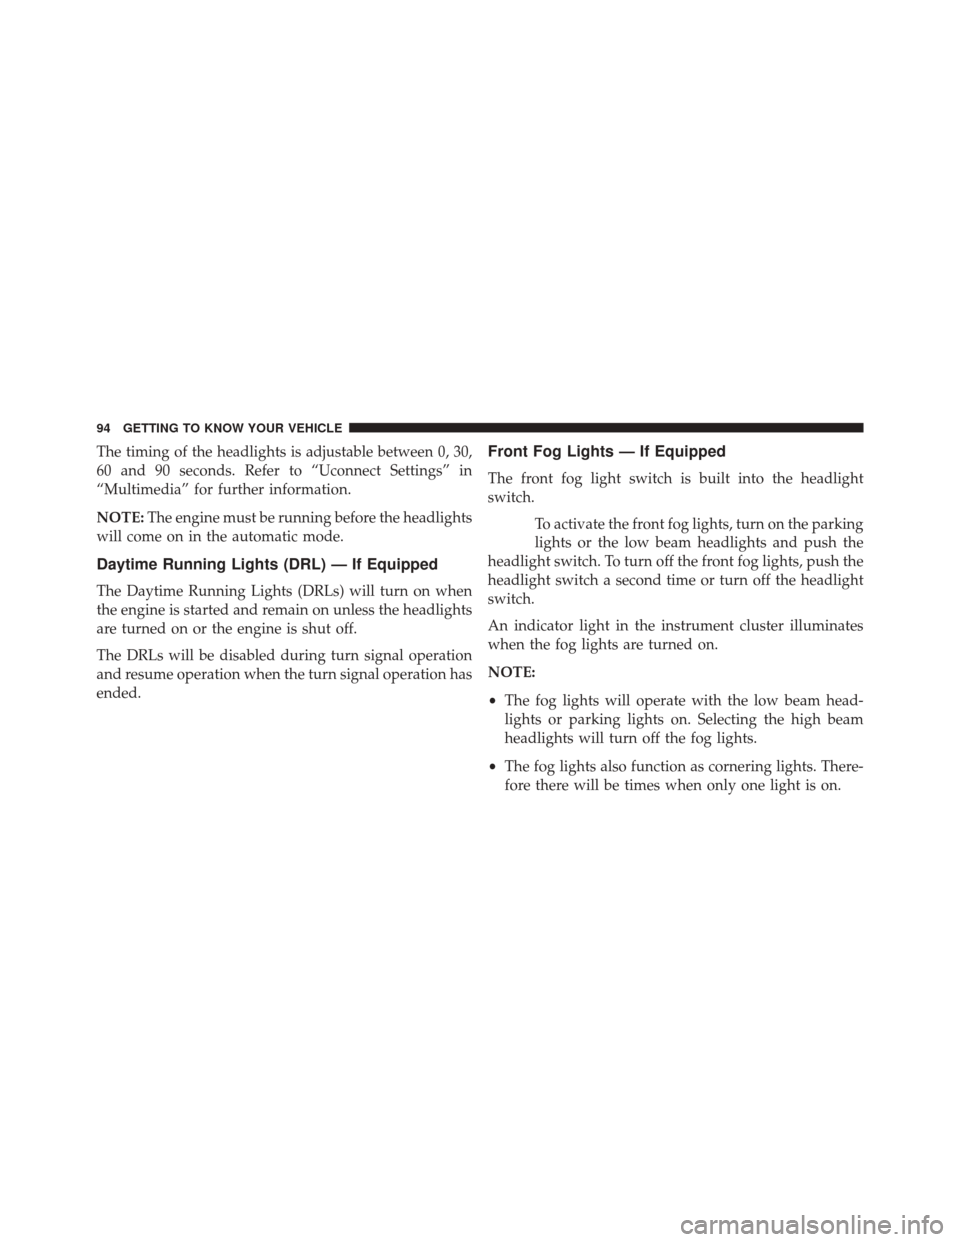
The front fog light switch is built into the headlight
switch.
To activate the front fog lights, turn on the parking
lights or the low beam headlights and push the
headlight switch. To turn off the front fog lights, push the
headlight switch a second time or turn off the headlight
switch.
An indicator light in the instrument cluster illuminates
when the fog lights are turned on.
NOTE:
• The fog lights will operate with the low beam head-
lights or parking lights on. Selecting the high beam
headlights will turn off the fog lights.
• The fog lights also function as cornering lights. There-
fore there will be times when only one light is on.
94 GETTING TO KNOW YOUR VEHICLE
Page 126 of 587
Climate Control System Compressor
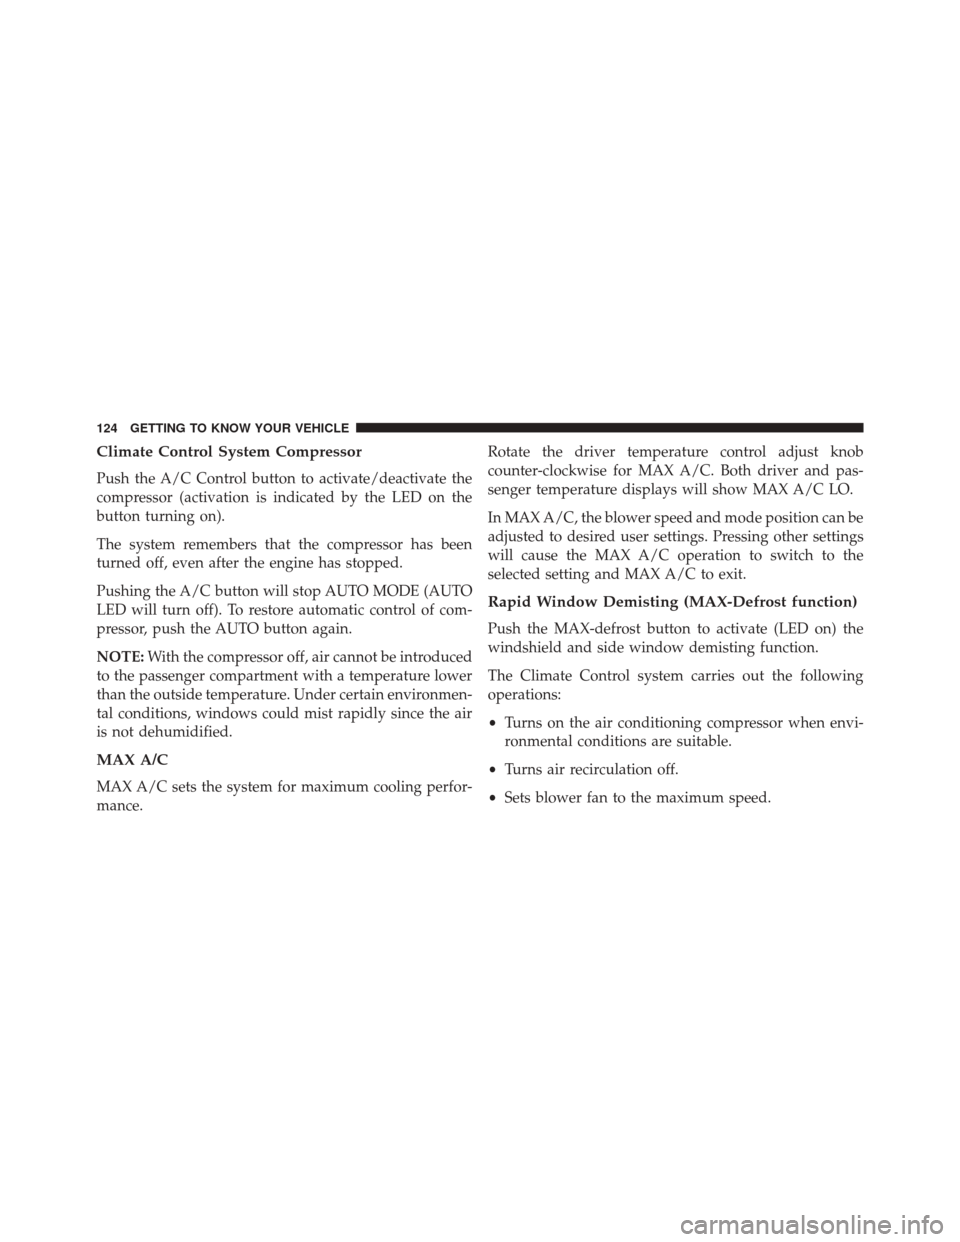
Push the A/C Control button to activate/deactivate the
compressor (activation is indicated by the LED on the
button turning on).
The system remembers that the compressor has been
turned off, even after the engine has stopped.
Pushing the A/C button will stop AUTO MODE (AUTO
LED will turn off). To restore automatic control of com-
pressor, push the AUTO button again.
NOTE:With the compressor off, air cannot be introduced
to the passenger compartment with a temperature lower
than the outside temperature. Under certain environmen-
tal conditions, windows could mist rapidly since the air
is not dehumidified.
MAX A/C
MAX A/C sets the system for maximum cooling perfor-
mance. Rotate the driver temperature control adjust knob
counter-clockwise for MAX A/C. Both driver and pas-
senger temperature displays will show MAX A/C LO.
In MAX A/C, the blower speed and mode position can be
adjusted to desired user settings. Pressing other settings
will cause the MAX A/C operation to switch to the
selected setting and MAX A/C to exit.
Rapid Window Demisting (MAX-Defrost function)
Push the MAX-defrost button to activate (LED on) the
windshield and side window demisting function.
The Climate Control system carries out the following
operations:
•
Turns on the air conditioning compressor when envi-
ronmental conditions are suitable.
• Turns air recirculation off.
• Sets blower fan to the maximum speed.
124 GETTING TO KNOW YOUR VEHICLE
Page 139 of 587
NOTE:
•Before lifting the hood, check that the wiper arms are
not in motion and not in the lifted position.
• While lifting the hood, use both hands.
• Vehicle must be at a stop and the automatic transmis-
sion must be in park. Manual transmission vehicles
must have the electric park brake engaged.
Closing
1. Hold up the hood with one hand and with the other hand remove the support rod from its seat and reinsert
it into the locking tab.
2. Lower the hood to approximately 6 inches (15 cm) from the engine compartment and drop it. Make sure
that the hood is completely closed.
Hood Prop System
1 — Locking Tab
2 — Support Rod
2 — Support Rod Seat
4
GETTING TO KNOW YOUR VEHICLE 137
Page 150 of 587
NOTE:The power outlet can be changed to “battery”
powered all the time by switching the power outlet
Engine Compartment Fuses/Distribution Unit fuse from
location F84 to F23. Models equipped with the optional
�smoker kit,�will
have a cigar lighter instead of the power outlet.
CAUTION!
Do not connect devices with power higher than 180
Watts (15 Amps) to the socket. Do not damage the
socket by using unsuitable adaptors. If the 180 Watt
(15 Amp) power rating is exceeded the fuse protect-
ing the system will need to be replaced.
WARNING!
To avoid serious injury or death:
• Only devices designed for use in this type of outlet
should be inserted into any 12 Volt outlet.
• Do not touch with wet hands.
(Continued)
12 Volt Power Outlet
148 GETTING TO KNOW YOUR VEHICLE
Page 151 of 587
WARNING!(Continued)
•Close the lid when not in use and while driving the
vehicle.
• If this outlet is mishandled, it may cause an electric
shock and failure.
CAUTION!
• Many accessories that can be plugged in draw
power from the vehicle’s battery, even when not in
use (i.e., cellular phones, etc.). Eventually, if
plugged in long enough, the vehicle’s battery will
discharge sufficiently to degrade battery life and/or
prevent the engine from starting.
(Continued)
CAUTION! (Continued)
•Accessories that draw higher power (i.e., coolers,
vacuum cleaners, lights, etc.) will degrade the bat-
tery even more quickly. Only use these intermit-
tently and with greater caution.
• After the use of high power draw accessories, or
long periods of the vehicle not being started (with
accessories still plugged in), the vehicle must be
driven a sufficient length of time to allow the
generator to recharge the vehicle’s battery.
Cigar Lighter — Optional
NOTE: Cigar lighters can be purchased at an authorized
dealer through MOPAR parts. To ensure proper cigar
lighter operation, a MOPAR knob and element must be
used.
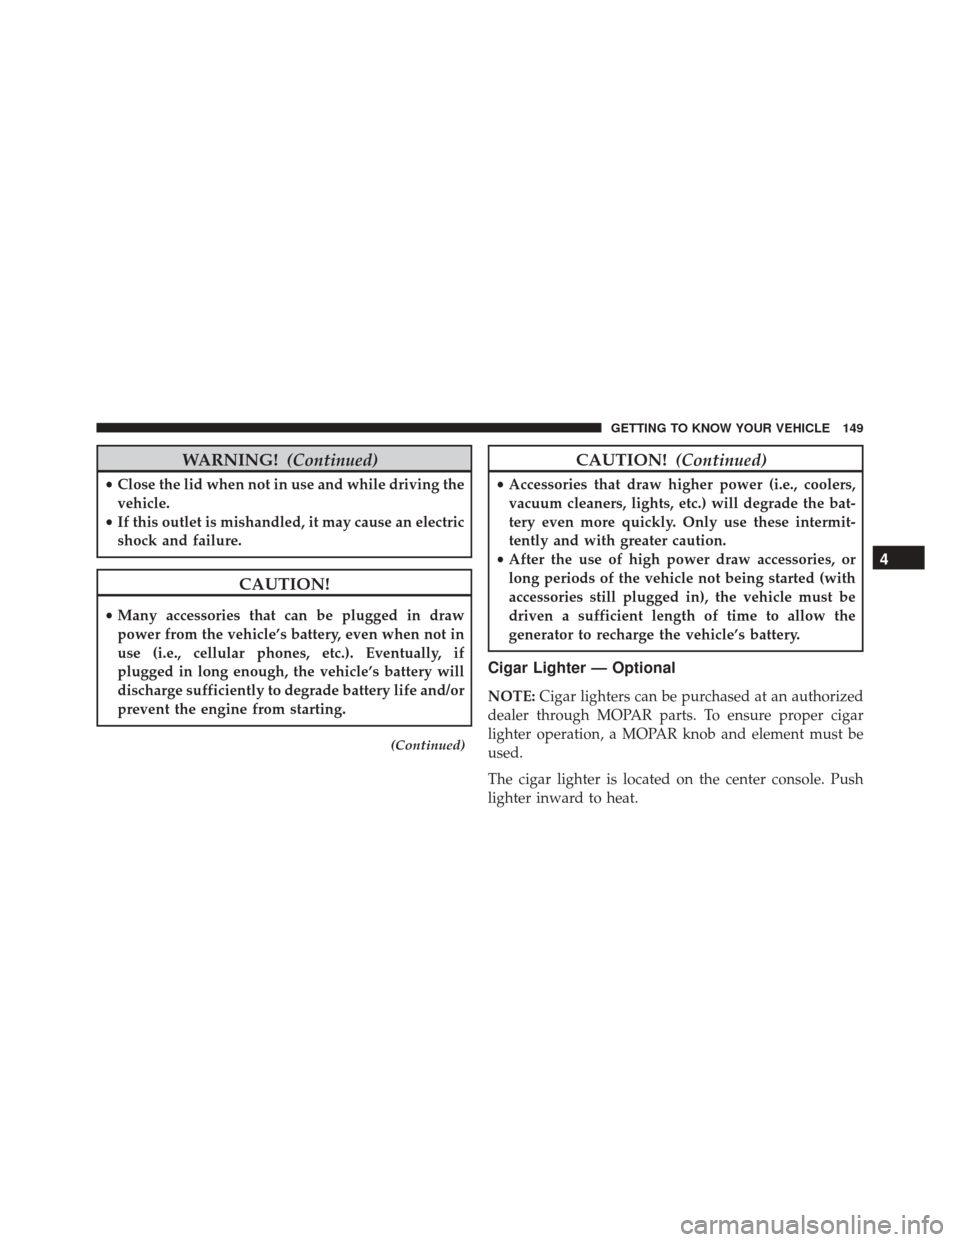
The cigar lighter is located on the center console. Push
lighter inward to heat.
4
GETTING TO KNOW YOUR VEHICLE 149
Page 159 of 587
GETTING TO KNOW YOUR INSTRUMENT CLUSTER
CONTENTS
�INSTRUMENT CLUSTER .................158
� ONBOARD DIAGNOSTIC SYSTEM (OBD II) . . .160
� ELECTRONIC VEHICLE INFORMATION CENTER
(EVIC) .............................. .161
▫ EVIC Description ..................... .161
▫ Mapping And Reconfigurable Zone Display
(EVIC) — If Equipped ..................161
▫ EVIC Control Buttons ..................163
▫ Engine Oil Change Reset ................164 ▫
EVIC Main Menu .....................165
� TRIP COMPUTER ..................... .173
▫ Quantities Displayed ...................174
▫ OK Button ......................... .174
� WARNING LIGHTS AND MESSAGES ........175
▫ Telltales On The EVIC Instrument Cluster . . . .176
▫ Symbols Displayed In The EVIC ...........186
5
Page 161 of 587
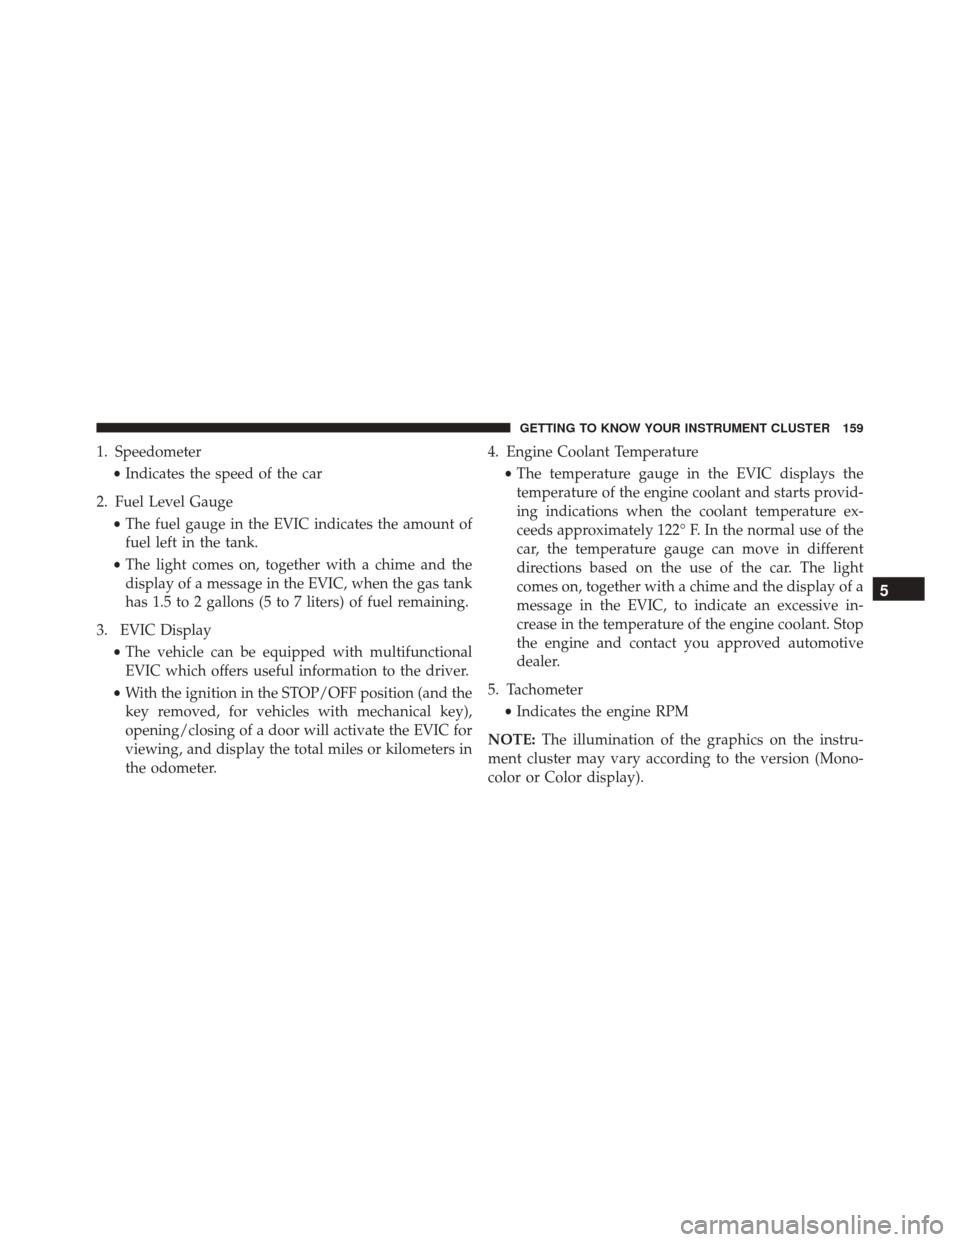
1. Speedometer•Indicates the speed of the car
2. Fuel Level Gauge •The fuel gauge in the EVIC indicates the amount of
fuel left in the tank.
• The light comes on, together with a chime and the
display of a message in the EVIC, when the gas tank
has 1.5 to 2 gallons (5 to 7 liters) of fuel remaining.
3. EVIC Display •The vehicle can be equipped with multifunctional
EVIC which offers useful information to the driver.
• With the ignition in the STOP/OFF position (and the
key removed, for vehicles with mechanical key),
opening/closing of a door will activate the EVIC for
viewing, and display the total miles or kilometers in
the odometer. 4. Engine Coolant Temperature
•The temperature gauge in the EVIC displays the
temperature of the engine coolant and starts provid-
ing indications when the coolant temperature ex-
ceeds approximately 122° F. In the normal use of the
car, the temperature gauge can move in different
directions based on the use of the car. The light
comes on, together with a chime and the display of a
message in the EVIC, to indicate an excessive in-
crease in the temperature of the engine coolant. Stop
the engine and contact you approved automotive
dealer.
5. Tachometer •Indicates the engine RPM
NOTE: The illumination of the graphics on the instru-
ment cluster may vary according to the version (Mono-
color or Color display).
5
GETTING TO KNOW YOUR INSTRUMENT CLUSTER 159
Page 162 of 587
ONBOARD DIAGNOSTIC SYSTEM (OBD II)
Your vehicle is equipped with a sophisticated onboard
diagnostic system called OBD II. This system monitors
the performance of the emissions, engine, and automatic
transmission control systems. When these systems are
operating properly, your vehicle will provide excellent
performance and fuel economy, as well as engine emis-
sions well within current government regulations.
If any of these systems require service, the OBD II system
will turn on the “Malfunction Indicator Light (MIL).” It
will also store diagnostic codes and other information to
assist your service technician in making repairs. Al-
though your vehicle will usually be drivable and not
need towing, see your authorized dealer for service as
soon as possible.
CAUTION!
•Prolonged driving with the MIL on could cause
further damage to the emission control system. It
could also affect fuel economy and driveability.
The vehicle must be serviced before any emissions
tests can be performed.
• If the MIL is flashing, while the engine is running,
severe catalytic converter damage and power loss
will soon occur. Immediate service is required.
160 GETTING TO KNOW YOUR INSTRUMENT CLUSTER