Page 3 of 132

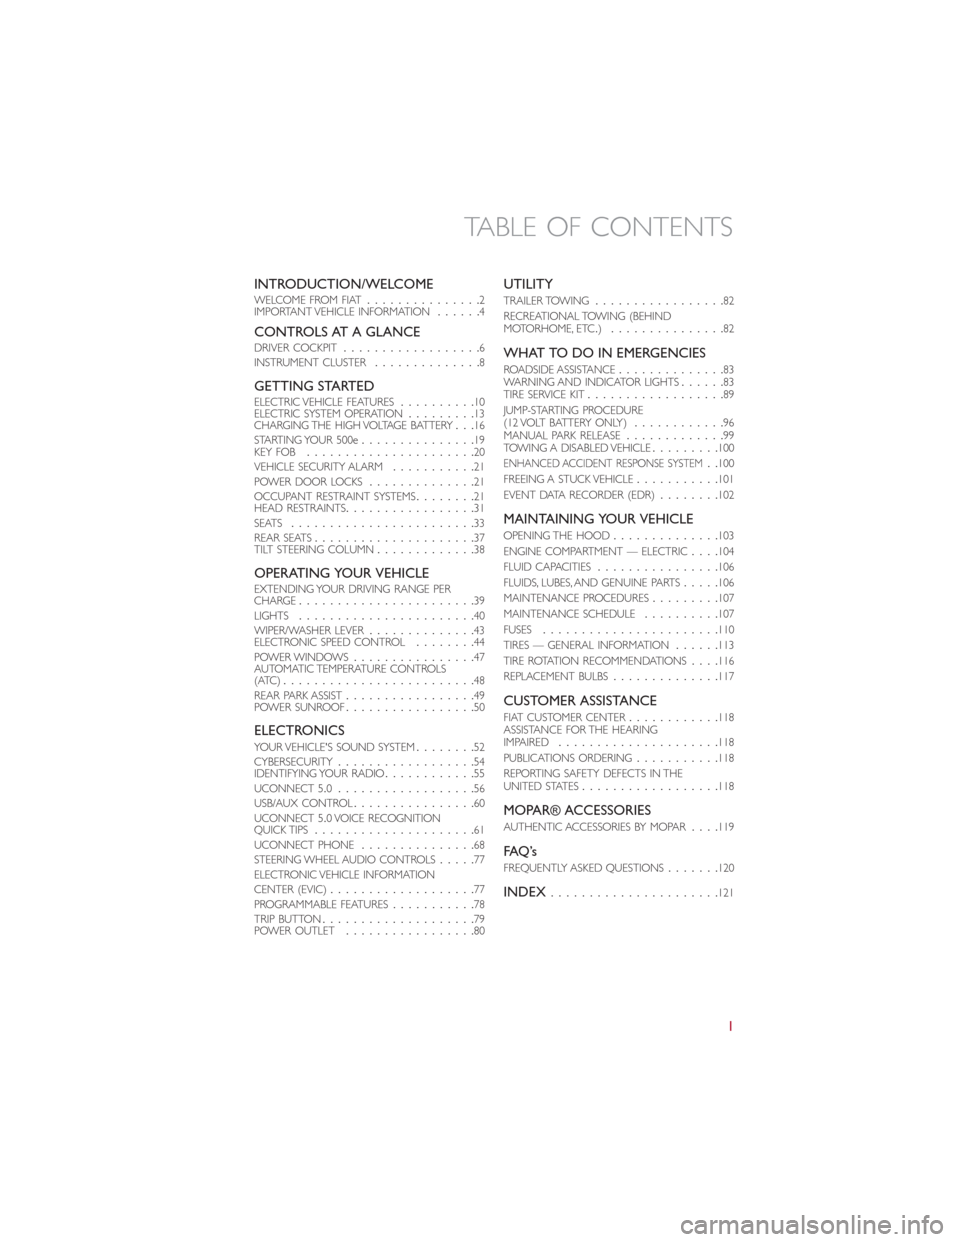
INTRODUCTION/WELCOMEWELCOME FROM FIAT...............2
IMPORTANT VEHICLE INFORMATION......4
CONTROLS AT A GLANCEDRIVER COCKPIT..................6
INSTRUMENT CLUSTER..............8
GETTING STARTEDELECTRIC VEHICLE FEATURES..........10
ELECTRIC SYSTEM OPERATION.........13
CHARGING THE HIGH VOLTAGE BATTERY...16
STARTING YOUR 500e...............19
KEY FOB......................20
VEHICLE SECURITY ALARM...........21
POWER DOOR LOCKS..............21
OCCUPANT RESTRAINT SYSTEMS........21
HEAD RESTRAINTS.................31
SEATS........................33
REAR SEATS.....................37
TILT STEERING COLUMN.............38
OPERATING YOUR VEHICLEEXTENDING YOUR DRIVING RANGE PER
CHARGE.......................39
LIGHTS.......................40
WIPER/WASHER LEVER..............43
ELECTRONIC SPEED CONTROL........44
POWER WINDOWS................47
AUTOMATIC TEMPERATURE CONTROLS
(ATC).........................48
REAR PARK ASSIST.................49
POWER SUNROOF.................50
ELECTRONICSYOUR VEHICLE'S SOUND SYSTEM........52
CYBERSECURITY..................54
IDENTIFYING YOUR RADIO............55
UCONNECT 5.0..................56
USB/AUX CONTROL................60
UCONNECT 5.0 VOICE RECOGNITION
QUICK TIPS.....................61
UCONNECT PHONE...............68
STEERING WHEEL AUDIO CONTROLS.....77
ELECTRONIC VEHICLE INFORMATION
CENTER (EVIC)...................77
PROGRAMMABLE FEATURES...........78
TRIP BUTTON....................79
POWER OUTLET.................80
UTILITY
TRAILER TOWING.................82
RECREATIONAL TOWING (BEHIND
MOTORHOME, ETC.)...............82
WHAT TO DO IN EMERGENCIES
ROADSIDE ASSISTANCE..............83
WARNING AND INDICATOR LIGHTS......83
TIRE SERVICE KIT..................89
JUMP-STARTING PROCEDURE
(12 VOLT BATTERY ONLY)............96
MANUAL PARK RELEASE.............99
TOWING A DISABLED VEHICLE.........100
ENHANCED ACCIDENT RESPONSE SYSTEM..100
FREEING A STUCK VEHICLE...........101
EVENT DATA RECORDER (EDR)........102
MAINTAINING YOUR VEHICLE
OPENING THE HOOD..............103
ENGINE COMPARTMENT — ELECTRIC....104
FLUID CAPACITIES................106
FLUIDS, LUBES, AND GENUINE PARTS.....106
MAINTENANCE PROCEDURES.........107
MAINTENANCE SCHEDULE..........107
FUSES.......................110
TIRES — GENERAL INFORMATION......113
TIRE ROTATION RECOMMENDATIONS....116
REPLACEMENT BULBS..............117
CUSTOMER ASSISTANCE
FIAT CUSTOMER CENTER............118
ASSISTANCE FOR THE HEARING
IMPAIRED.....................118
PUBLICATIONS ORDERING...........118
REPORTING SAFETY DEFECTS IN THE
UNITED STATES..................118
MOPAR® ACCESSORIES
AUTHENTIC ACCESSORIES BY MOPAR....119
FAQ ’s
FREQUENTLY ASKED QUESTIONS.......120
INDEX......................121
TABLE OF CONTENTS
1
Page 8 of 132
DRIVER COCKPIT
1.Turn Signal/Lights Lever (behind steering wheel) pg.40
2.Uconnect 5.0 Voice Recognition Controls pg.61
3.Instrument Cluster pg.8
4.Speed Control pg.44
5.Electronic Vehicle Information Center (EVIC) Controls pg.77
6.Wiper/Washer Lever pg.43
7.Audio System pg.52
8.Glove Compartment
9.Defroster
CONTROLS AT A GLANCE
6
Page 54 of 132
YOUR VEHICLE'S SOUND SYSTEM
1.Mute Button
2.Phone Pick Up Button pg.68
3.Phone Hang Up Button pg.68
4.Voice Command Button pg.62
5.Steering Wheel Audio Controls (Left) pg.77
6.Steering Wheel Audio Controls (Right) pg.77
7.System On/Off Button — Volume Knob
8.Audio Mute Button
ELECTRONICS
52
Page 55 of 132
9.Uconnect 5.0 Radio pg.56
10.Settings Button
11.Tune/Scroll Knob — Browse/Enter Button
12.MORE Button
13.Power Outlet pg.80
14.Audio Jack pg.60
15.USB Port pg.60
ELECTRONICS
53
Page 57 of 132
Privacy of any wireless and wired communications cannot be assured.Third parties may
unlawfully intercept information and private communications without your consent.For
further information, refer to “Onboard Diagnostic System (OBD II) Cybersecurity” in
“Maintaining Your Vehicle” in your Owner’s Manual on the DVD.
IDENTIFYING YOUR RADIO
Uconnect 5.0
•5.0” Full Color Touchscreen Display
•Bluetooth Connectivity/Bluetooth
Streaming Audio
Uconnect 5.0
ELECTRONICS
55
Page 59 of 132

Clock Setting
To start the clock setting procedure:
1.Push the Settings button on the faceplate and then press the “Clock and Date” button
on the touchscreen.
2.Press the “Set Time” button on the touchscreen.
3.Press the “Up” or “Down” arrows to adjust the hours or minutes, then select the
“AM” or “PM” button on the touchscreen.You can also select 12hr or 24hr format by
pressing the desired button on the touchscreen.
4.Once the time is set press the “Done” button on the touchscreen to exit the time
screen.
NOTE:
In the Clock Setting Menu you can also select Display Clock.Display Clock turns the
clock display in the status bar on or off.
Equalizer, Balance And Fade
1.Push the Settings button on the faceplate.
2.Scroll down and press the “Audio” button on the touchscreen to open the Audio
menu.
3.The Audio Menu shows the following options for you to customize your audio set-
tings.
Equalizer
Press the “Equalizer” button on the touchscreen to adjust the Bass, Mid and Treble.Use
the “+” or “-” button on the touchscreen to adjust the equalizer to your desired settings.
Balance/Fade
Press the “Balance/Fade” button on the touchscreen to adjust the sound from the speak-
ers.Use the arrow buttons on the touchscreen to adjust the sound level from the front
and rear or right and left side speakers.Press the Center “C” button on the touchscreen
to reset the balance and fade to the factory setting.
Speed Adjusted Volume
Press the “Speed Adjusted Volume” button on the touchscreen to select between OFF, 1,
2or3.This will decrease the radio volume relative to a decrease in vehicle speed.
Surround Sound
Press the “Surround Sound” button on the touchscreen, select On or Off followed by
pressing the back arrow button on the touchscreen.When this feature is activated, it pro-
vides simulated surround sound mode.
ELECTRONICS
57
Page 60 of 132
Radio Operation
Store Radio Presets Manually
The Radio stores up to 12 presets in each of the Radio modes.There are four visible
presets at the top of the radio screen.Pressing the “All” button on the touchscreen on
the radio home screen will display all of the preset stations for that mode.
To store a radio preset manually, follow the steps below:
1.Tune to the desired station.
2.Press and hold the desired numbered button on the touchscreen for more than two
seconds, or until you hear a confirmation beep.
Seek Next/Previous Buttons
•Press the up or down button to seek through radio stations in AM, FM or SXM bands.
•Hold either button to bypass stations without stopping.
Radio Operation
1 — Radio Station Preset
2 — All Presets
3 — Seek Next
4 — Audio Settings5 — Station Information
6 — Direct Tune
7 — Radio Band
8 — Seek Previous
ELECTRONICS
58
Page 61 of 132

SiriusXM Premier Over 160 Channels
Get every channel available on your satellite radio, and enjoy all you want, all in one place.
Hear commercial-free music plus sports, news, talk and entertainment.Get all the pre-
mium programming, including Howard Stern, every NFL game, Oprah Radio, every MLB
and NHL game, every NASCAR race and more.And get 20+ Xtra channels, including
SiriusXM Latino, a selection of channels dedicated to Spanish language programming.
NOTE:
To access SiriusXM Satellite Radio, push the RADIO Button on the faceplate and then the
“SXM” button on the touchscreen.
SiriusXM services require subscriptions, sold separately after the 12-month trial included
with the new vehicle purchase.If you decide to continue your service at the end of your
trial subscription, the plan you choose will automatically renew and bill at then-current
rates until you call SiriusXM at 1-866-635-2349 for U.S. residents and 1-888-539-7474
for Canadian residents to cancel. See SiriusXM Customer Agreement for complete
terms at www.siriusxm.com and www.siriusxm.ca for Canadian residents.All fees and
programming subject to change.Our satellite service is available only to those at least 18
and older in the 48 contiguous USA and D.C.Our Sirius satellite service is also available
in PR (with coverage limitations).Our Internet radio service is available throughout our
satellite service area and in AK and HI.© 2015 Sirius XM Radio Inc.Sirius, XM and all
related marks and logos are trademarks of Sirius XM Radio Inc.
Voice Text Reply (Not Compatible With iPhone)
Once your Uconnect system is paired with a compatible mobile device, the system can
announce a new incoming text message, and read it to your over the vehicle audio sys-
tem.You can reply to the message using Voice Recognition by selecting, or saying, one of
the 18 pre-defined messages.
Here’s how:
1.Push the Uconnect Phone button
and wait for the beep, then say “reply.”
Uconnect will give the following prompt: “Please say the message you would like to
send.”
2.Wait for the beep and say one of the pre-defined messages.(If you are not sure, you
can say “help”).Uconnect will then read the pre-defined messages allowed.
3.As soon as you hear the message you would like to send, you can interrupt the list of
prompts by pushing the Uconnect phone button and saying the phrase.Uconnect will
confirm the message by reading it back to you.
4.Push the Phone button and say “Send.”
ELECTRONICS
59