2016 Citroen C4 PICASSO automatic
[x] Cancel search: automaticPage 414 of 527

63
.
1
10
3
Audio and Telematics
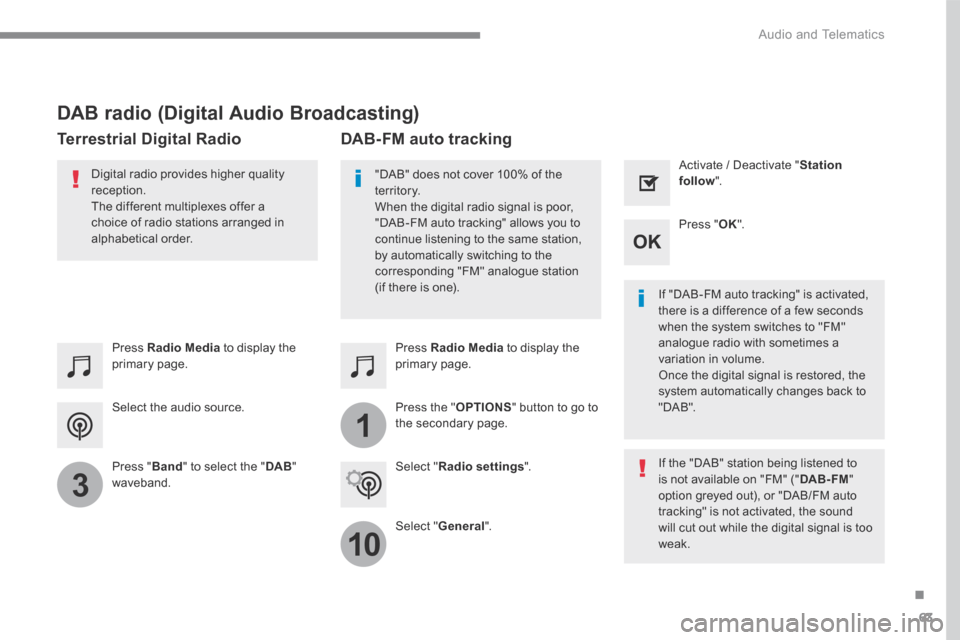
Select the audio source.
Press Radio Media to display the primary page.
Press " Band " to select the " DAB " waveband.
Press Radio Media to display the primary page.
Press the " OPTIONS " button to go to the secondary page.
DAB-FM auto tracking
"DAB" does not cover 100% of the te r r i to r y. When the digital radio signal is poor, "DAB-FM auto tracking" allows you to continue listening to the same station, by automatically switching to the corresponding "FM" analogue station (if there is one). If "DAB-FM auto tracking" is activated, there is a difference of a few seconds when the system switches to "FM" analogue radio with sometimes a variation in volume. Once the digital signal is restored, the system automatically changes back to " D A B " .
Digital radio provides higher quality reception. The different multiplexes offer a choice of radio stations arranged in
alphabetical order.
If the "DAB" station being listened to is not available on "FM" (" DAB- FM " option greyed out), or "DAB/FM auto tracking" is not activated, the sound will cut out while the digital signal is too w e a k .
Select " Radio settings ".
Select " General ".
Activate / Deactivate " Station follow ".
Press " OK ".
DAB radio (Digital Audio Broadcasting)
Terrestrial Digital Radio
Page 415 of 527

64
Audio and Telematics
Media
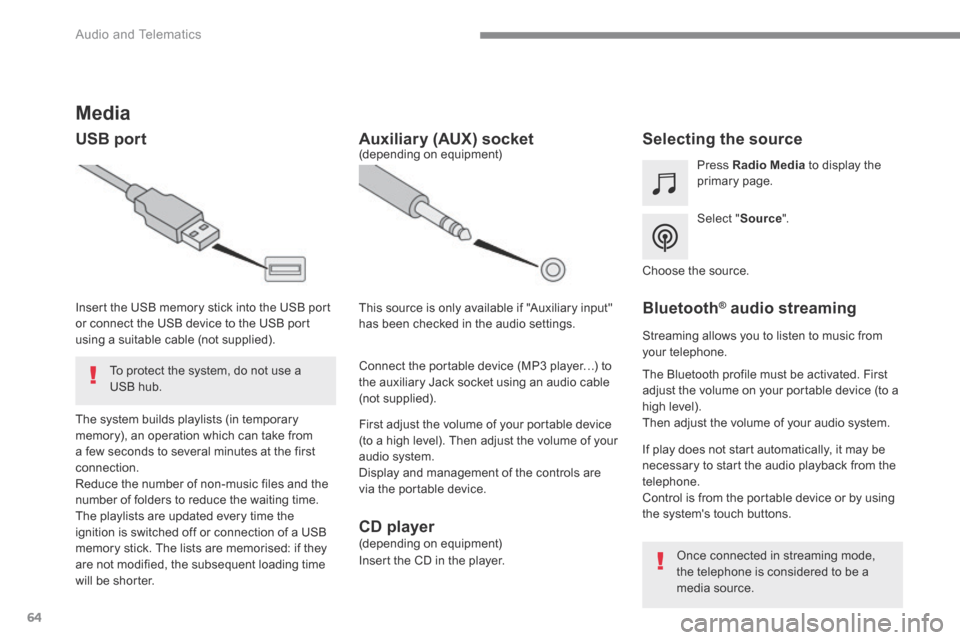
USB port Selecting the source
Select " Source ".
Press Radio Media to display the primary page.
The system builds playlists (in temporary memory), an operation which can take from a few seconds to several minutes at the first connection. Reduce the number of non-music files and the number of folders to reduce the waiting time. The playlists are updated every time the ignition is switched off or connection of a USB memory stick. The lists are memorised: if they are not modified, the subsequent loading time will be shorter.
Insert the USB memory stick into the USB port or connect the USB device to the USB port using a suitable cable (not supplied).
Auxiliary (AUX) socket
First adjust the volume of your portable device (to a high level). Then adjust the volume of your audio system. Display and management of the controls are via the portable device.
This source is only available if "Auxiliary input" has been checked in the audio settings.
(depending on equipment)
Connect the portable device (MP3 player…) to the auxiliary Jack socket using an audio cable (not supplied).
Choose the source.
Bluetooth ® Bluetooth ® Bluetooth audio streaming ® audio streaming ®
Streaming allows you to listen to music from your telephone.
The Bluetooth profile must be activated. First adjust the volume on your portable device (to a high level). Then adjust the volume of your audio system.
If play does not start automatically, it may be necessary to start the audio playback from the telephone. Control is from the portable device or by using the system's touch buttons.
Once connected in streaming mode, the telephone is considered to be a media source.
To protect the system, do not use a USB hub.
CD player (depending on equipment)
Insert the CD in the player.
Page 416 of 527

65
.
Audio and Telematics
Connecting Apple ® Connecting Apple ® Connecting Apple players ® players ®
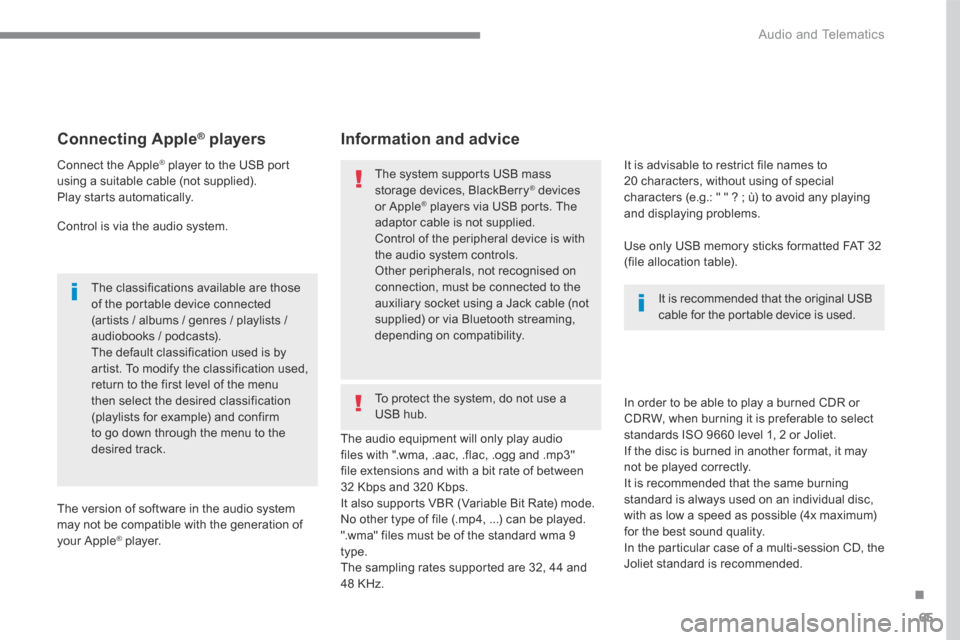
Connect the Apple ® player to the USB port ® player to the USB port ®
using a suitable cable (not supplied). Play starts automatically.
Control is via the audio system.
The classifications available are those of the portable device connected (artists / albums / genres / playlists / audiobooks / podcasts). The default classification used is by artist. To modify the classification used, return to the first level of the menu then select the desired classification (playlists for example) and confirm to go down through the menu to the desired track.
The version of software in the audio system may not be compatible with the generation of your Apple ® player. ® player. ®
The audio equipment will only play audio files with ".wma, .aac, .flac, .ogg and .mp3" file extensions and with a bit rate of between 32 Kbps and 320 Kbps. It also supports VBR (Variable Bit Rate) mode. No other type of file (.mp4, ...) can be played. ".wma" files must be of the standard wma 9 type. The sampling rates supported are 32, 44 and 48 KHz.
In order to be able to play a burned CDR or CDRW, when burning it is preferable to select
standards ISO 9660 level 1, 2 or Joliet. If the disc is burned in another format, it may not be played correctly. It is recommended that the same burning standard is always used on an individual disc, with as low a speed as possible (4x maximum) for the best sound quality. In the particular case of a multi-session CD, the Joliet standard is recommended.
It is advisable to restrict file names to 20 characters, without using of special characters (e.g.: " " ? ; ù) to avoid any playing and displaying problems.
Information and advice
Use only USB memory sticks formatted FAT 32 (file allocation table).
The system supports USB mass storage devices, BlackBerry ® devices ® devices ®
or Apple ® players via USB ports. The ® players via USB ports. The ®
adaptor cable is not supplied.
Control of the peripheral device is with the audio system controls. Other peripherals, not recognised on connection, must be connected to the auxiliary socket using a Jack cable (not supplied) or via Bluetooth streaming, depending on compatibility.
It is recommended that the original USB cable for the portable device is used.
To protect the system, do not use a USB hub.
Page 424 of 527

73
.
1
Audio and Telematics
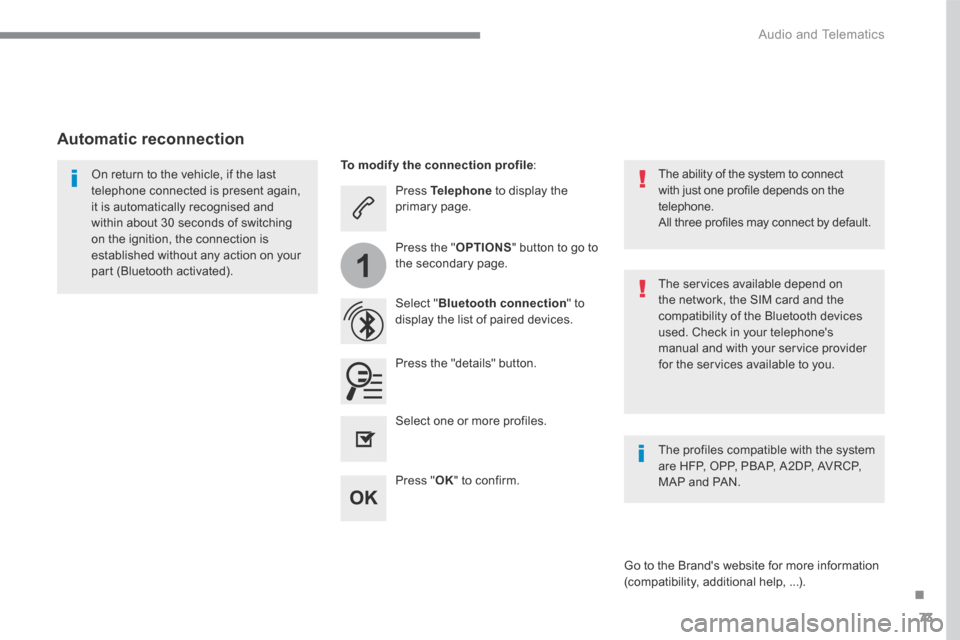
Press Telephone to display the primary page.
Select " Bluetooth connection " to display the list of paired devices.
On return to the vehicle, if the last telephone connected is present again, it is automatically recognised and within about 30 seconds of switching on the ignition, the connection is established without any action on your part (Bluetooth activated). The services available depend on the network, the SIM card and the compatibility of the Bluetooth devices used. Check in your telephone's manual and with your service provider for the services available to you.
The ability of the system to connect with just one profile depends on the telephone. All three profiles may connect by default.
Go to the Brand's website for more information (compatibility, additional help, ...).
To modify the connection profile :
Automatic reconnection
Press the "details" button.
Press the " OPTIONS " button to go to the secondary page.
Press " OK " to confirm.
Select one or more profiles.
The profiles compatible with the system are HFP, OPP, PBAP, A2DP, AVRCP, MAP and PAN.
Page 437 of 527

86
111
8
9
10
15
161
Audio and Telematics
Press Settings to display the primary page. Press Settings to display the primary page. Press Settings to display the primary page.
Press the " OPTIONS " button to go to the secondary page. Press the " OPTIONS " button to go to the secondary page. Press the " OPTIONS " button to go to the secondary page.
Select " System settings ". Select " Screen configuration ".
Select " Units " to change the units for distance, fuel consumption and temperature.
Select " Languages " to change the language.
Activate or deactivate " Automatic scrolling ".
Move the cursor to adjust the brightness of the screen and/or of the instrument panel.
Select " Factory settings " to return to the initial settings.
Select " System info " to display the versions of the different modules installed in the system.
Modifying system settings
Returning the system to factory settings activates the English language by default.
Select " Animation ".
Select " Brightness ".
Select the language
Press Settings to display the primary page.
Press the " OPTIONS " button to go to the secondary page.
Select " Setting the time- date ".
Setting the date
Page 438 of 527

87
.
1
17
18
Audio and Telematics
Press Settings to display the primary page.
Press the " OPTIONS " button to go to the secondary page.
Select " Date ".
Select " Time ".
Select " Setting the time- date ".
Adjustment of the time and date is only available if "GPS synchronisation" is deactivated. The change between winter and summer time is done by changing the time zone.
The system does not automatically manage the change between winter and summer time (depending on c ountr y).
Setting the time
Press this button to define the date.
Press this button to adjust the time using the virtual keypad.
Press " OK " to confirm.
Press " OK " to confirm.
Press " OK " to confirm.
Press this button to define the time z o n e .
Select the display format of the date.
Select the display format for the time (12h / 24h).
Activate or deactivate synchronisation with the satellites (UTC).
Every time the color scheme is changed, the system restarts, temporarily displaying a black screen.
As a safety measure, the procedure for changing the color scheme is only possible with the vehicle stationary.
Press Settings to display the primary page.
Select " Color schemes ".
Select a color scheme in the list then press " OK " to confirm.
Color schemes
Page 439 of 527

88
Audio and Telematics
The following table groups together the answers to the most frequently asked questions concerning your audio system.
QUESTIONANSWERSOLUTION
The route calculation is not successful. The route settings may conflict with the current location (exclusion of toll roads on a toll motor way). Check the route settings in the "Navigation" menu.
The POIs do not appear. The POIs have not been selected. Select the POIs in the list of POIs.
The audible warning of "Danger areas" does not work.
The audible warning is not active. Activate audible warnings (without the possibility of adjusting the volume) in the "Navigation" menu.
The system does not suggest a detour around an incident on the route.
The guidance criteria do not take account of TMC messages. Select setting for the "Traffic info" function in the list of route settings (Without, Manual or Automatic).
I receive a "Danger area" alert which is not on my route.
Other than guidance, the system announces all "Danger areas" positioned in a cone located in front of the vehicle. It may provide an alert for "Danger areas" located on nearby or parallel roads.
Zoom in on the map to view the exact position of the "Danger area". Select "On the route" to no longer receive alerts other than navigation instructions or to reduce the time for the announcement.
Frequently asked questions
Navigation
Page 442 of 527

91
.
Audio and Telematics
Media
QUESTIONANSWERSOLUTION
Playback of my USB memory stick starts only after a very long wait (around 2 to 3 minutes).
Some files supplied with the memory stick may greatly slow down access to reading the memory stick (multiplication by 10 of the catalogue time).
Delete the files supplied with the memory stick and limit the number of sub-folders in the file structure on the memory stick.
The CD is ejected automatically or is not played by the player.
The CD is inserted upside down, is unplayable, does not contain any audio data or contains an audio format which the player does not recognise. Check that the CD is inserted in the player the right way up. Check the condition of the CD: the CD cannot be played if it is too badly damaged. Check the content in the case of a recorded CD: refer to the advice in the "AUDIO" section. The audio system's CD player does not play DVDs. Some recorded CDs will not be played by the audio system because they are not of adequate quality.
The CD has been recorded in a format that is not compatible with the player (udf, ...).
The CD is protected by an anti-pirating protection system which is not recognised by the audio system.
There is a long waiting period following the insertion of a CD or connection of a USB memory stick.
When a new medium is inserted, the system reads a certain amount of data (directory, title, artist, etc.). This may take from a few seconds to a few minutes.
This phenomenon is normal.
The CD player sound is p o o r. The CD used is scratched or of poor quality. Insert good quality CDs and store them in suitable conditions.
The audio equipment settings (bass, treble, ambiences) are unsuitable. Set the treble or bass level to 0, without selecting an ambience.