2016 BMW M4 mirror controls
[x] Cancel search: mirror controlsPage 56 of 228
Selecting a mirrorSwitching to other mirror:
Push switch.
Electrical adjustment Corresponding to movement of button
Saving positions
Seat and mirror position memory, see page 54.
Adjusting manually In the event of an electrical defect, for example,
press the borders of the mirror glass.
Automatic parking function
Principle
When reverse gear is engaged, mirror glass on
front passenger side is titled downwards. This
improves the view of the kerb or other obsta‐
cles near the ground, for example when park‐
ing.
Activating1. Push switch to driver's mirror posi‐
tion.2.Engage selector lever position R.
Deactivating
Push switch to front passenger's mirror posi‐
tion.
Folding in and out ATTENTION
Due to the vehicle's width, it could sus‐
tain damage in car washes. Danger of damage
to property. Fold in the mirrors manually or us‐
ing the button prior to washing.◀
Press the button.
Possible up to approximately 20 km/h, approxi‐
mately 15 mph.
Advantageous in the following situations:▷In car washes.▷In narrow streets.▷When folding mirrors back out that have
been folded in manually.
Folded-in mirrors automatically fold out at ap‐
proximately 40 km/h, approximately 25 mph.
Automatic heating Both exterior mirrors are automatically heated
with the engine running.
Automatically dimming
Both exterior mirrors are automatically dim‐
med. Photocells in the rear-view mirror, see
page 56, are used for control.
Rear-view mirror, automatic-dim
Principle
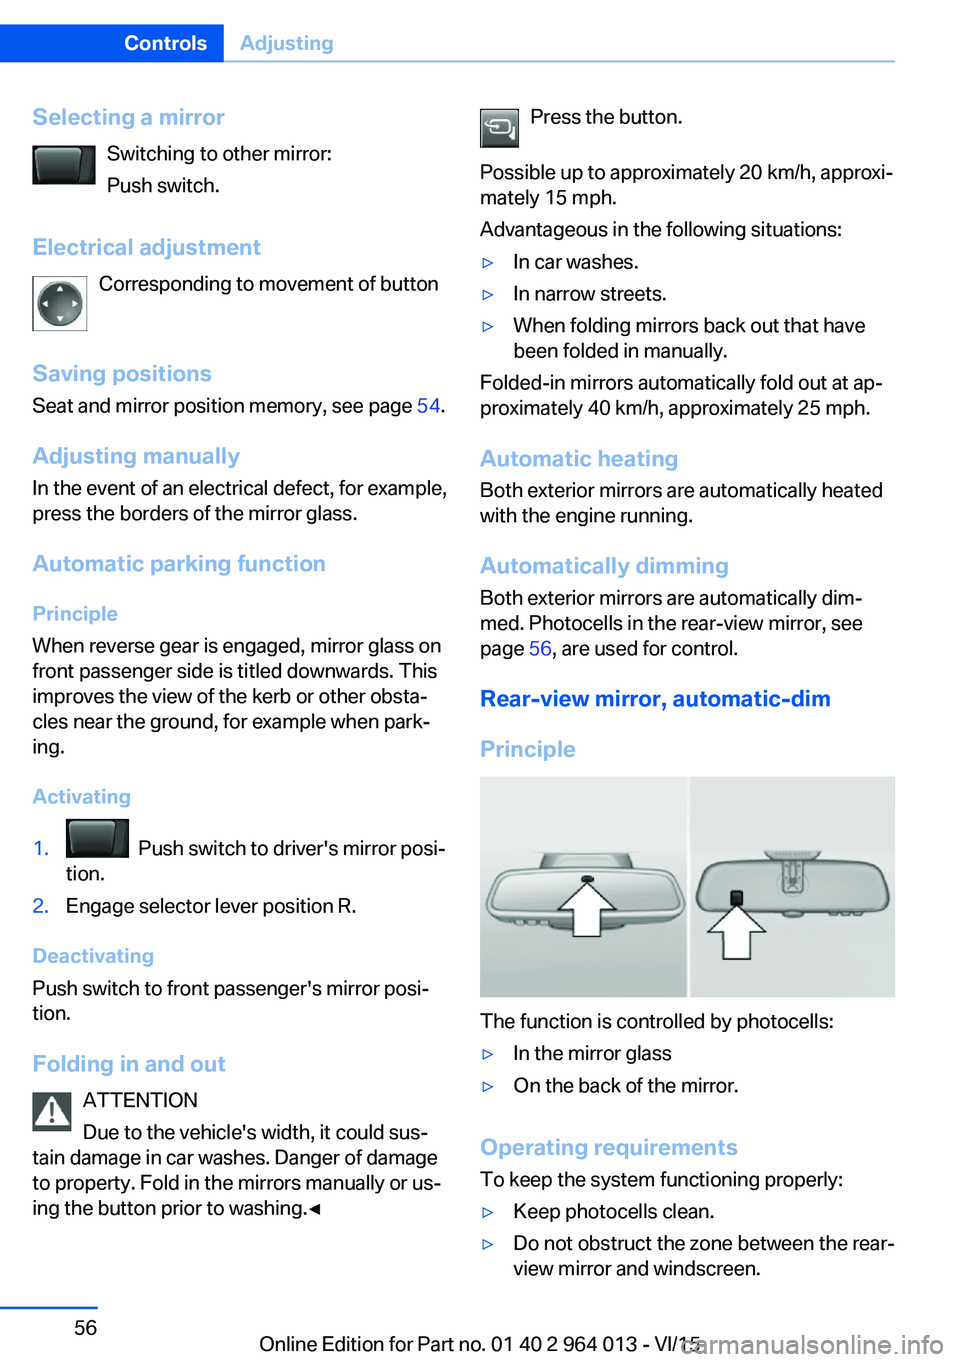
The function is controlled by photocells:
▷In the mirror glass▷On the back of the mirror.
Operating requirements
To keep the system functioning properly:
▷Keep photocells clean.▷Do not obstruct the zone between the rear-
view mirror and windscreen.Seite 56ControlsAdjusting56
Online Edition for Part no. 01 40 2 964 013 - VI/15
Page 70 of 228
Releasing
Pull up the lever a bit, press the button and
guide the lever down.
Turn indicators, high-beam
headlights, headlight flasher
Turn indicator
Turn indicator in exterior mirror
Do not fold in the exterior mirrors while driving
or while operating the turn indicators or hazard
warning lights to ensure that the turn indica‐
tors in the exterior mirrors are well recognisa‐
ble.
Indicating
Press the lever beyond the resistance point.
The turn indicator lever returns to its initial po‐
sition after activation.
To cancel the signal manually, press the lever
softly as far as the resistance point.
Triple turn signal
Touch the lever softly.
The turn indicator flashes three times.
This function can be enabled or disabled.
On the Control Display:1."Settings"2."Lights"3."1-touch triple turn signal"
The setting is saved for the currently used pro‐
file.
Indicating a turn briefly
Press the lever as far as the resistance point
and hold it there for as long as you wish to indi‐
cate a turn.
Malfunction
If the indicator light flashes more rapidly than
usual, a turn signal light has failed.
High-beam headlights, headlight
flasher
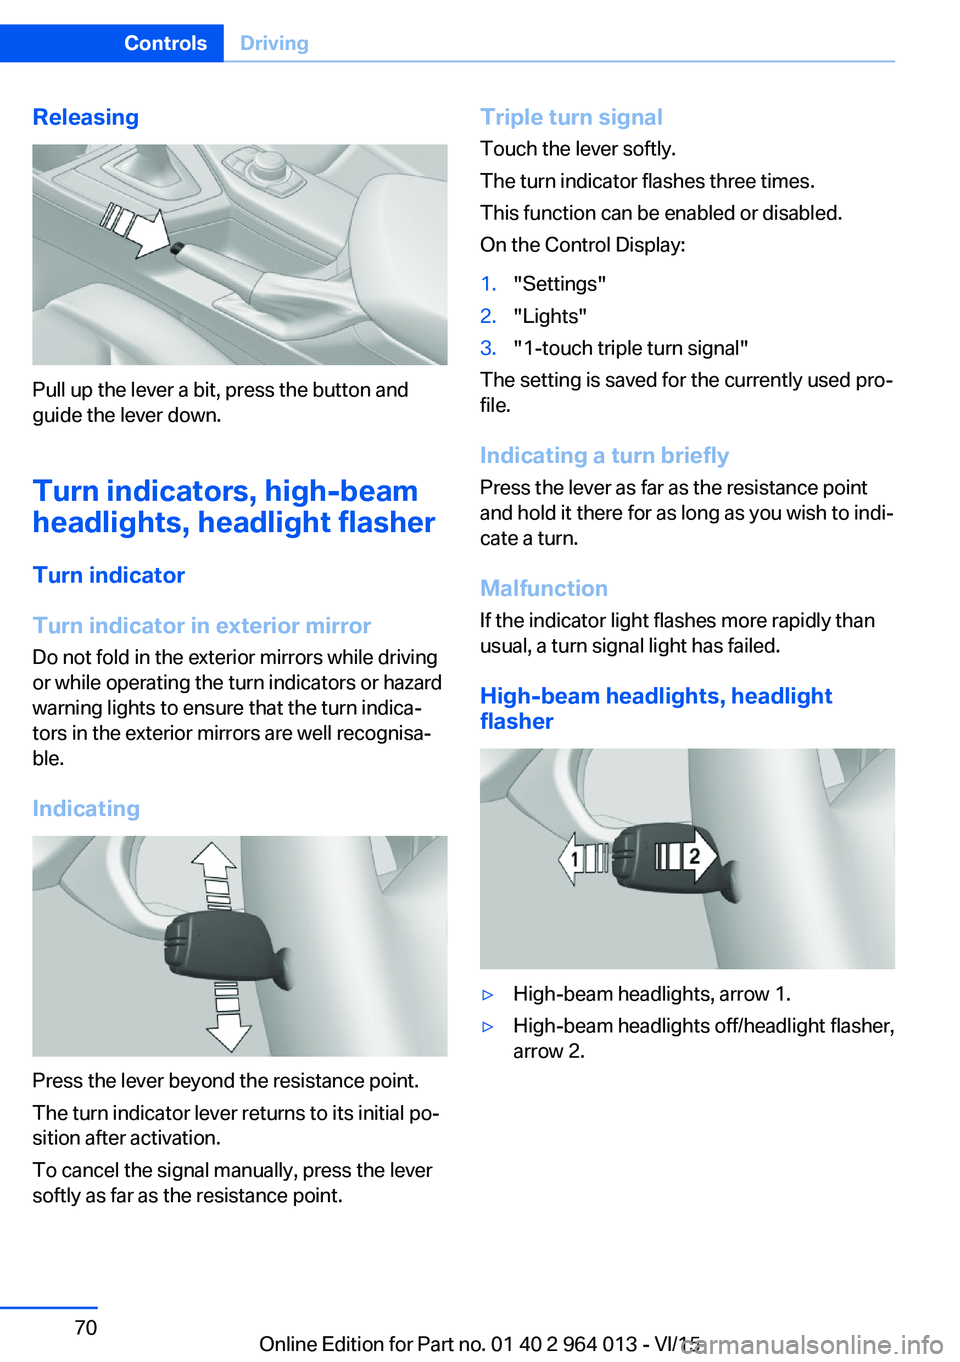
▷High-beam headlights, arrow 1.▷High-beam headlights off/headlight flasher,
arrow 2.Seite 70ControlsDriving70
Online Edition for Part no. 01 40 2 964 013 - VI/15
Page 71 of 228

Wiper systemSwitching the wipers on/off and flick-
wiping
General
Do not use wipers with a dry windscreen, oth‐
erwise the wiper blades will wear or become
damaged more quickly.
Notes ATTENTION
If the wipers have frozen on, switching on
can cause the wiper blades to tear and the
wiper motor to overheat. Danger of damage to
property. Defrost the windscreen before
switching on the wipers.◀
WARNING
If the wipers start moving when they are
folded away from the windscreen, this can
damage parts of the vehicle, or trap body parts.
Danger of injury or damage to property. Make
sure that the vehicle is switched off when the
wipers are folded away from the windscreen,
and that the wipers are in contact with the
windscreen when switching on.◀
Switching on
The lever returns to the basic position when
released.
▷Normal wiping speed: press upwards once.
When the vehicle is at a standstill, the wip‐
ers switch to intermittent operation.▷Rapid wiping speed: press upwards twice
or press once beyond the resistance point.
When the vehicle is at a standstill, the wip‐
ers switch to normal speed.
Switching off and flick-wiping
The lever returns to the basic position when
released.
▷Flick-wiping: press downwards once.▷Switching off normal wiping speed: press
downwards once.▷Switching off fast wiping speed: press
downwards twice.
Intermittent mode or rain sensor
Principle Without rain sensor, the interval for the wiper
operation is specified.
The rain sensor automatically controls the
wiper operation depending on the rain inten‐
sity. The sensor is mounted on the wind‐
screen, directly in front of the rear-view mirror.
Seite 71DrivingControls71
Online Edition for Part no. 01 40 2 964 013 - VI/15
Page 88 of 228

On the Control Display:1."Vehicle information"2."Vehicle status"3.Call up "Options".4."Last Teleservice Call"
Service history
General Have maintenance work carried out by a Serv‐
ice Partner or a qualified specialist workshop.
Performed maintenance work is recorded in
the vehicle data, see page 191.
The maintenance visits entered can be shown
on the Control Display. Operation is available
as soon as a maintenance visit has been en‐
tered in the vehicle data.
Displaying service history
On the Control Display:
1."Vehicle information"2."Vehicle status"3. "Service requirements"4. "Service history"
Maintenance visits carried out are shown.5.Select an entry to display more detailed in‐
formation.
Symbols
Sym‐
bolsDescriptionGreen: maintenance has been car‐
ried out on time.Yellow: maintenance has been car‐
ried out with a delay.Maintenance has not been carried
out.Shift point indicator
Principle The system recommends the most efficient
gear for the current driving situation.
General
The shift point indicator is active in sequential
mode of the M double clutch transmission and
the manual gearbox.
Information on up or downshifting are dis‐
played on the instrument cluster.
For vehicles without shift point indicator, the
gear engaged is shown.
DisplaysSymbolDescriptionShift up into most efficient gear.Shift down into most efficient gear.
Speed Limit Information with
No Passing Information
Principle
Speed Limit Information Speed Limit Information shows the currently
detected speed limit in the instrument cluster.
The camera in the area of the interior rear-view mirror detects traffic signs at the edge of the
road as well as variable overhead sign posts. Traffic signs with additional symbols, for exam‐
ple, when wet, are also compared with data in‐
ternal to the vehicle, for example the rain sen‐
sor, and displayed, depending on the situation.
The system considers the information saved in
the navigation system and also displays the
Seite 88ControlsDisplays88
Online Edition for Part no. 01 40 2 964 013 - VI/15
Page 89 of 228
speed limits present on unmarked sections of
road.
No Passing Information No Passing Information displays with corre‐
sponding symbols in the instrument cluster no
passing restrictions and their removal detected
by the camera. The system only considers no passing restrictions and lifting the restriction
made known by signage.
Nothing will be displayed in the following situa‐
tions:▷In countries in which no passing is primar‐
ily shown by road markings.▷On routes without signage.▷On railway crossings, lane markings or in
other situations which would not indicate
an unsigned no passing restriction.
Notes
WARNING
The system does not take your personal
responsibility from you when you are estimat‐
ing the visibility conditions and traffic situation.
Danger of accidents. Adapt driving style to the driving conditions. Observe the traffic situation
and intervene actively if the situation warrants
it.◀
Overview
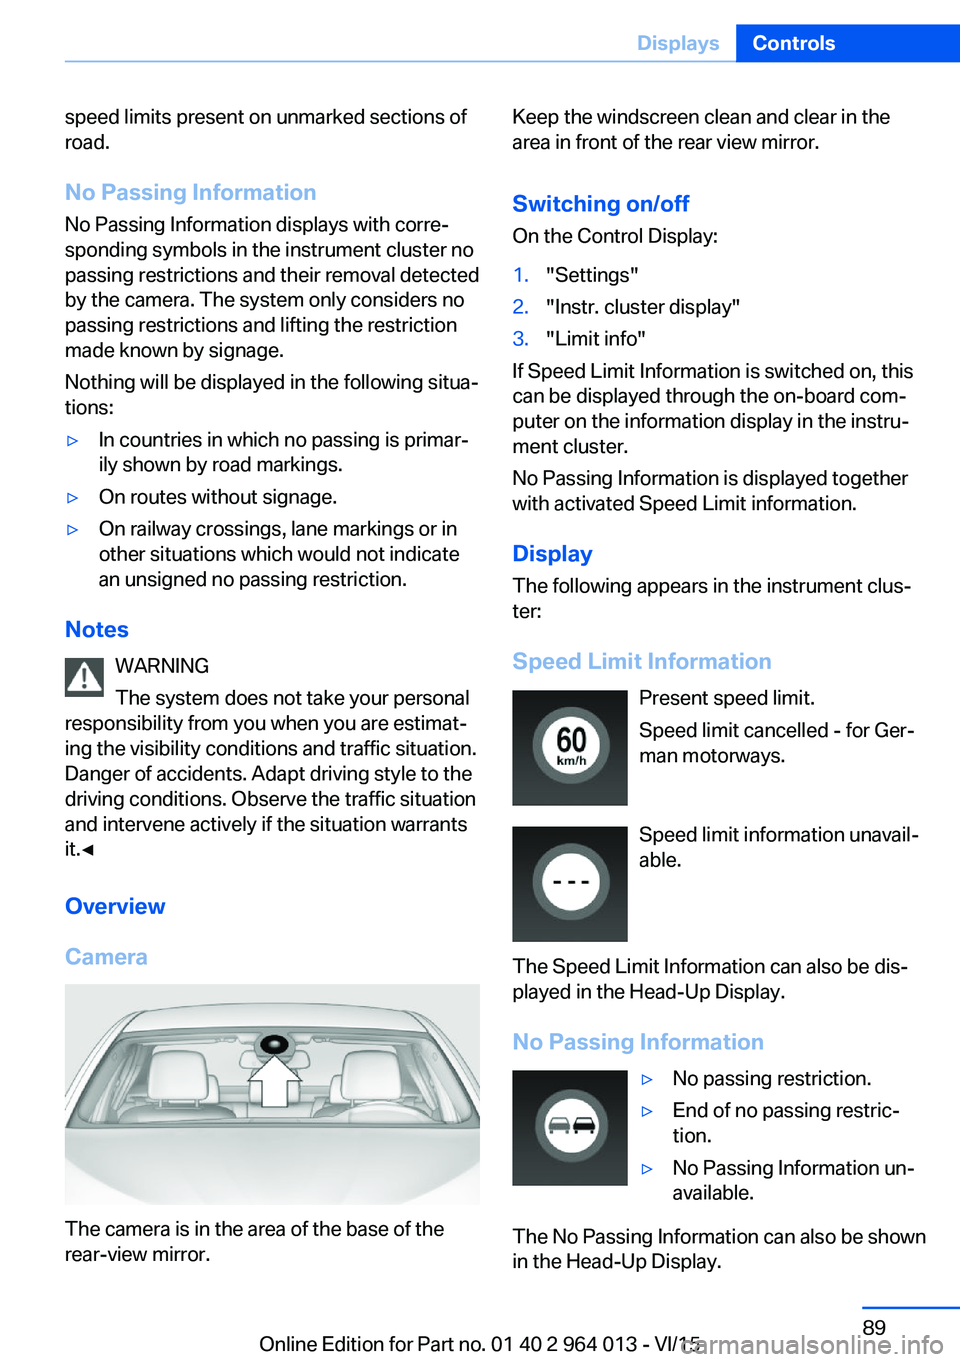
Camera
The camera is in the area of the base of the
rear-view mirror.
Keep the windscreen clean and clear in the
area in front of the rear view mirror.
Switching on/offOn the Control Display:1."Settings"2."Instr. cluster display"3."Limit info"
If Speed Limit Information is switched on, this
can be displayed through the on-board com‐
puter on the information display in the instru‐
ment cluster.
No Passing Information is displayed together
with activated Speed Limit information.
Display
The following appears in the instrument clus‐
ter:
Speed Limit Information Present speed limit.
Speed limit cancelled - for Ger‐
man motorways.
Speed limit information unavail‐
able.
The Speed Limit Information can also be dis‐
played in the Head-Up Display.
No Passing Information
▷No passing restriction.▷End of no passing restric‐
tion.▷No Passing Information un‐
available.
The No Passing Information can also be shown
in the Head-Up Display.
Seite 89DisplaysControls89
Online Edition for Part no. 01 40 2 964 013 - VI/15
Page 90 of 228
System limits
The function may be disabled or inaccurate
under certain conditions, for example:▷In thick fog and heavy rain or snow.▷If road signs are obscured by objects.▷If the vehicle is moving too close to the ve‐
hicle ahead.▷With bright oncoming light.▷When the windscreen in front of the rear-
view mirror is covered with condensation,
dirt, stickers, etc.▷Due to possible wrong detections of the
camera.▷If the speed limits saved in the navigation
system are wrong.▷In areas not covered by the navigation sys‐
tem.▷If there are deviations in relation to the nav‐
igation, for example due to changes in the
road routing.▷On overtaking buses or trucks with speed
stickers.▷If traffic signs do not correspond to the
standard.▷During the calibration process of the cam‐
era immediately after the vehicle is sup‐
plied.
Selection lists in the
instrument cluster
Principle Depending on equipment, the following can be
displayed or operated via the buttons and the
knurled wheel on the steering wheel and using
the displays in the instrument cluster and
Head-Up Display:
▷Current audio source.▷Repeat dialling for telephone.▷Activating the voice control system.Display
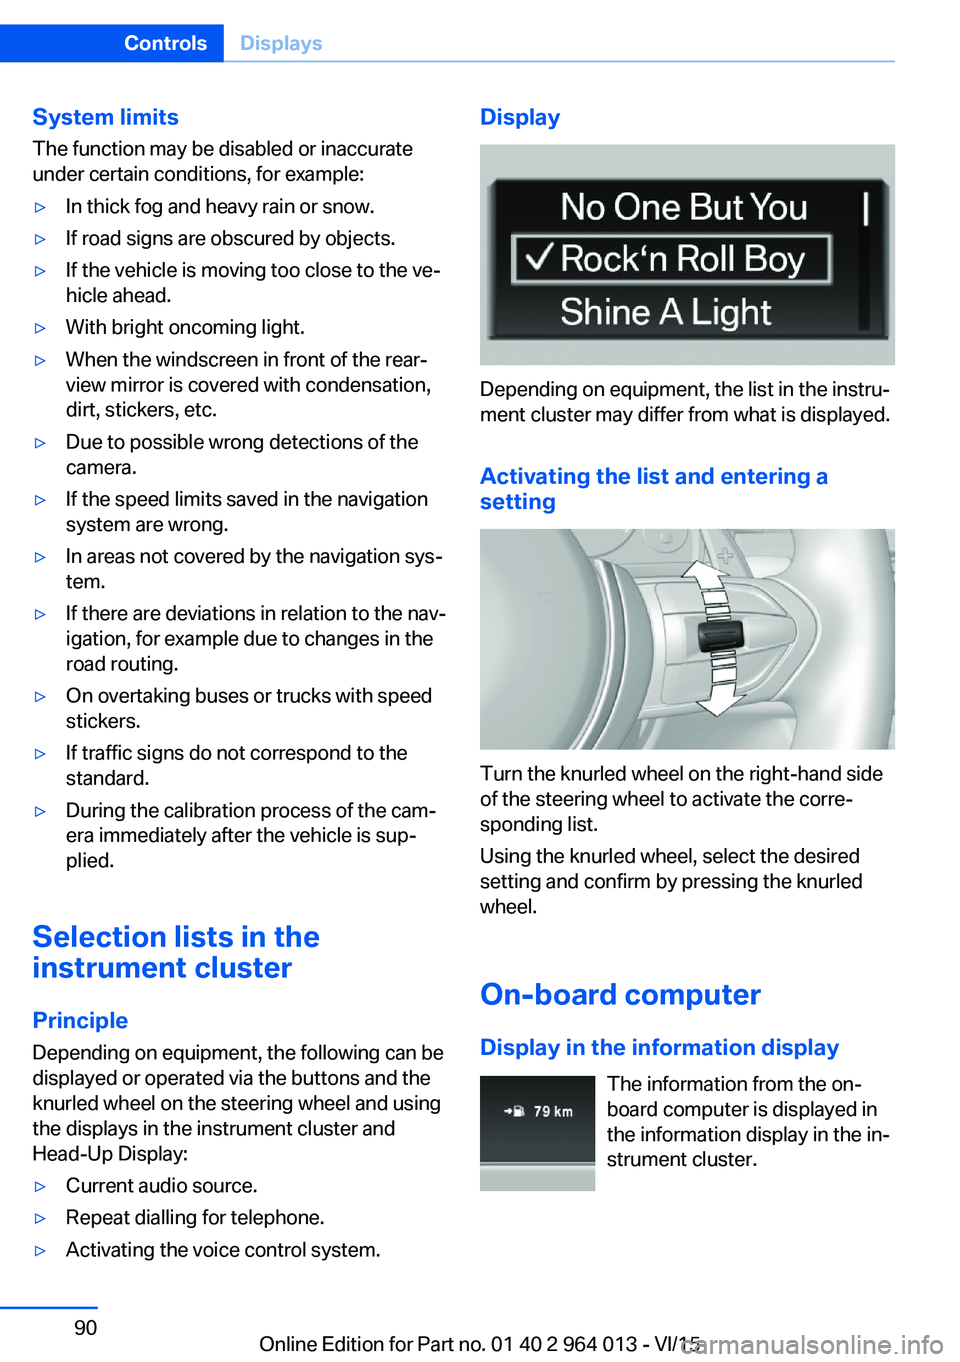
Depending on equipment, the list in the instru‐
ment cluster may differ from what is displayed.
Activating the list and entering a
setting
Turn the knurled wheel on the right-hand side
of the steering wheel to activate the corre‐
sponding list.
Using the knurled wheel, select the desired
setting and confirm by pressing the knurled
wheel.
On-board computer
Display in the information display The information from the on-
board computer is displayed in
the information display in the in‐
strument cluster.
Seite 90ControlsDisplays90
Online Edition for Part no. 01 40 2 964 013 - VI/15
Page 100 of 228

System limits
The automatic driving lights control is no sub‐
stitute for your individual judgement of when it
is necessary to switch on the lights.
The sensors are unable, for instance, to recog‐
nise fog or hazy weather. In such situations,
switch on the lights manually to avoid any
safety risk.
Daytime driving lights Switch position:
,
The daytime driving lights illuminate with the
ignition switched on.
Activating/deactivating
In some countries daytime driving lights are
compulsory, which is why the daytime driving
lights cannot be deactivated.
On the Control Display:
1."Settings"2."Lights"3."Daytime driving lights"
The setting is saved for the currently used pro‐
file.
Adaptive HeadlightsPrinciple
Adaptive Headlights is a variable headlight
control system that makes it possible to illumi‐
nate the road surface responsively.
The beams from the headlights follow the road
ahead on the basis of the steering angle and
other parameters.
Depending on the speed, the variable light dis‐
tribution ensures even better illumination of
the roadway.
The light distribution is automatically adapted
to the speed. The city light is switched on if the
speed of 50 km/h, approx. 30 mph is not ex‐
ceeded while accelerating or if the speed of
40 km/h, approx. 25 mph is undercut while
braking. The motorway light is switched on at a speed higher than 110 km/h, 68 mph after ap‐
proximately 30 seconds or as of a speed of
140 km/h, 87 mph.
Activating Switch position
with the ignition switched
on.
So as not to dazzle oncoming vehicles, the
adaptive cornering light does not swivel to the
driver's side when stationary.
A cornering light is activated automatically de‐
pending on the steering angle or use of the
turn indicators.
The cornering light may be switched on when
driving in reverse, irrespective of the steering
angle.
Malfunction
A Check Control message is displayed.
Adaptive Headlights are faulty or have failed.
Have the system checked as soon as possible.
High-beam assistance
Principle When low-beam headlights are switched on,this system automatically switches the high-
beam headlights on and off or fades out the
areas which dazzle oncoming vehicles. This
process is controlled by a camera on the front
of the rear-view mirror. It ensures that the
high-beam headlights are switched on when‐
ever the traffic situation allows. You can also
control the lights yourself at any time and
switch them on and off as usual. The high-
beam headlights are not switched on by the
system in the low speed range.
Seite 100ControlsLights100
Online Edition for Part no. 01 40 2 964 013 - VI/15
Page 102 of 228
▷When the windscreen in front of the rear-
view mirror is covered with condensation,
dirt, stickers, labels, etc.
Fog lights
Rear fog lights
The low-beam headlights must be switched
on.
Press the button. The yellow indicator
light is illuminated.
If automatic driving lights control, see page 99,
has been activated, the low-beam headlights
come on automatically when the rear fog lights
are switched on.
Left-hand/right-hand traffic GeneralWhen driving in countries where the opposite
rule of the road applies, you need to prevent
your headlights from dazzling oncoming vehi‐
cles.
Xenon headlight
Light distribution of the headlights avoids daz‐
zling of the low-beam headlights when driving
in a country in which the traffic drives on the
opposite side.
Adaptive Headlights
When driving in a country where you drive on
the opposite side of the road from the country
the vehicle is licensed, do not drive with the
setting, otherwise this could cause a daz‐
zling effect from the variable light distribution.
LED headlights The Service Partner or a qualified specialist
workshop has light benders available. Proceed
in accordance with the enclosed information
when affixing the light benders to the head‐
lights.
Adaptive Headlights
When driving in a country where you drive on
the opposite side of the road from the country
the vehicle is licensed, do not drive with the
setting, otherwise this could cause a daz‐
zling effect from the variable light distribution.
Instrument lightingAdjusting The brightness can only be ad‐justed when the side lights or
the low-beam headlights are
switched on.
The brightness can be set using
the knurled wheel.
Interior light GeneralThe interior light, the footwell lights, door entry
lighting and the courtesy lighting are controlled
automatically.
The brightness of some equipment is influ‐
enced by the knurled wheel for the instrument
lighting.
Seite 102ControlsLights102
Online Edition for Part no. 01 40 2 964 013 - VI/15