2015 VAUXHALL MOVANO_B battery
[x] Cancel search: batteryPage 21 of 209

Keys, doors and windows19
The remote control has a range of
approx. 5 metres. It can be affected
by external influences. The hazard
warning flashers confirm operation.
Handle with care, protect it from
moisture and high temperatures and
avoid unnecessary operation.
Fault If the central locking system cannot
be operated with the remote control,
it may be due to the following:
■ Range exceeded.
■ Battery voltage too low.
■ Frequent, repeated operation of the
remote control while not in range,
which will require reprogramming
by a workshop.
■ Interference from higher-power radio waves from other sources.
Unlocking 3 19.
Remote control battery
replacement
Replace the battery as soon as the
range reduces.
Batteries do not belong in household
waste. They must be disposed of at
an appropriate recycling collection
point.
Remove screw and open battery
compartment by inserting a coin into
the slot and twisting.
Replace the battery (battery type
CR2016), paying attention to the
installation position.
Reattach both halves of cover
ensuring it engages correctly.
Replace screw and tighten.
Central locking system Unlocks and locks the front doors,
sliding side doors and load
compartment.
With the 3-button remote control, the
front doors and sliding side doors/
load compartment can be unlocked
and locked separately.
For safety reasons, the vehicle
cannot be locked if the key is in the
ignition switch.
Notice
A short time after unlocking with the
remote control the doors are locked
automatically if no door has been
opened.
Page 26 of 209

24Keys, doors and windowsDoors
Sliding door
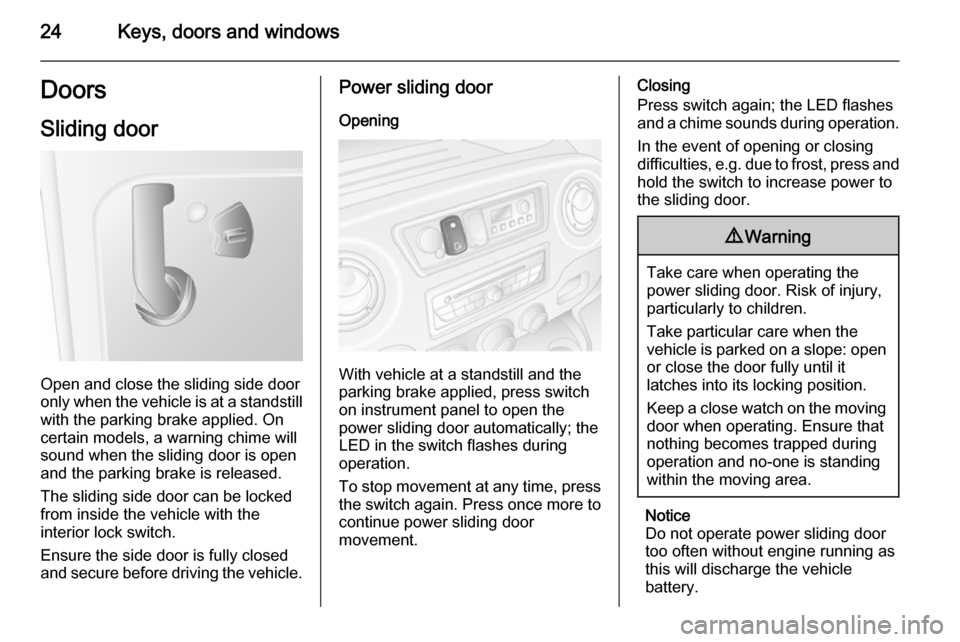
Open and close the sliding side door
only when the vehicle is at a standstill with the parking brake applied. On
certain models, a warning chime will
sound when the sliding door is open
and the parking brake is released.
The sliding side door can be locked
from inside the vehicle with the
interior lock switch.
Ensure the side door is fully closed and secure before driving the vehicle.
Power sliding door
Opening
With vehicle at a standstill and the
parking brake applied, press switch
on instrument panel to open the
power sliding door automatically; the
LED in the switch flashes during
operation.
To stop movement at any time, press
the switch again. Press once more to
continue power sliding door
movement.
Closing
Press switch again; the LED flashes
and a chime sounds during operation.
In the event of opening or closing
difficulties, e.g. due to frost, press and
hold the switch to increase power to
the sliding door.9 Warning
Take care when operating the
power sliding door. Risk of injury,
particularly to children.
Take particular care when the
vehicle is parked on a slope: open
or close the door fully until it
latches into its locking position.
Keep a close watch on the moving door when operating. Ensure thatnothing becomes trapped during
operation and no-one is standing
within the moving area.
Notice
Do not operate power sliding door too often without engine running asthis will discharge the vehicle
battery.
Page 31 of 209

Keys, doors and windows29
Activation without monitoring of
vehicle inclination
Additionally, disable monitoring of
vehicle inclination because of high
volume ultrasonic signals or
movements triggering the alarm, e.g.
when the vehicle is on a ferry or train:
Switch ignition on and off three times
in quick succession, then close doors and activate the anti-theft alarm
system.
An audible signal will sound as
confirmation.
The status will remain until the doors
are unlocked.
Alarm
When triggered, the alarm sounds via a separate battery-backed power
sounder, and the hazard warning
lights flash simultaneously. The
number and duration of alarm signals
are stipulated by legislation.
If the vehicle battery is disconnected
or its power supply is interrupted, the
alarm siren will be triggered. Firstdeactivate the anti-theft alarm system if the vehicle battery must be
disconnected.
To silence the alarm siren (if
triggered) and therefore deactivate
the anti-theft alarm system, reconnect vehicle battery and unlock vehicle
with remote control button c (or
switch on the ignition).
Immobiliser
The system is part of the ignition
switch and checks whether the
vehicle is allowed to be started with
the key being used.
The immobiliser is activated
automatically after the key has been removed from the ignition switch and
also if the key is left in the ignition
switch when the engine is turned off.
If the engine cannot be started, switch off the ignition and remove key, wait
approx. 2 seconds and then repeat
the start attempt.If start attempt is
unsuccessful, attempt to start the
engine using the spare key and seek
the assistance of a workshop.Notice
The immobiliser does not lock the
doors. You should always lock the
vehicle after leaving it and switch on the anti-theft alarm system 3 19,
3 27.
Page 75 of 209

Instruments and controls73
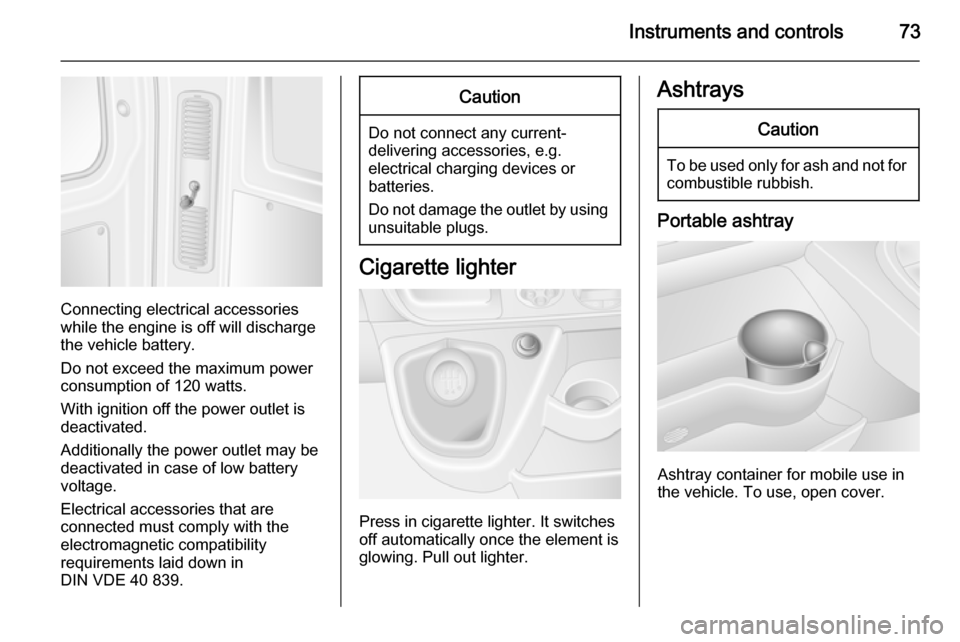
Connecting electrical accessories
while the engine is off will discharge
the vehicle battery.
Do not exceed the maximum power
consumption of 120 watts.
With ignition off the power outlet is
deactivated.
Additionally the power outlet may be
deactivated in case of low battery
voltage.
Electrical accessories that are
connected must comply with the
electromagnetic compatibility
requirements laid down in
DIN VDE 40 839.
Caution
Do not connect any current- delivering accessories, e.g.
electrical charging devices or
batteries.
Do not damage the outlet by using unsuitable plugs.
Cigarette lighter
Press in cigarette lighter. It switches
off automatically once the element is
glowing. Pull out lighter.
AshtraysCaution
To be used only for ash and not for combustible rubbish.
Portable ashtray
Ashtray container for mobile use in
the vehicle. To use, open cover.
Page 82 of 209

80Instruments and controlsCharging system
p illuminates red.
Illuminates when the ignition is
switched on and extinguishes shortly
after the engine starts.
Illuminates when the engine isrunning
Stop, switch off engine. Vehicle
battery is not charging. Engine
cooling may be interrupted. The
brake servo unit may cease to be
effective. Seek the assistance of a
workshop.
Malfunction indicator light
Z illuminates or flashes yellow.
Illuminates briefly when the ignition is switched on.
Illuminates when the engine is
running
Fault in the emission control system.
The permitted emission limits may be
exceeded. Seek the assistance of a
workshop immediately.Flashes when the engine is
running
Fault that could lead to catalytic
converter damage. Ease up on the
accelerator until the flashing stops.
Seek the immediate assistance of a
workshop.
Service vehicle soon A illuminates yellow.
Illuminates briefly when the ignition is
switched on.
The vehicle needs a service.
May illuminate in combination with
another control indicator or a
message in the Driver Information
Centre 3 84.
Illuminates if cleaning of the diesel
particle filter is required and
automatic cleaning does not occur
3 115.
Seek the assistance of a workshop
immediately.
Stop engine
C illuminates red.Illuminates for a few seconds when
the ignition is switched on.
If C illuminates (possibly in
combination with W and/or R), stop
engine immediately and seek the
assistance of a workshop.
Depending on the type of fault, a
warning message may also appear in the Driver Information Centre 3 84.
Brake system R illuminates red.
Illuminates briefly when the ignition is
switched on.
Control indicator R remains
illuminated after the ignition is
switched on if the parking brake is
applied 3 122.
When the parking brake is released,
R illuminates (possibly in
combination with C) if the brake fluid
level is too low 3 141.
Page 87 of 209

Instruments and controls85
■ Vehicle messages 3 85
■ Trip computer 3 86
Some of the displayed functions differ
when the vehicle is being driven or at a standstill. Some functions are only
available when the vehicle is being
driven.
Triple-Info-Display
Displays time, outside temperature
and date when the ignition is on.
Vehicle messages
Messages appear in the Driver
Information Centre, in combination
with control indicator A or C.
Information messagesInformation messagesBATTERY MODE: ECONOMYESP OFFAUTO LIGHTS DEACTIVATEDOIL LEVEL CORRECT
Fault messages Displayed in combination with control
indicator A. Drive with caution and
seek the assistance of a workshop.
To remove fault message, press
button on end of wiper lever. After a
few seconds the message may
disappear automatically and A
remains illuminated. The fault will
then be stored in the on board
system.Fault messagesCHECK ESPCHECK FUEL FILTERCHECK GEARBOXCHECK AUTO LIGHTS
Warning messages
These may appear with control
indicator C or in combination with
other warning messages, control
indicators or an audible warning. Stop
engine immediately and seek the
assistance of a workshop.
Page 90 of 209

88Instruments and controls
Interruption of power supply
If the power supply has been
interrupted or if the vehicle battery
voltage has dropped too low, the
values stored in the trip computer will be lost.Tachograph
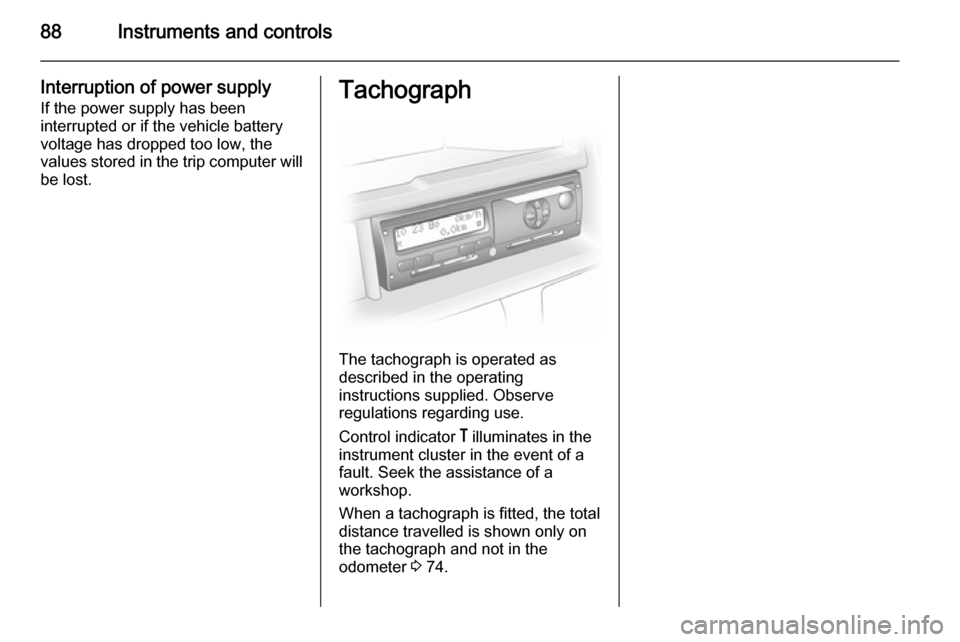
The tachograph is operated as
described in the operating
instructions supplied. Observe
regulations regarding use.
Control indicator & illuminates in the
instrument cluster in the event of a
fault. Seek the assistance of a
workshop.
When a tachograph is fitted, the total
distance travelled is shown only on
the tachograph and not in the
odometer 3 74.
Page 102 of 209

100Climate controlRear heating system
If the engine is switched off, the rear
compartment can be heated by the
additional heating, through low level
vents.
By programming values using the
control panel, the user can adjust the
time, day and temperature settings.
Heating will cease to operate if the
vehicle fuel level drops too low.
During operation, power from the
vehicle battery is used. For short
journey times, check the vehicle
battery regularly and recharge if
necessary.
To ensure efficient performance, the
low level air vents in the rear
passenger compartment must not be
obstructed.9 Warning
Do not operate the system when
refuelling, when dust or
combustible vapours are present
or in enclosed spaces (e.g.
garage).
Setting the time and day
Press button Ö until the time display
flashes.
If the vehicle battery supply has been
interrupted prior to its use press the
m or n button briefly to make the
time display flash.
Adjust the time using the m or n
buttons.
The time is set when the displayed
time stops flashing.
The display for the day will then flash: adjust the day using the m or n
buttons.
The day is set when the display stops
flashing.
The display will remain illuminated for approx. 15 seconds after the ignition
is switched off.
Operating the rear compartment
additional heating Press button Y to operate heating. Y
will appear in the display to indicate
that the heating is operating.
Changing the period for which
heating is operating With the heating switched off ( Y
extinguished in display), press m
button for briefly until the period for
which heating is provided flashes in
the display.
Use the m or n buttons to adjust
the heating duration. The duration is
set when the display extinguishes.
Programming the heating mode
It is possible to store up to three
programmes which allow the heating
to be switched on.