2015 VAUXHALL MOVANO_B change time
[x] Cancel search: change timePage 30 of 209

28Keys, doors and windows
■ Load compartment
■ Vehicle inclination, e.g. if it is raised
■ Ignition
■ Interruption of alarm siren power supply
Activation
All doors and the bonnet must be
closed.
Press button e to activate anti-theft
alarm system. Hazard warning lights
flash twice to confirm activation.
If the hazard warning lights do not flash upon activation, a door or the
bonnet is not fully closed.
Notice
Changes to the vehicle interior, e.g.
the use of seat covers, and open
windows, could impair the function
of passenger compartment
monitoring.
Deactivation
Unlocking the vehicle or switching on the ignition deactivates the anti-theft
alarm system. Hazard warning lights flash once to confirm deactivation.
Notice
If the alarm has been triggered,
unlocking the vehicle with the key
will not stop the alarm siren. To stop
the siren, switch on the ignition. The hazard warning lights will not flash
upon deactivation if the alarm has
been triggered.
Activation without monitoring of
passenger compartment
Switch off monitoring of the
passenger compartment when
people or animals are being left in the
vehicle, or if the auxiliary heater
3 102 is set for a timed or remote
controlled start.
Depending on vehicle configuration:
■ press and hold button e, or
■ switch ignition on and off twice quickly, then close doors and
activate the anti-theft alarm system.
An audible signal will sound as
confirmation.
The status will remain until the doors
are unlocked.
Page 74 of 209

72Instruments and controls9Warning
The road surface may already be
icy even though the display
indicates a few degrees above 0
°C.
Clock
Depending on vehicle, the current
time and/or date may appear in the
information display 3 85 or the
Driver Information Centre 3 84.
Set time and date in information display
Hours and minutes can be adjusted
by pressing the appropriate buttons
by the display or with the Infotainment
system controls.
Further information is available in the
Infotainment system manual.
Set time in Driver Information
Centre
Display the clock function by pressing button repeatedly on end of wiper
lever. When the time flashes (after
approx. 2 seconds):
■ Press and hold the bottom button
■ Hours flash
■ Press top button to change hours
■ Press and hold bottom button to set
hours
■ Minutes flash
■ Press top button to change minutes
■ Press and hold bottom button to set
minutes and exit setting mode.
Power outlets
12 V power outlets are located in the instrument panel and in the rear of the
vehicle.
Page 92 of 209

90Lighting
Automatic headlight activation
During poor lighting conditions the
headlights are switched on.
High beam
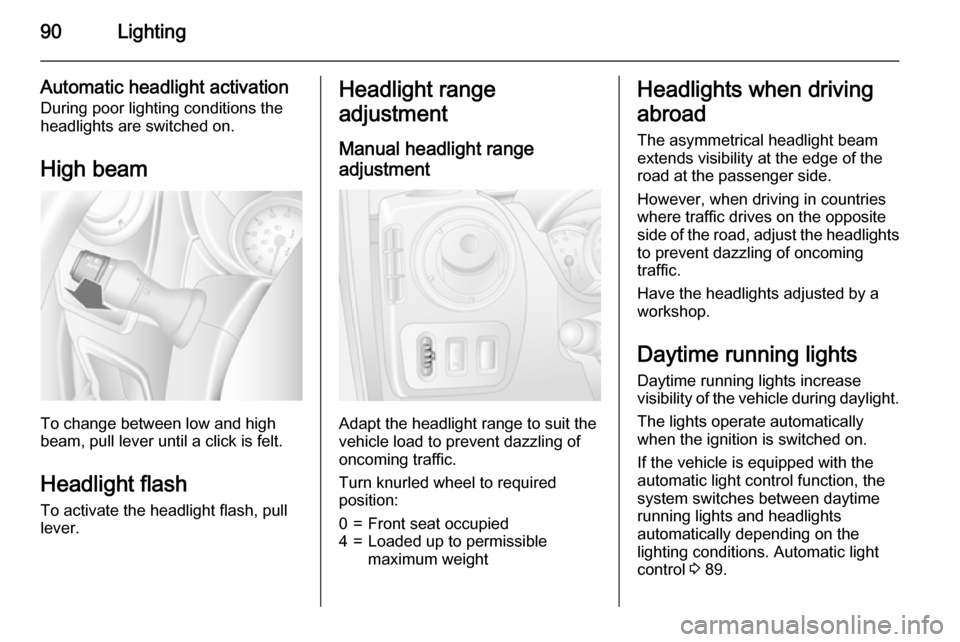
To change between low and high
beam, pull lever until a click is felt.
Headlight flash To activate the headlight flash, pull
lever.
Headlight range
adjustment
Manual headlight range
adjustment
Adapt the headlight range to suit the
vehicle load to prevent dazzling of
oncoming traffic.
Turn knurled wheel to required position:
0=Front seat occupied4=Loaded up to permissible
maximum weightHeadlights when driving
abroad
The asymmetrical headlight beam
extends visibility at the edge of the
road at the passenger side.
However, when driving in countries
where traffic drives on the opposite
side of the road, adjust the headlights to prevent dazzling of oncoming
traffic.
Have the headlights adjusted by a
workshop.
Daytime running lights
Daytime running lights increase
visibility of the vehicle during daylight.
The lights operate automatically
when the ignition is switched on.
If the vehicle is equipped with the automatic light control function, the
system switches between daytime
running lights and headlights
automatically depending on the
lighting conditions. Automatic light
control 3 89.
Page 105 of 209

Climate control103
Timer1 X
Activation
button=Switches the control
unit on/off and
changes displayed
information2 q Back
button=Selects functions in
the menu bar and
adjusts values3 Menu bar=Displays the
selectable functions
Y , x , P , Ö and Y4 r Next
button=Selects functions in
the menu bar and
adjusts values5 OK button=Confirms selectionRemote control
The control buttons operate
identically to the timer unit described
previously.
To activate the remote control, press activation button X and release it
when the menu bar appears in the display. The signal indicator and
SENd appear briefly in the display,
followed by the temperature.
9 Warning
When refuelling, switch off the
remote control unit as well as the
heater!
To switch off, press and hold
activation button X to prevent
inadvertent operation.
The remote control has a maximum
range of 600 metres. The range may
be reduced due to environmental
conditions and as the battery
becomes weaker.
Page 106 of 209

104Climate control
In addition to the remote control unit,
the heating can also be switched on
for 30 minutes, or off, using the button on the instrument panel.
Battery replacement
Replace the battery when the range
of the remote control is reduced or
when the battery charge symbol
flashes.
Open the cover using a coin and
replace the battery (CR 2430 or
equivalent), ensuring the new battery
is correctly installed with the positive
( < ) side facing the positive terminals.
Replace the cover securely.
Dispose of old batteries in
accordance with environmental
regulations.Batteries do not belong in household
waste. They must be disposed of at
an appropriate recycling collection
point.
Remote control fault displayscobA=Poor signal –
adjust positionconP=No signal –
move closerbALo=Battery low –
change batteryErr=System error –
consult workshopAdd, AddE=System in learning
mode
Teach remote control
If the vehicle battery is reconnected, the LED in the instrument panel
button illuminates and the system
configures the remote control menu
automatically. If the LED flashes,
press OK button on remote control,
select Add or AddE and confirm.
Additional remote control units may
also be configured. Press the button
until LED flashes, switch on the
remote control, select Add and
confirm.
AddE teaches the current remote
control unit exclusively and blocks all
previously configured units. Add
teaches up to 4 remote control units,
but only one unit can operate the
system at any one time.
Operation
Heating Y
Select Y in the menu bar and confirm.
The predetermined heating duration,
e.g. L 30, flashes in the display. The
factory setting is 30 minutes.
To temporarily adjust the heating
duration, adjust with the q or r
button and confirm. The value can be
set from 10 to 120 minutes. Due to the power consumption, note the heatingduration.
To switch off, select Y in the menu bar
again and confirm.
Page 107 of 209

Climate control105
Ventilation x
Select x in the menu bar and confirm.
The ventilation duration can be
accepted or adjusted. The duration
shown is accepted without
confirmation.
To switch off, select x in the menu bar
again and confirm.
Programming P
Up to 3 preset departure times can be
programmed, either during one day or
over one week.
■ Select P in the menu bar and
confirm
■ Select desired preset memory number 1, 2 or 3 and confirm
■ Select day and confirm
■ Select hour and confirm
■ Select minutes and confirm
■ Select Y or x and confirm
■ If necessary, adjust the runtime duration prior to departure and
confirmThe next preset memory number to
be activated is underlined and the
weekday is displayed. Repeat the
procedure to programme the other preset memory numbers.
Pressing button X during the
procedure will exit without storing
programme adjustments.
To delete a preset departure time,
follow the steps for programming until
heating symbol Y flashes. Press
button q or r until oFF appears in
the display and confirm.
Heating stops automatically
5 minutes after the programmed
departure time.
Notice
The remote control system features
a temperature sensor which
calculates the runtime according to
the ambient temperature and the desired heating level (ECO or
HIGH). The system starts
automatically between 5 and
60 minutes prior to the programmed
departure time.Set weekday, time and heating
duration Ö
If the vehicle battery is disconnected or its voltage is too low, the unit will
need to be reset.
■ Select Ö and confirm
■ Select weekday and confirm
■ Change hours and confirm
■ Change minutes and confirm
■ Change the default heating duration and confirm
Heating level Y
The preferred heating level for
programmed departure times can be
set to either ECO or HIGH.
Select Y and confirm. ECO or HIGH
flashes in the display. Adjust using
the q or r button and confirm.
Page 131 of 209

Driving and operating129vans). Object identification in the
upper part of these vehicles
cannot be guaranteed.
Objects with a very small reflection
cross section, like objects of
narrow size or soft materials, may
not be detected by the system.
Parking assist will not detect
objects out of the detection range.
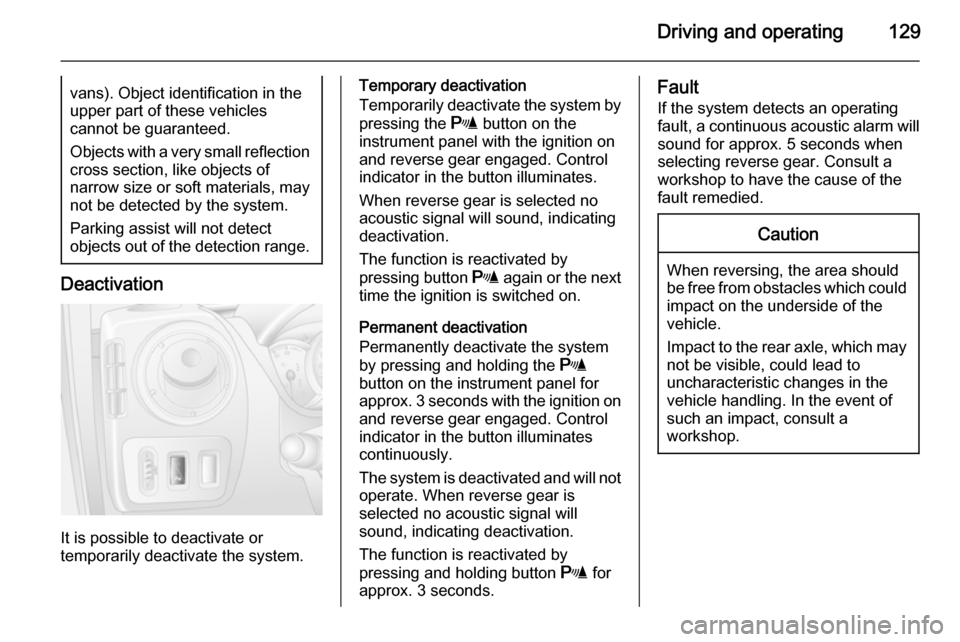
Deactivation
It is possible to deactivate or
temporarily deactivate the system.
Temporary deactivation
Temporarily deactivate the system by
pressing the r button on the
instrument panel with the ignition on
and reverse gear engaged. Control
indicator in the button illuminates.
When reverse gear is selected no
acoustic signal will sound, indicating
deactivation.
The function is reactivated by
pressing button r again or the next
time the ignition is switched on.
Permanent deactivation
Permanently deactivate the system
by pressing and holding the r
button on the instrument panel for
approx. 3 seconds with the ignition on and reverse gear engaged. Control
indicator in the button illuminates
continuously.
The system is deactivated and will not operate. When reverse gear is
selected no acoustic signal will
sound, indicating deactivation.
The function is reactivated by
pressing and holding button r for
approx. 3 seconds.Fault
If the system detects an operating fault, a continuous acoustic alarm will sound for approx. 5 seconds when
selecting reverse gear. Consult a
workshop to have the cause of the
fault remedied.Caution
When reversing, the area should
be free from obstacles which could impact on the underside of the
vehicle.
Impact to the rear axle, which may
not be visible, could lead to
uncharacteristic changes in the
vehicle handling. In the event of
such an impact, consult a
workshop.
Page 137 of 209

Vehicle care135Vehicle careGeneral Information...................135
Vehicle checks ........................... 136
Bulb replacement .......................144
Electrical system ........................152
Vehicle tools .............................. 155
Wheels and tyres .......................156
Jump starting ............................. 168
Towing ....................................... 170
Appearance care .......................171General Information
Accessories and vehicle
modifications
We recommend the use of genuine parts and accessories and factory
approved parts specific for your
vehicle type. We cannot assess or
guarantee reliability of other products
- even if they have a regulatory or
otherwise granted approval.
Do not make any modifications to the electrical system, e.g. changes of
electronic control units (chip tuning).Caution
When transporting the vehicle on
a train or on a recovery vehicle, the
mud flaps might be damaged.
Vehicle storage
Storage for a long period of time
If the vehicle is to be stored for several months:
■ Wash and wax the vehicle.
■ Have the wax in the engine compartment and underbody
checked.
■ Clean and preserve rubber seals.
■ Change engine oil.
■ Drain washer fluid reservoir.
■ Check coolant antifreeze and corrosion protection.
■ Adjust tyre pressure to the value specified for full load.
■ Park vehicle in a dry, well ventilated
place. Engage first or reverse gear.
Prevent the vehicle from rolling.
■ Do not apply parking brake.